Teslogic.co dashboard for Teslas
Published on 22nd April 2024 by Simon Fearby
Teslogic Dashboard Kit is a hardware accessory for Tesla cars that can read data from the car’s internal Controller Area Network (CAN) bus and display it on mobile phones or tablets in real-time.
I heard about the Teslogic Dash from Ludicrous Feed on YouTube. I was very interested in using it to manually choose to pre-heat my Model Y’s battery on regional and remote Fast DC chargers.
Why I use a Teslogic Dashboard?
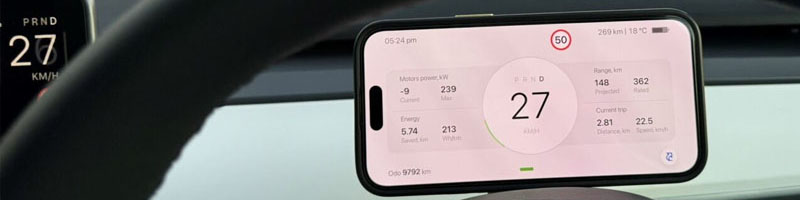
The Telsa Screen (on the left hand side of the steering wheel here down under) is ok for daily driving, but the Teslogic offers traditional behind the wheel view of vital stats and other customisable screens to be really useful.
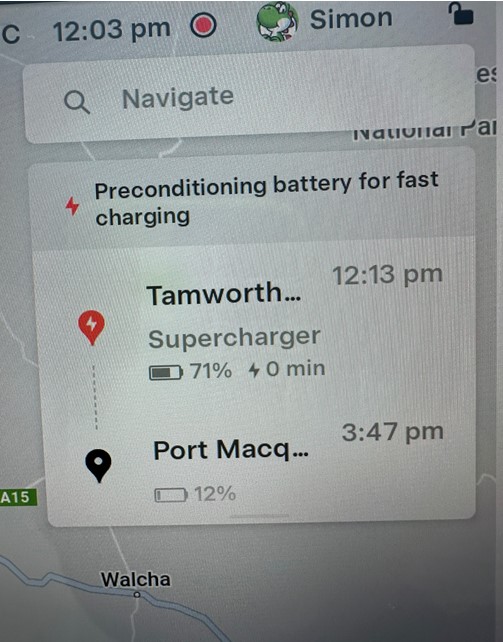
In Australia, there are many Tesla-branded fast chargers along the coast that we can navigate to, and the car automatically preheats the battery for fast changing.
Official Product Video
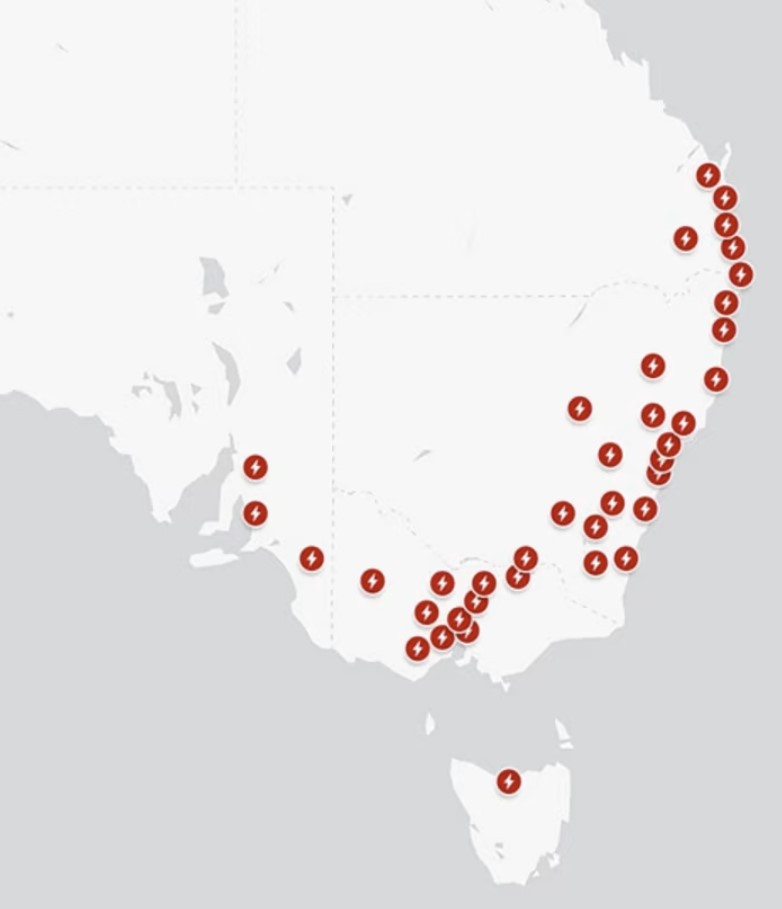
Tesla Superchargers
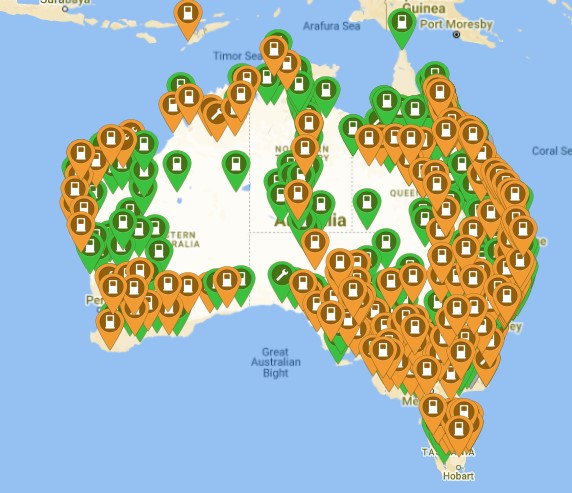
Location of Tesla Chargers in Australia
For me the biggest draw back of the Tesla screen UI is a lack of support for third party charger battery pre conditioning. The Tesla Navigation UI prefers Tesla branded chargers (https://www.tesla.com/en_au/supercharger and some third party chargers).
If you navigate to Non-Tesla listed chargers your battery may not pre head to speed up charging
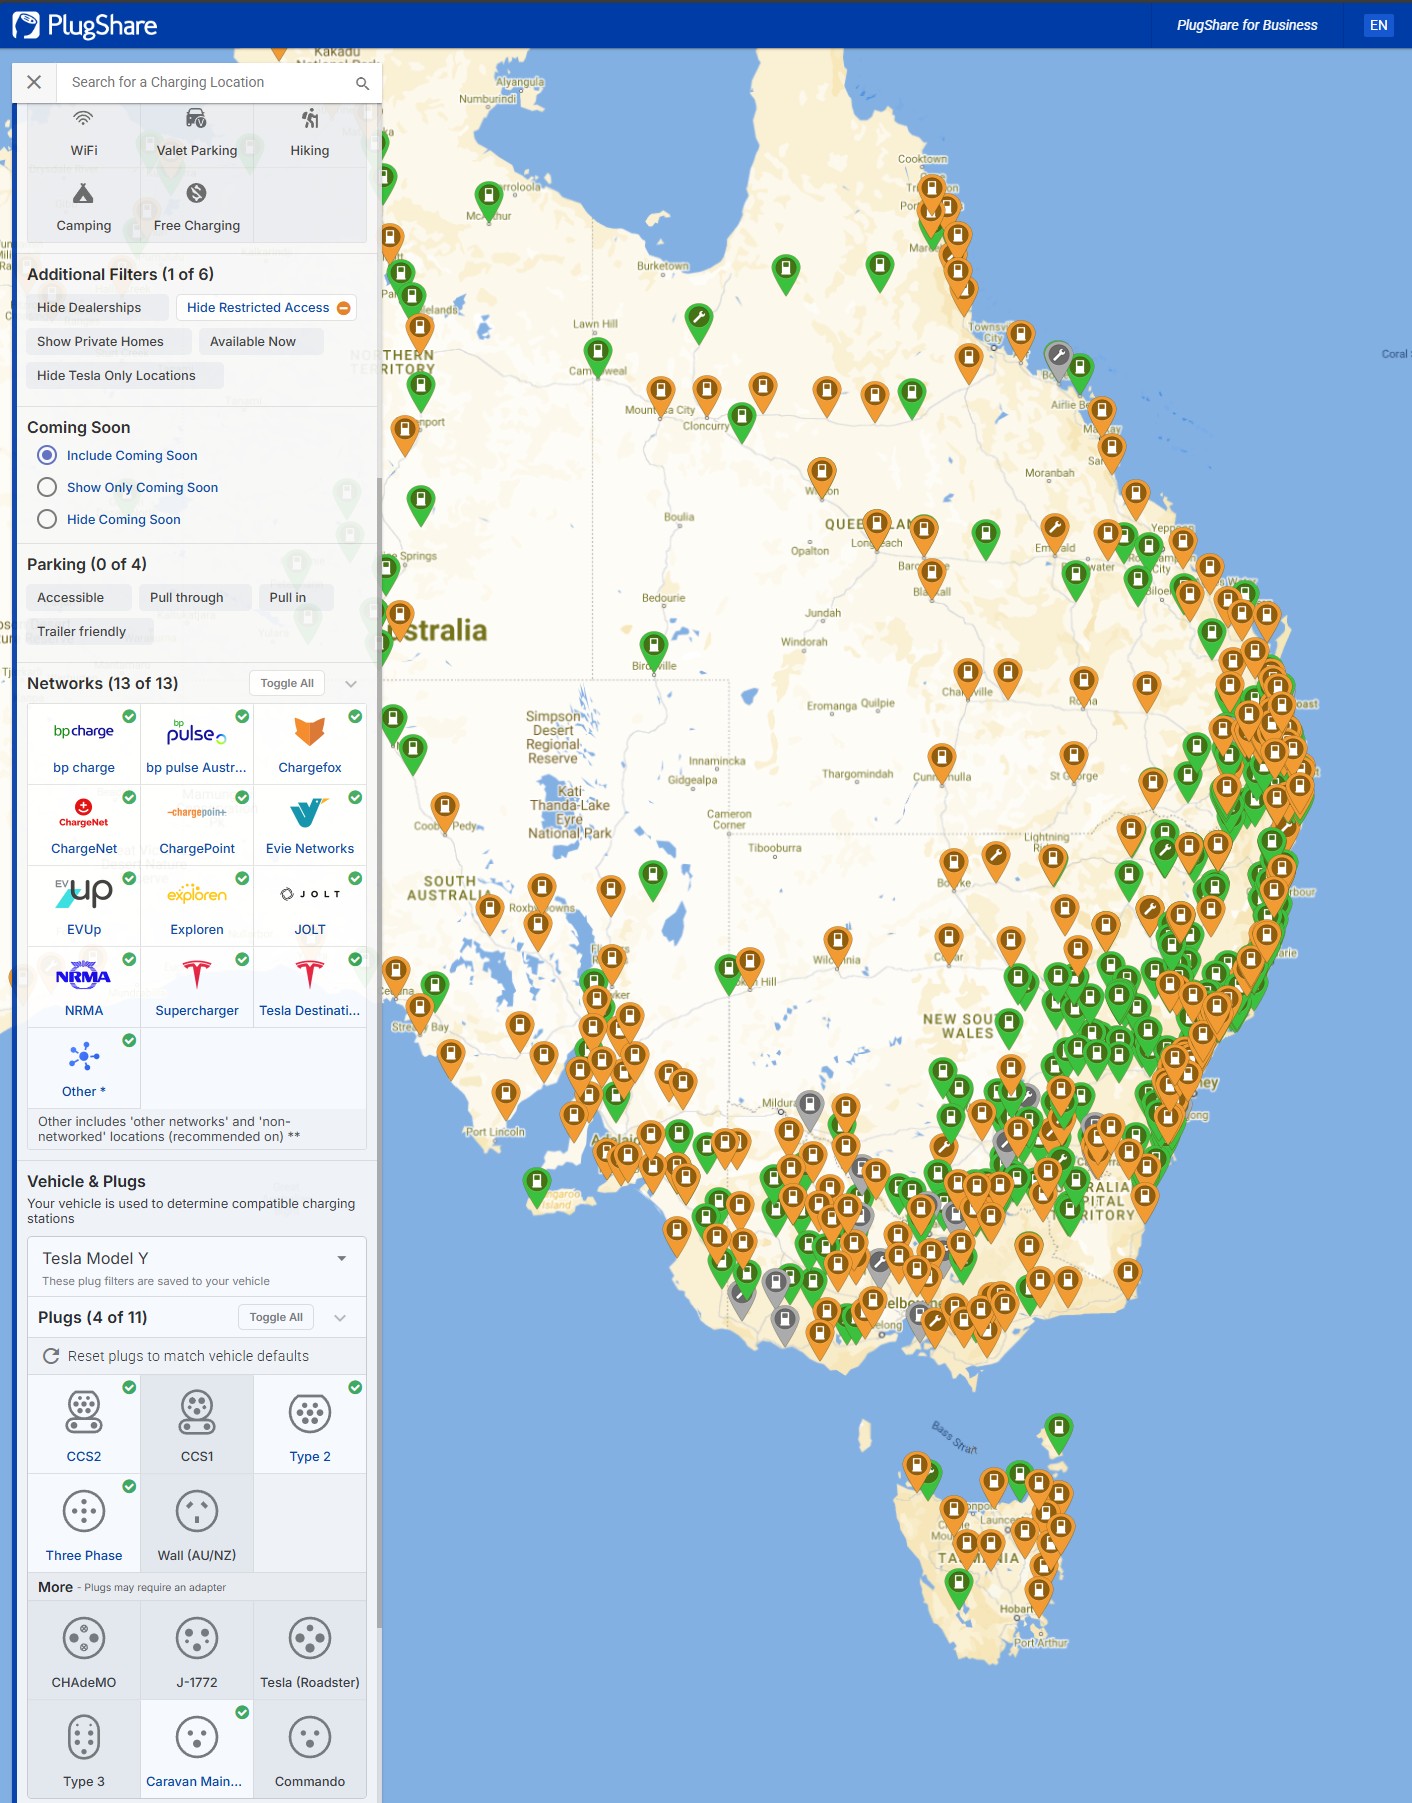
Location of all public chargers in Australia (CCS2, Three Phase, Caravan but no 240v Wall outlets)
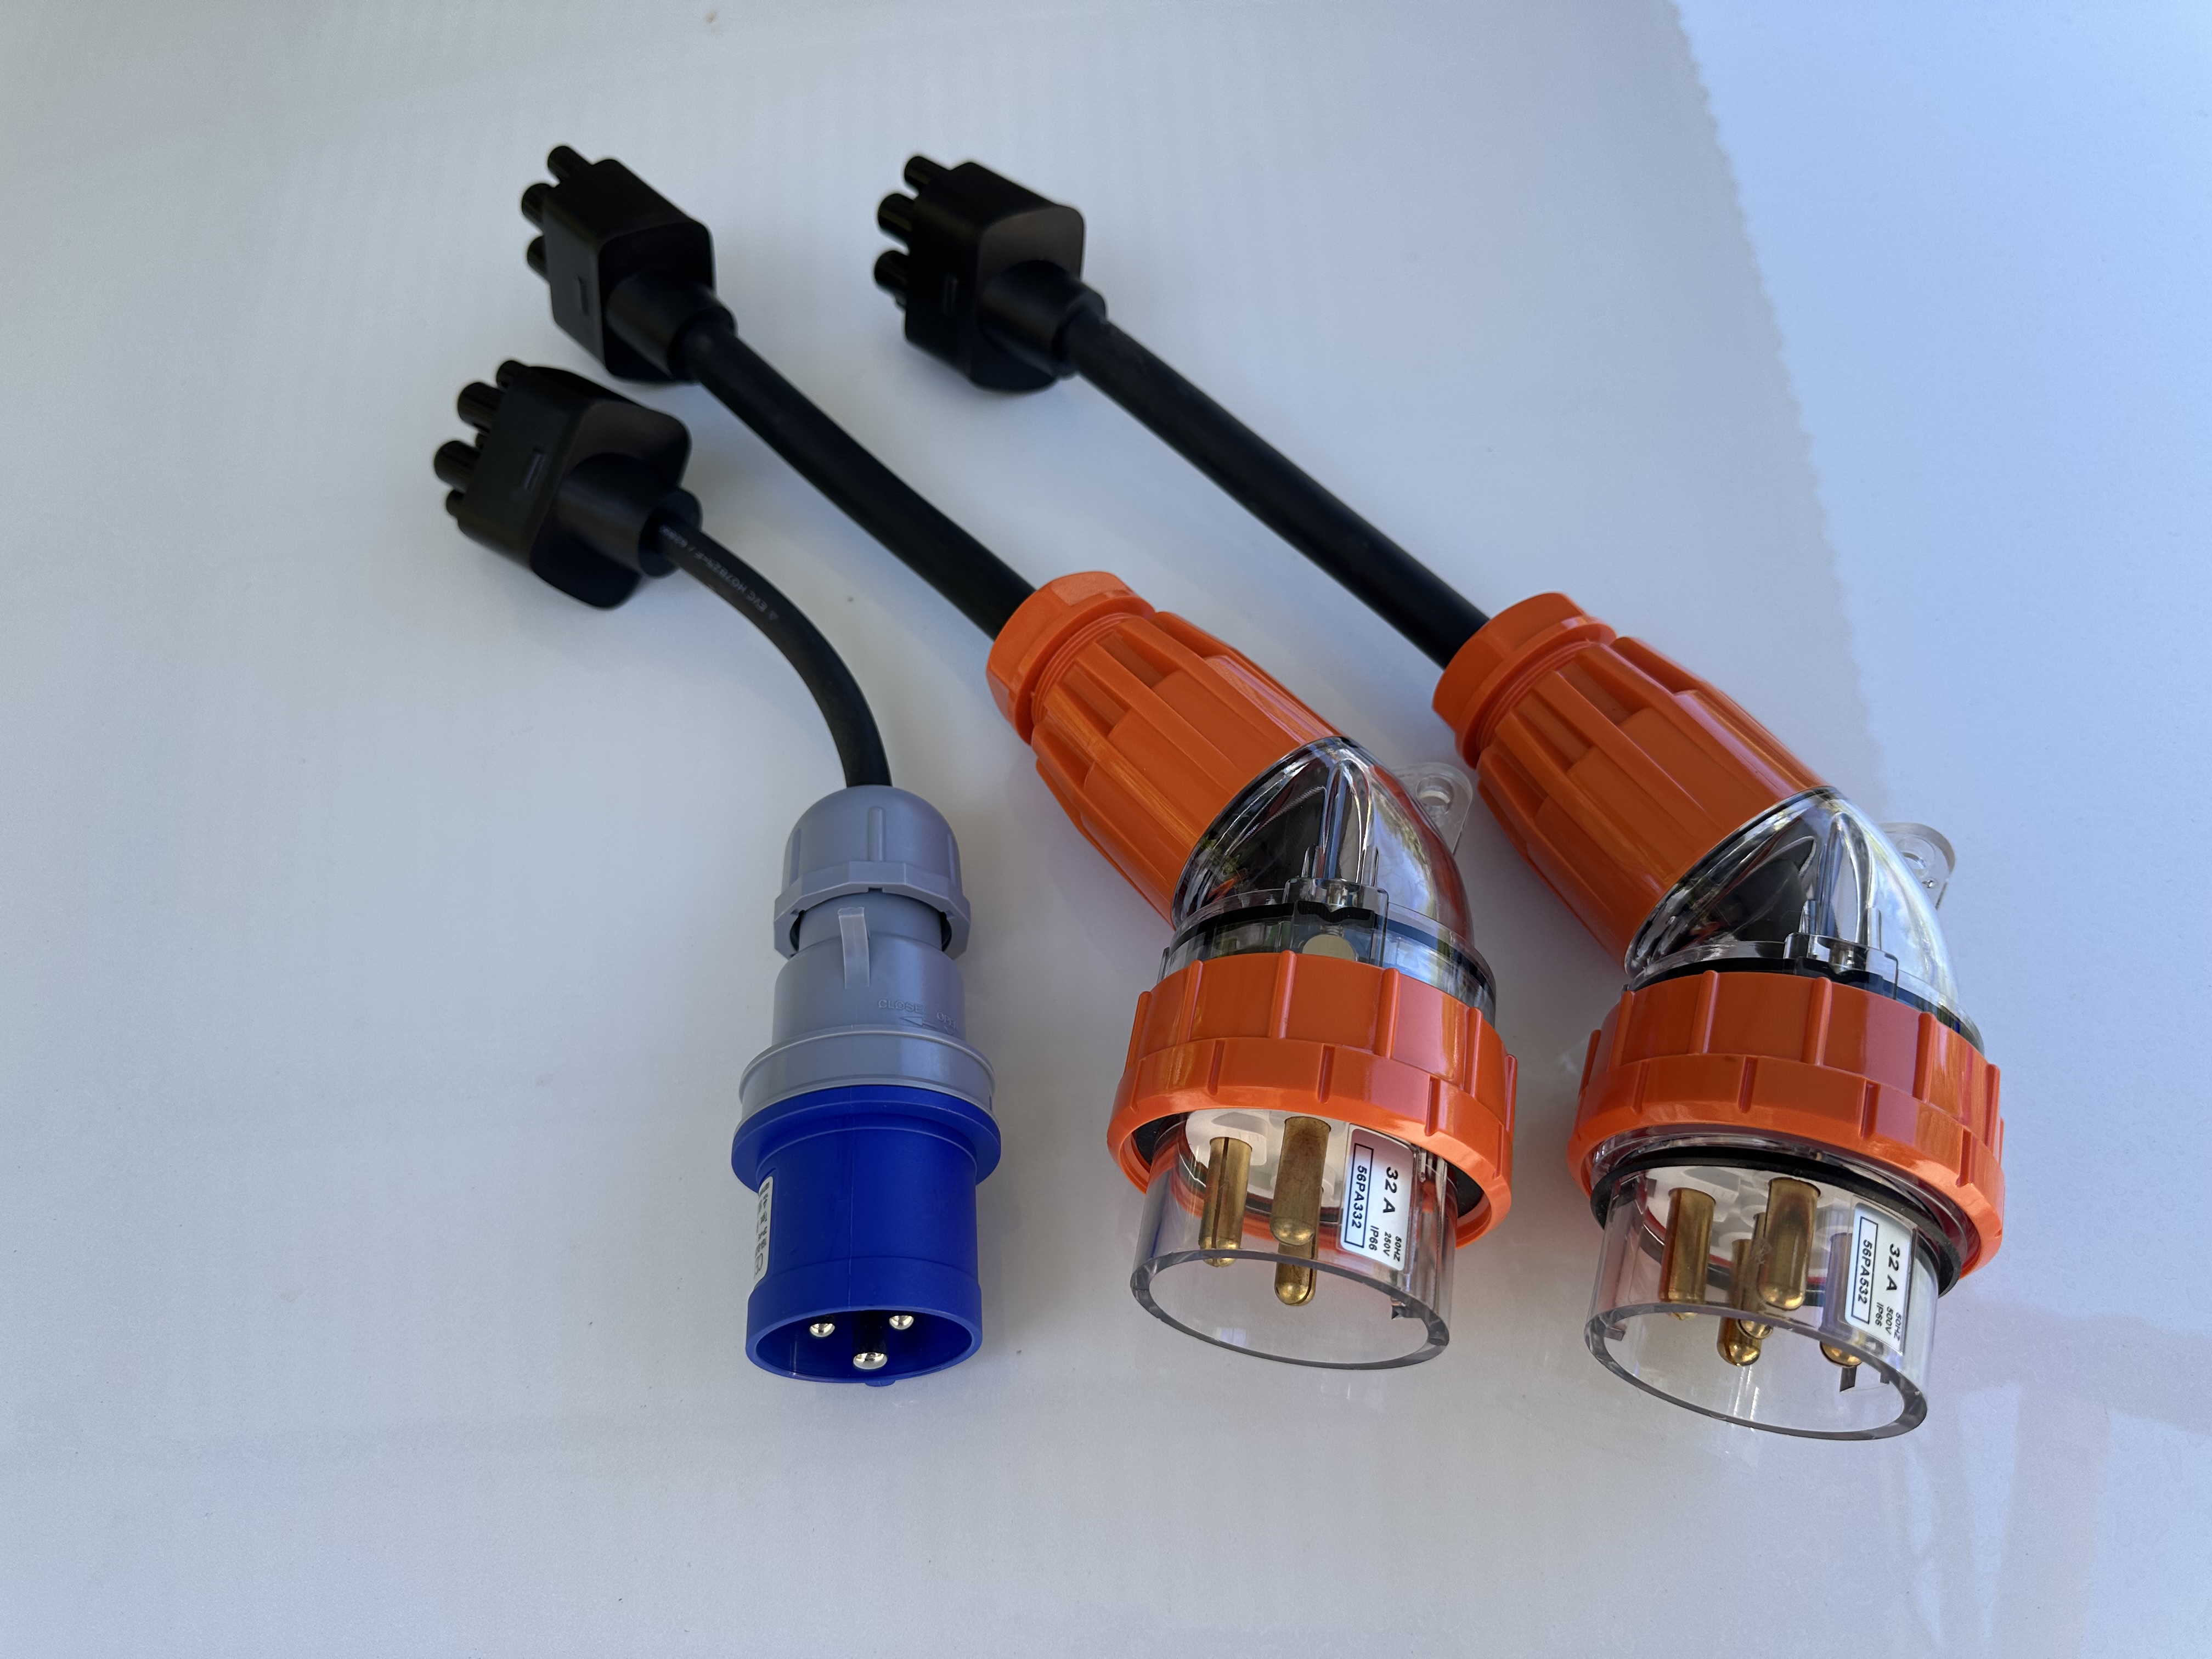
I do carry 2x Three Phase and a caravan plug adapters for the Tesla Mobile Connector.
When a Tesla car uses a Tesla-branded chairing station, it can automatically pre-heat before it gets there (if navigated on-screen) to allow for the fastest charging possible.
In Australia, there are far more non-Tesla-owned charges than Tesla-owned chargers. Some of these chargers are listed on the car’s Navigation screen, but most are not. I wish Tesla had all Chargers in the navigation to prevent the “Charging Needed to reach destination” message.
On a recent trip I was 10km away from a Third party 50kW/h regional charger (going to a camp site) and the Car thought I would not make it as the nearest Tesla charger was 200km away.
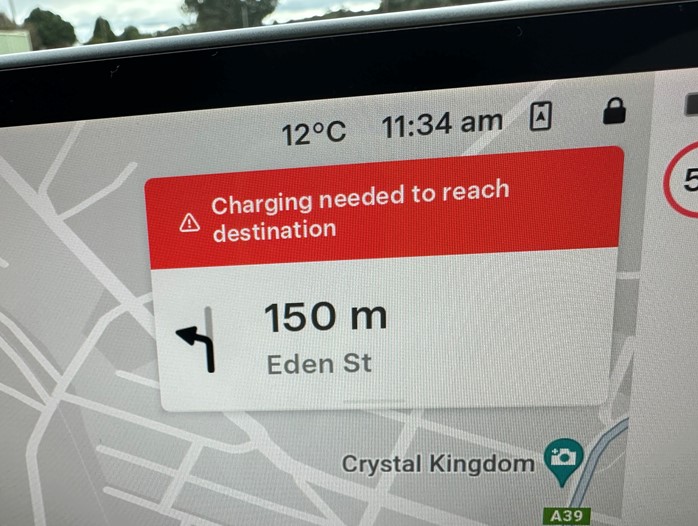
This was not a problem as I did the maths, but I was more concerned that the car would not pre heat the battery (on a cold day).
I always plan trips with the Tesla Navigation first. Then, when I get out for the range Tesla chargers, I check https://www.plugshare.com/ and https://abetterrouteplanner.com/ to navigate to non-Tesla chargers.
Solution: Teslogic Dashboard
Teslogic Dashboard Kit is a hardware accessory for Tesla cars that can read data from the car’s internal Controller Area Network (CAN) bus and display it on mobile phones or tablets in real-time.
The most common features of the Teslogic Dashboard:
- Add a traditional behind-the-steering-wheel instrument cluster.
- Add the ability to manually start preheating the car’s battery for fast charging at non-Tesla fast chargers.
- Blind spot monitoring of nearby cars.
- Automatic switching from Chill mode to Sport mode on hard accelerator press.
- Speed warning mode
- View internal stats like battery degradation, power usage and battery temp
- Adding this device can be read-only and 100% reversible.
More features are added all the time, and users of Teslogic Dashboard can submit new Feature requests | Teslogic (canny.io) here.
Here are my Feature Requests
- Record car stats while you drive for later review
- When charging, save stats
- Tire PSI on Main Screen
- Average speed zone UI to match the main Tesla display
- Power Colours on G Meter (to indicate aggressive driving)
Purchasing a Teslogic Dash
It was time to buy a Teslogic Dash from https://teslogic.co/ and give it a go.
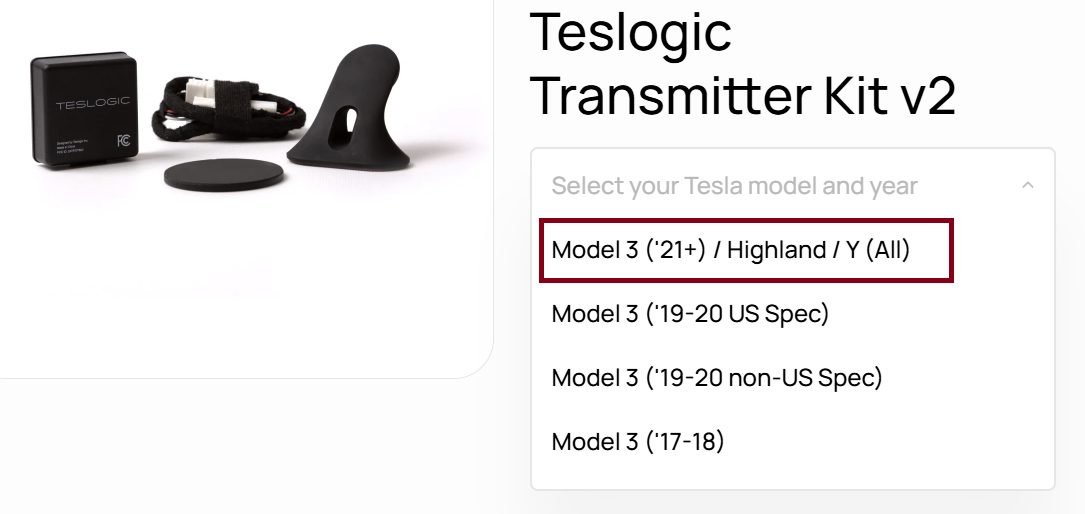
At the store, I chose the top options, which were for 2023+ Model 3s and Ys. If you are not sure what one to order, reach out to Teslogic (I did).
I ordered a wireless charger, also.

The device took a few weeks to turn up Down Under.
Teslogic Dashboard
I followed the installation video instructions here MANUALS – Teslogic
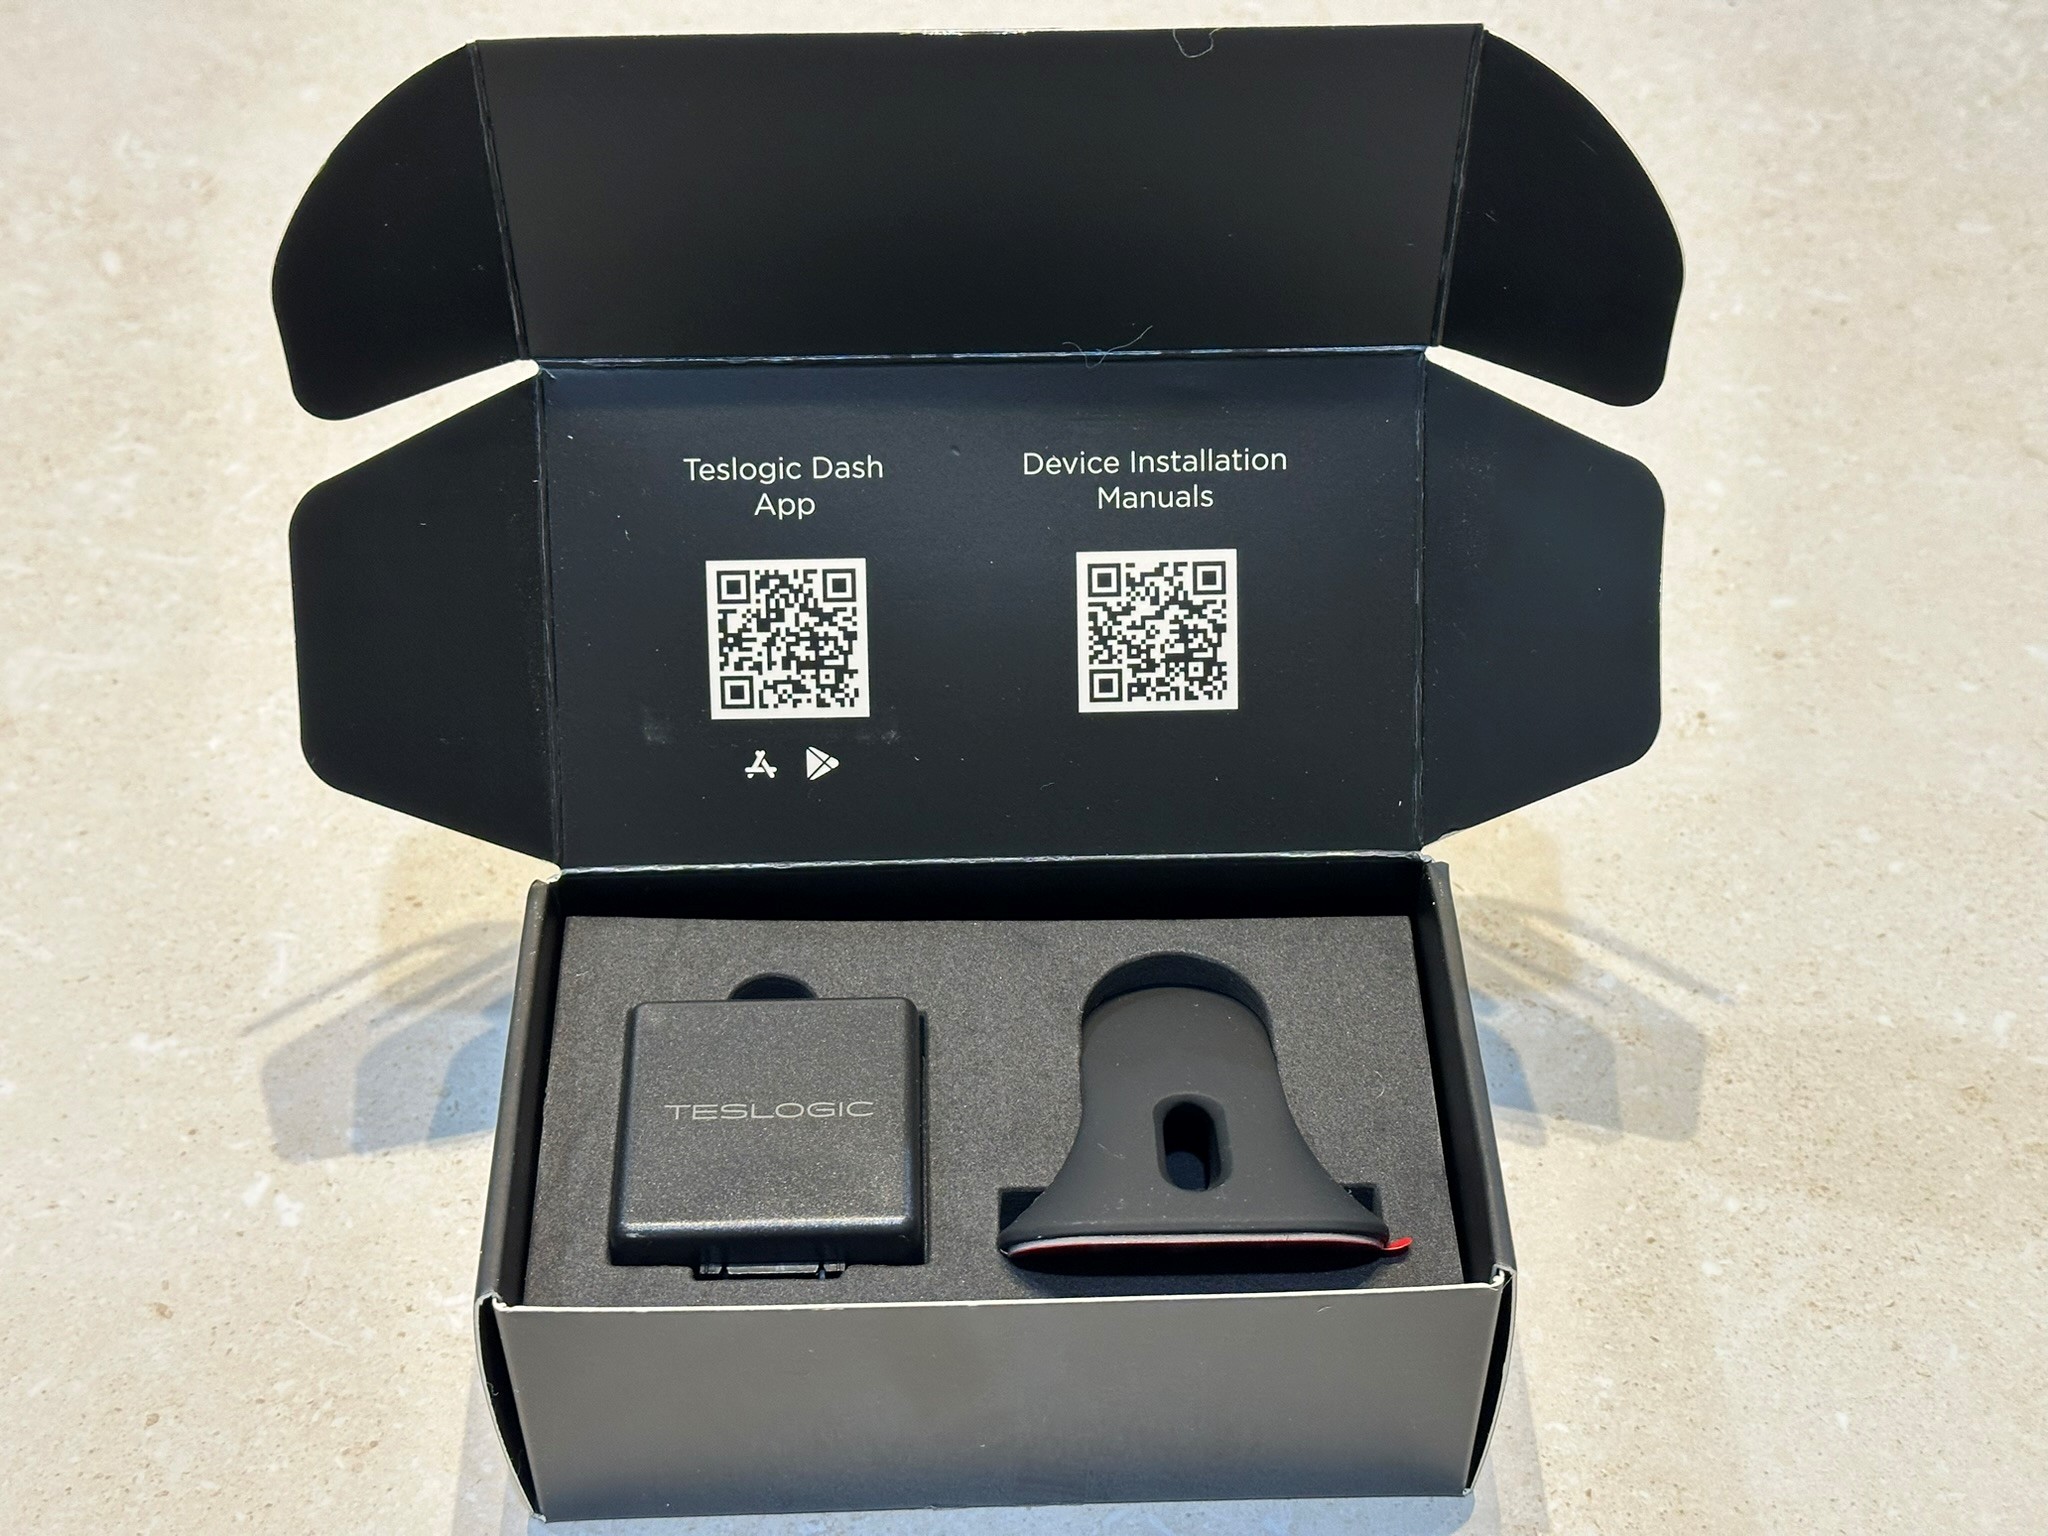
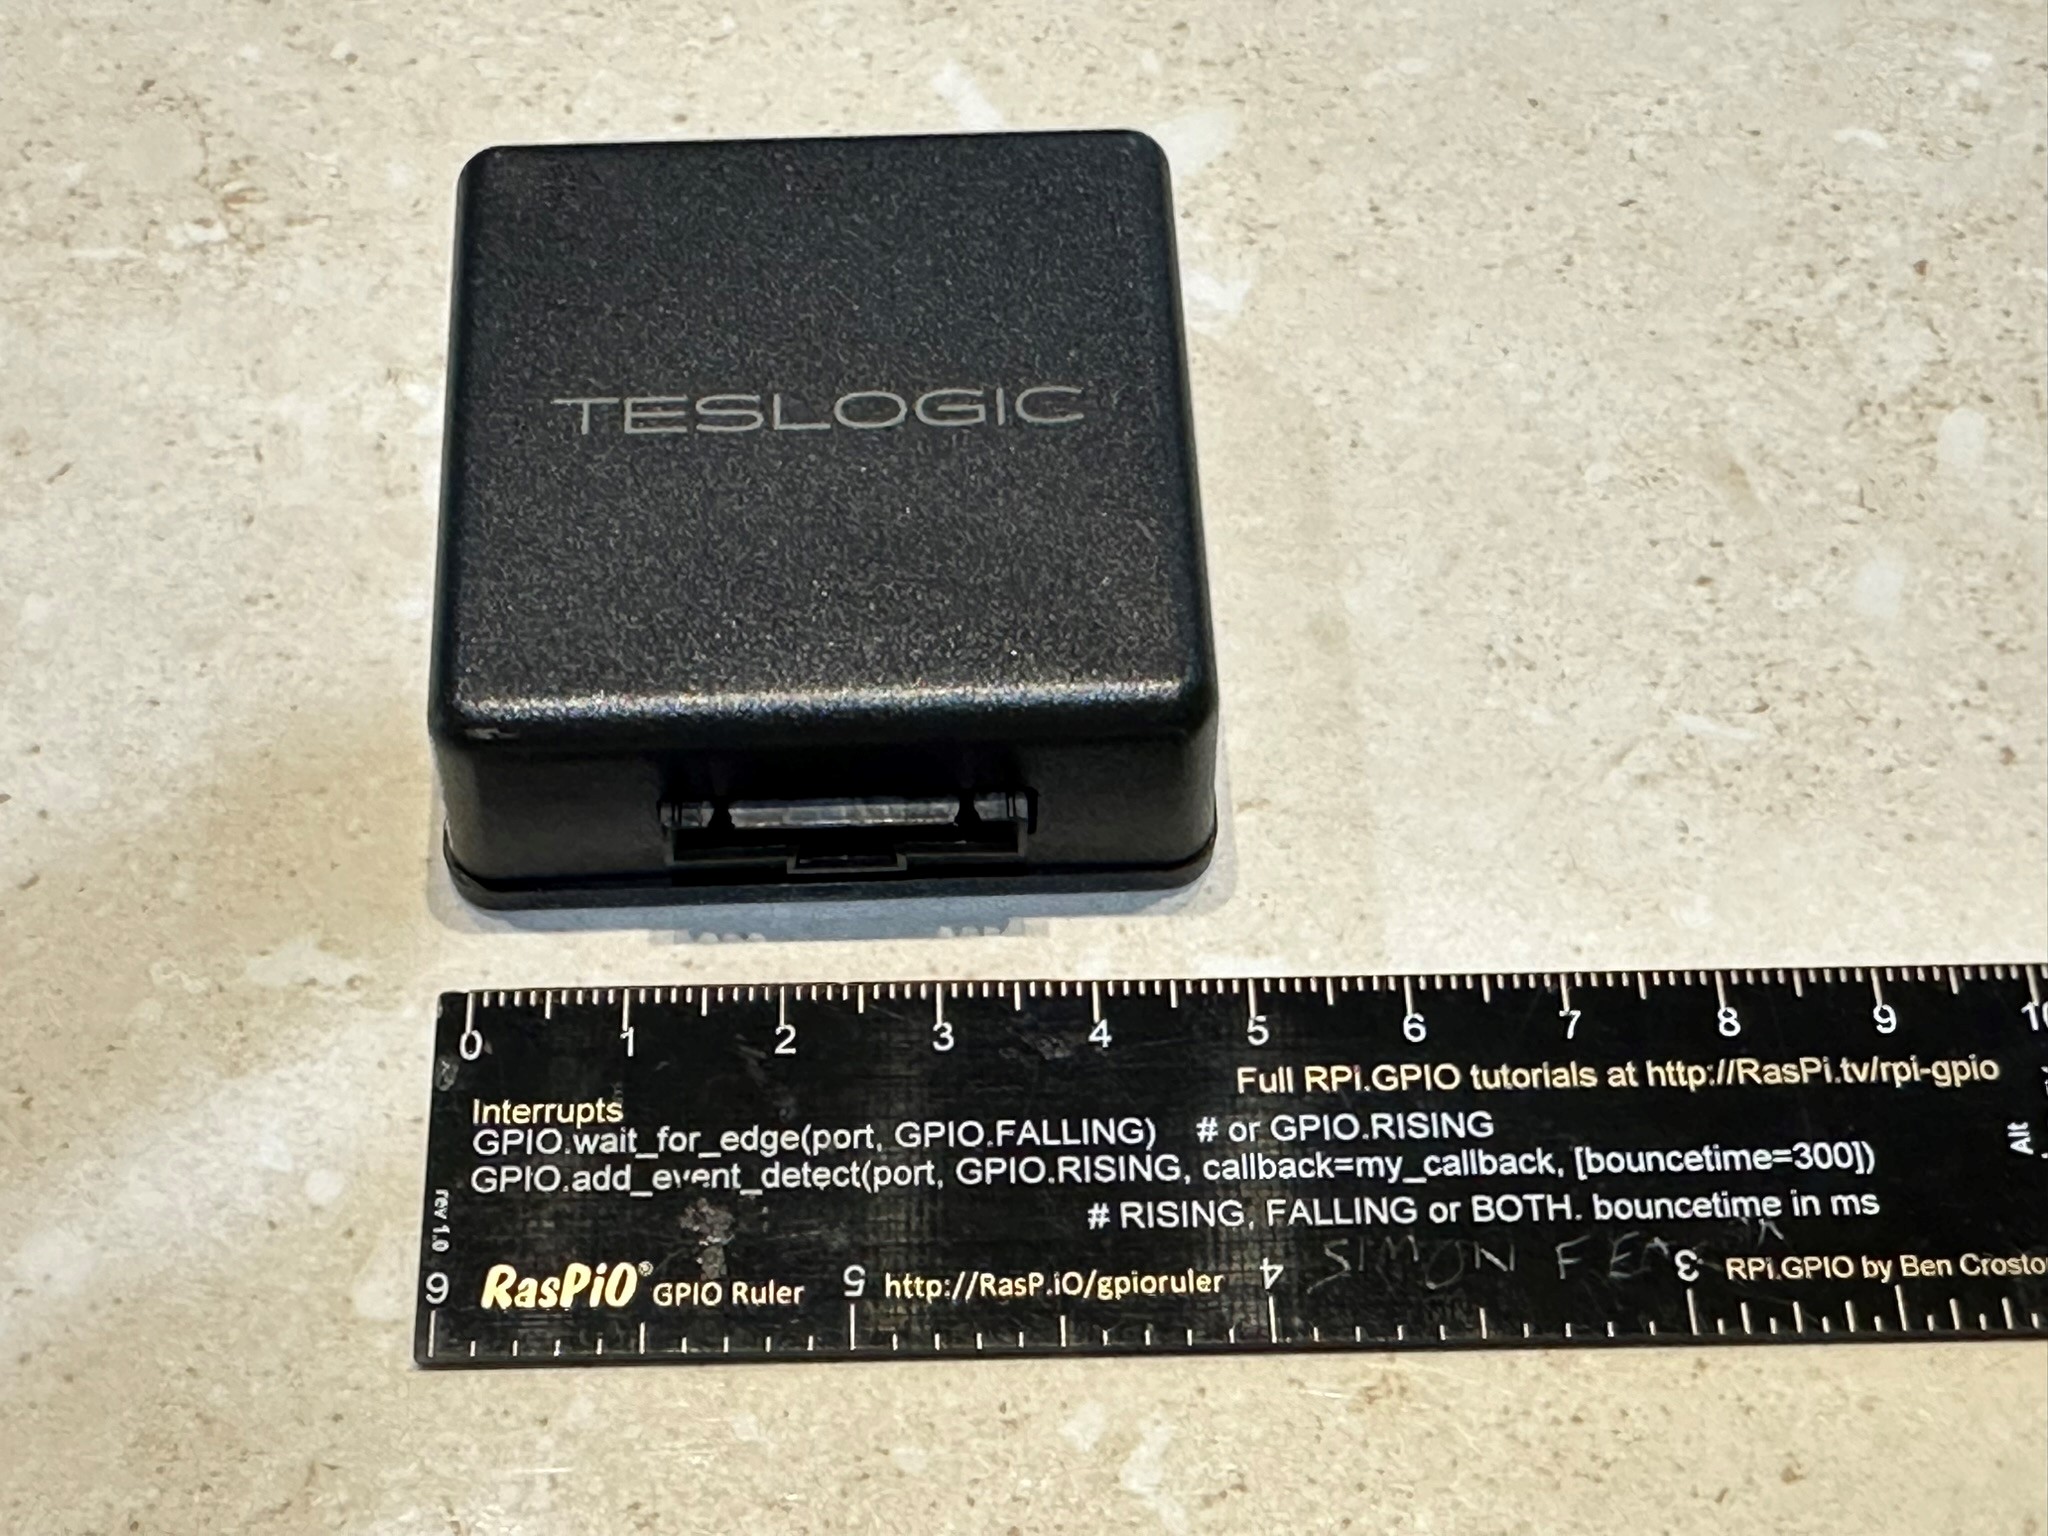
Teslogic Dash Box
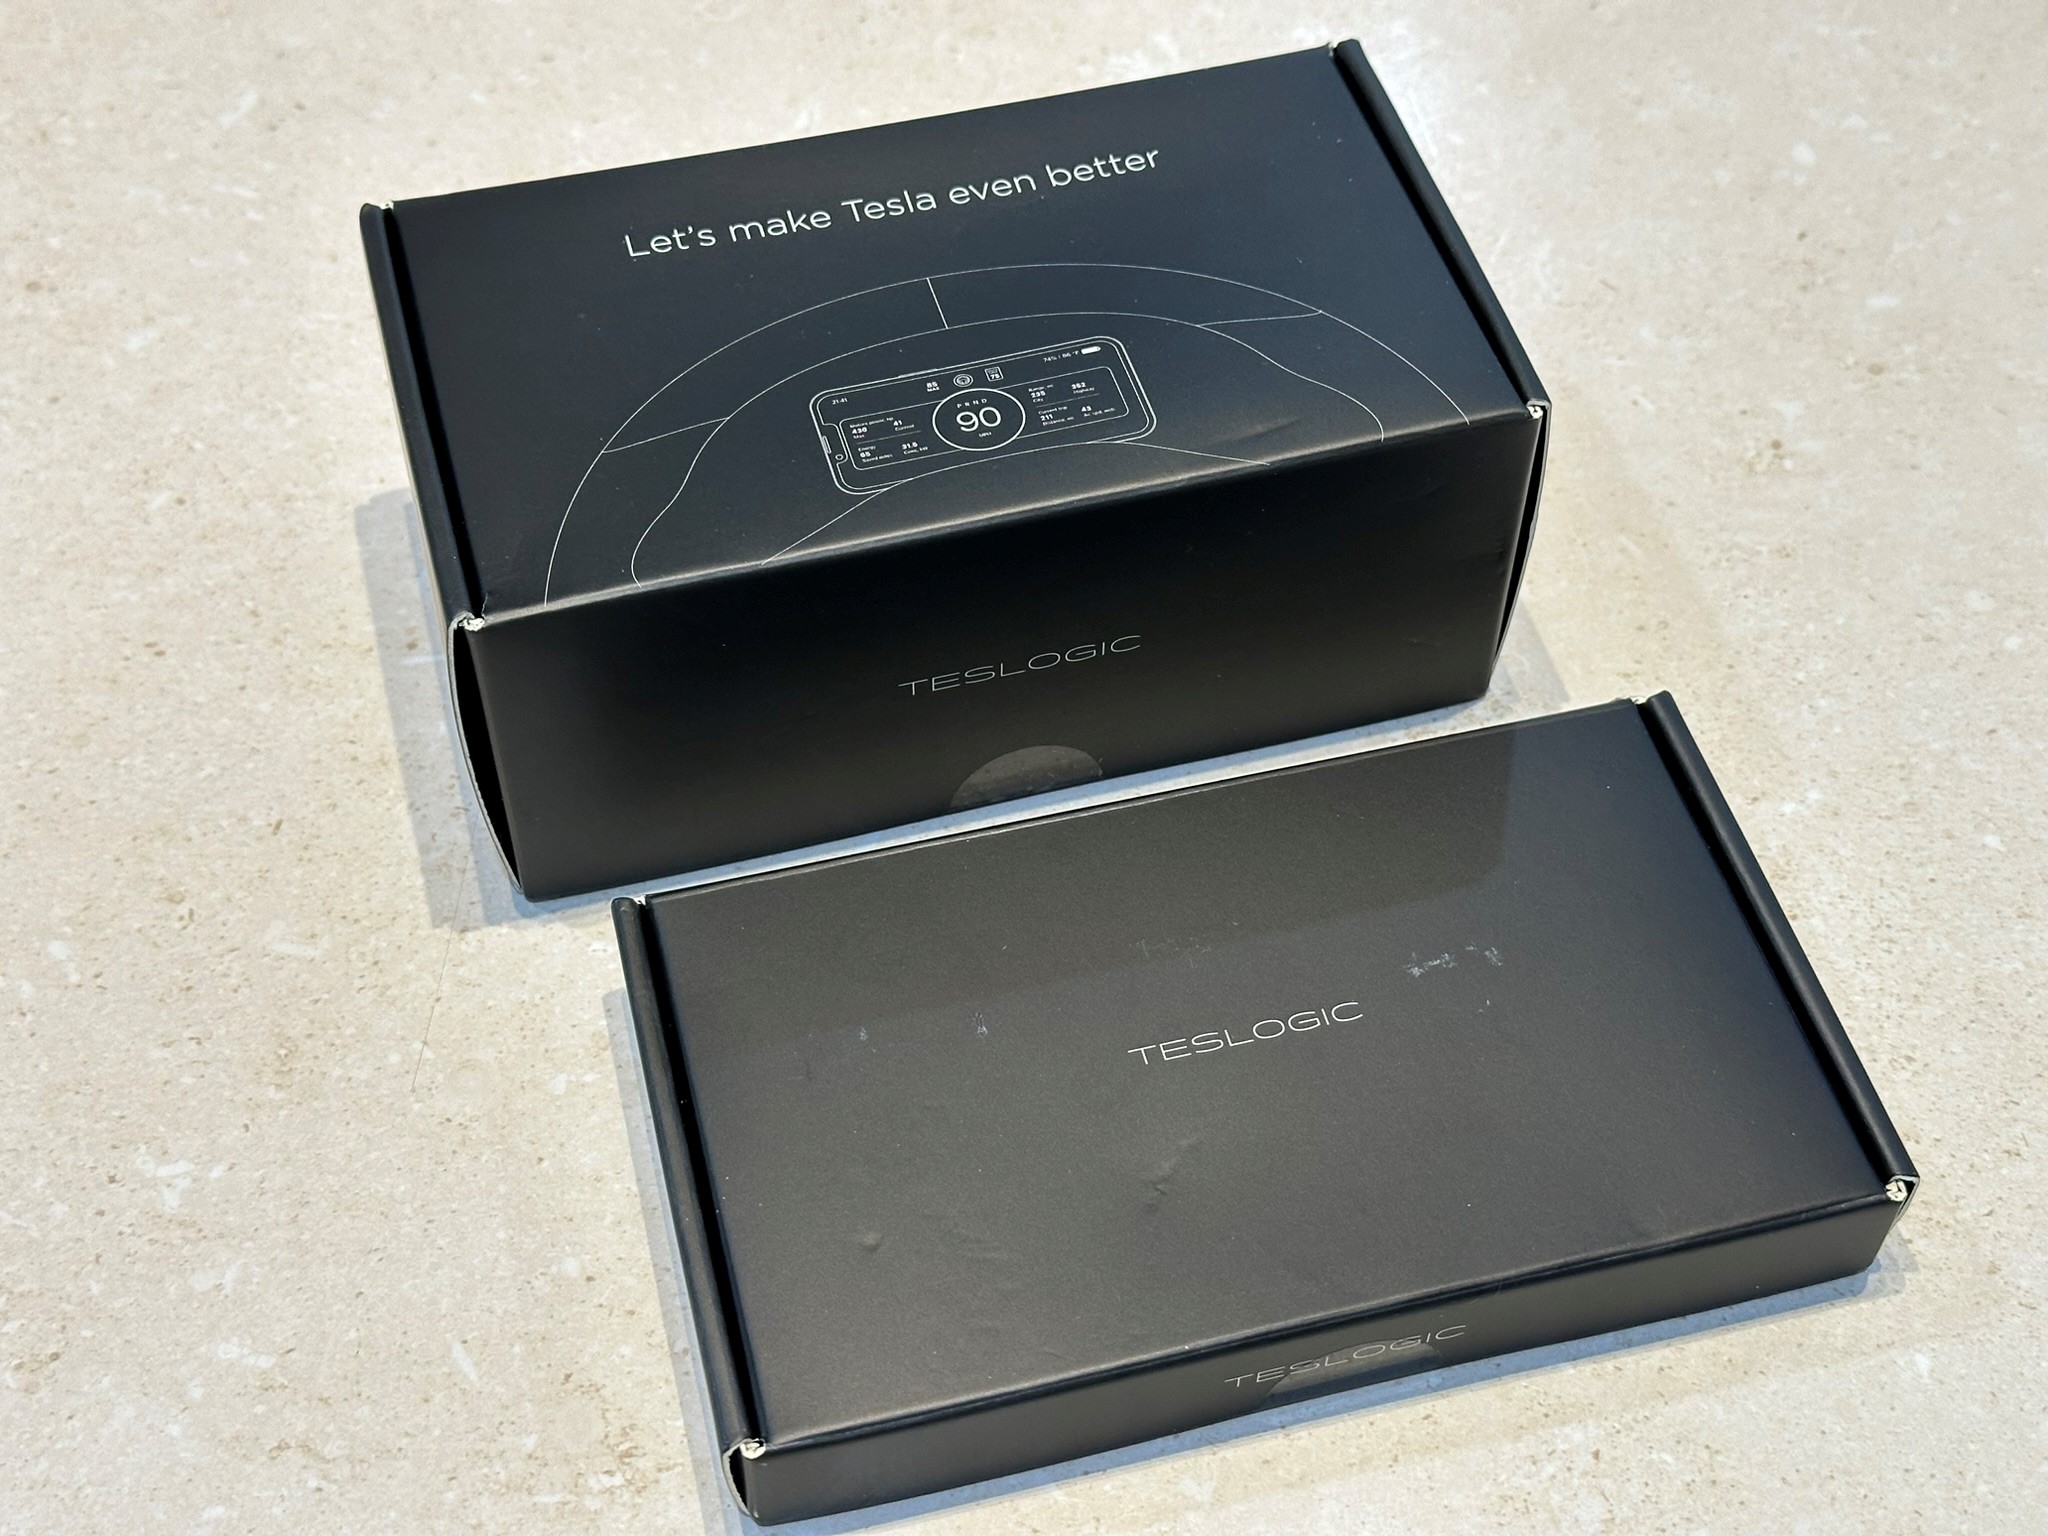
Bottom of the Box #1
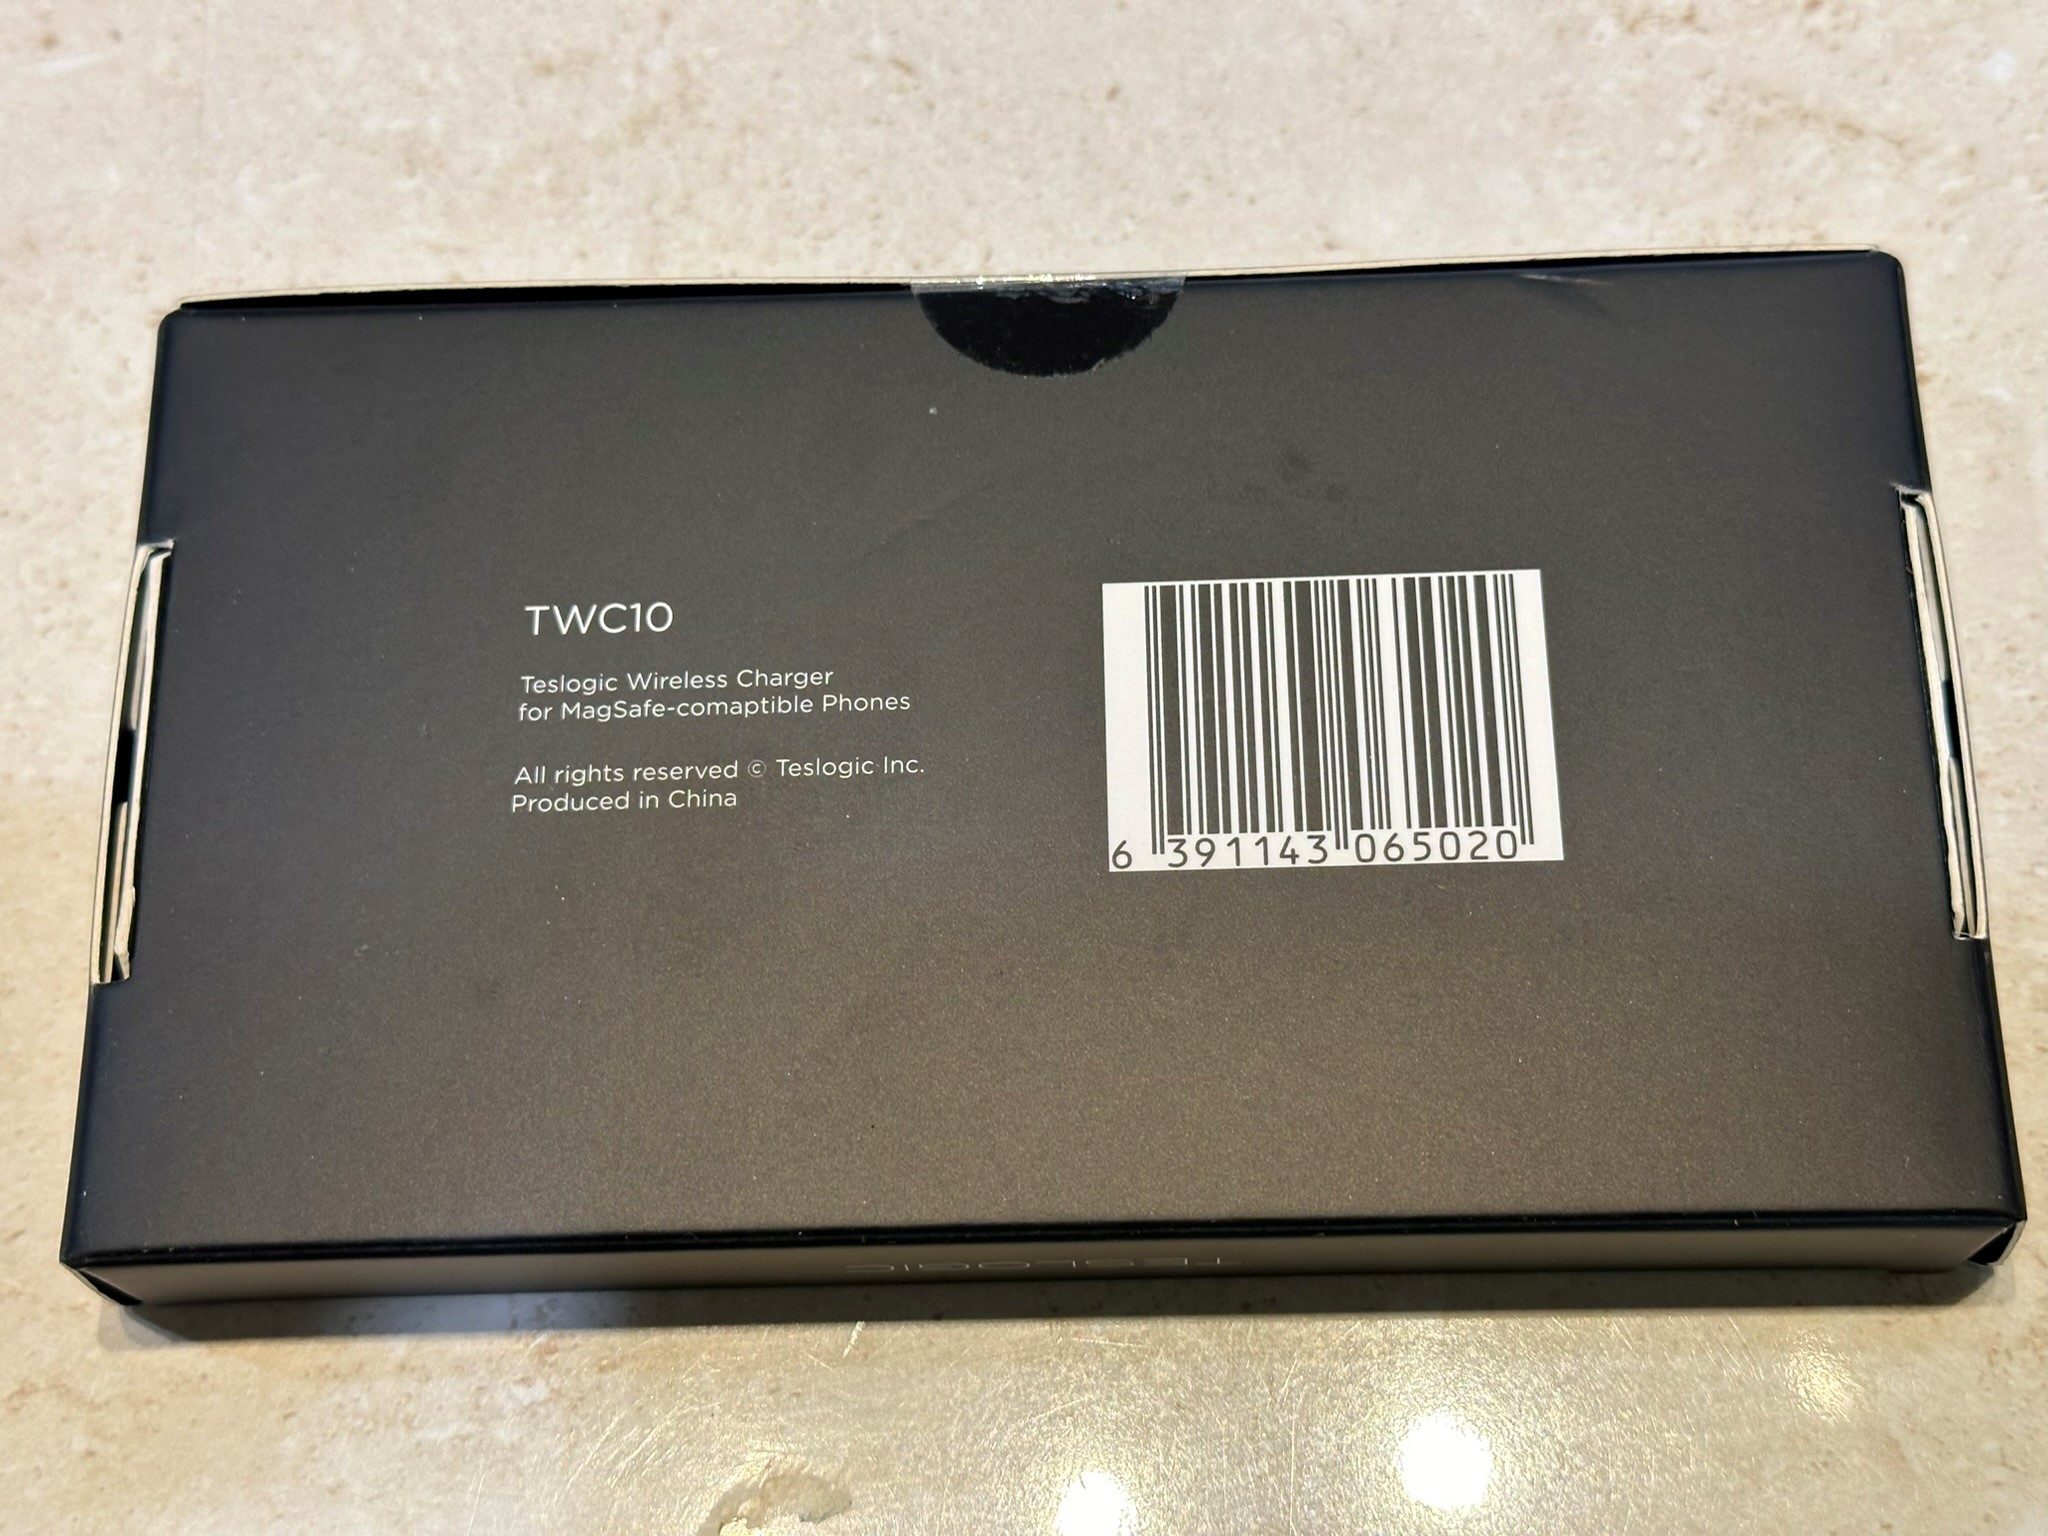
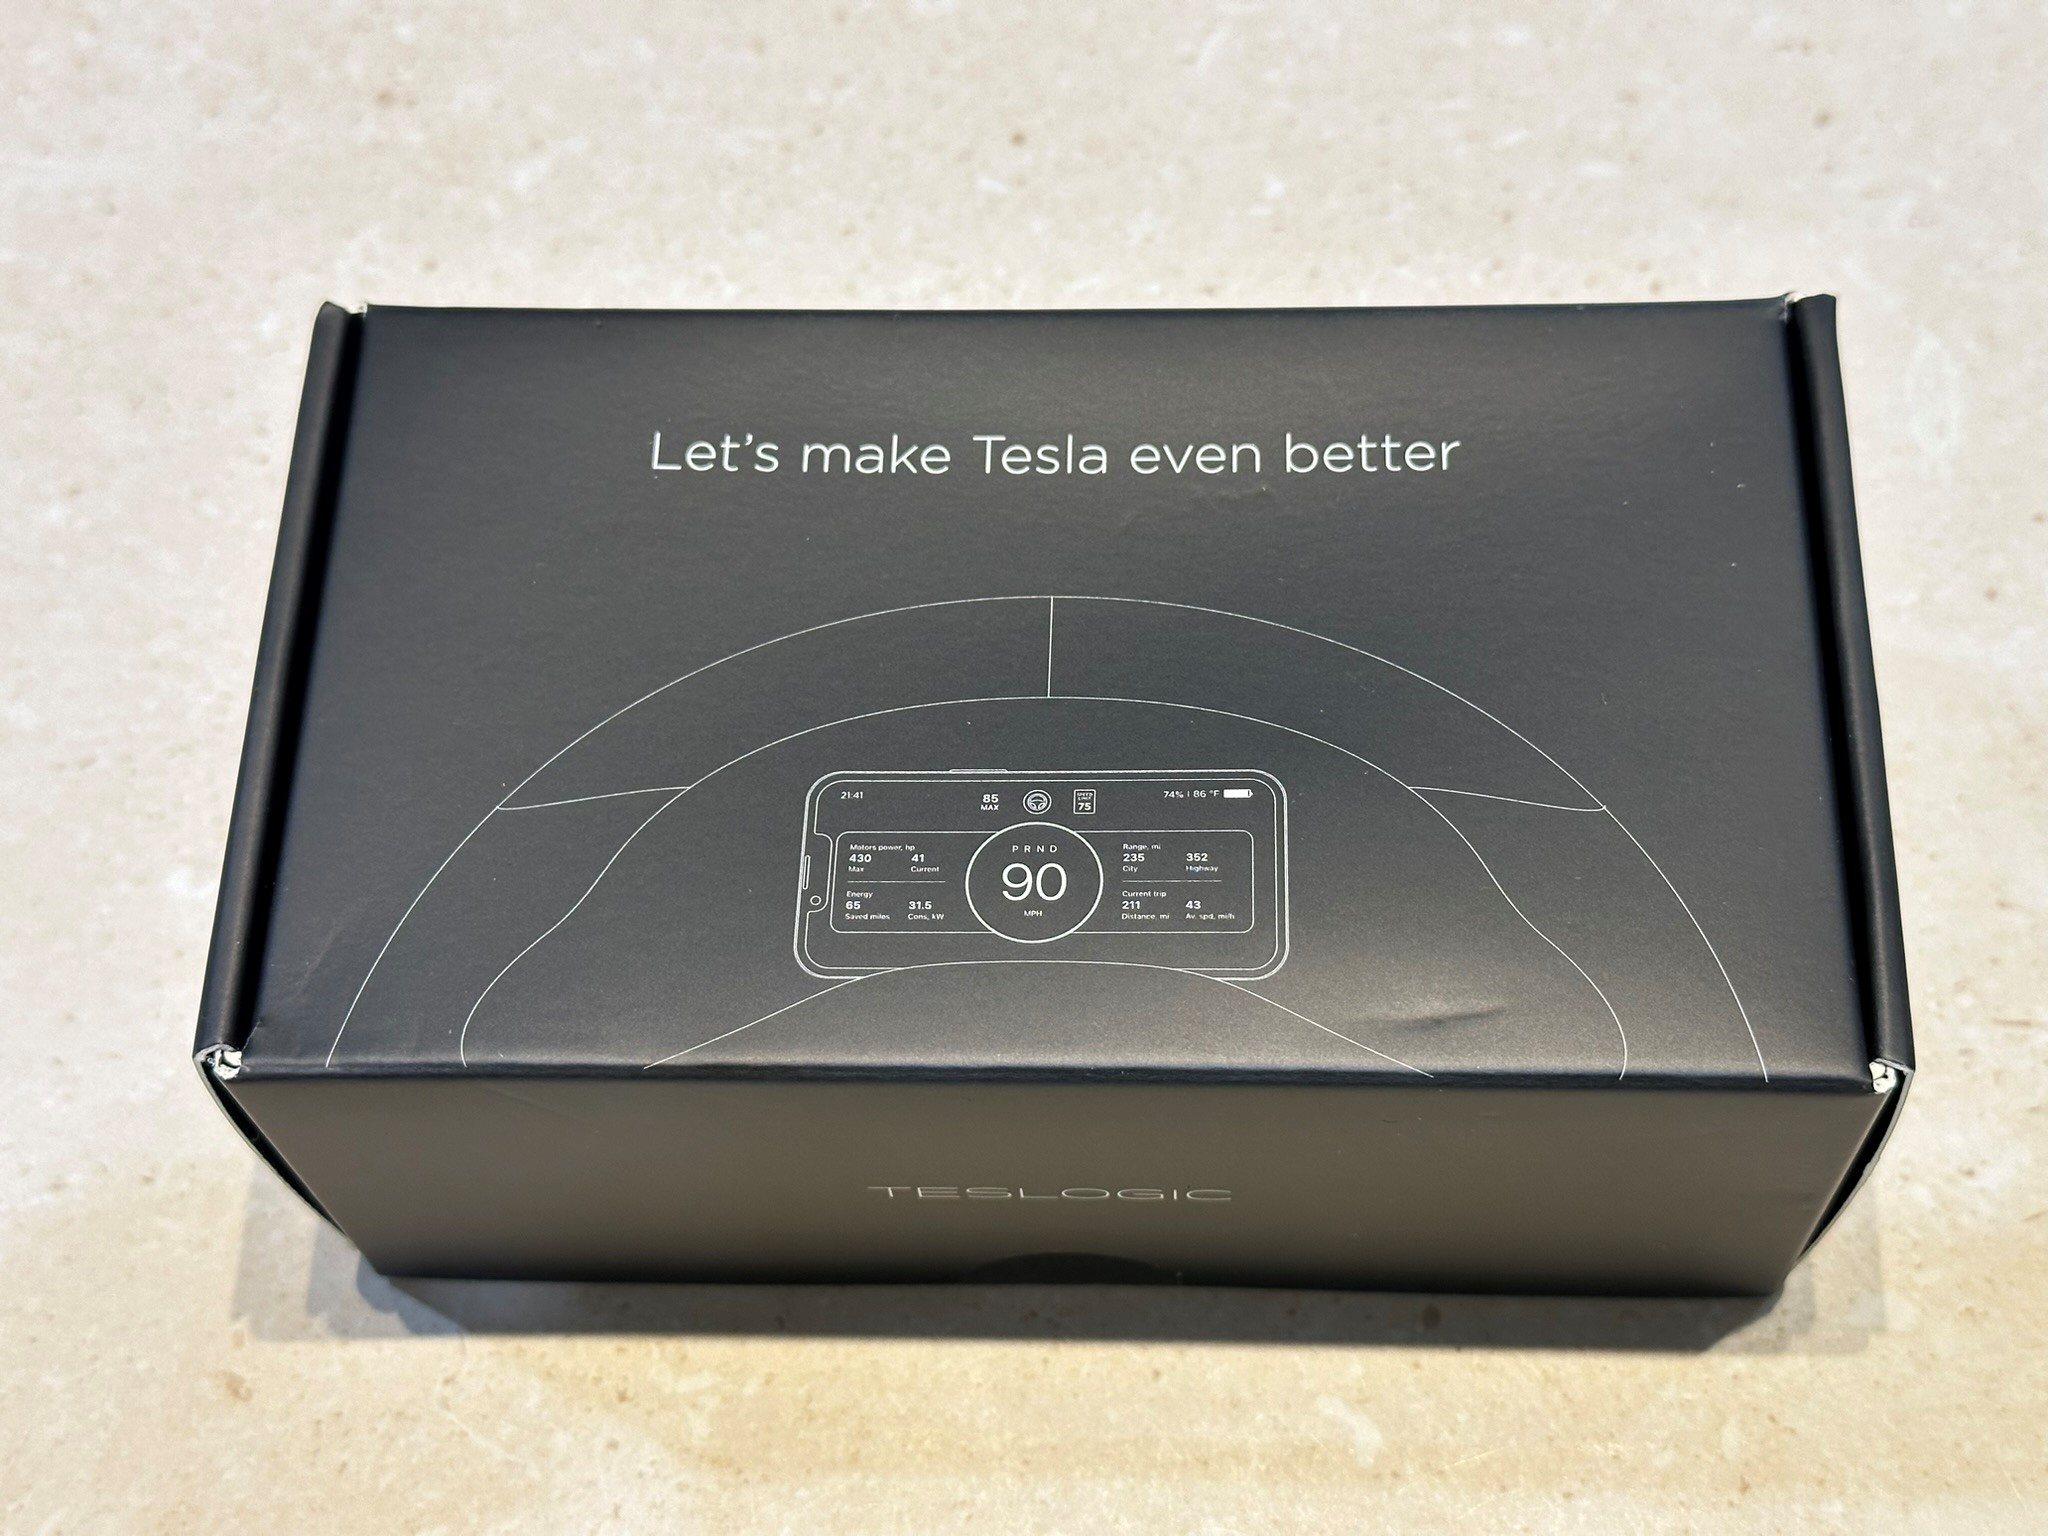
Top of the Box
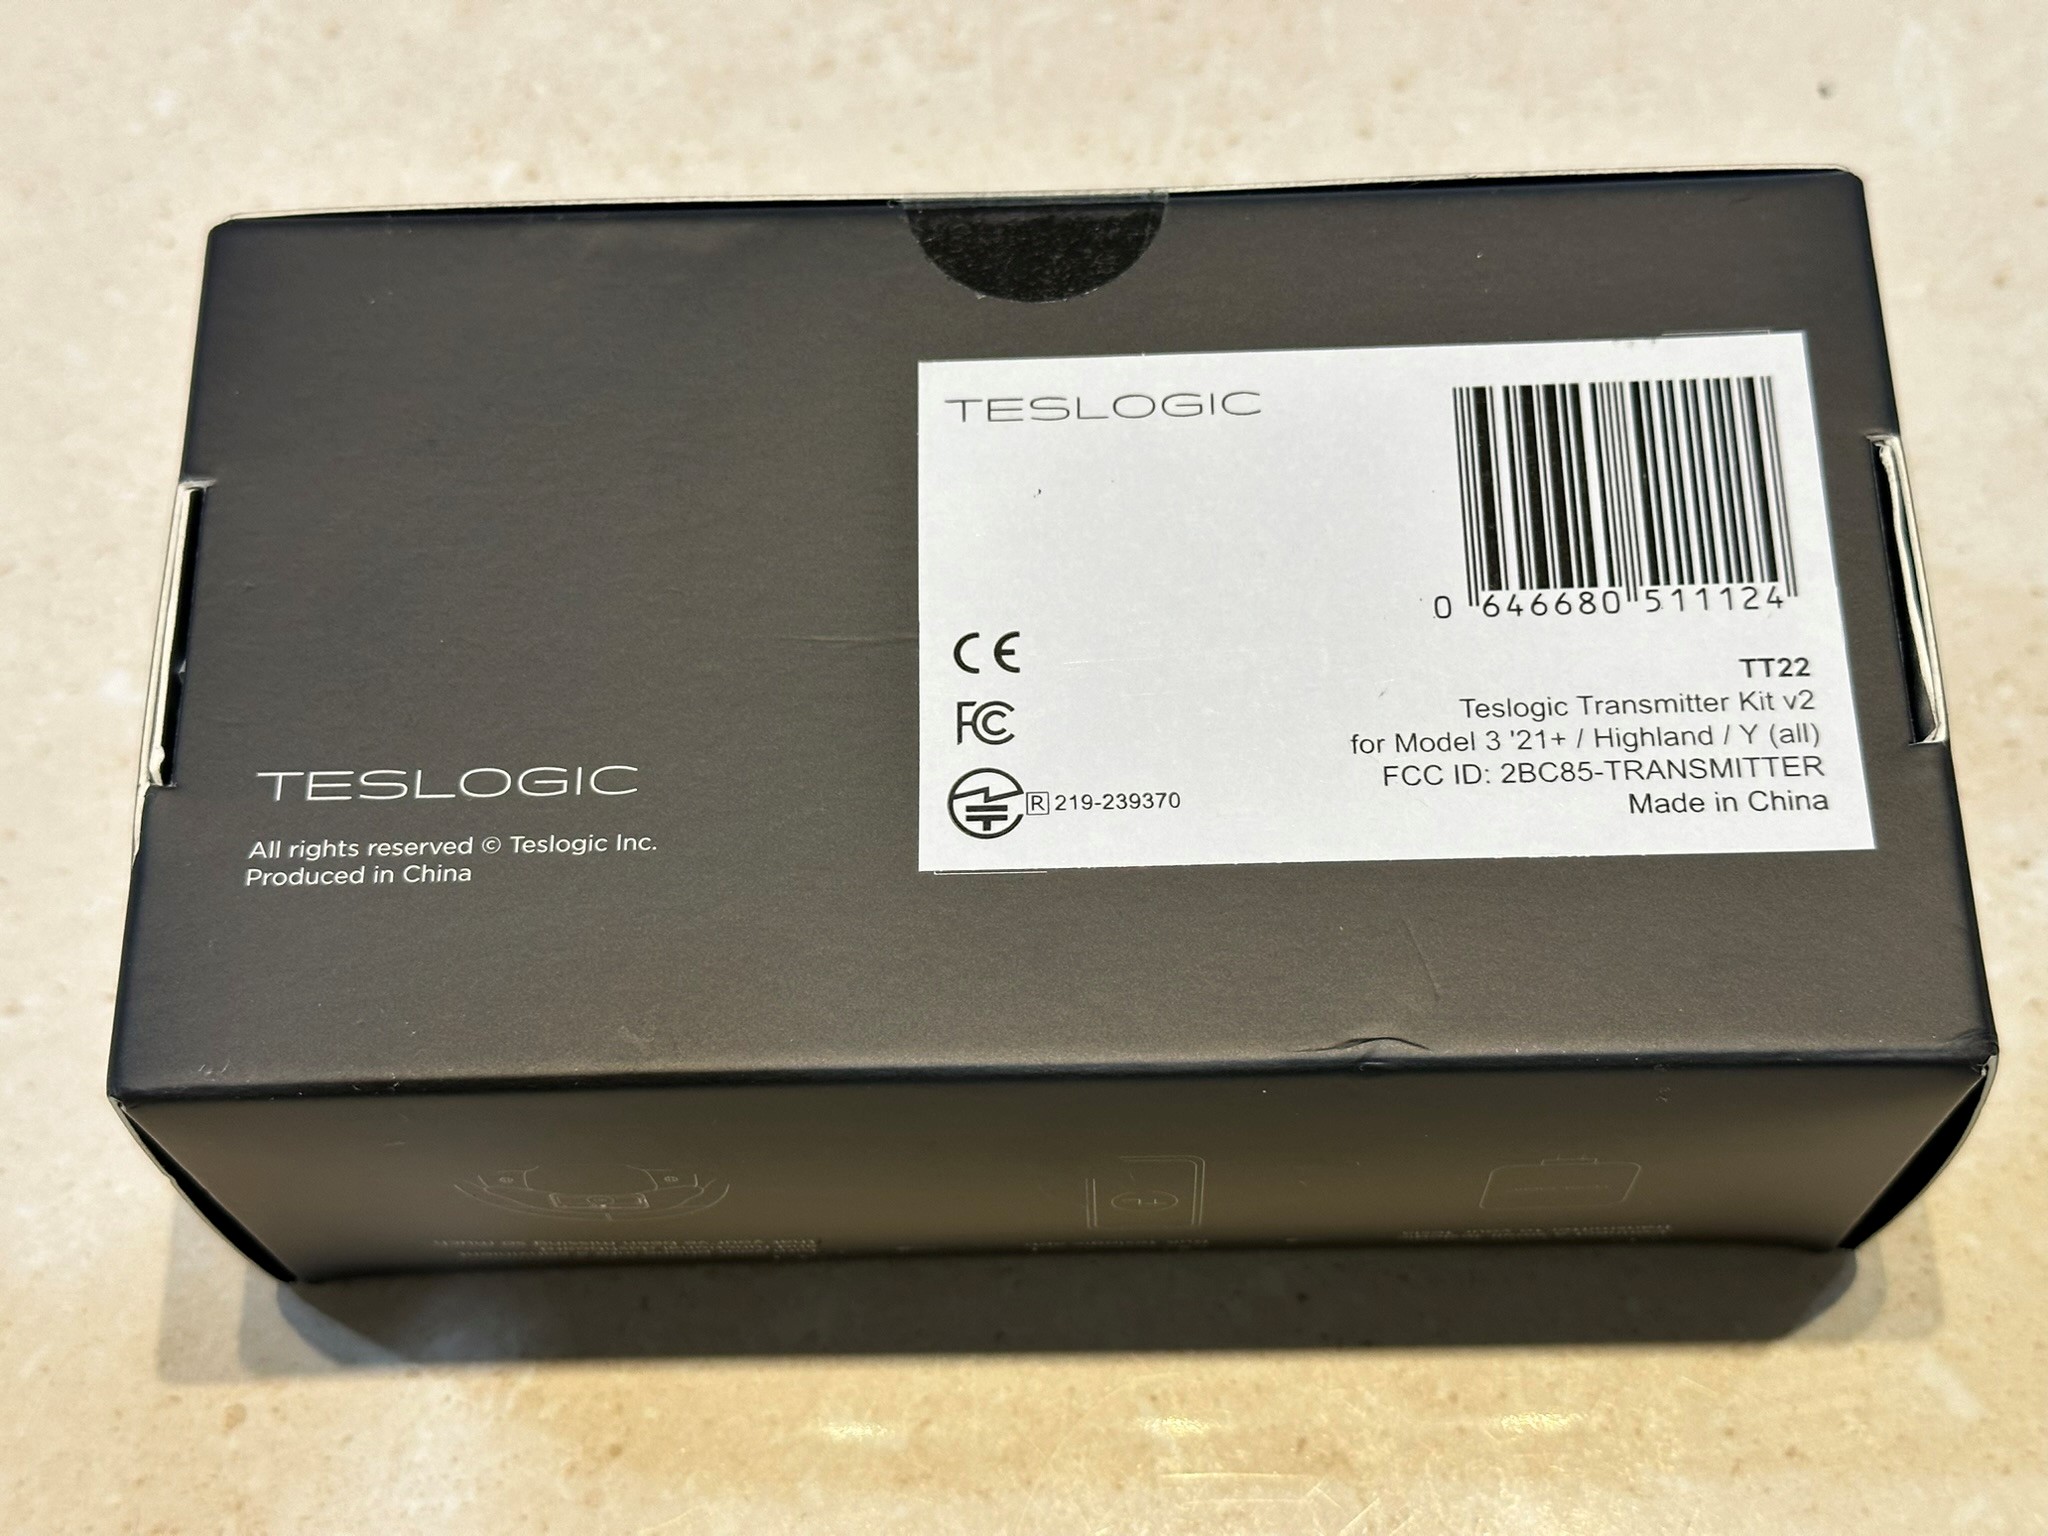
Bottom of the Box #2
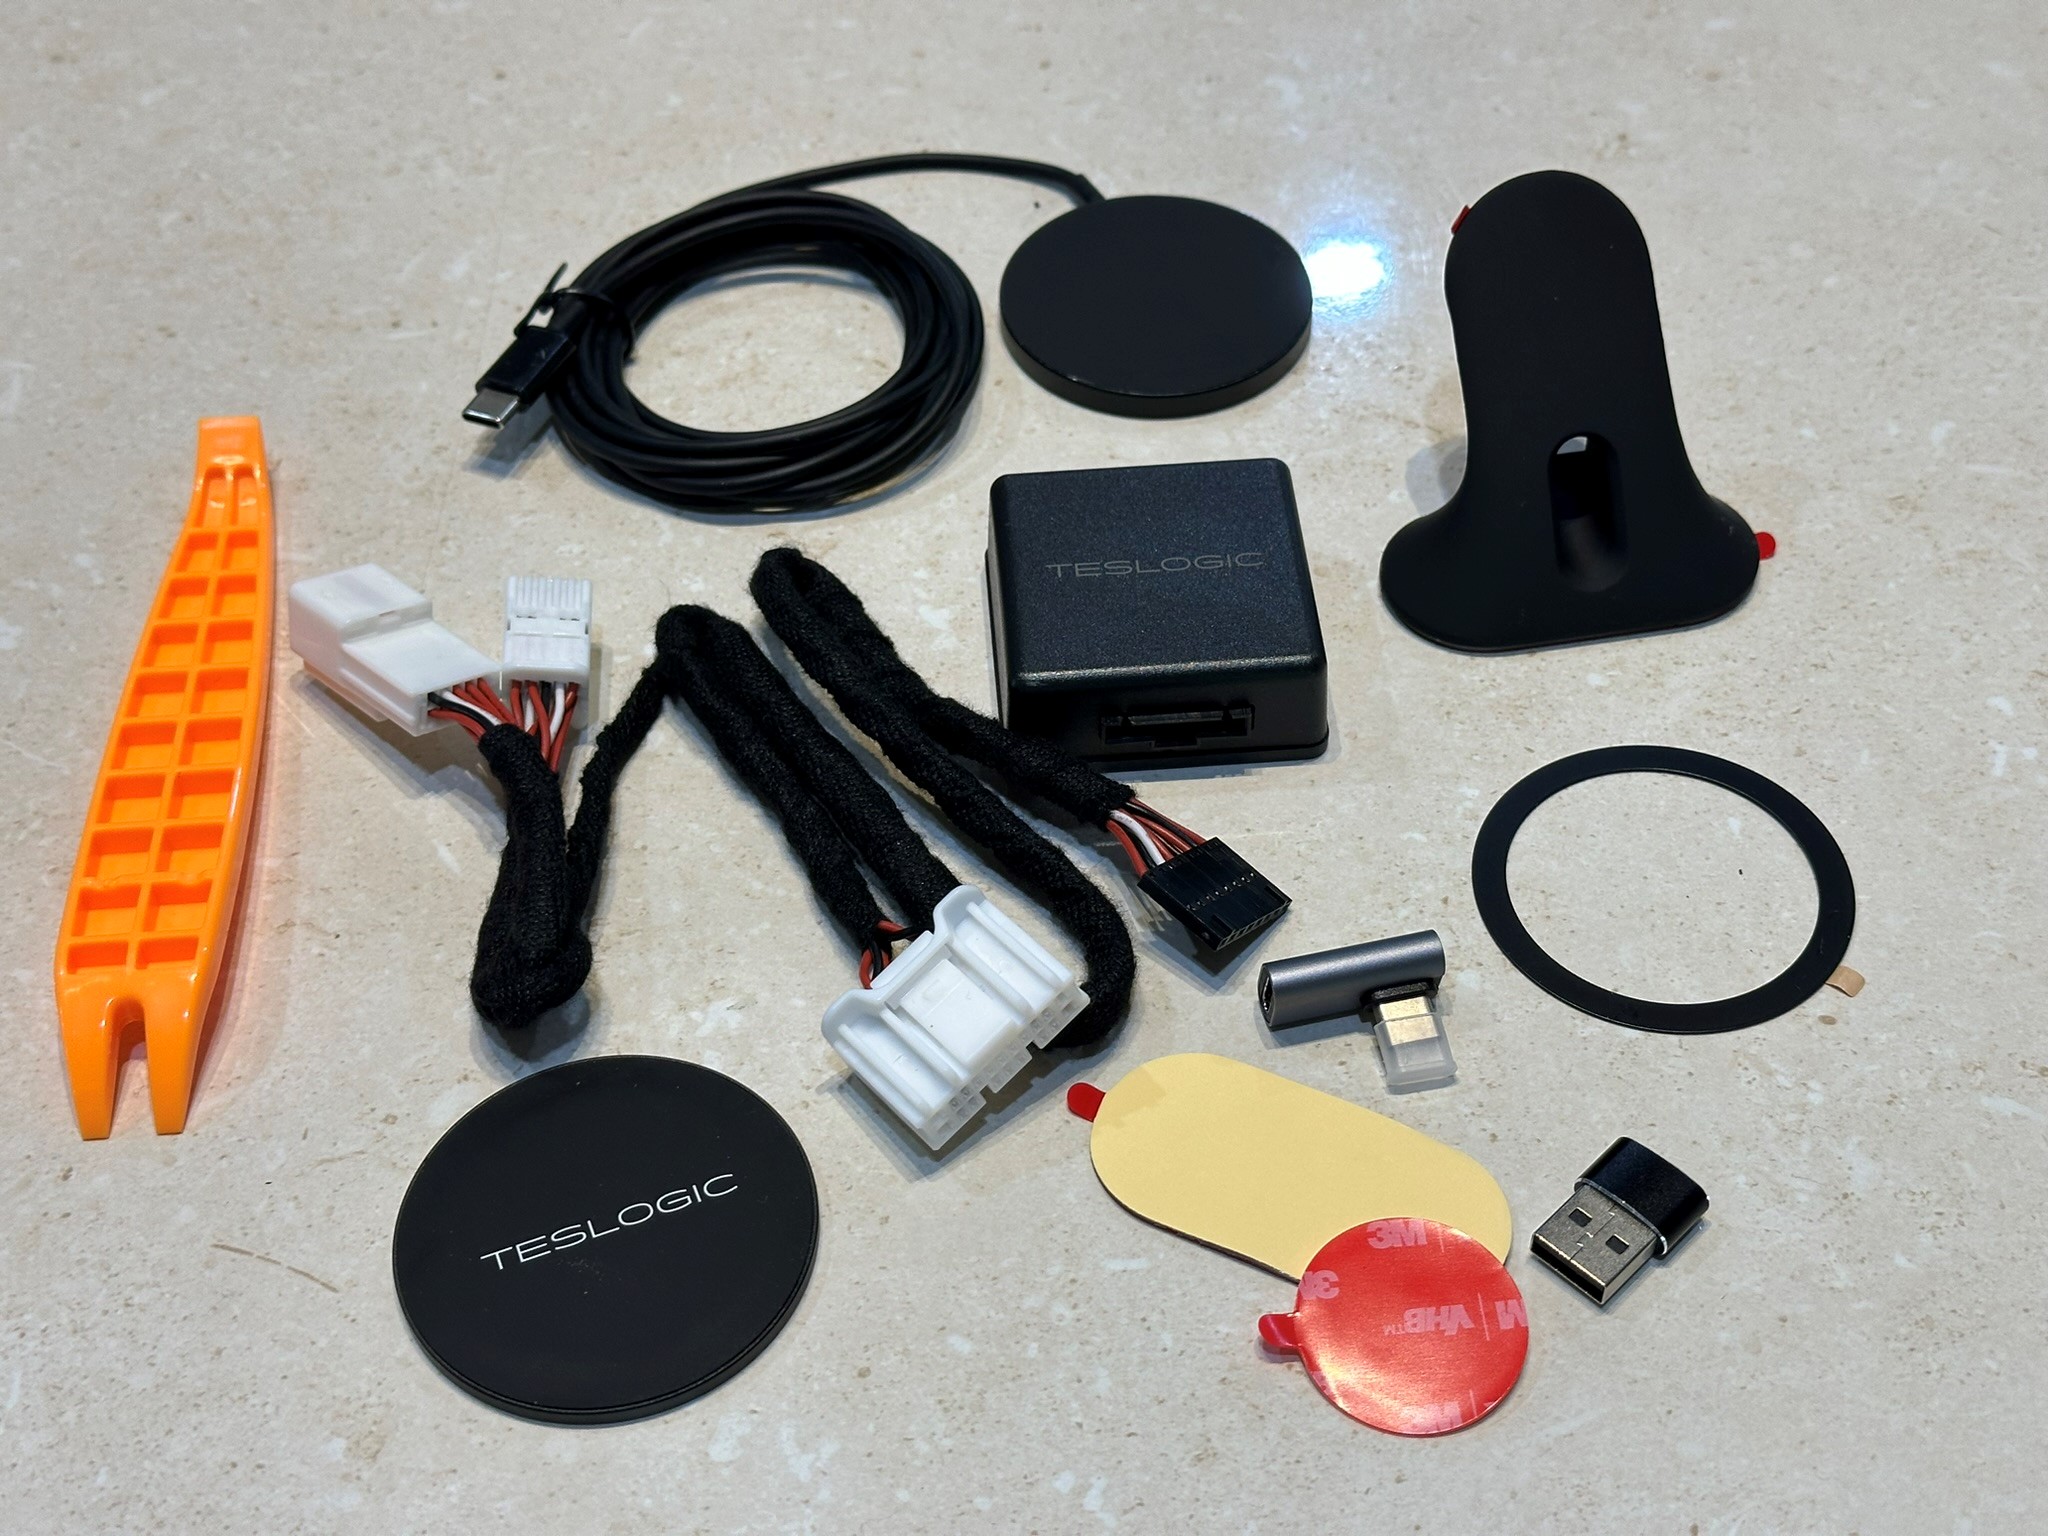
Contents #1
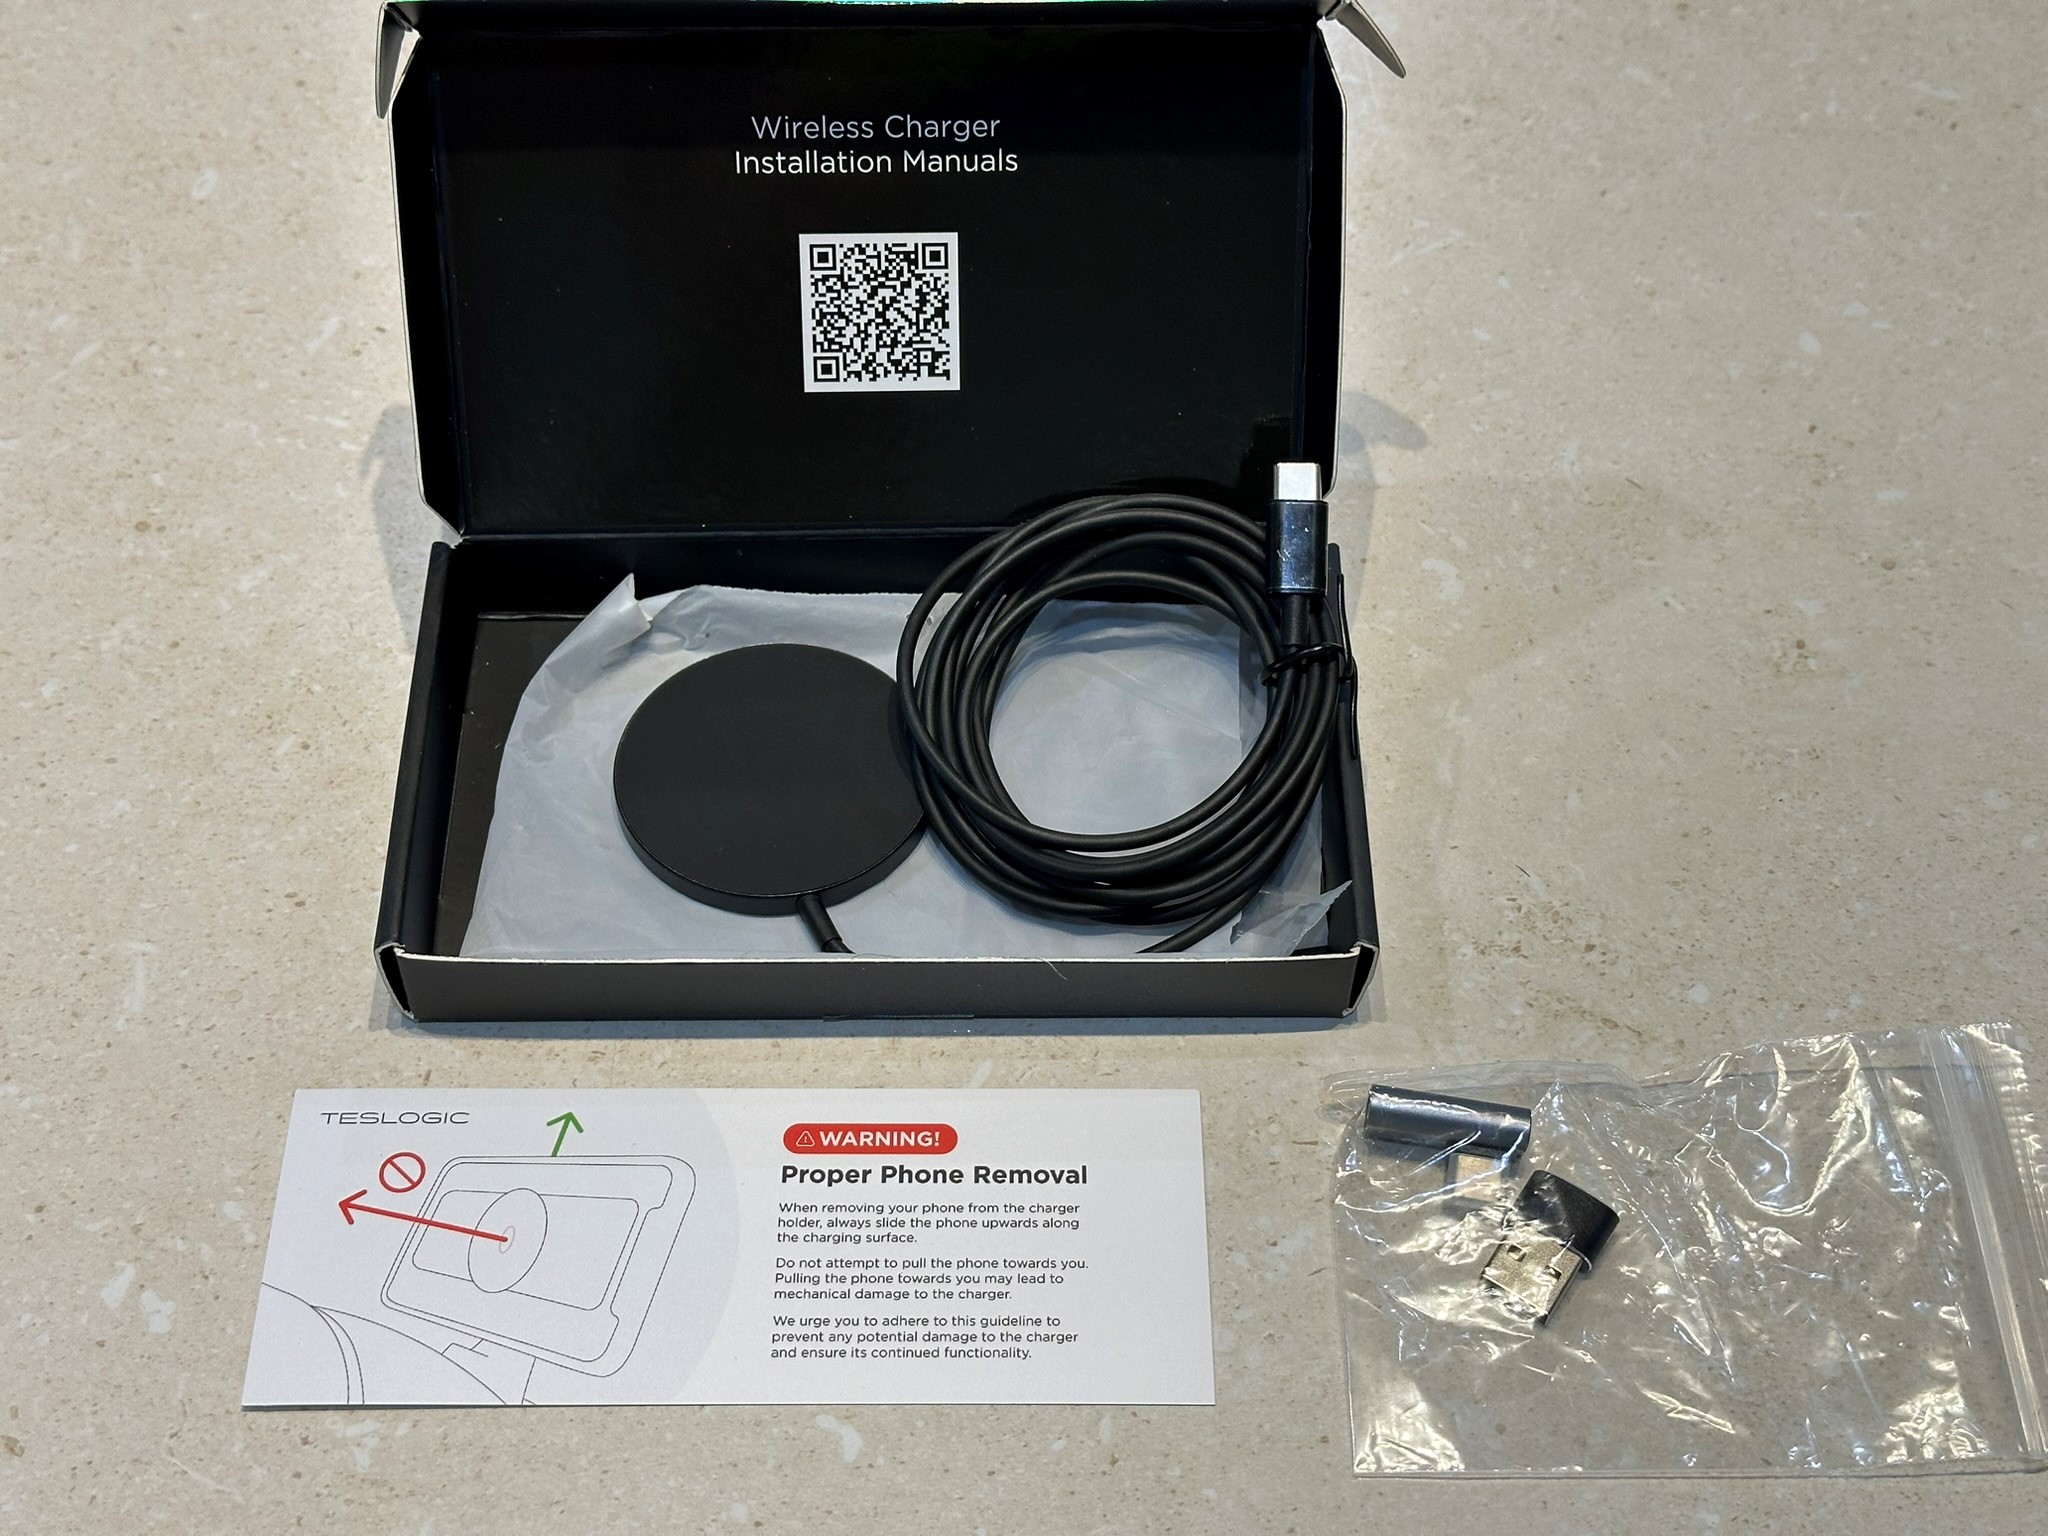
USB Cord Adapters

Contents #1
Contents #2
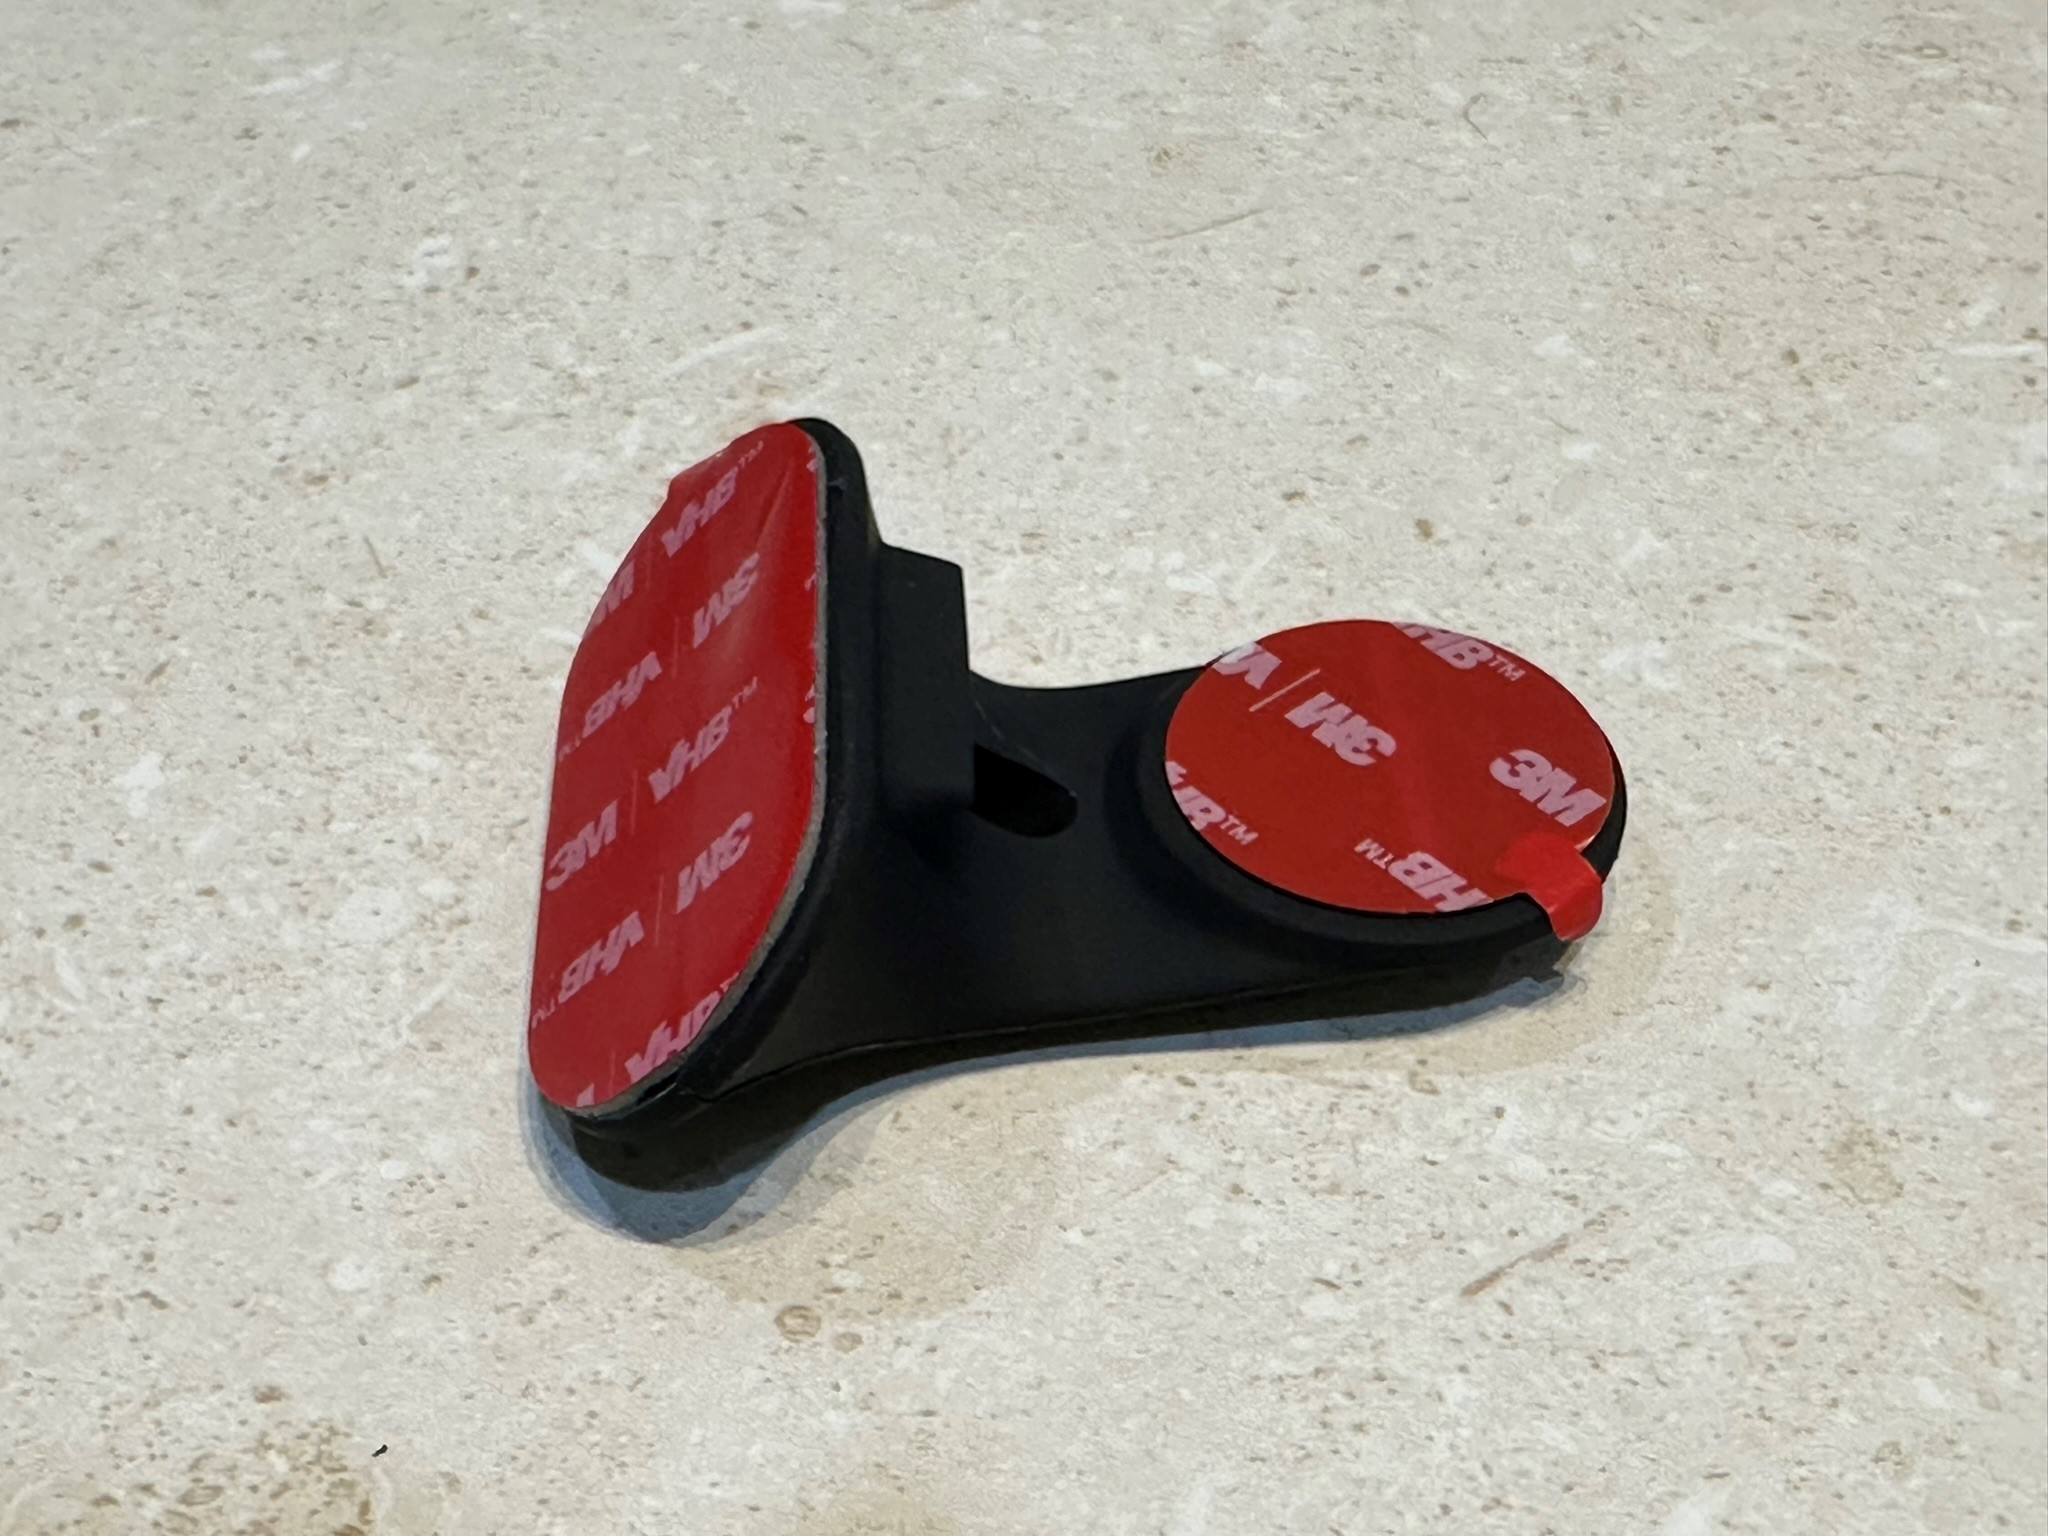
Phone Mount #1
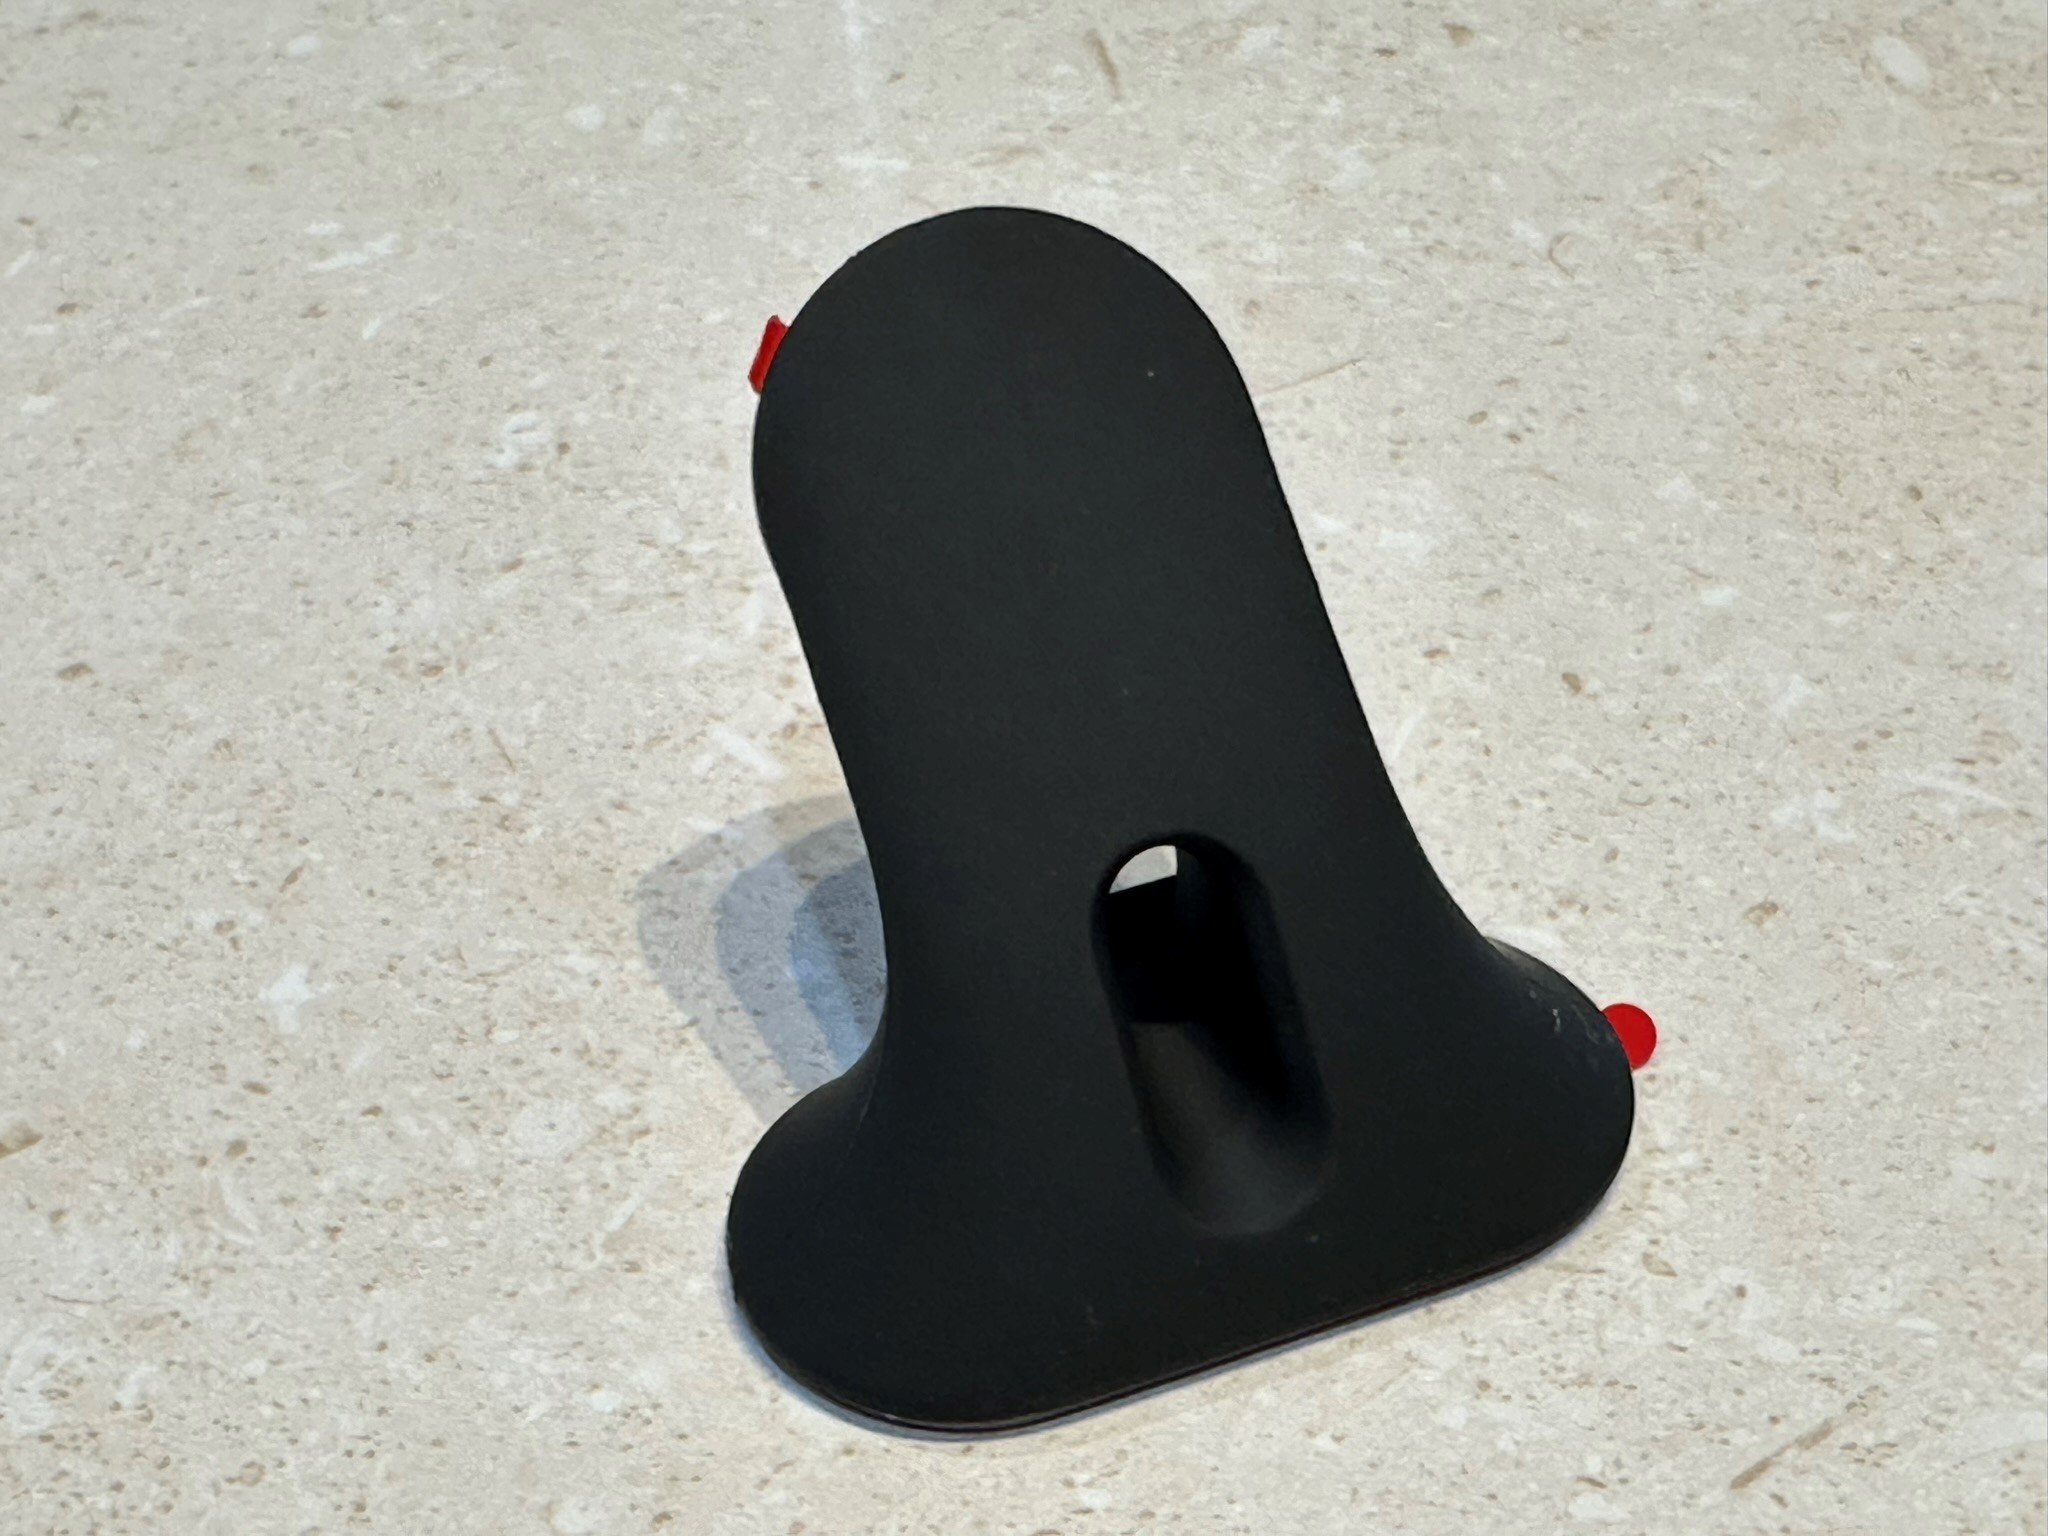
Phone Mount #2
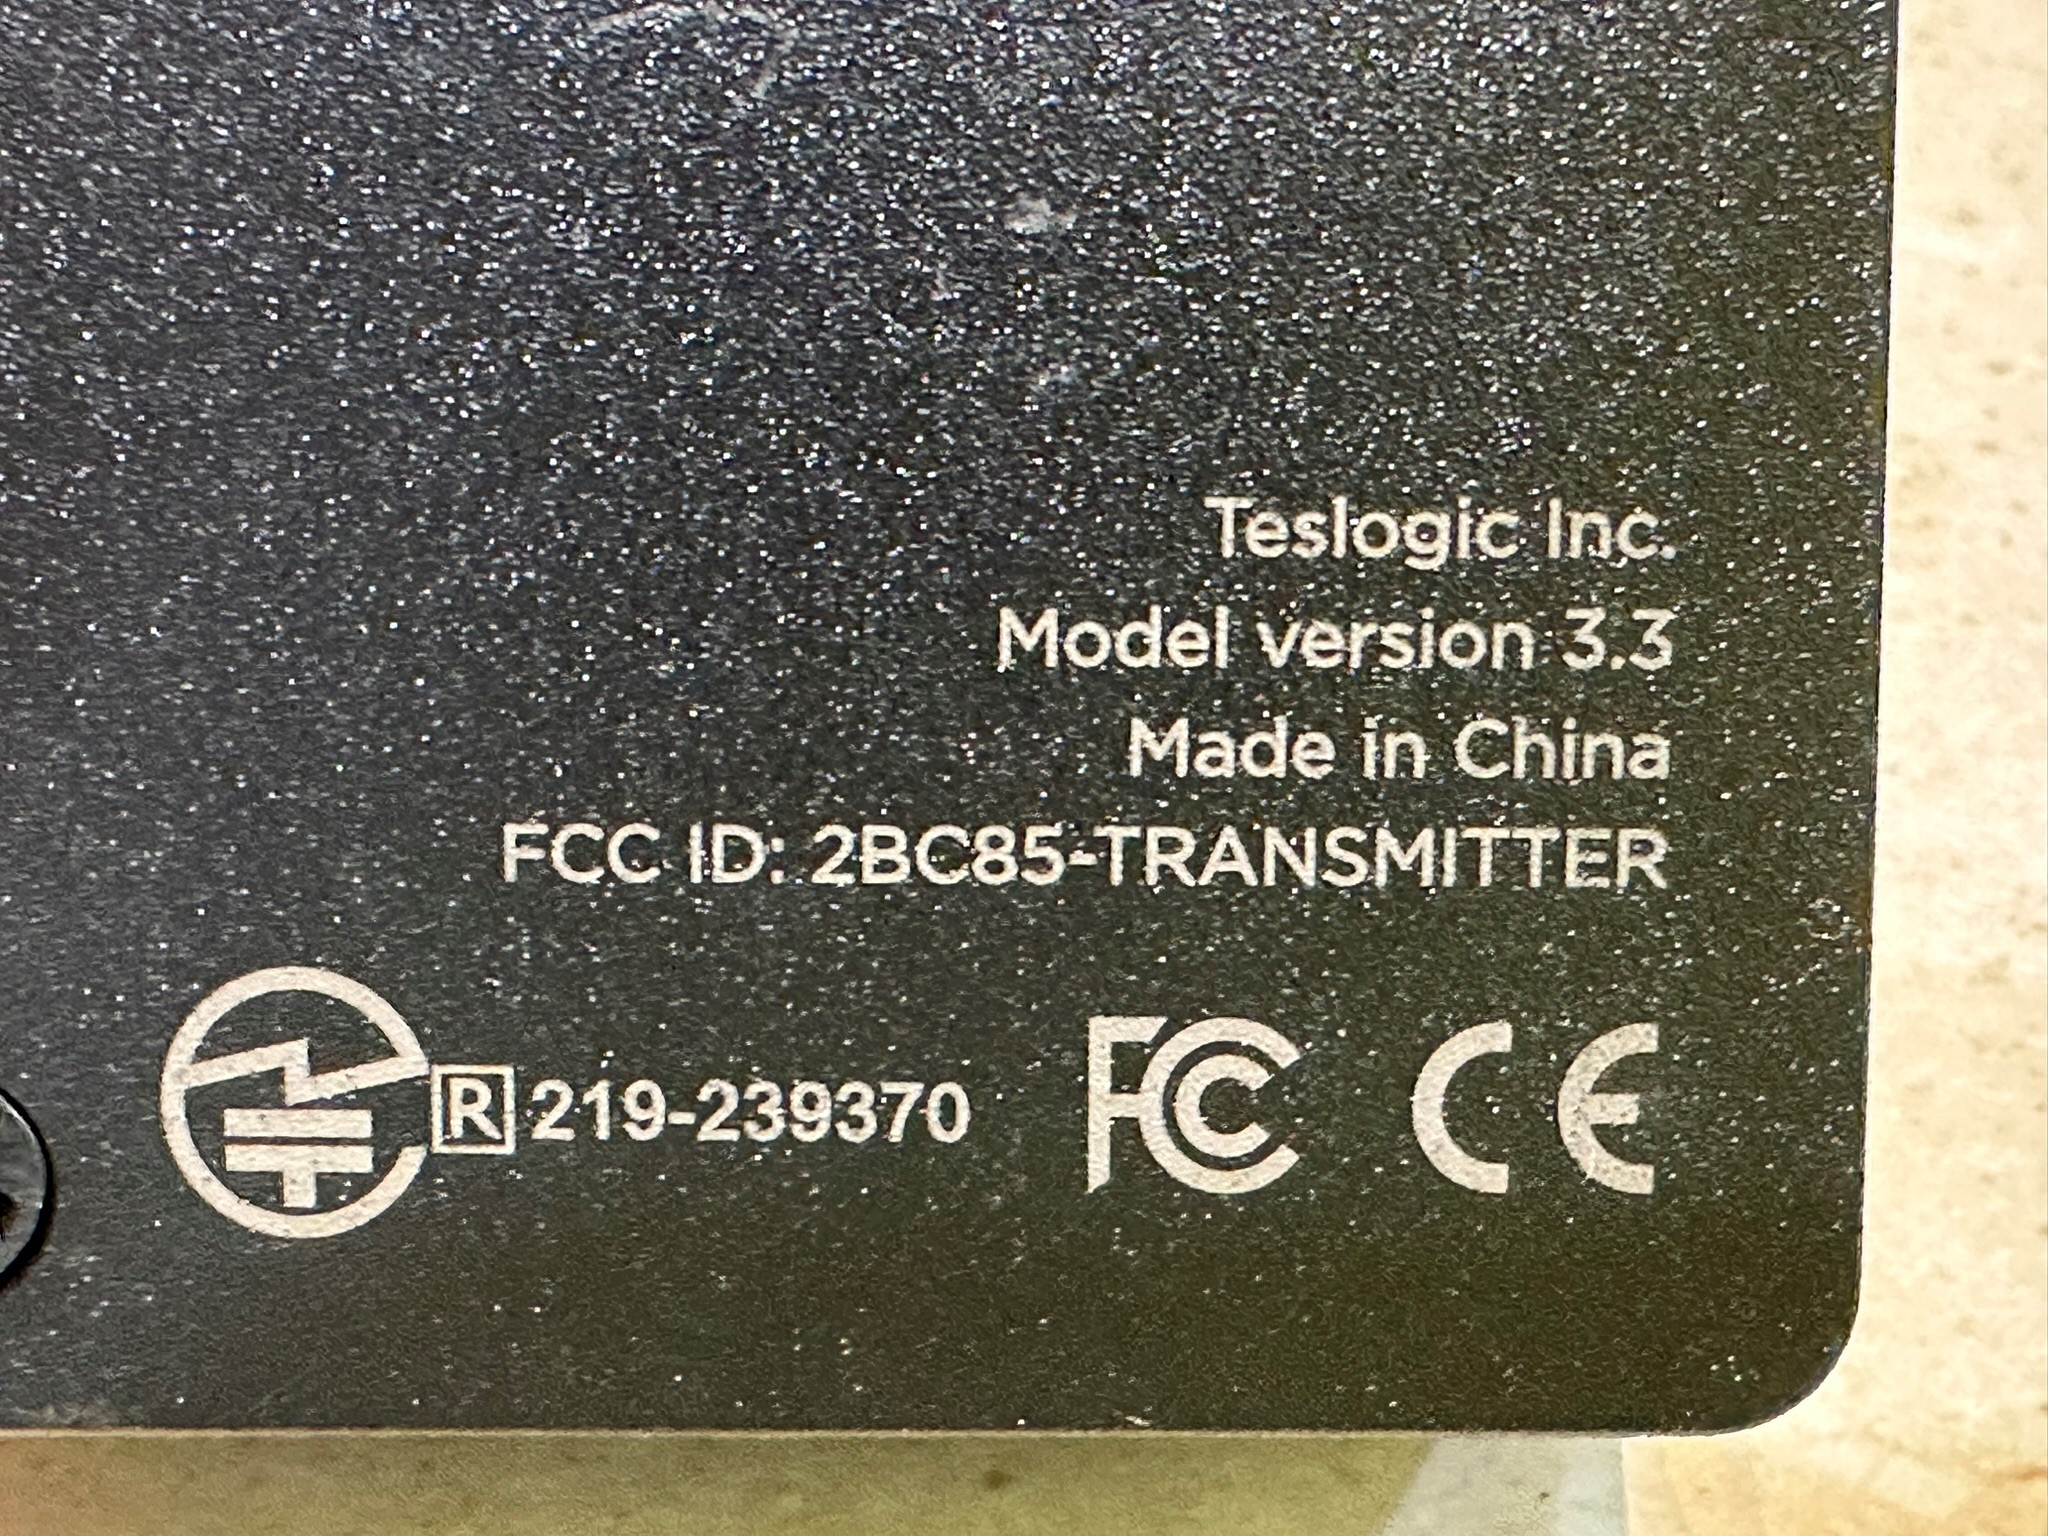
Transmitter
I was super impressed with the Teslogic Magsafe charger that was included. I have several Magsafe phone wireless chargers and a few hold phones very well.
| Brand | Power 10s | Power 1m | Hold Force |
|---|---|---|---|
| Mous Mag Safe Charger/Stand | 4 Watts | 9 Watts | Poor |
| Apple Mag Safe Charger | 4 Watts | 8 Watts | Strong |
| Teslogic Wireless Charger | 4 Watts | 10 Watts | Very Strong |
Installing the Teslogic Dashboard
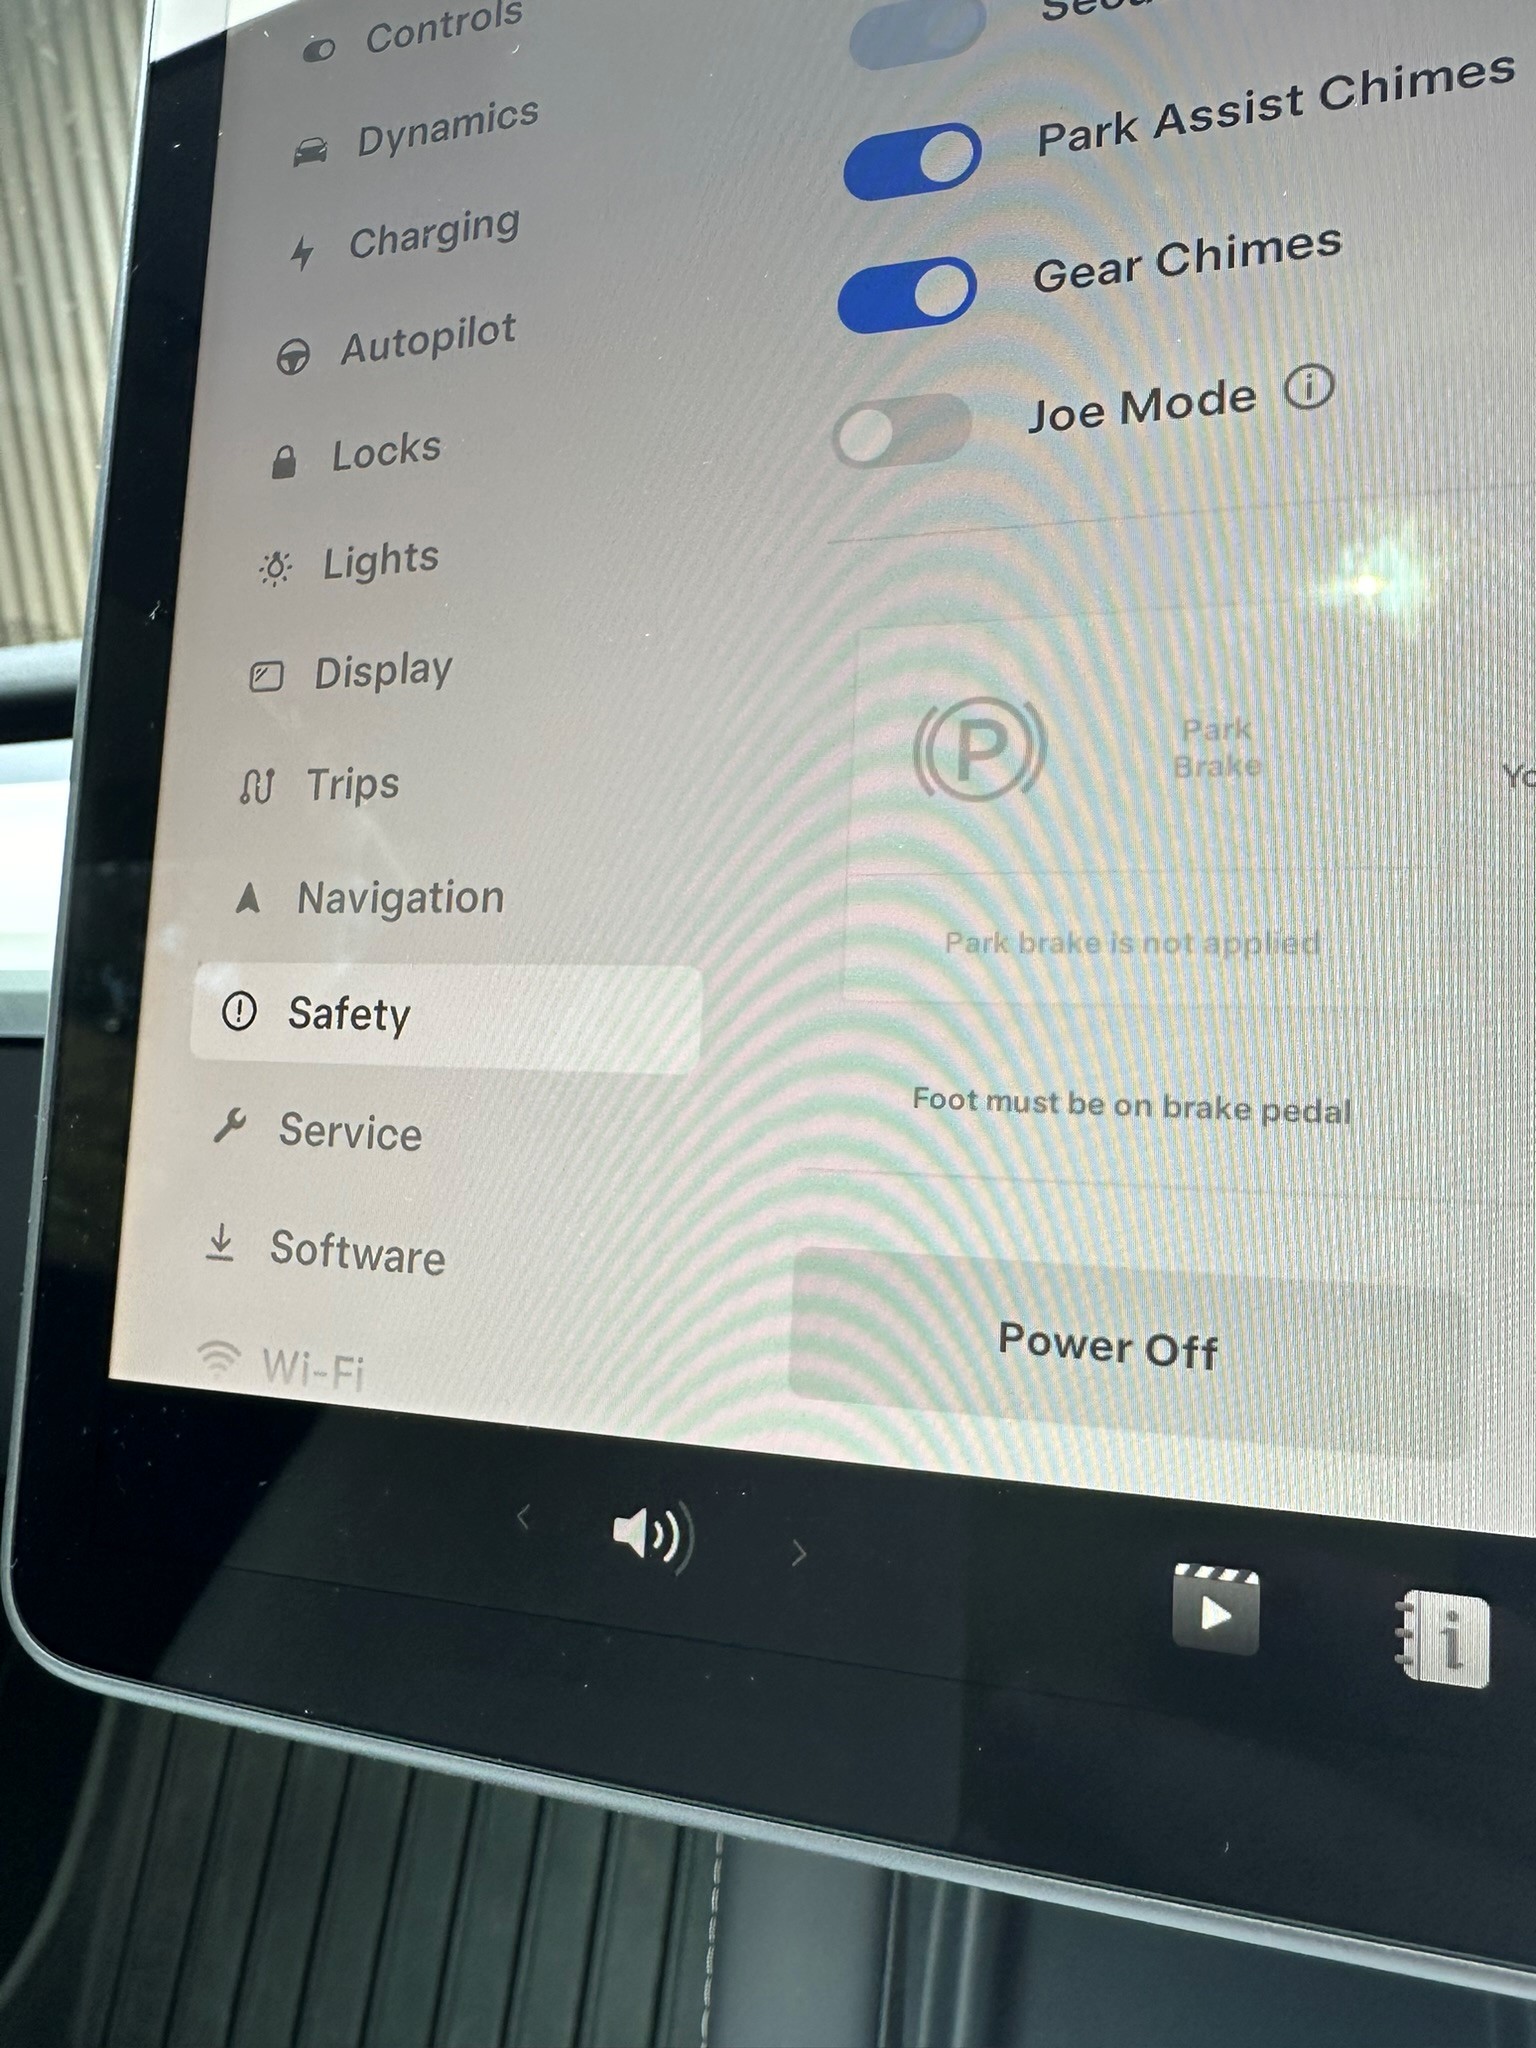
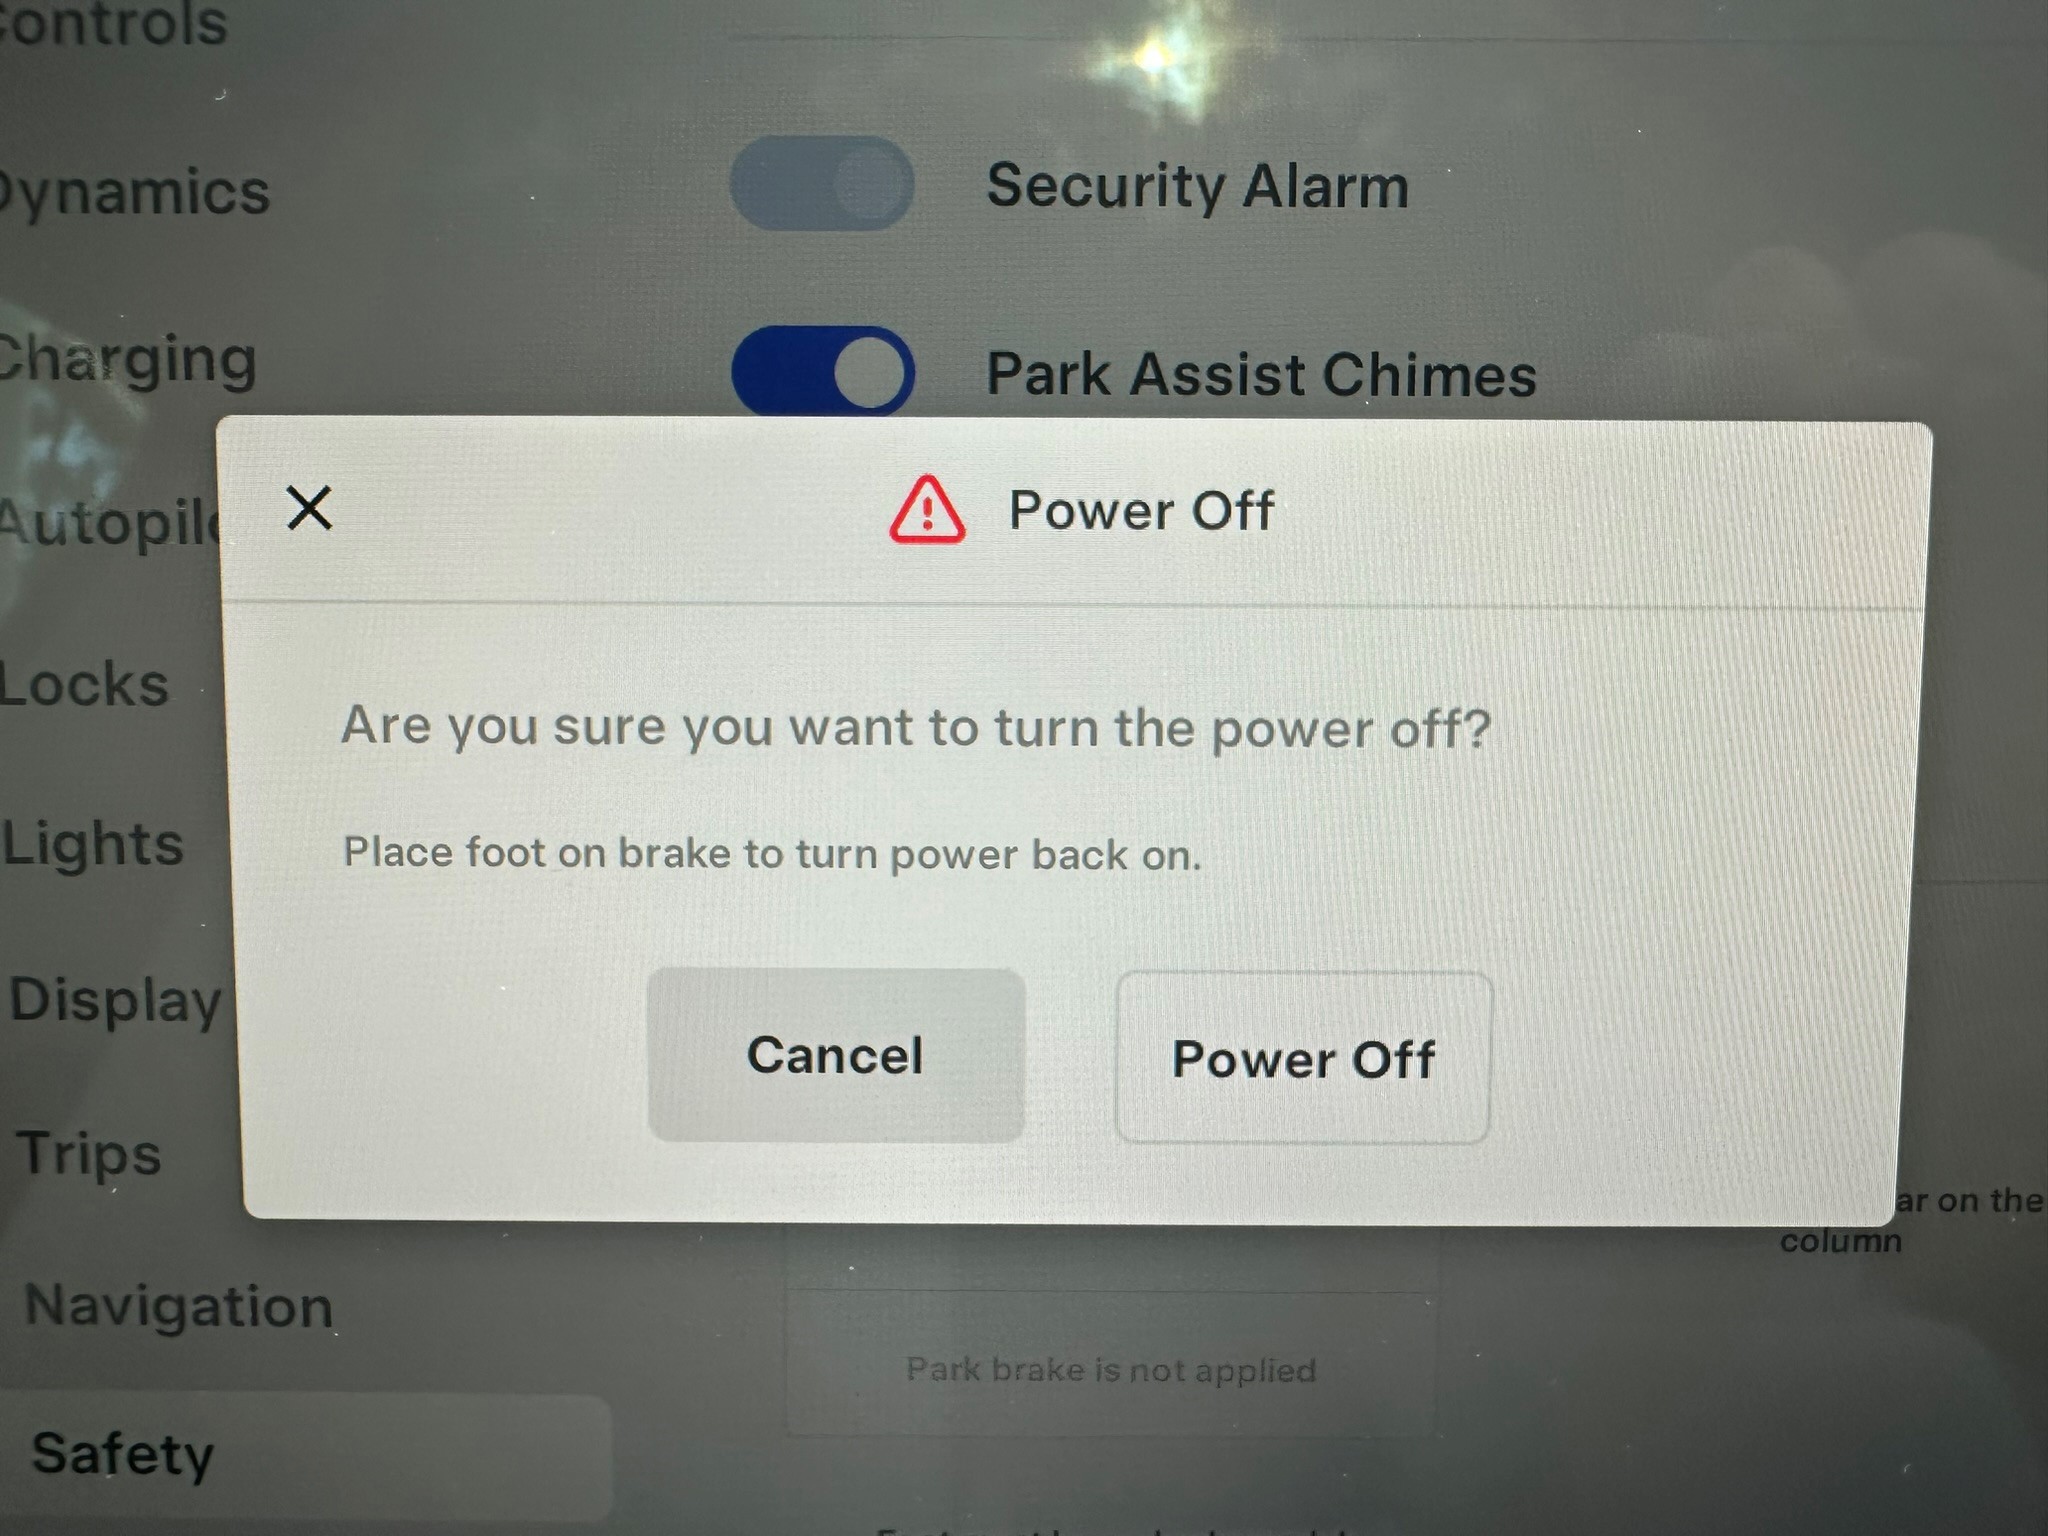
Before I installed the Teslogic Dash, I powered off the car.
Power Off
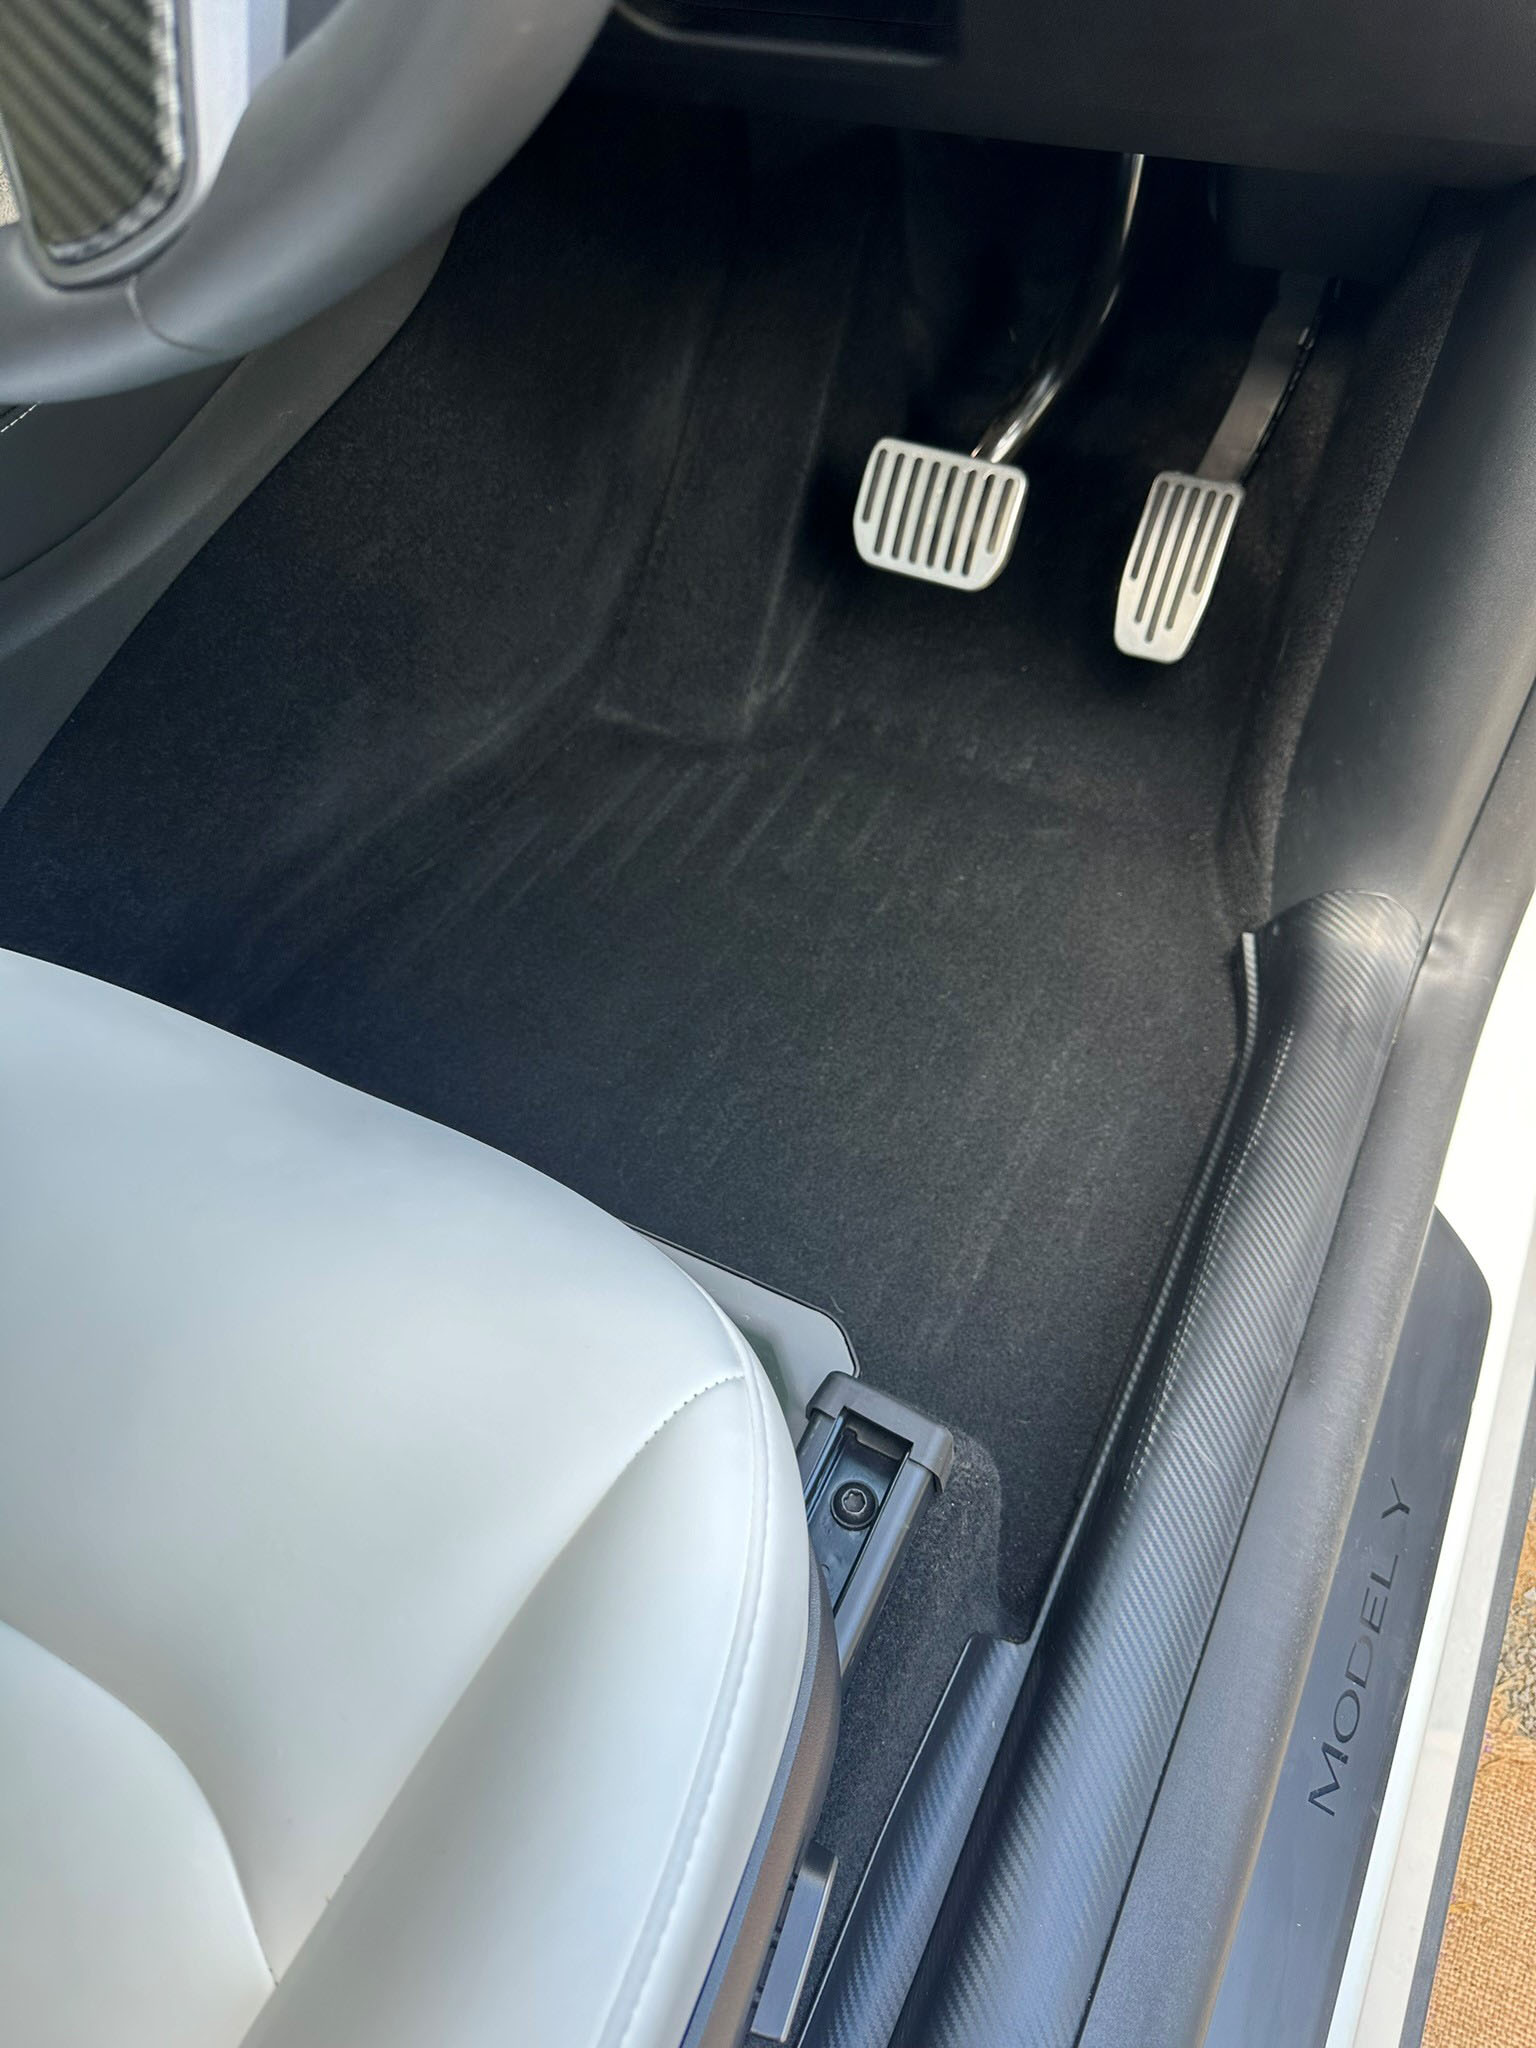
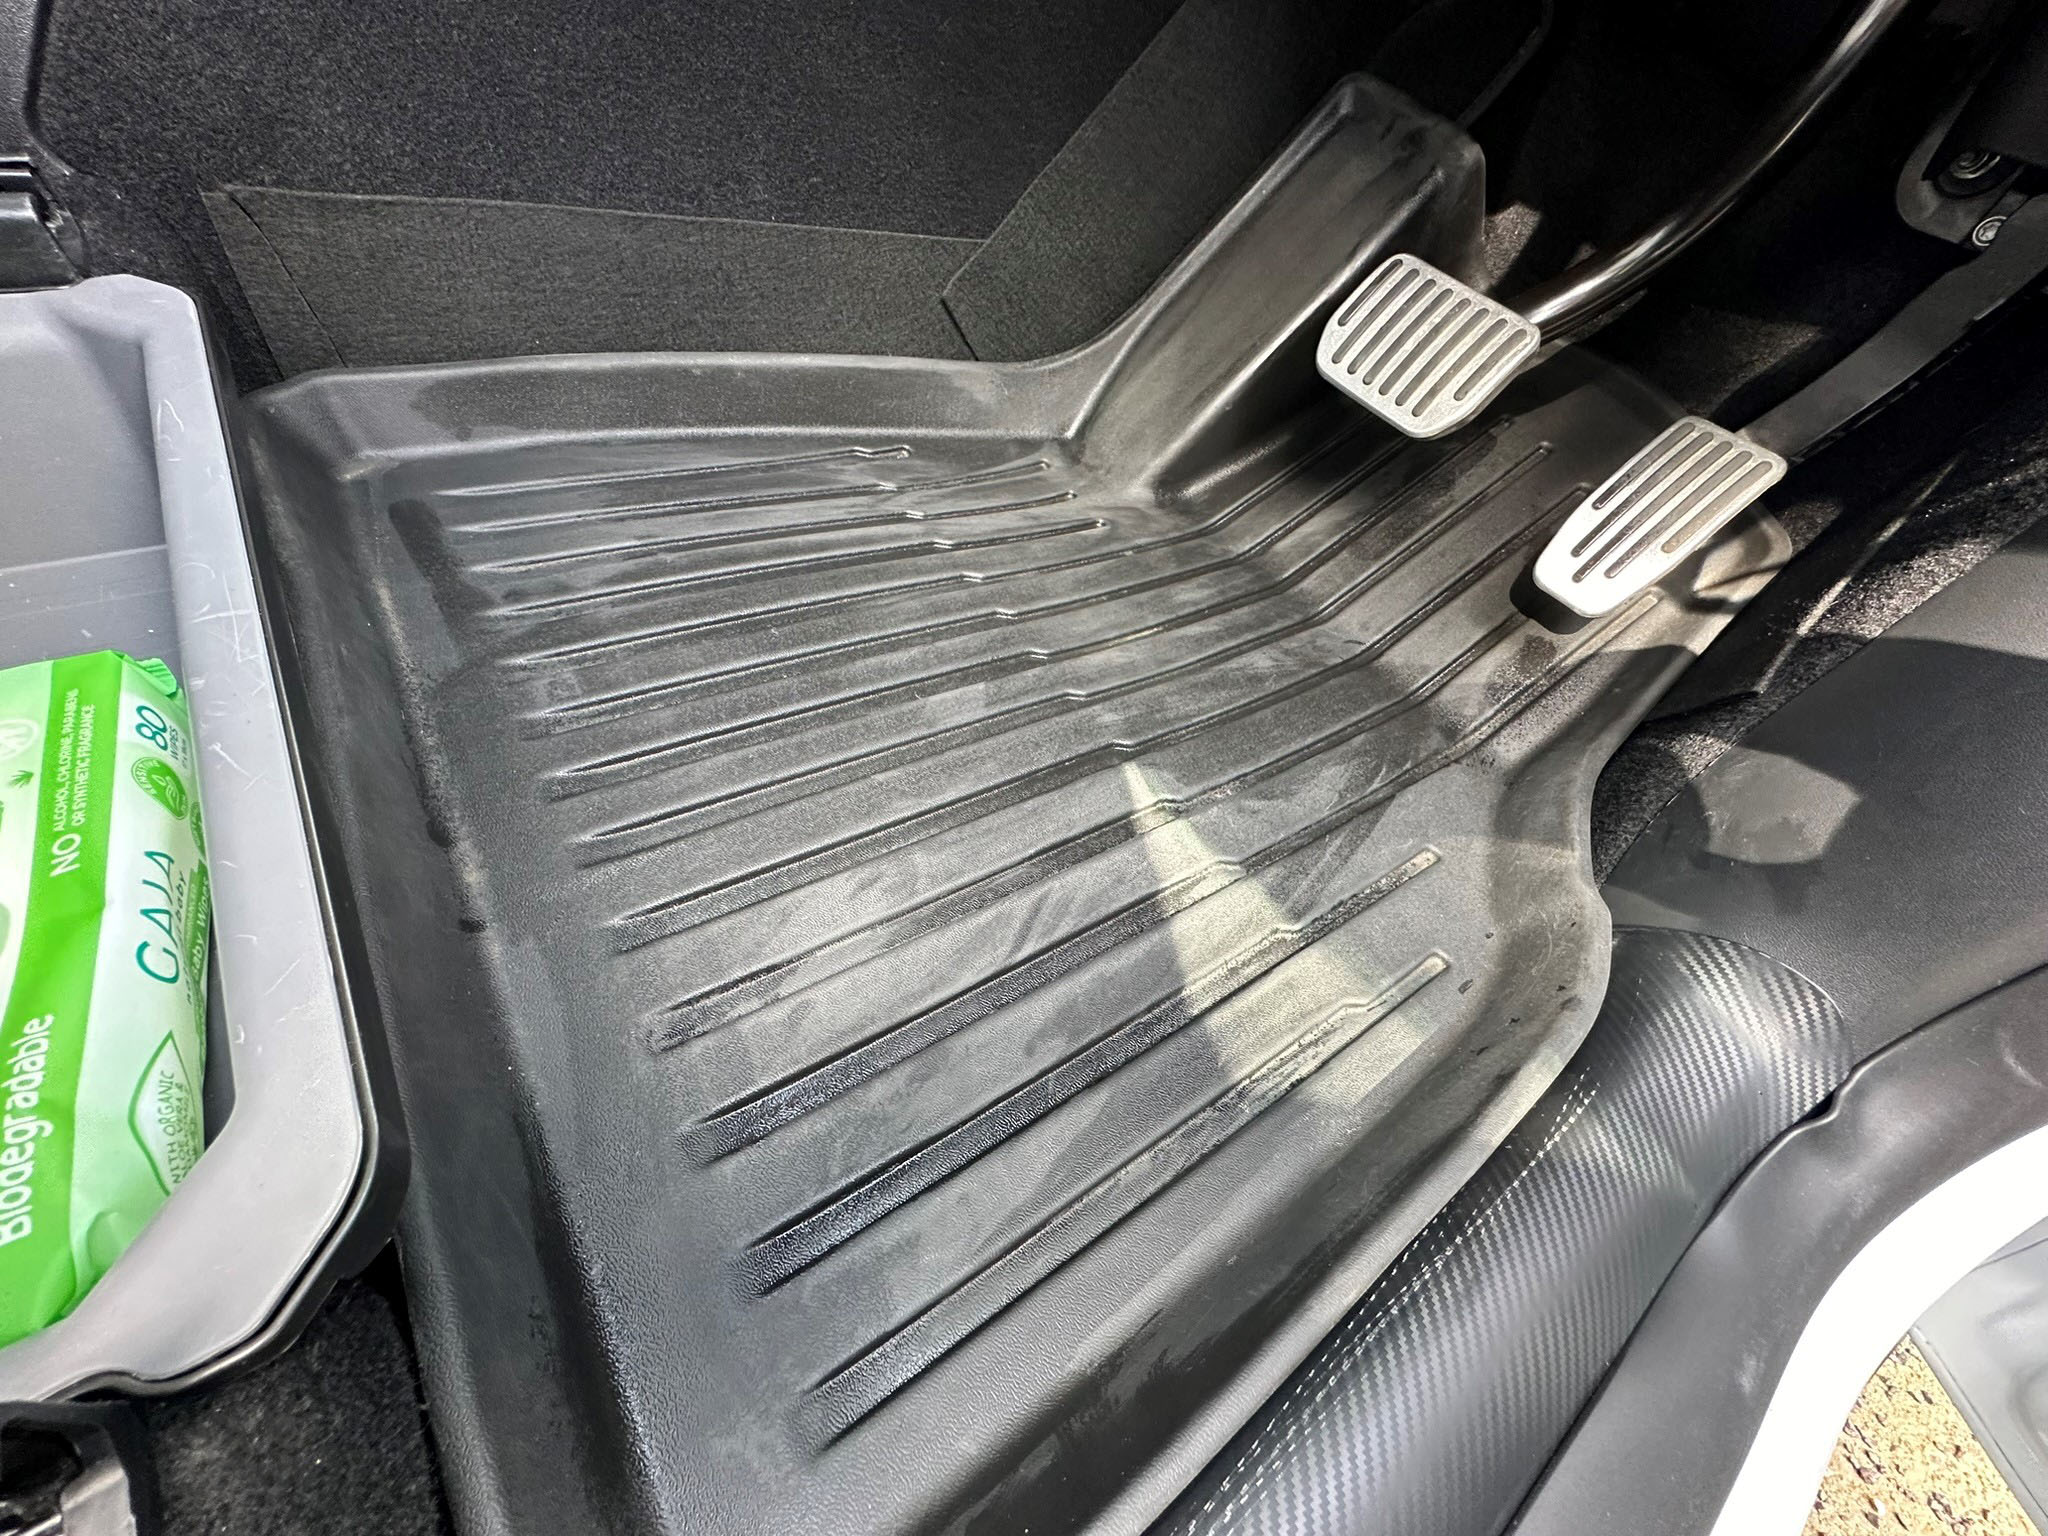
I removed the car mats.
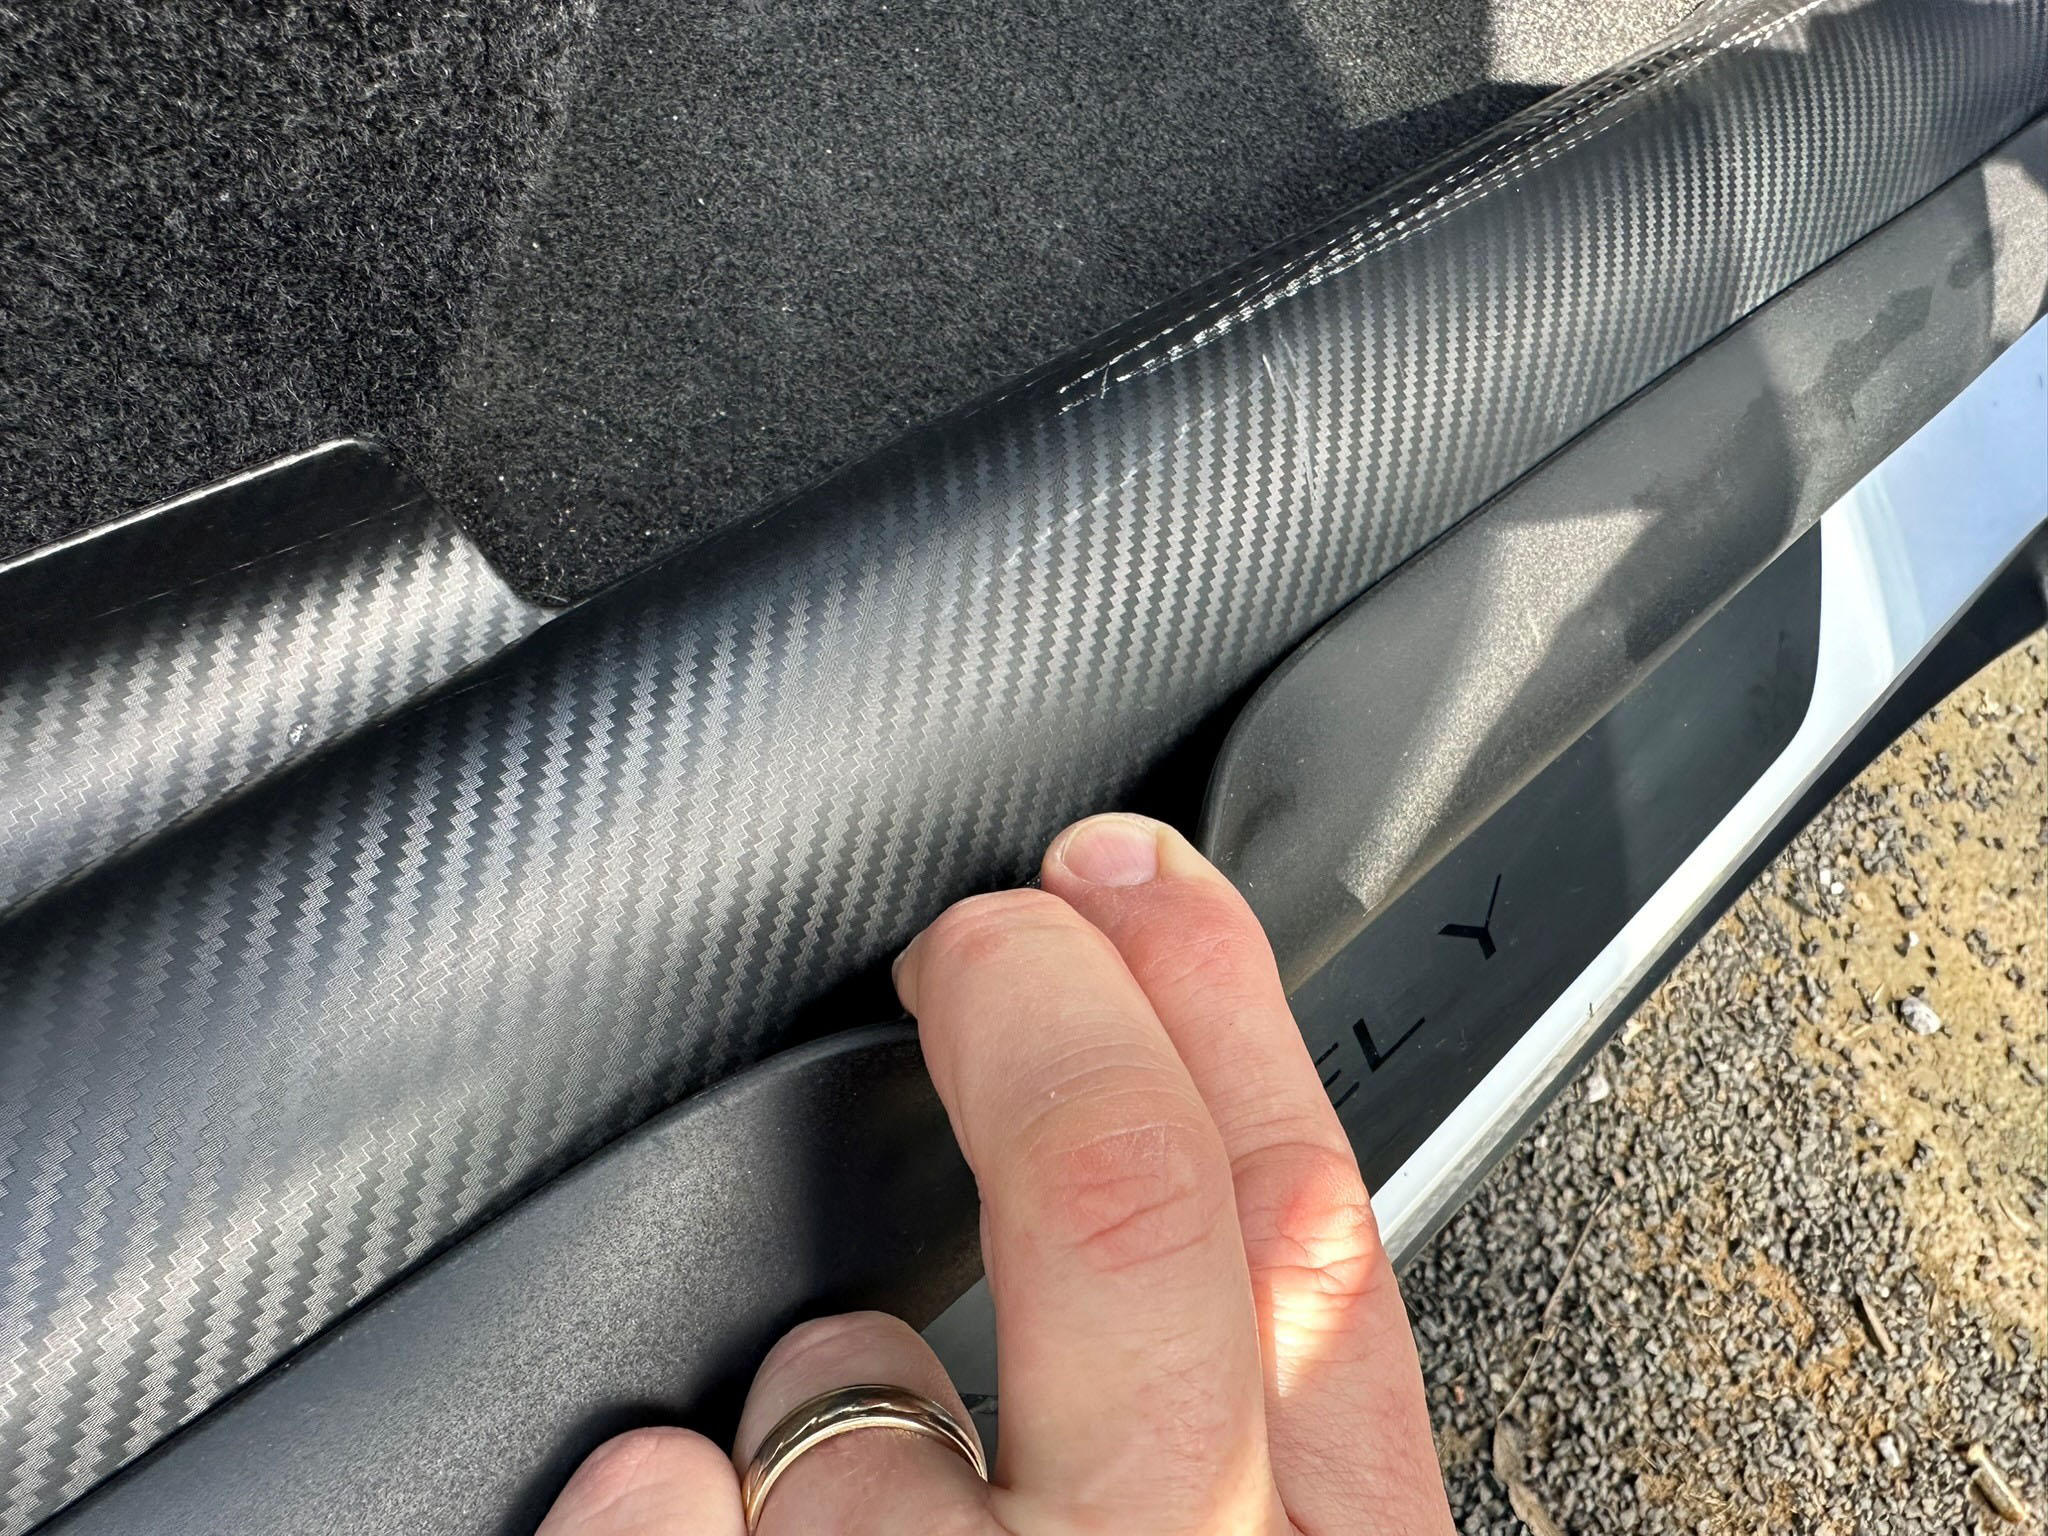
I removed my after-marked scuff guard.

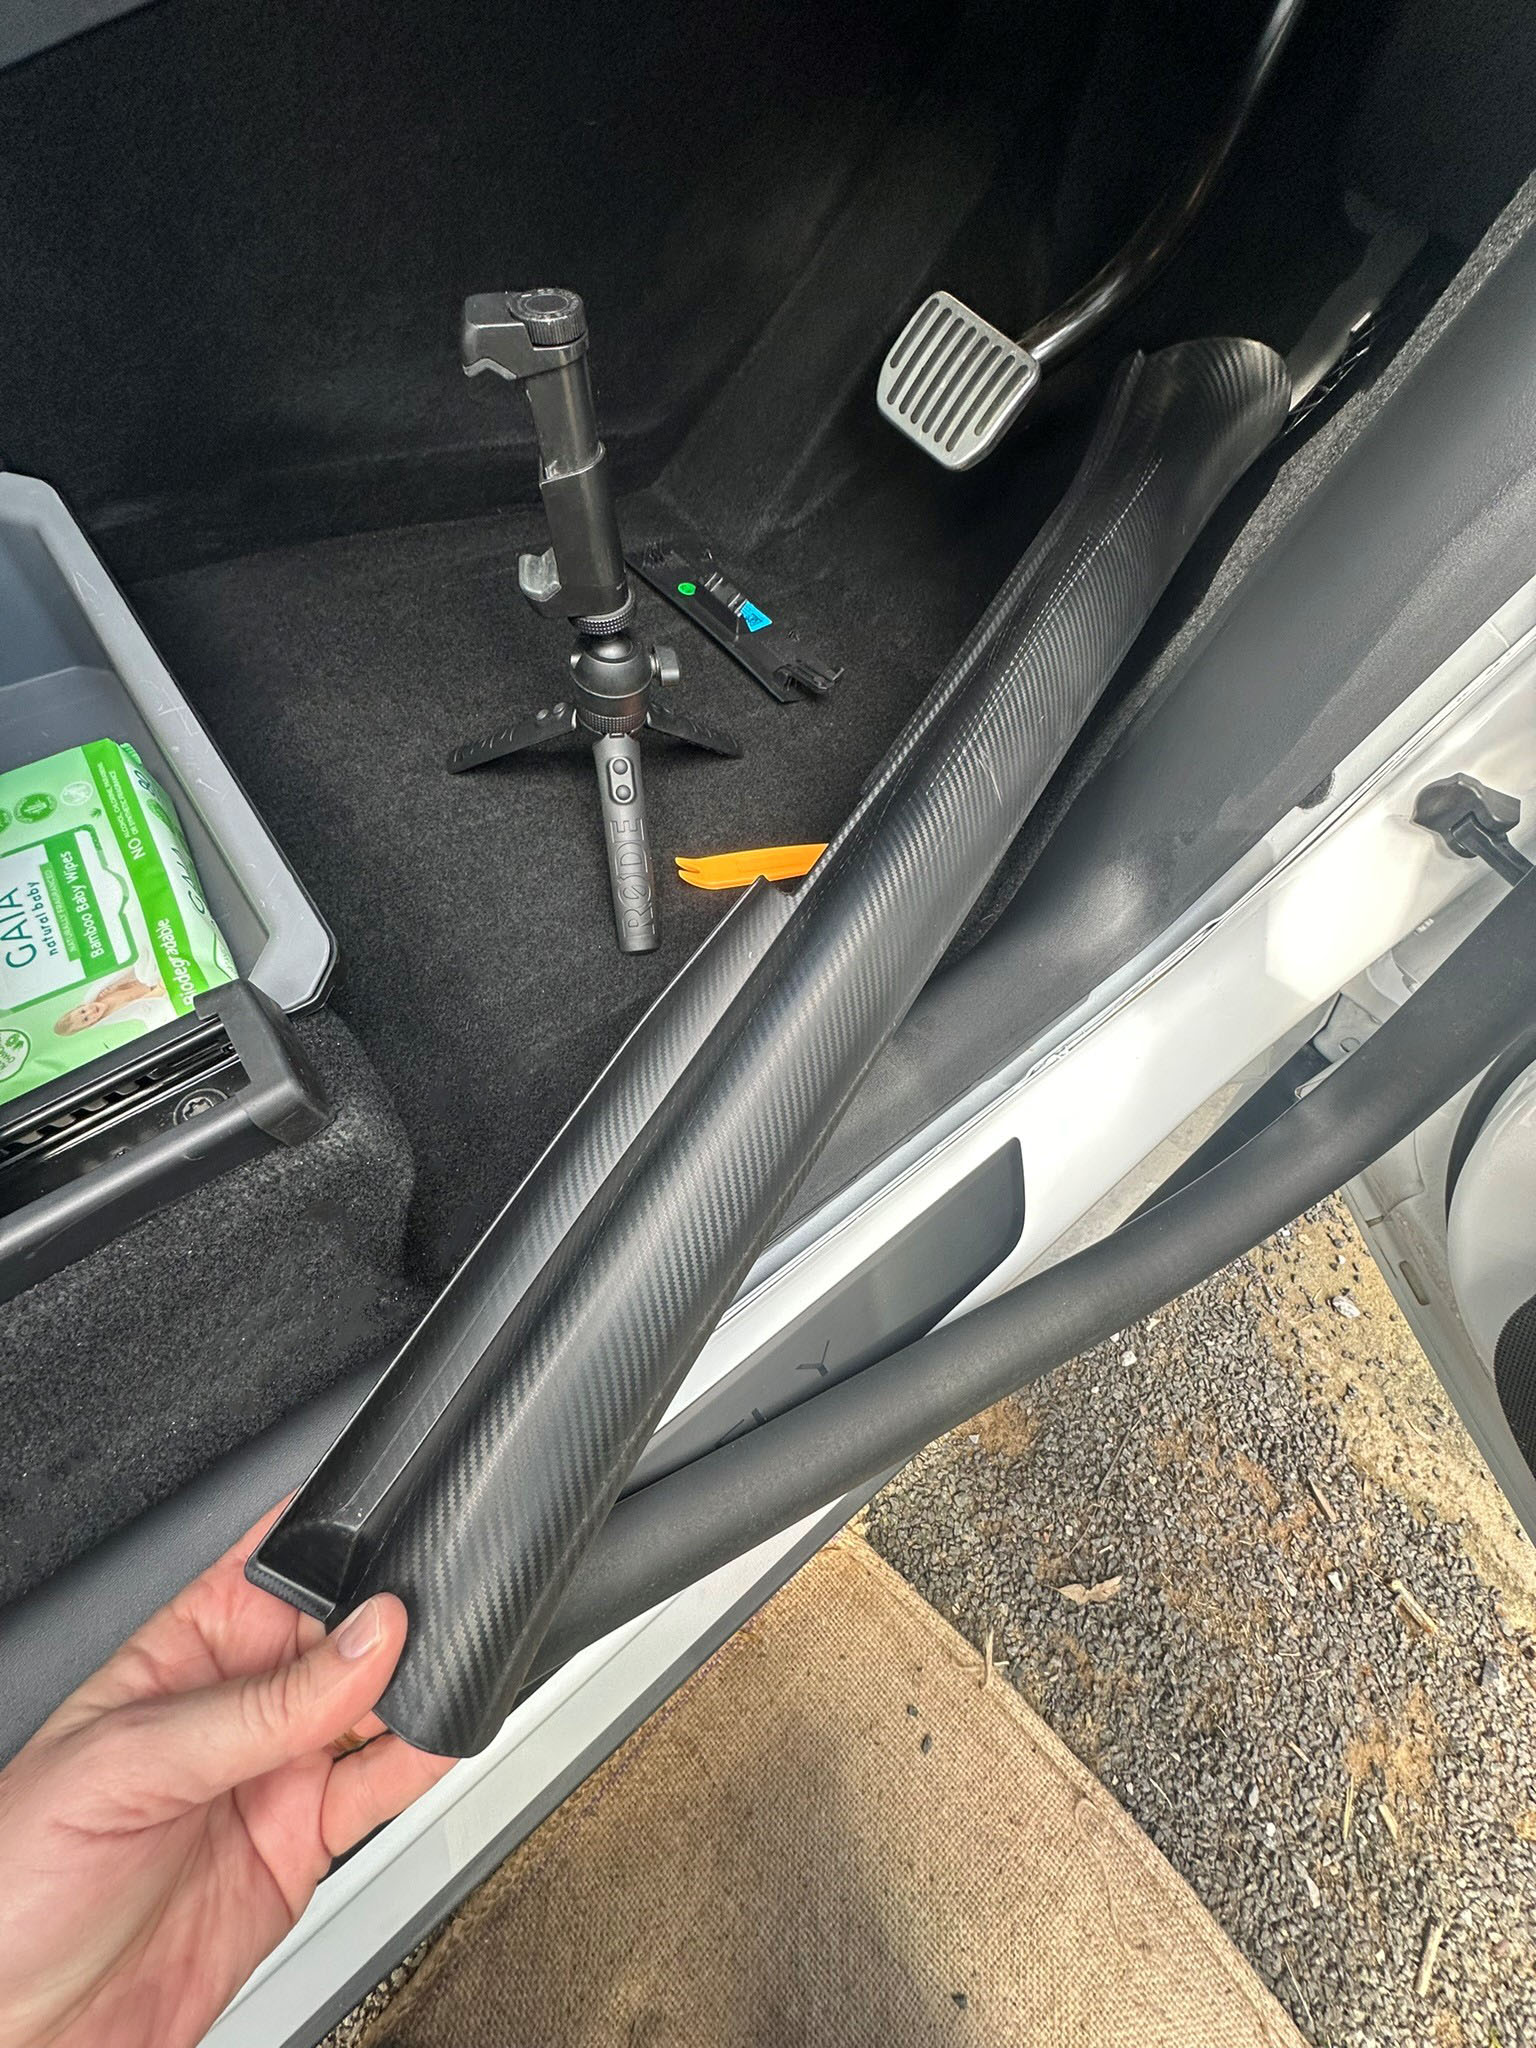
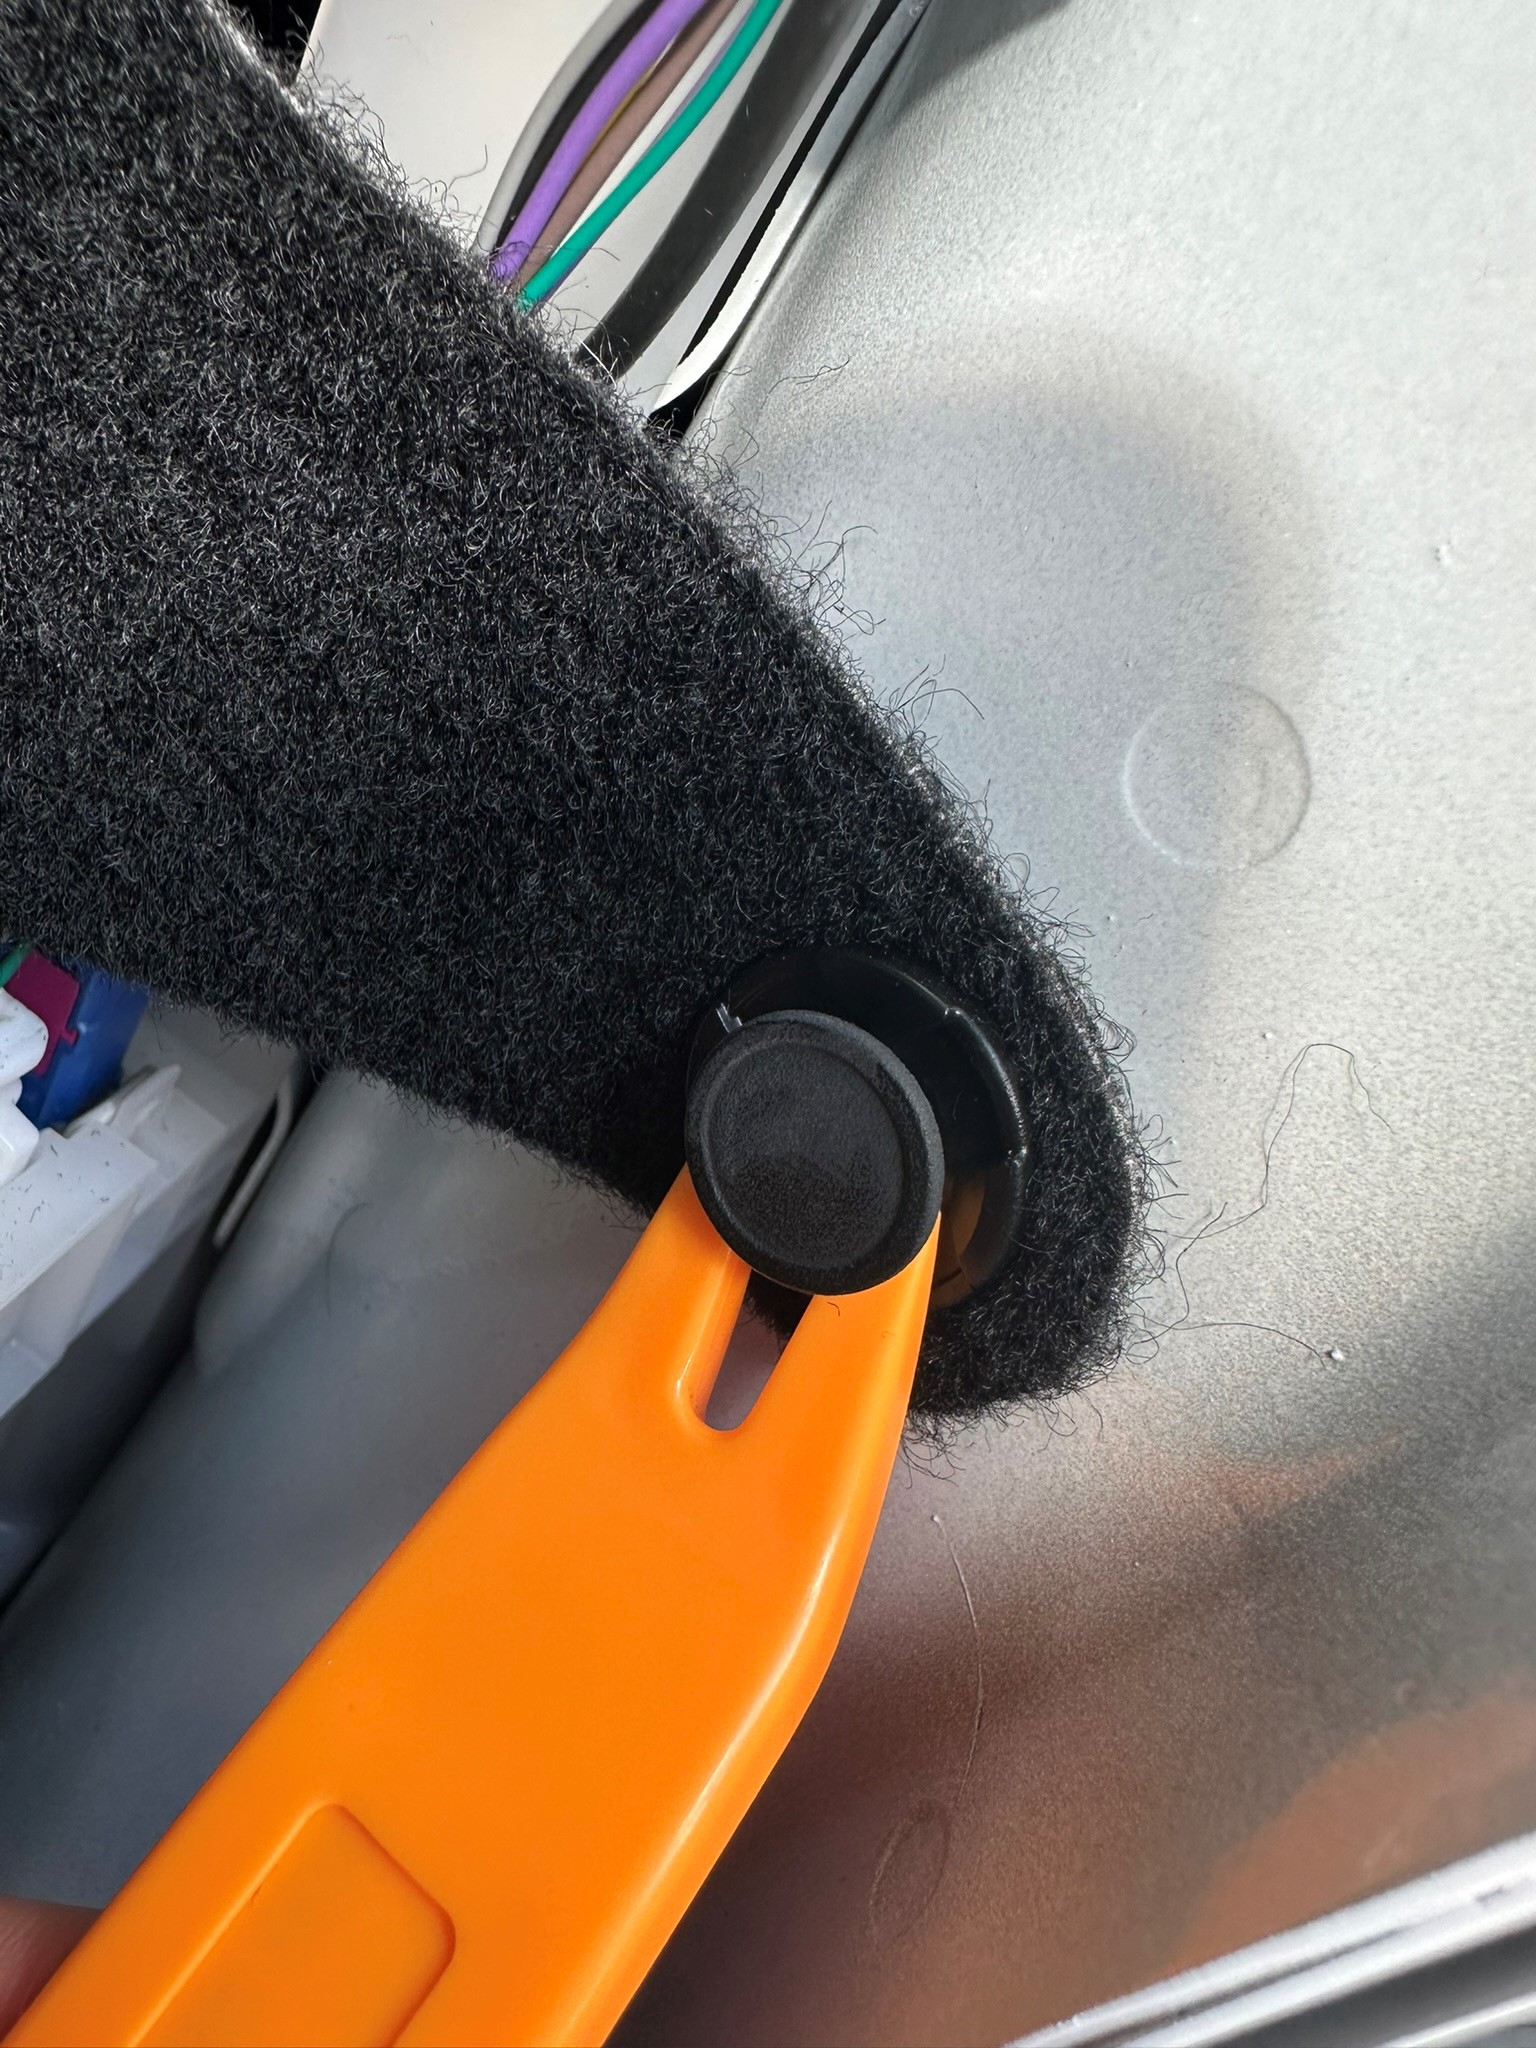
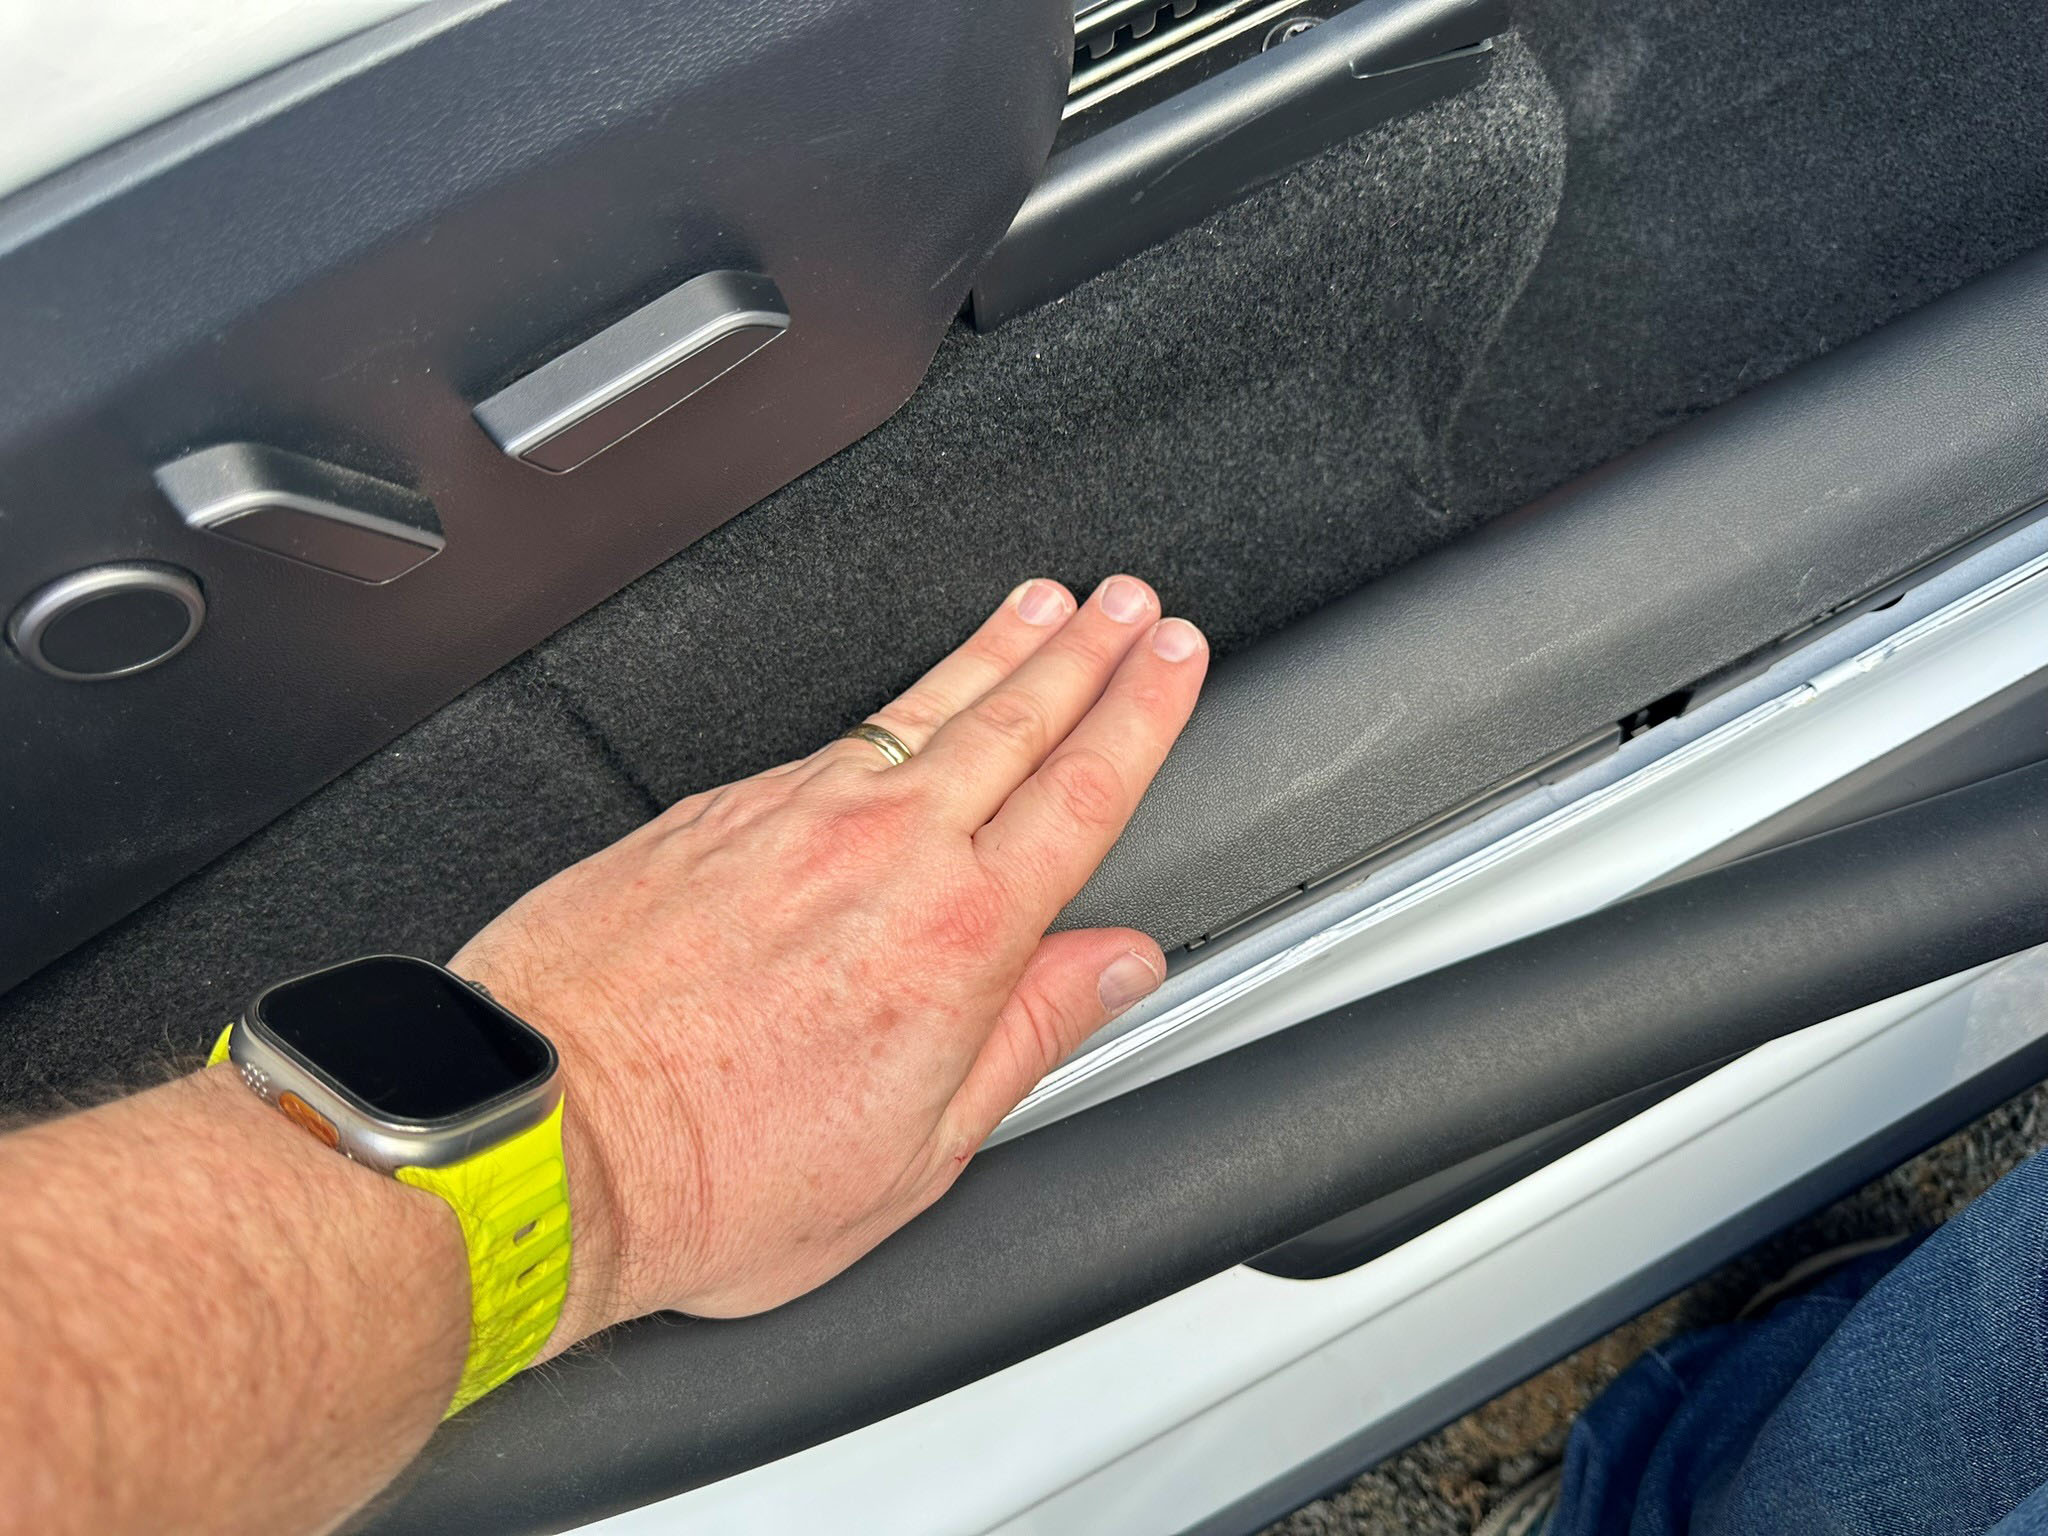
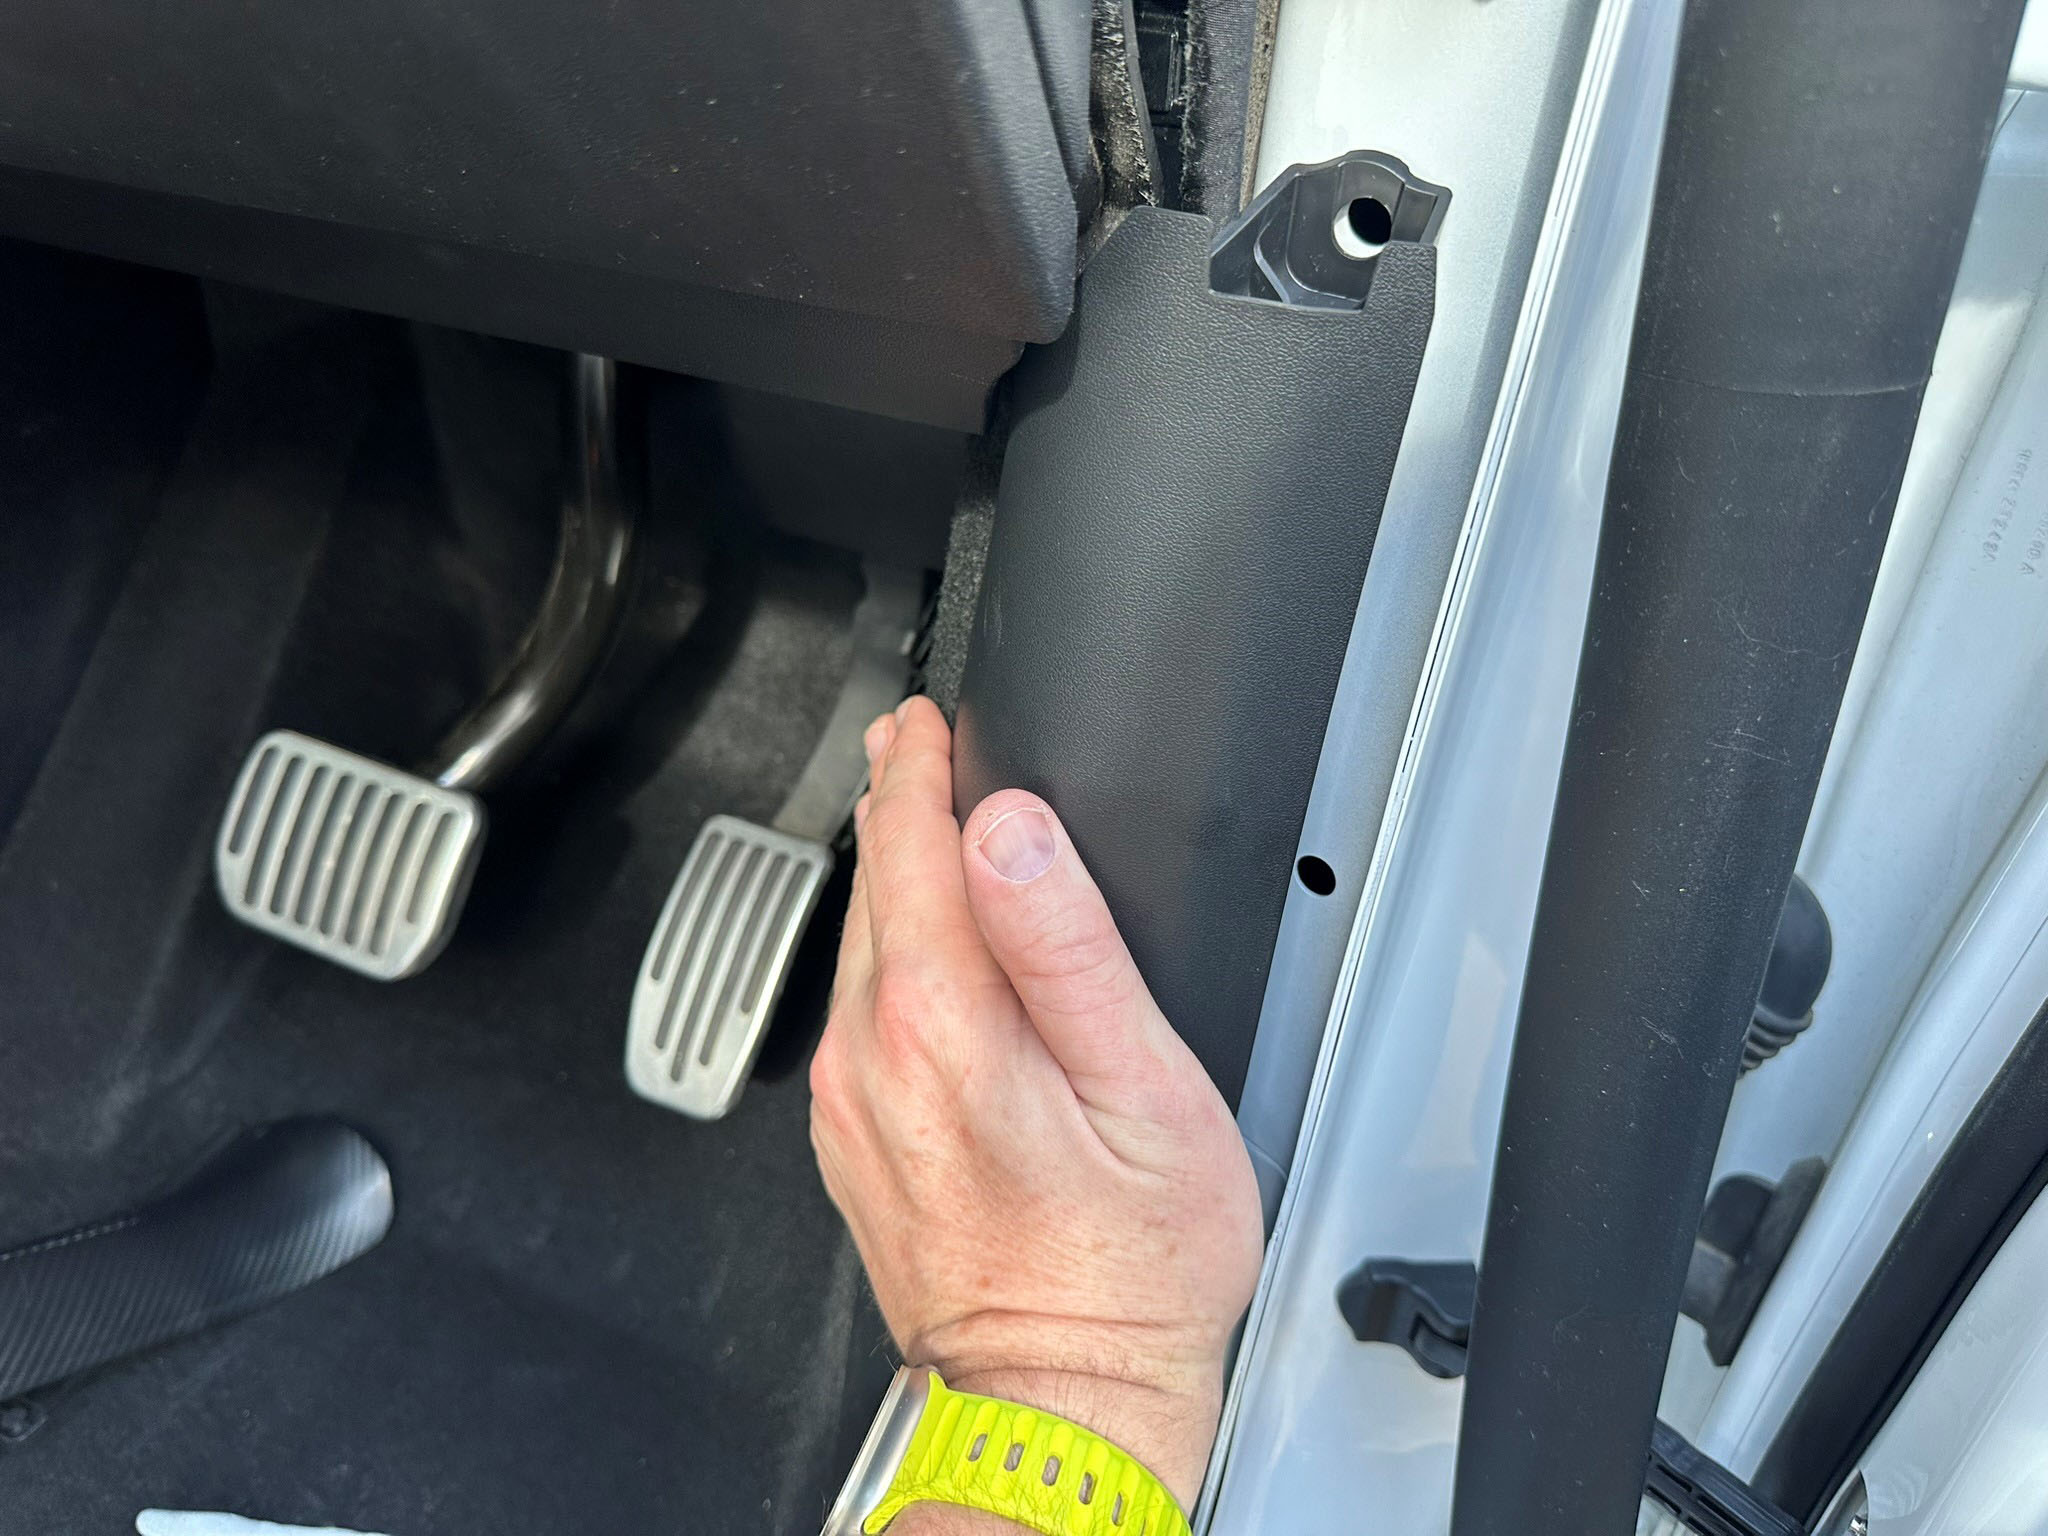
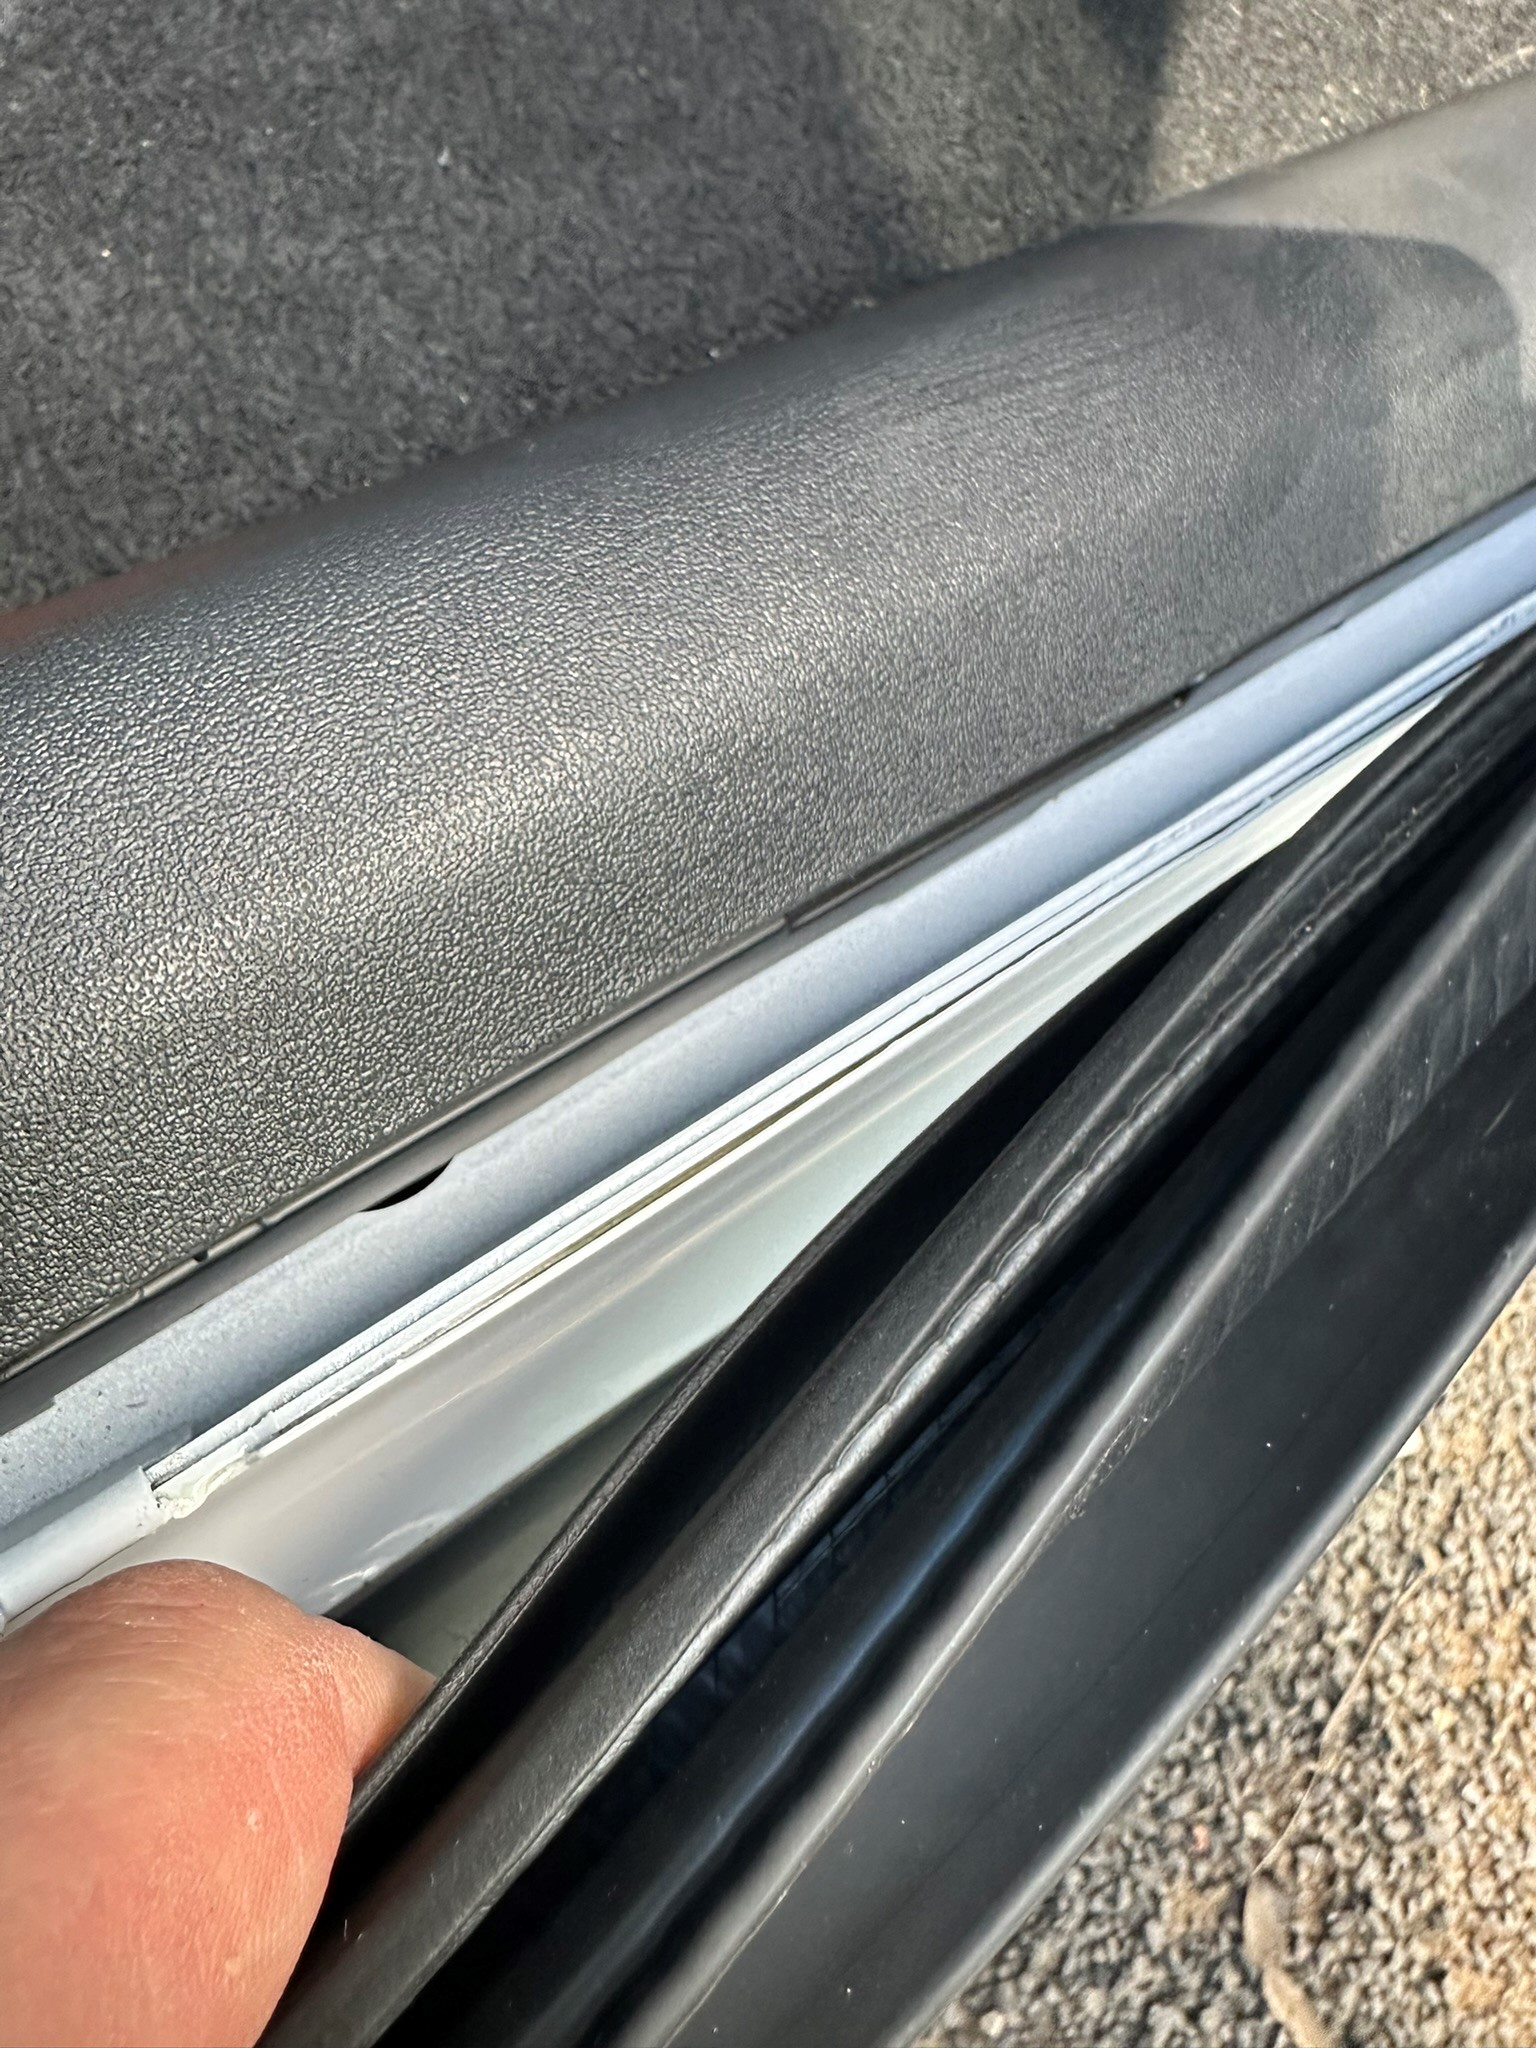
I pulled back the rubber strip.
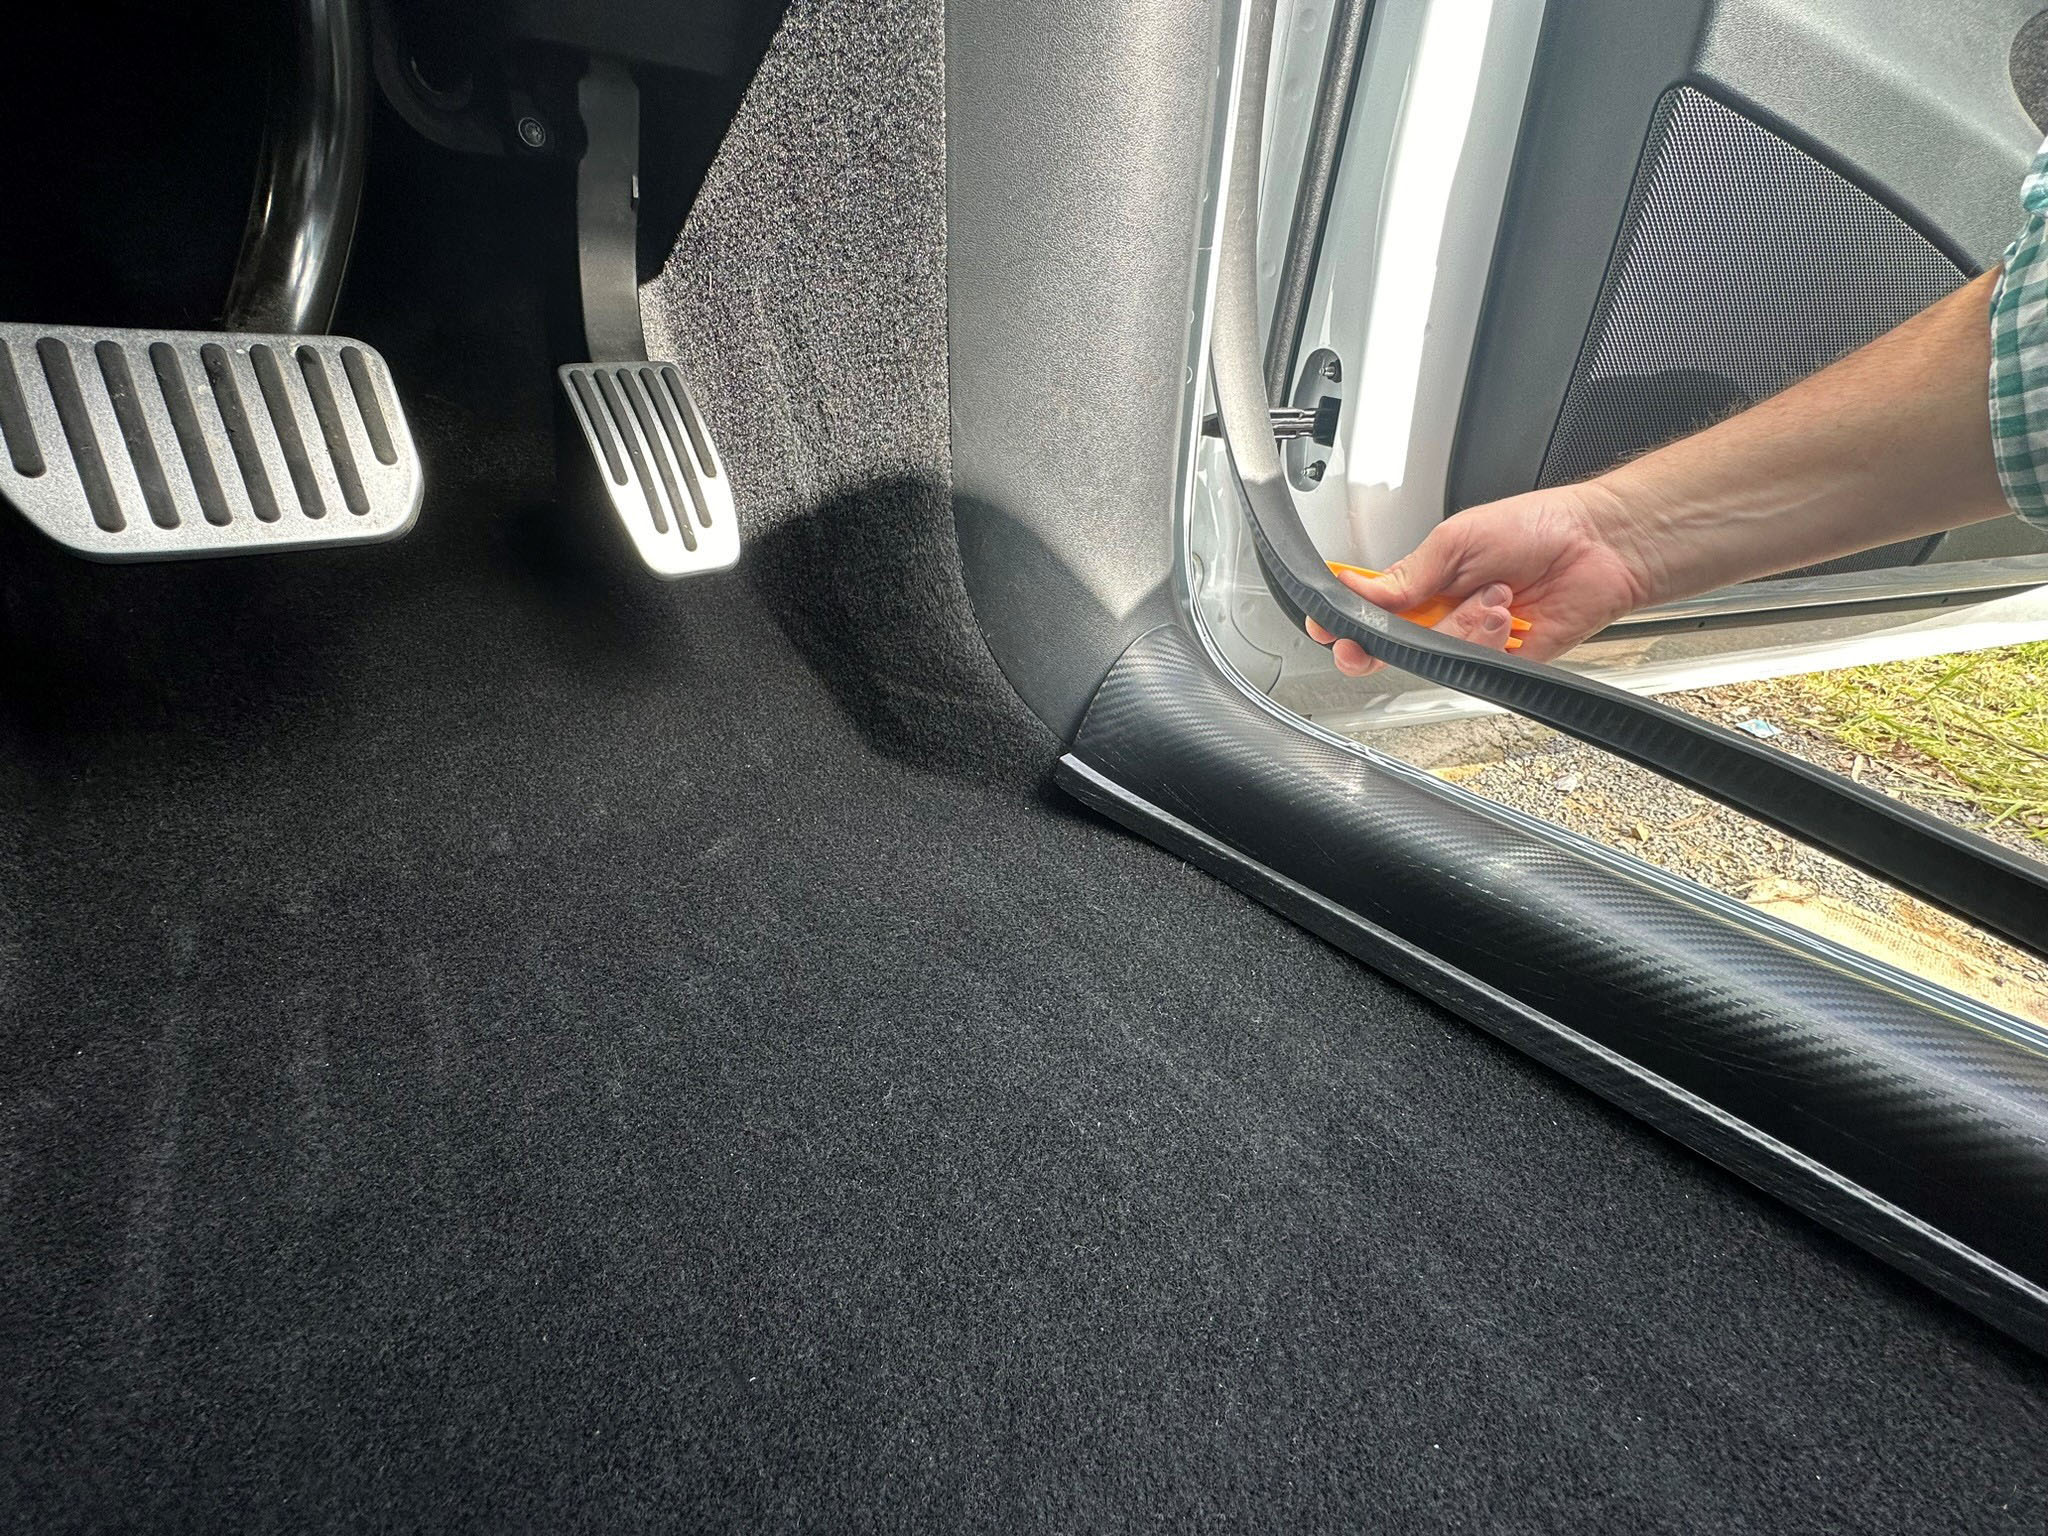
I popped off the top panel by pulling forward carefully.
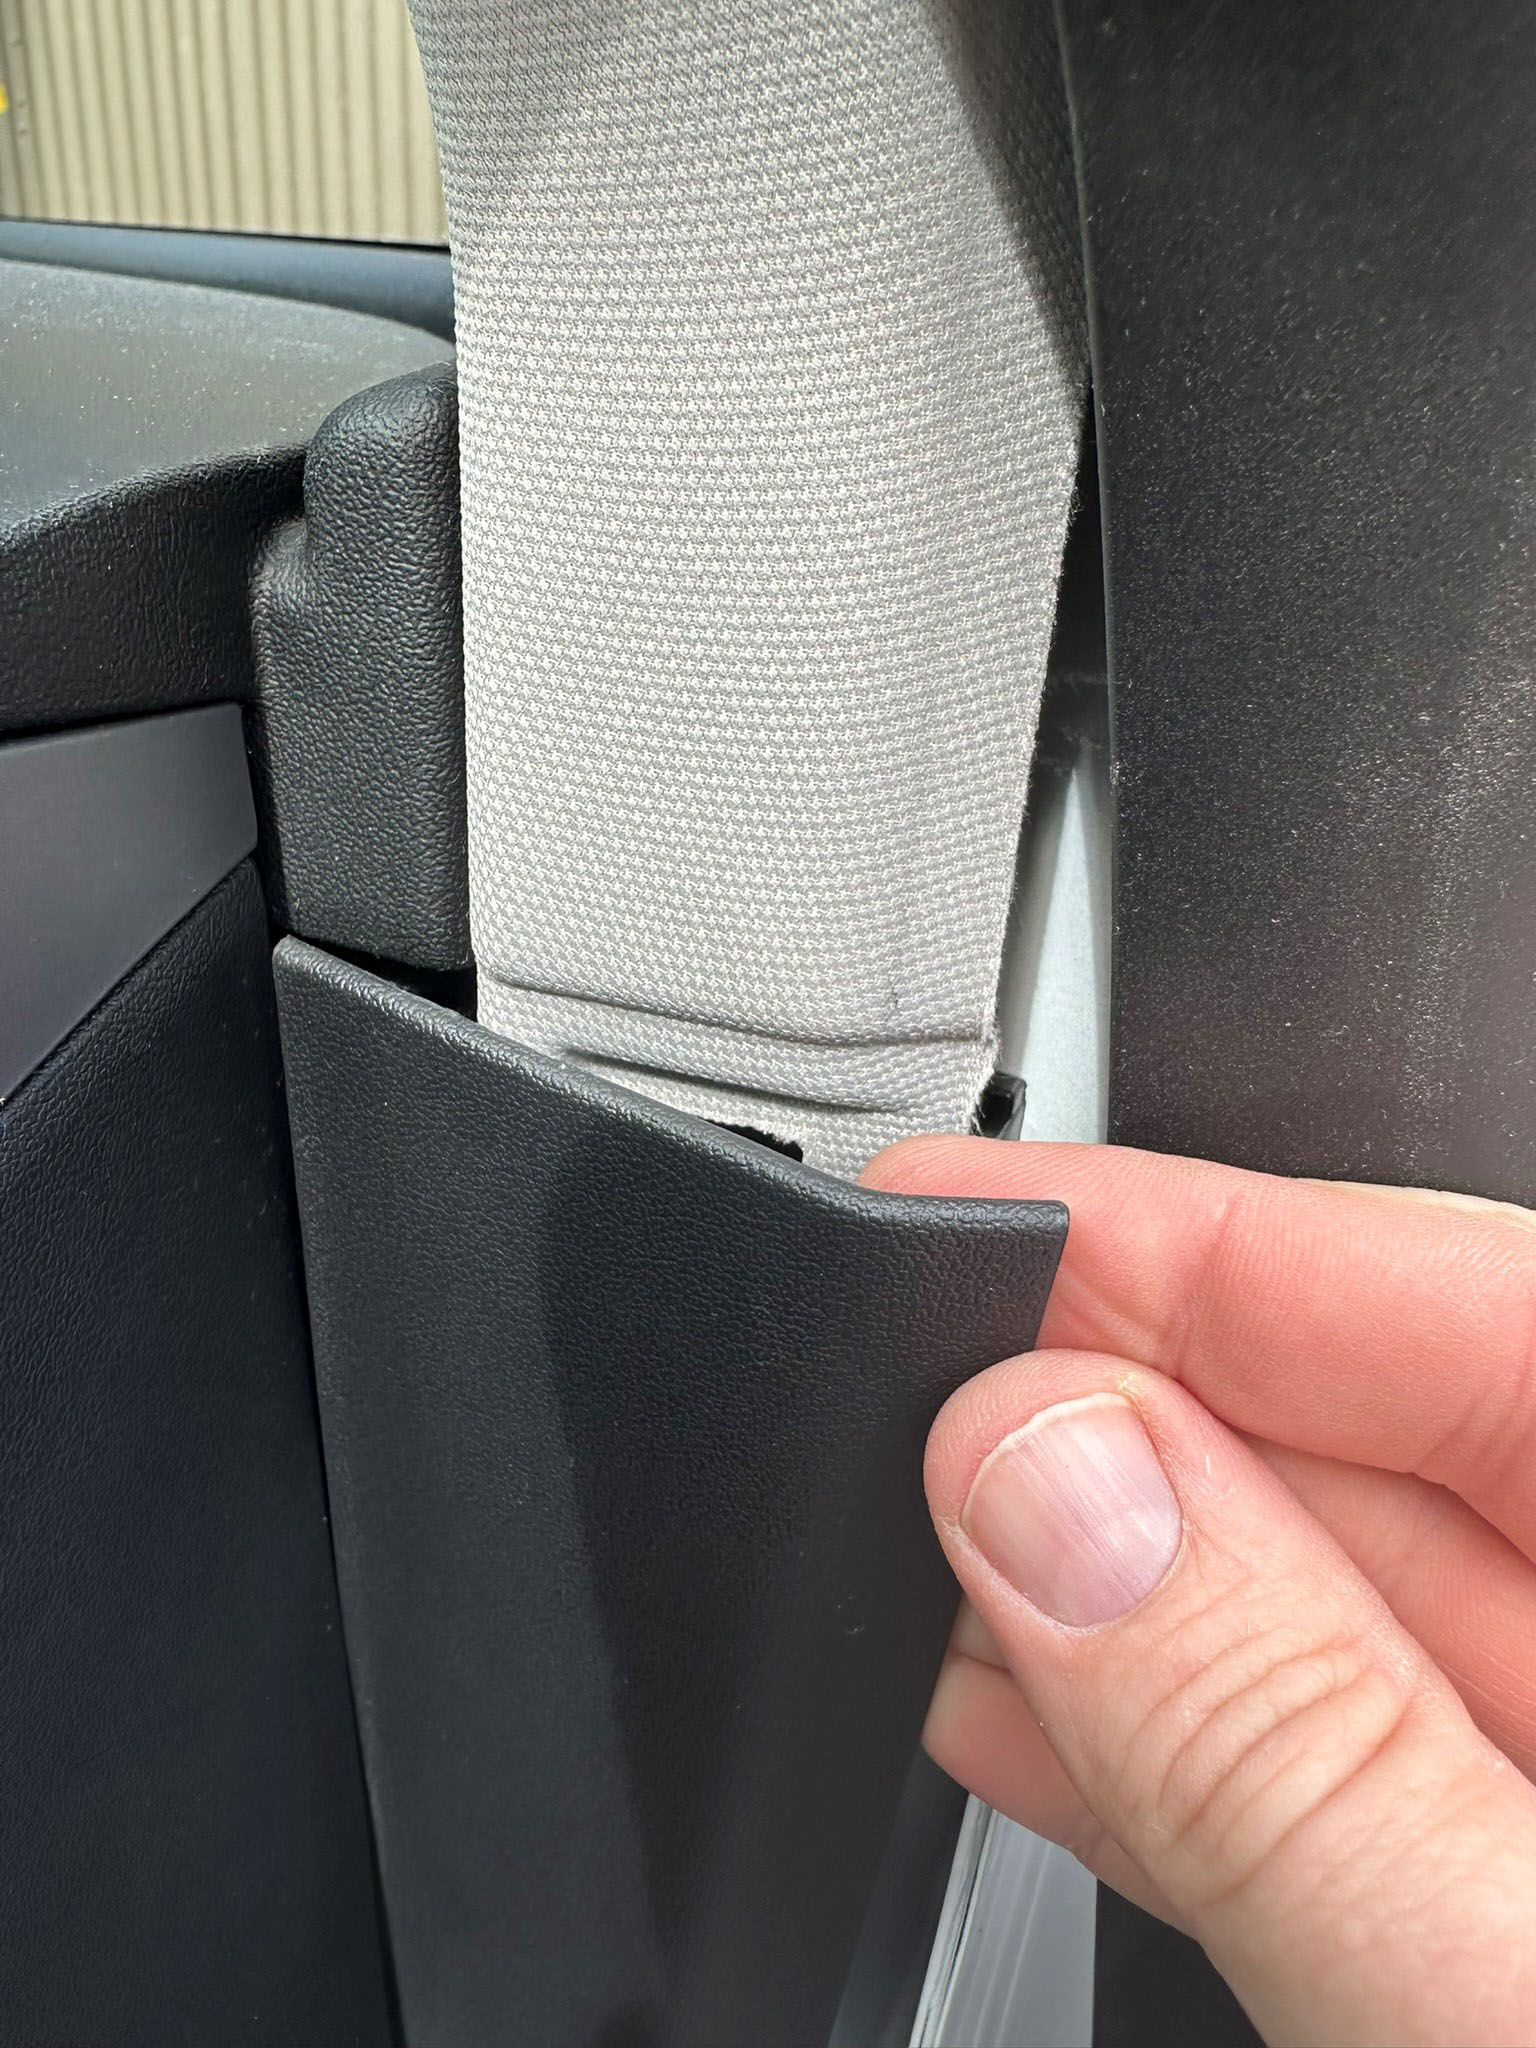
This revealed cabling and supports.

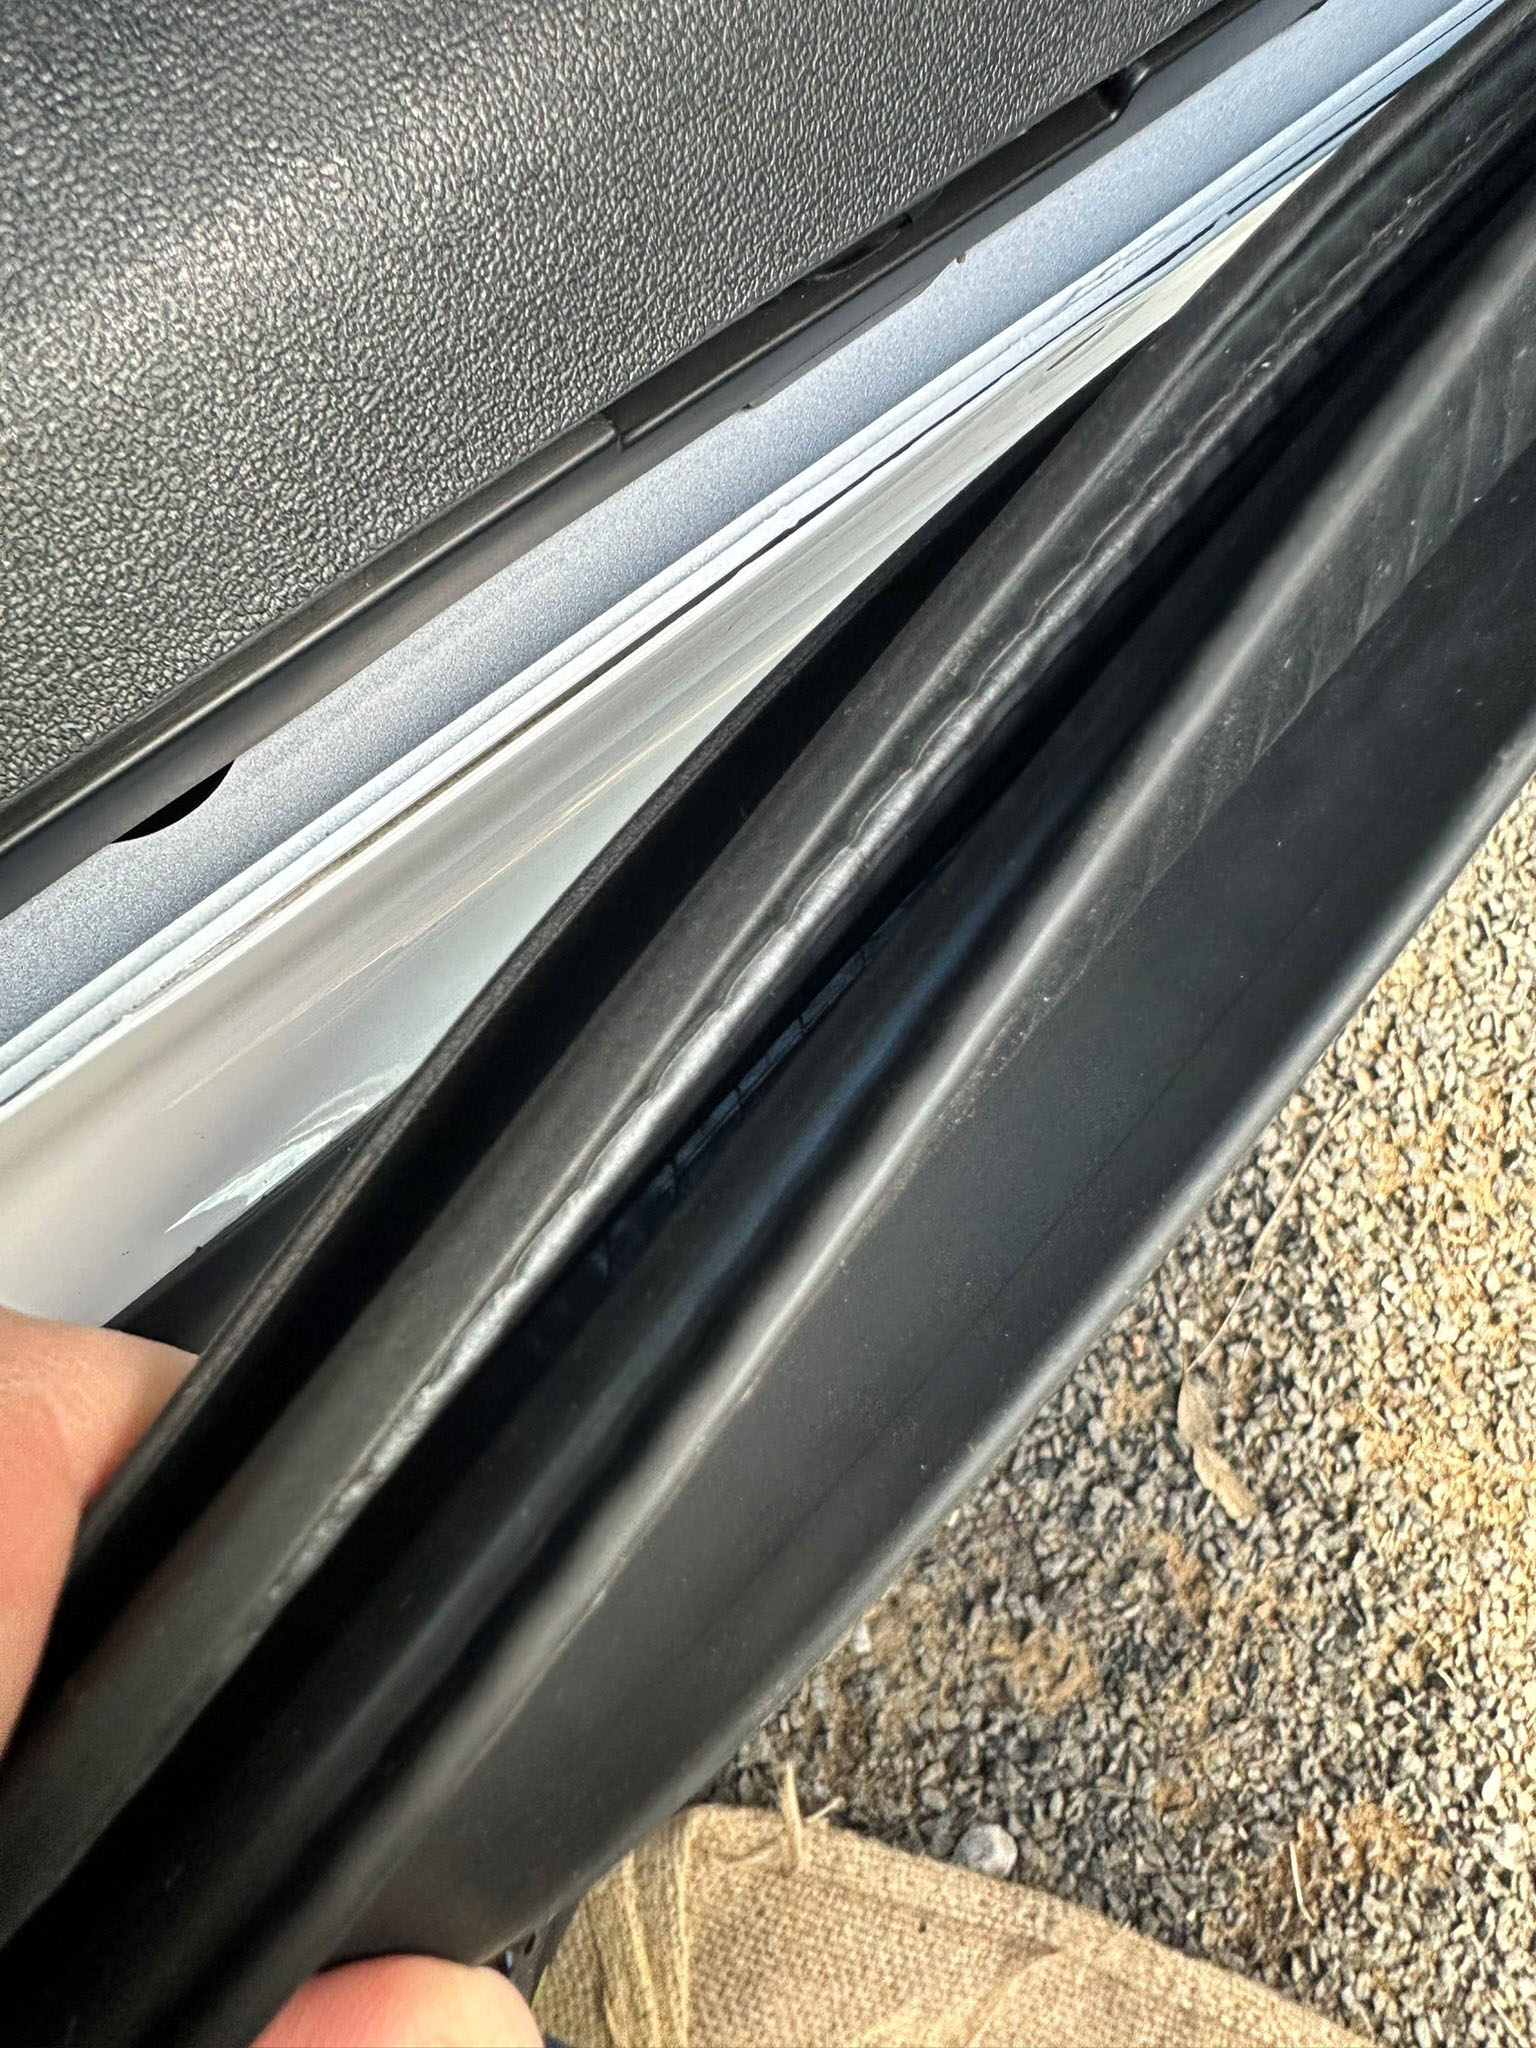
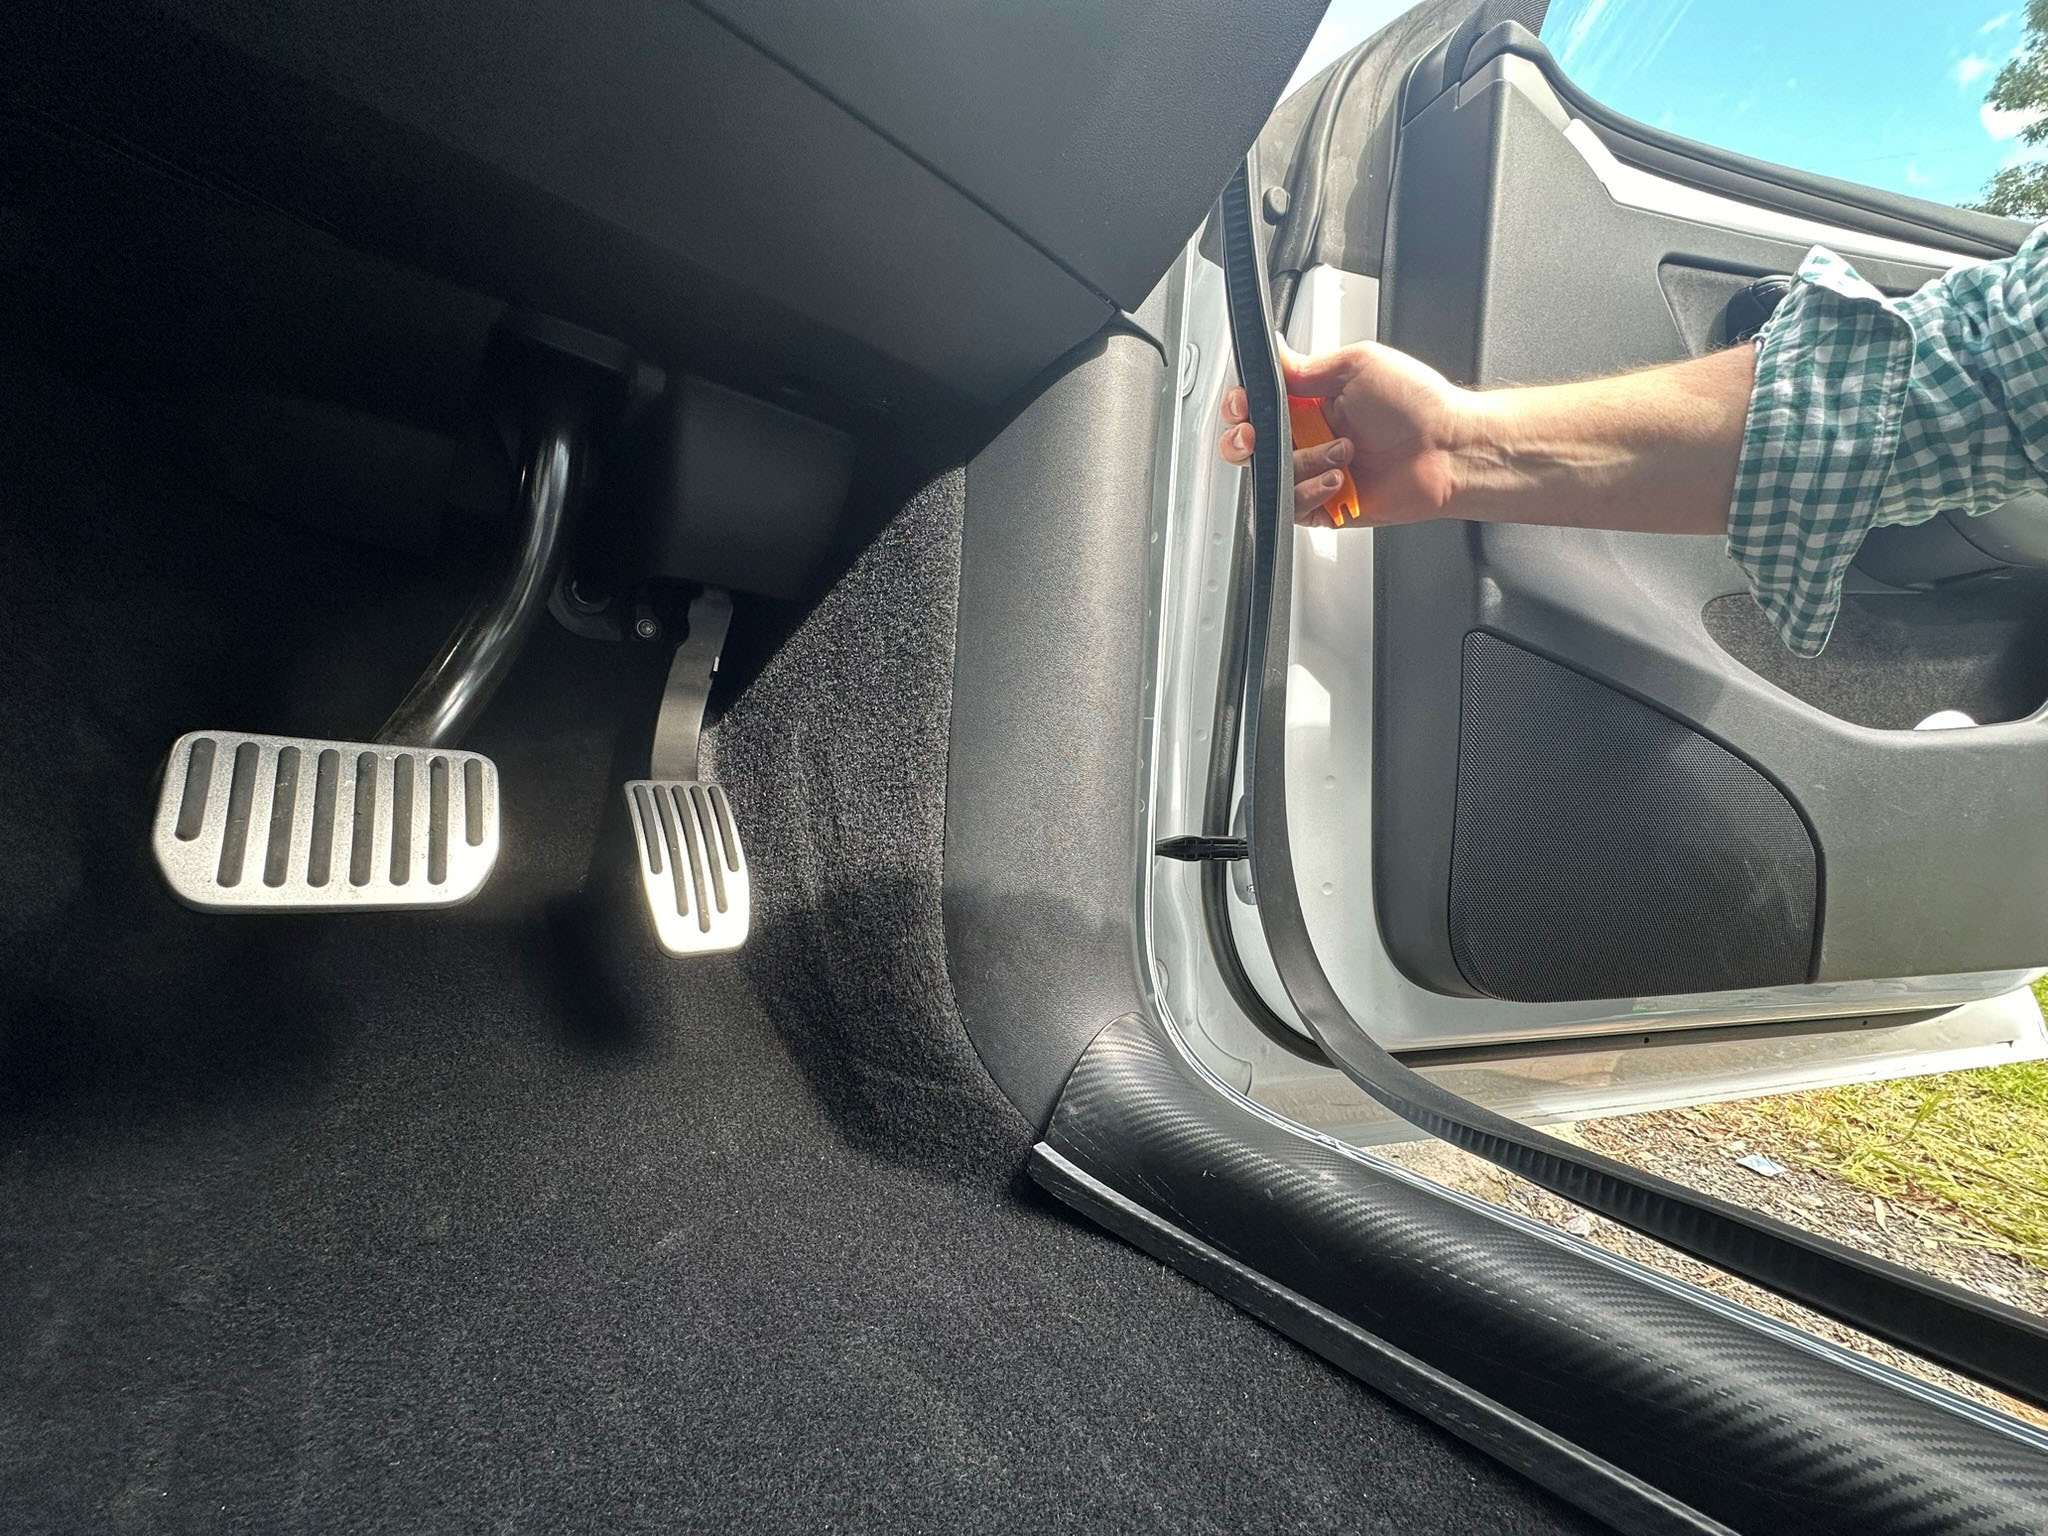
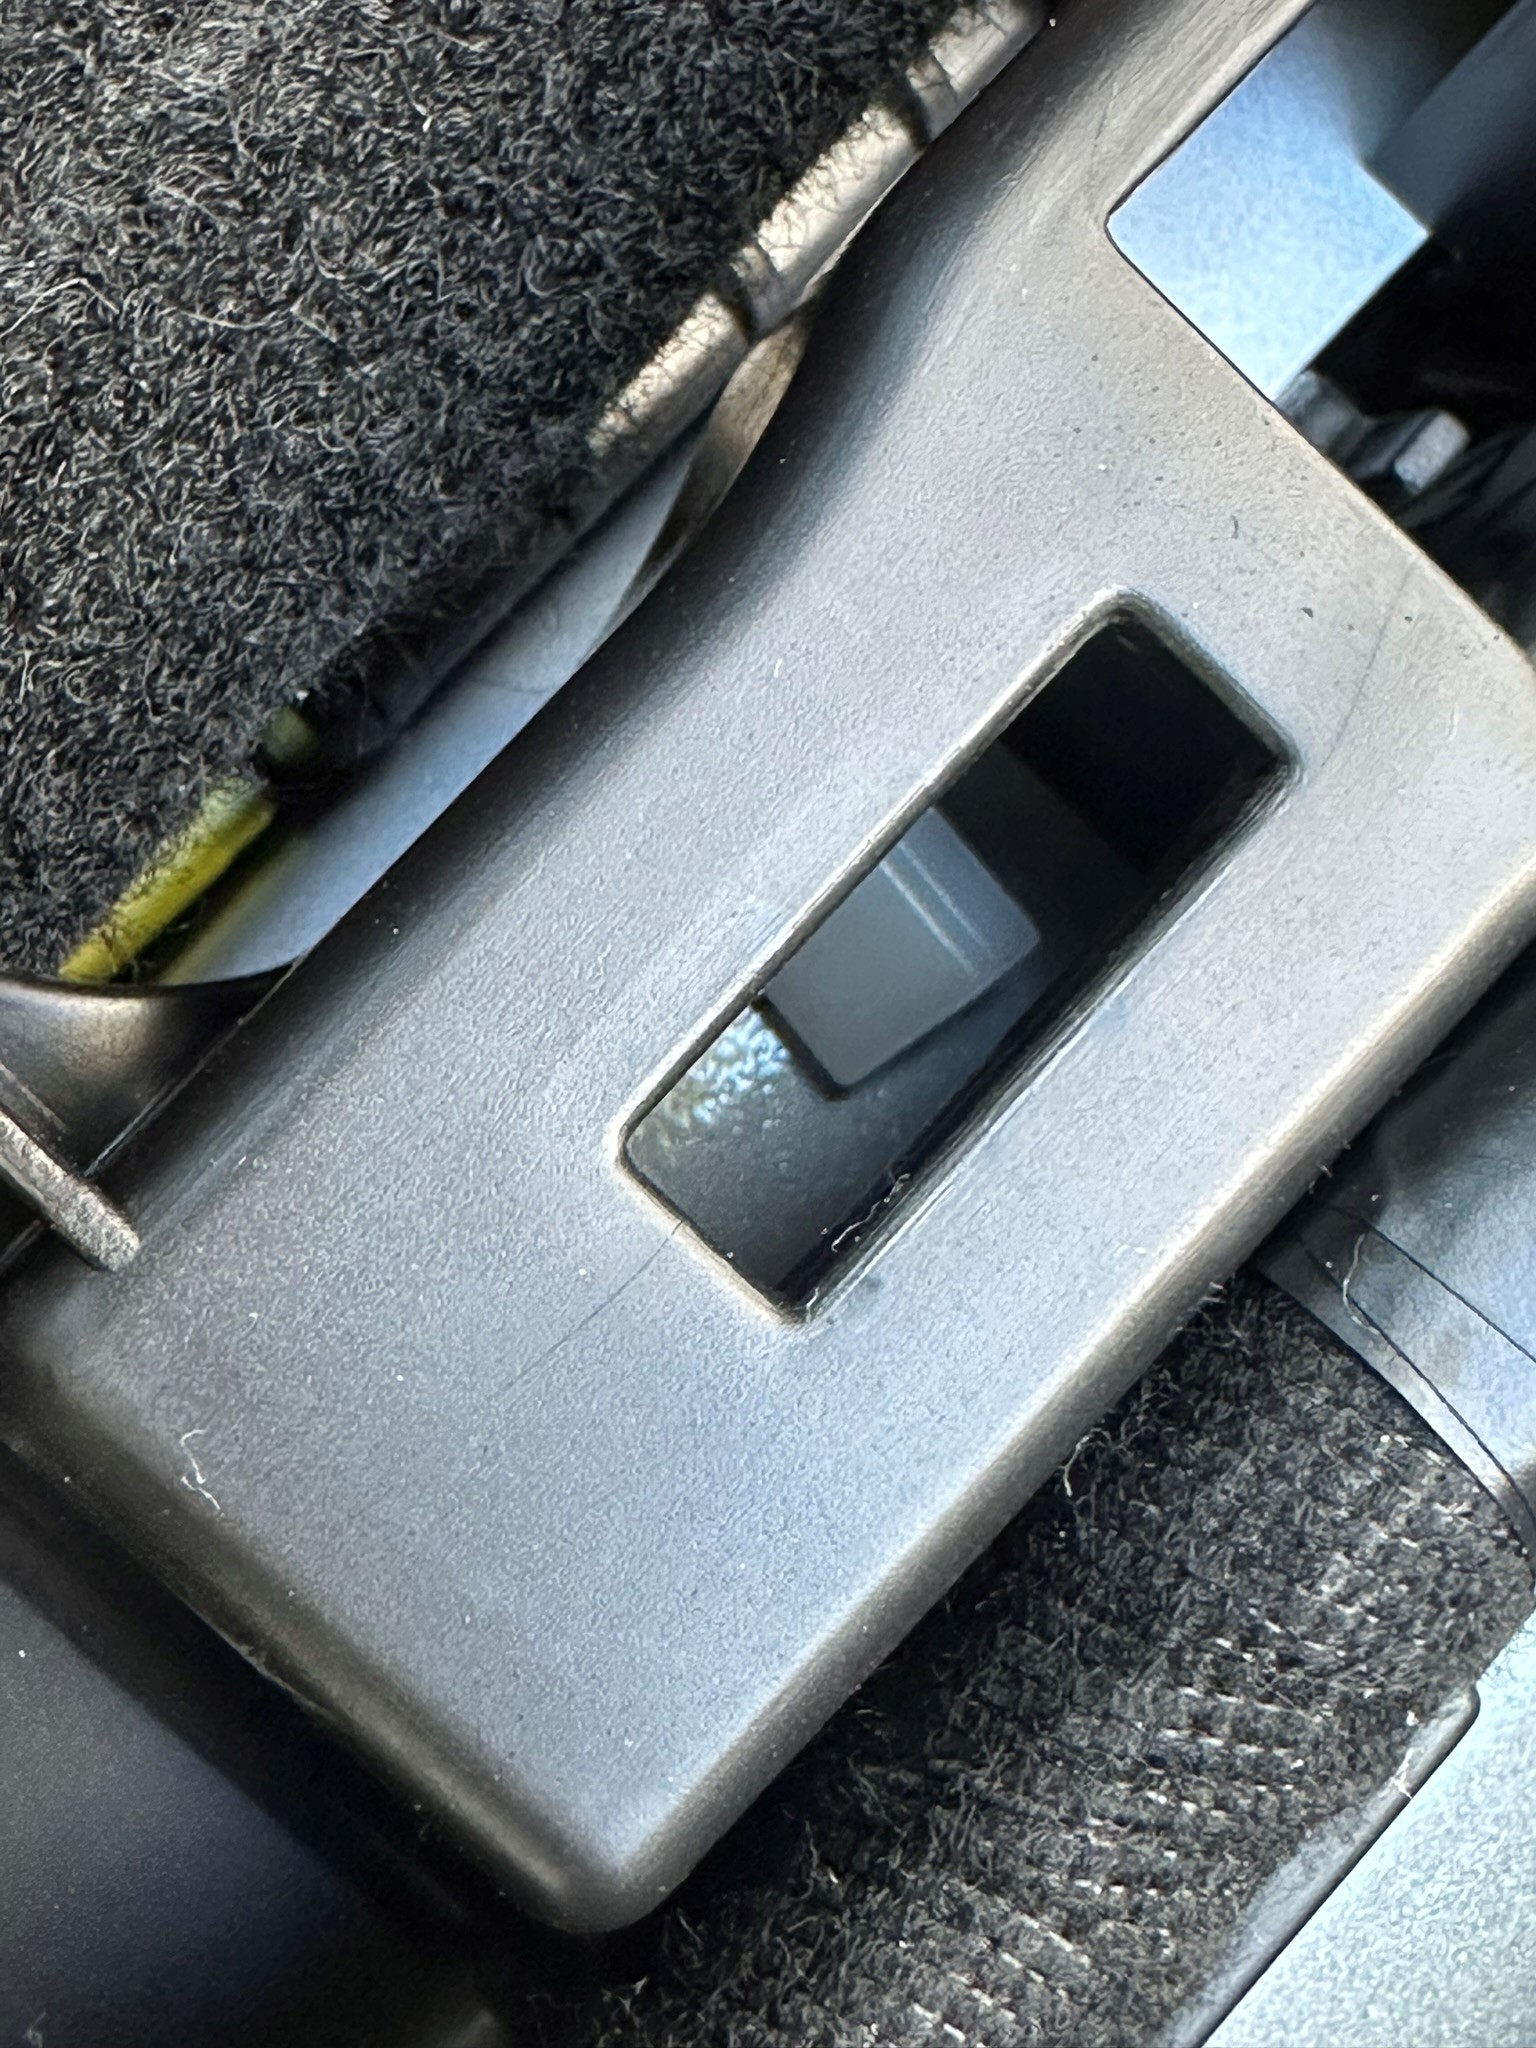
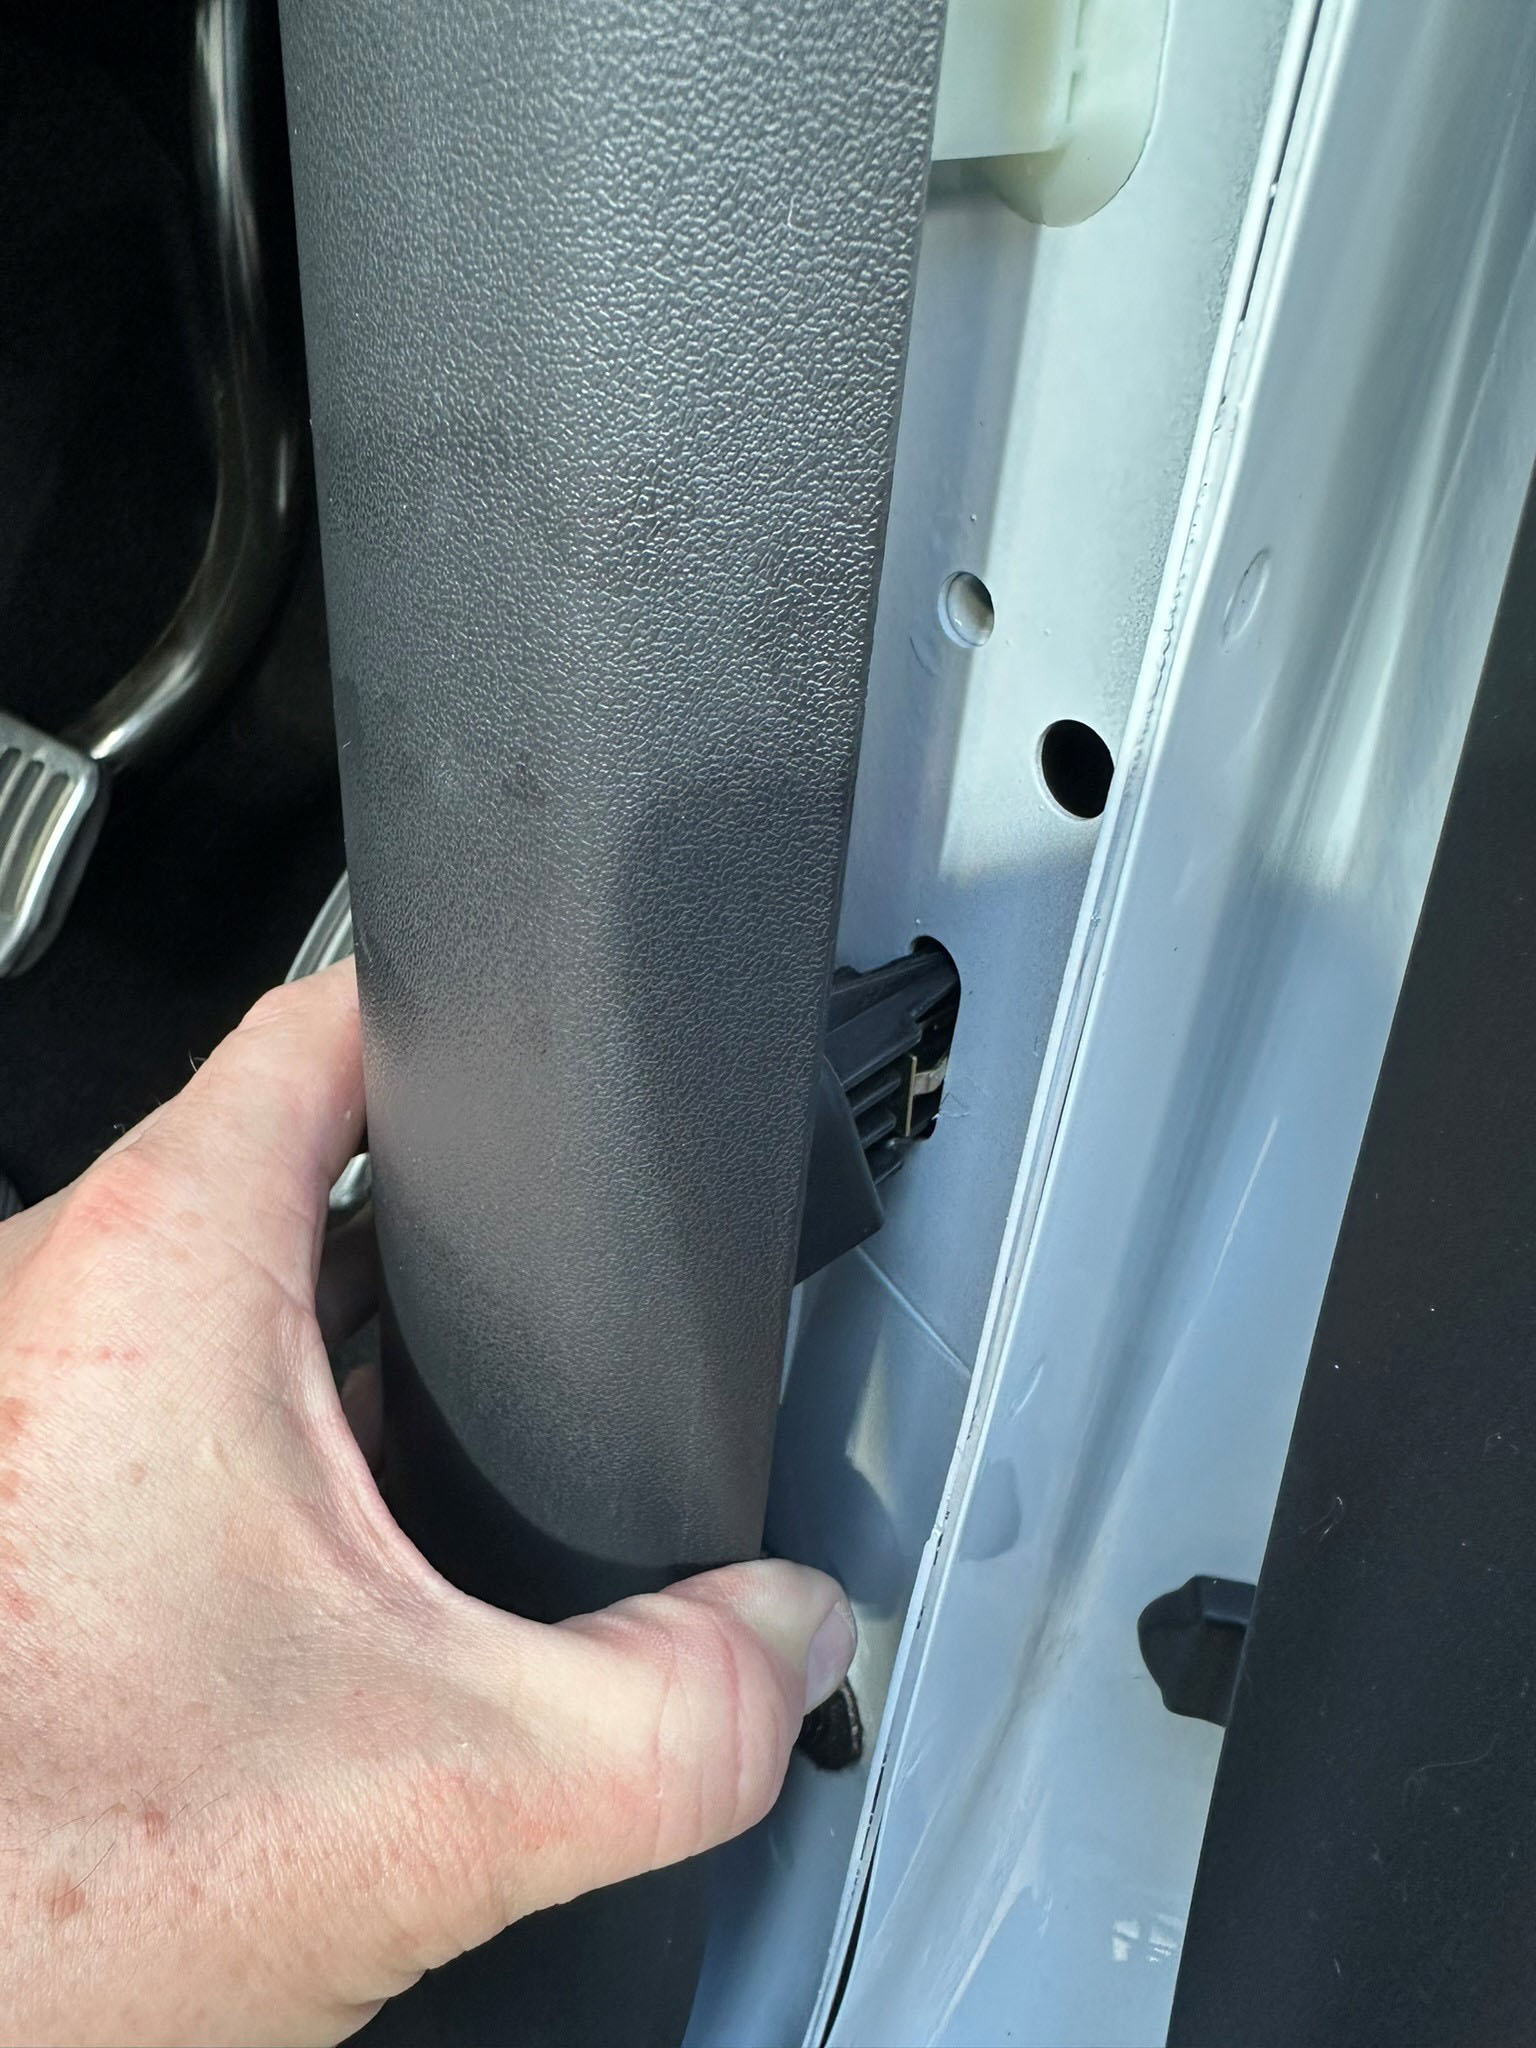
The next step is to pop out a retaining clip at the top of the door panel.
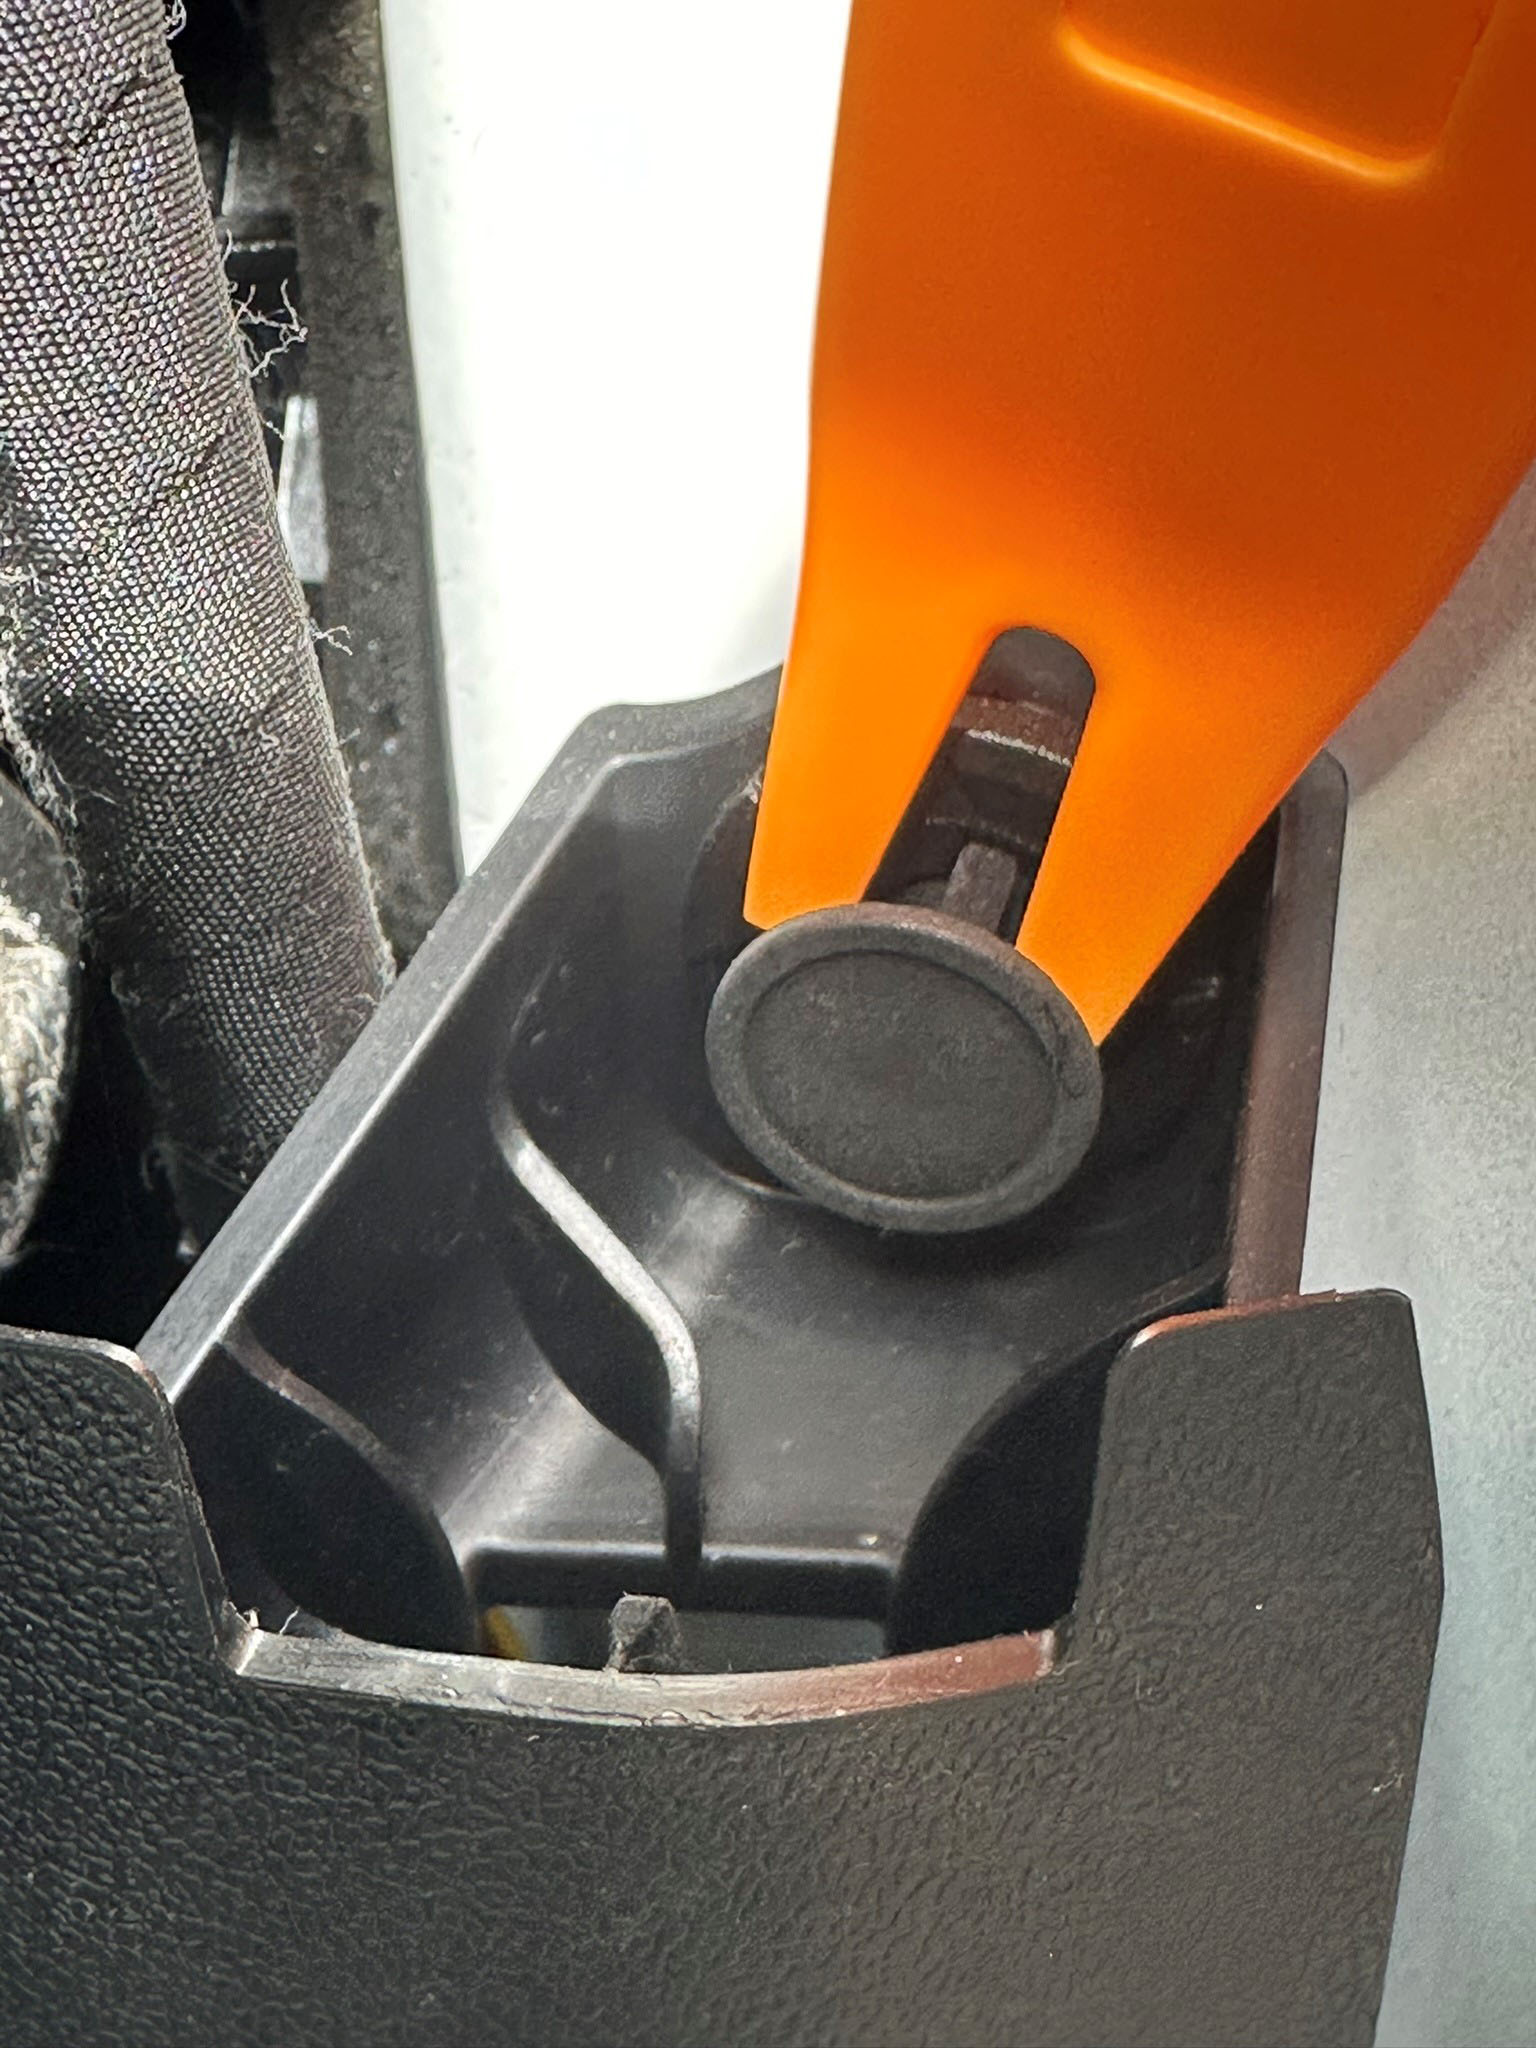
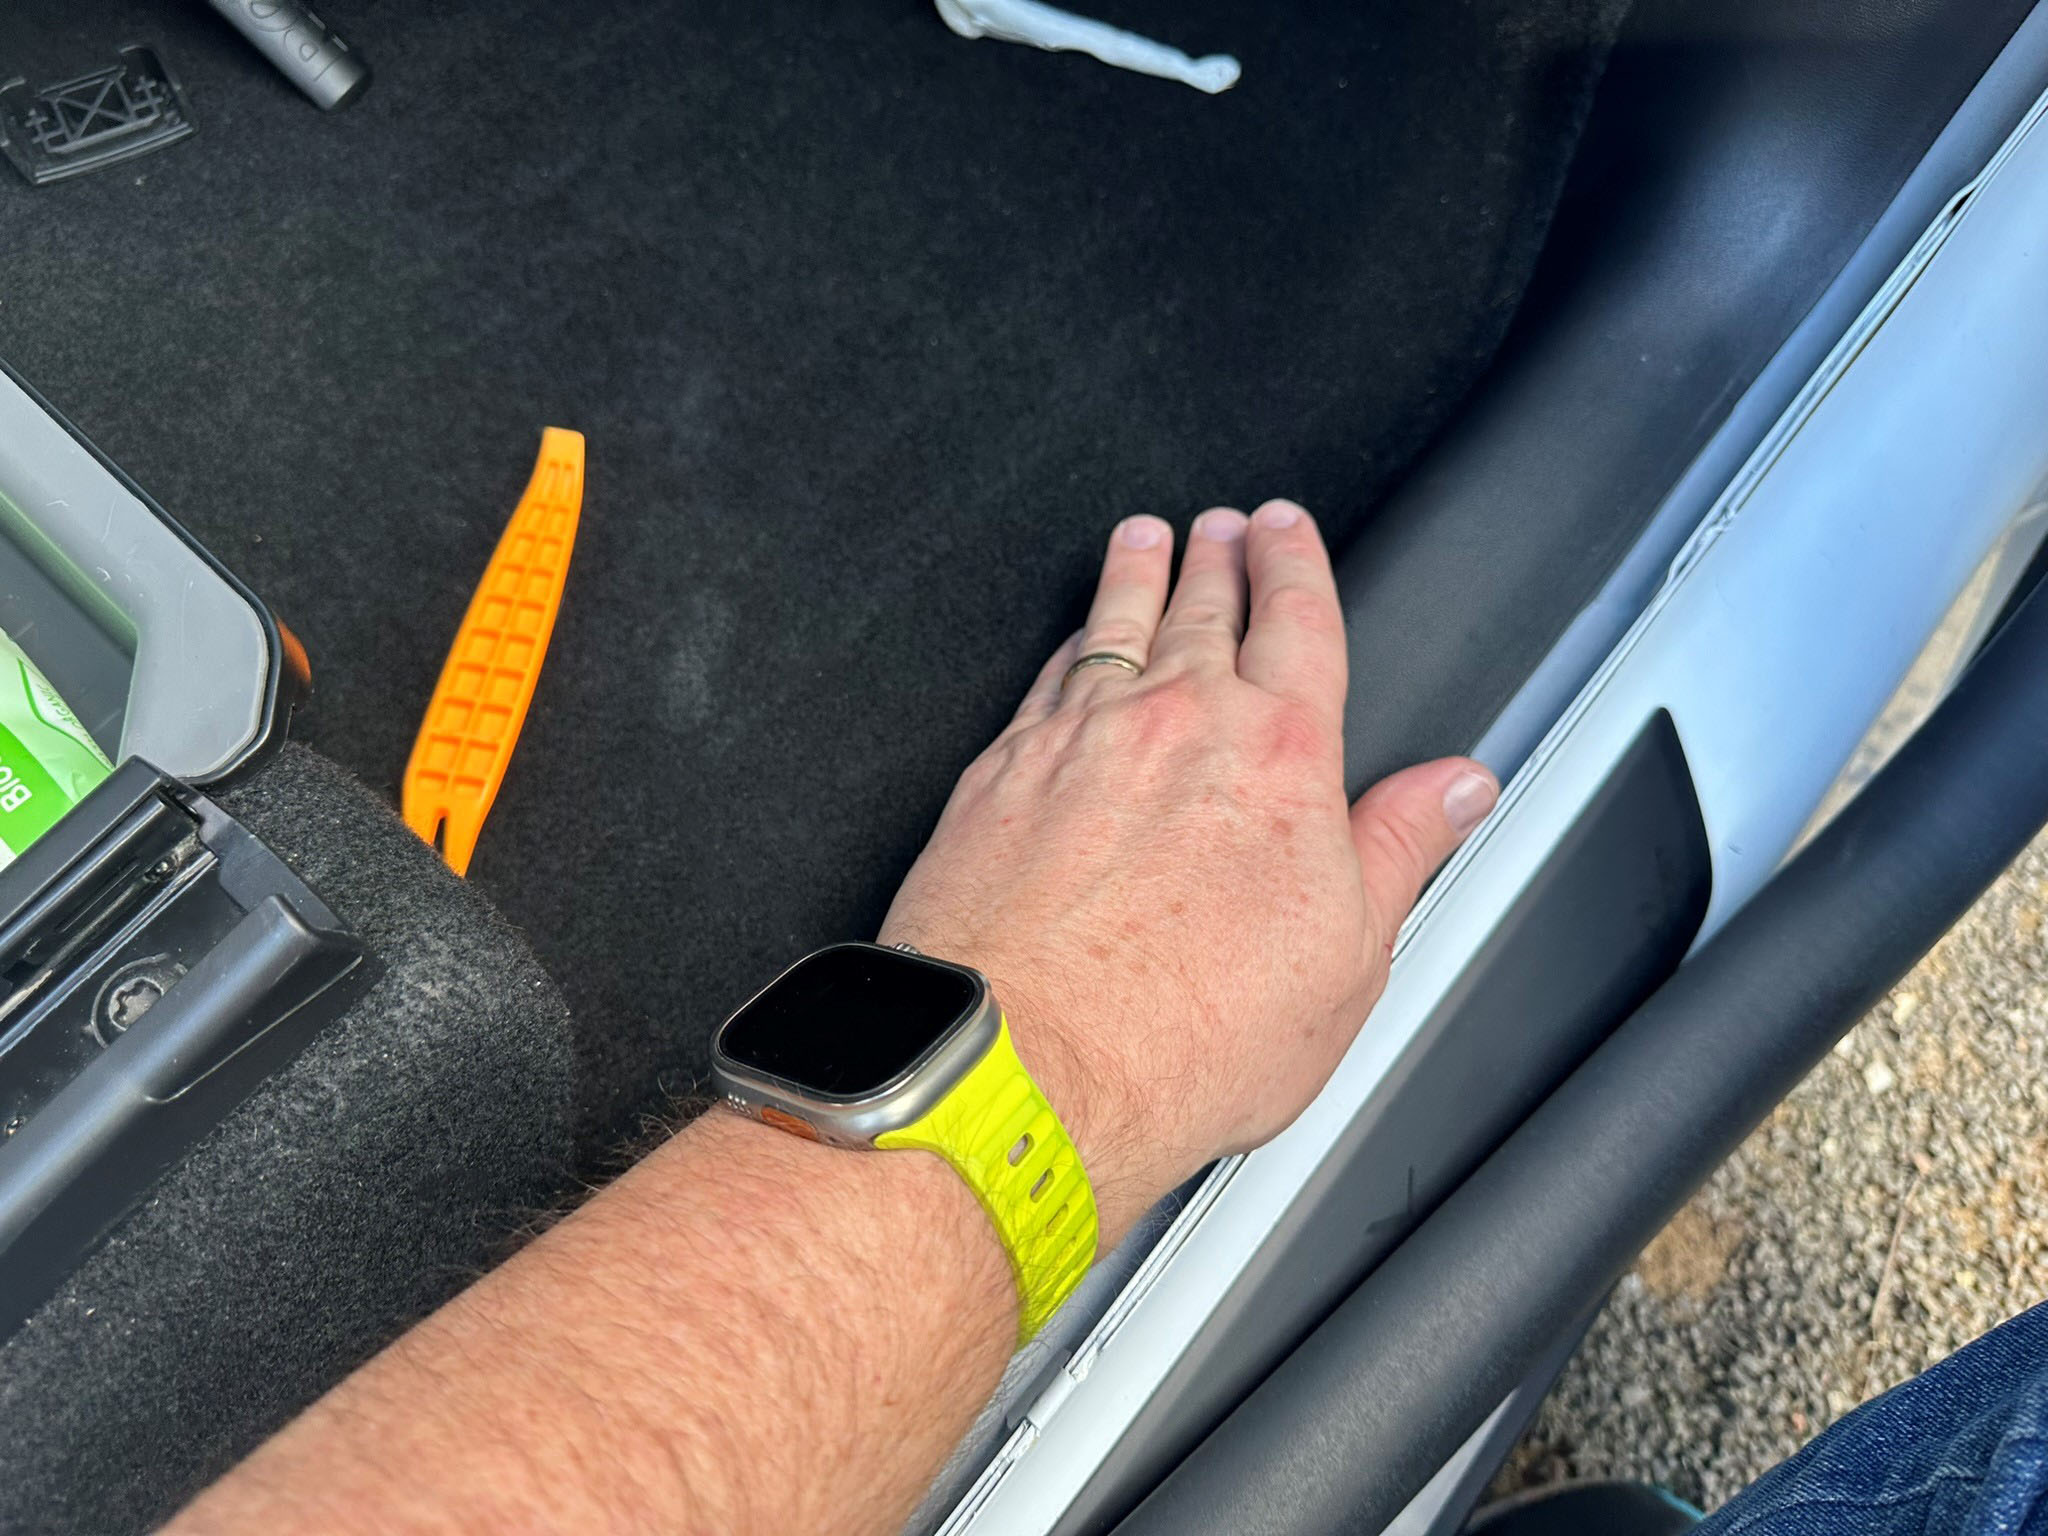
I removed the bottom door panel by releasing the top and pulling the bottom up.
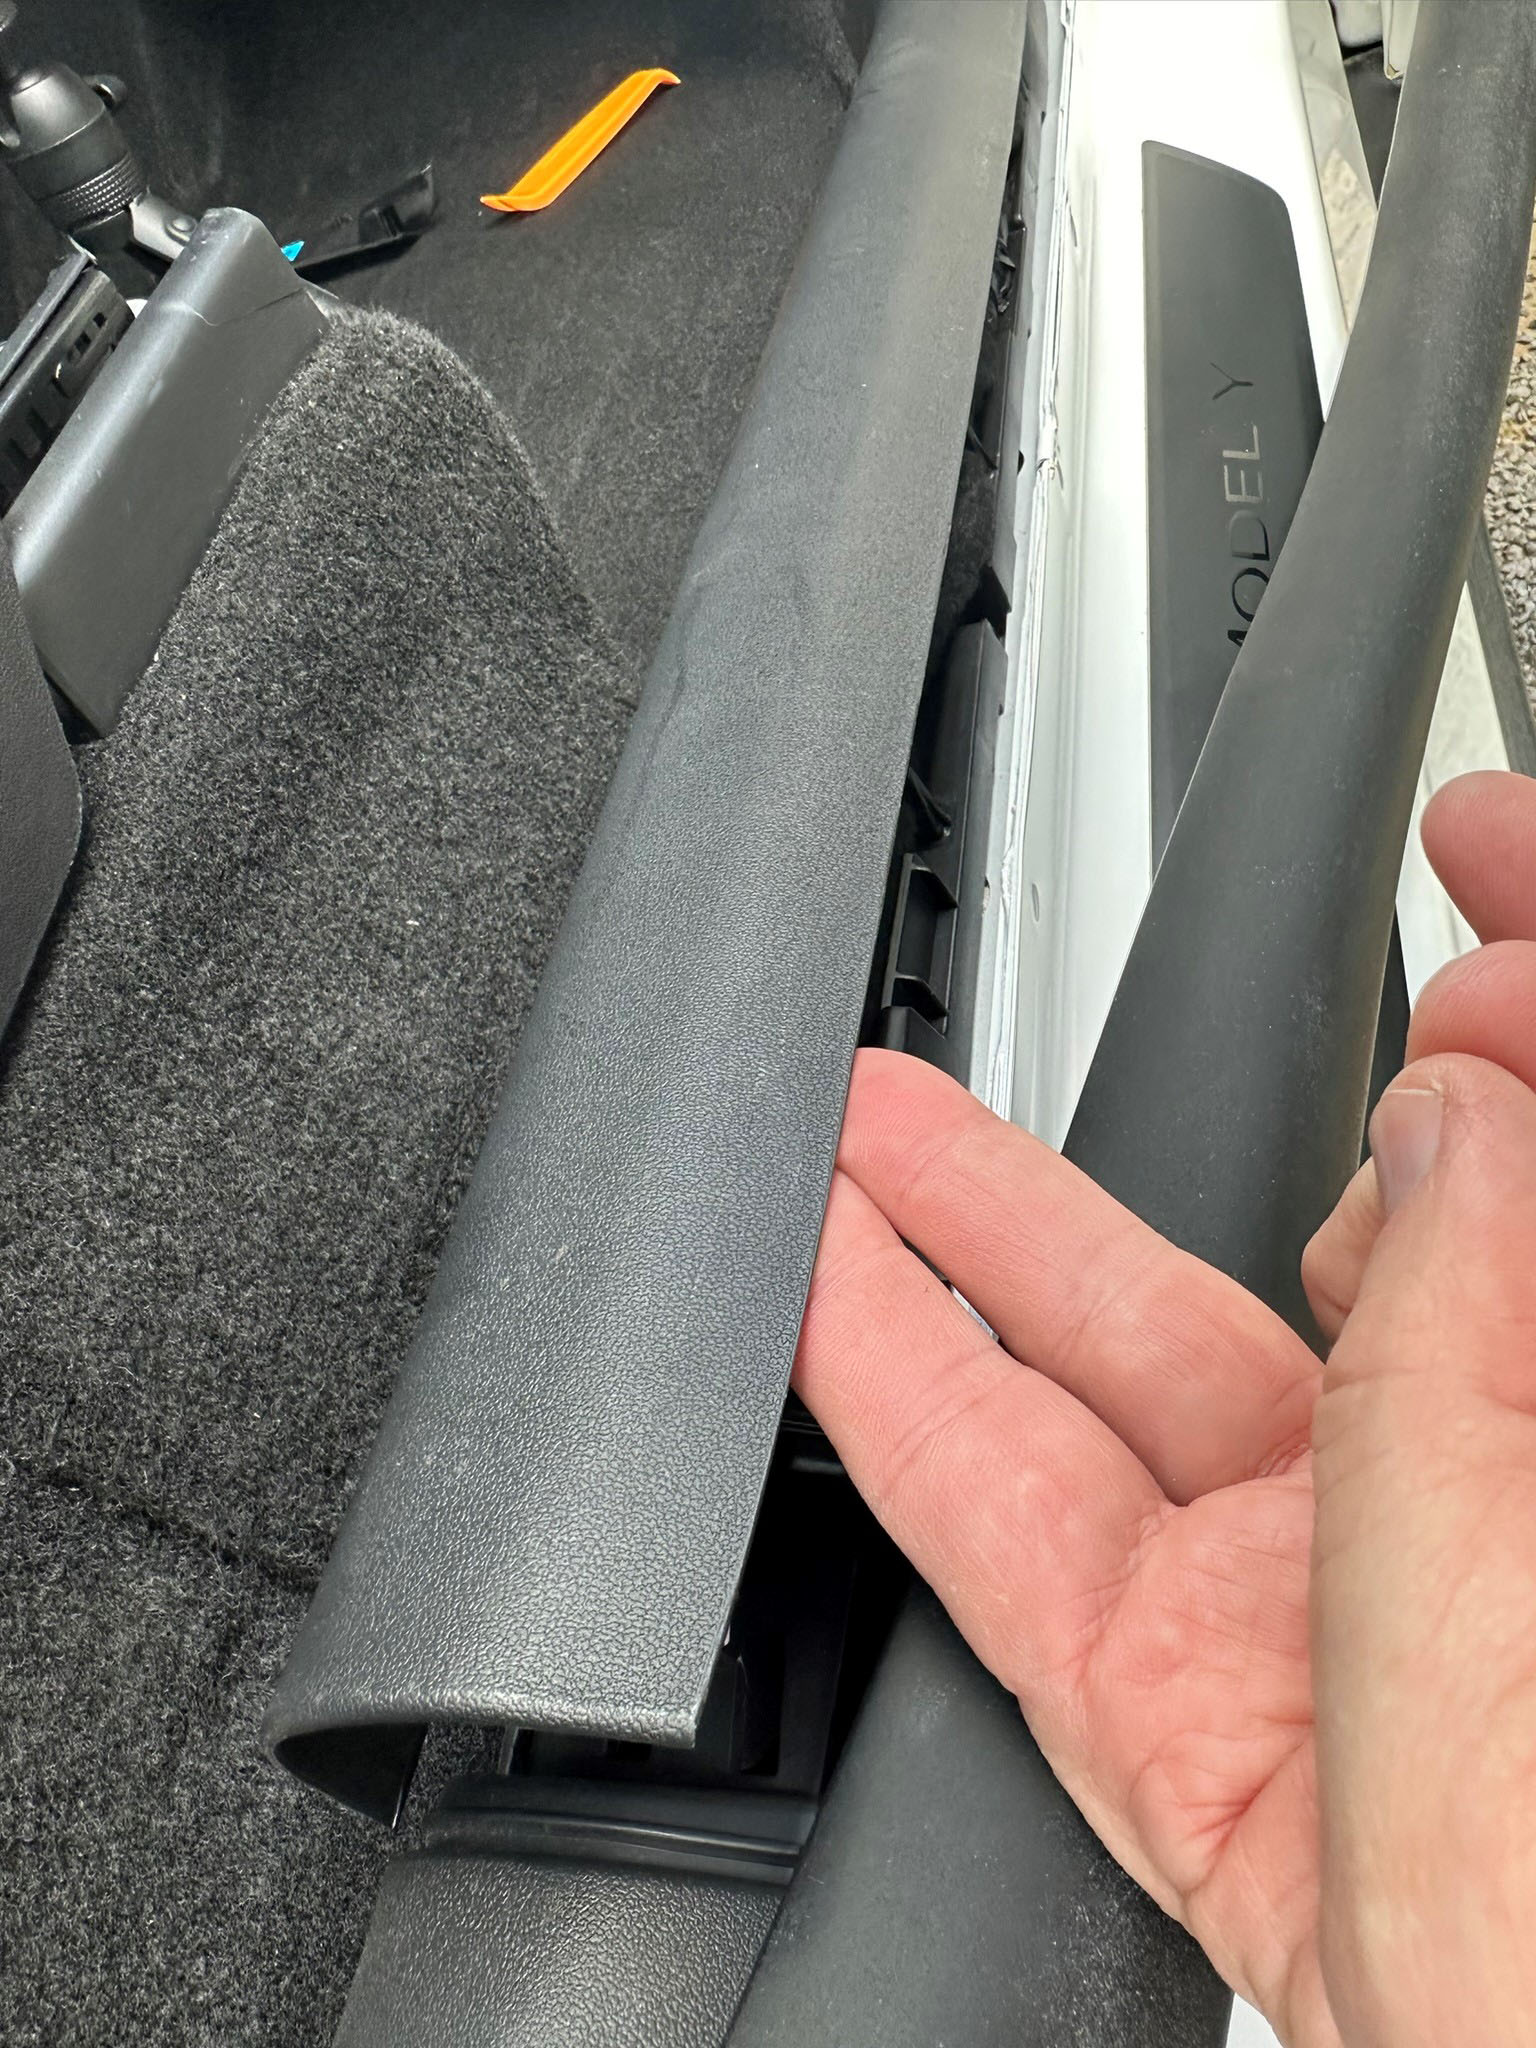
I removed the bottom door panel
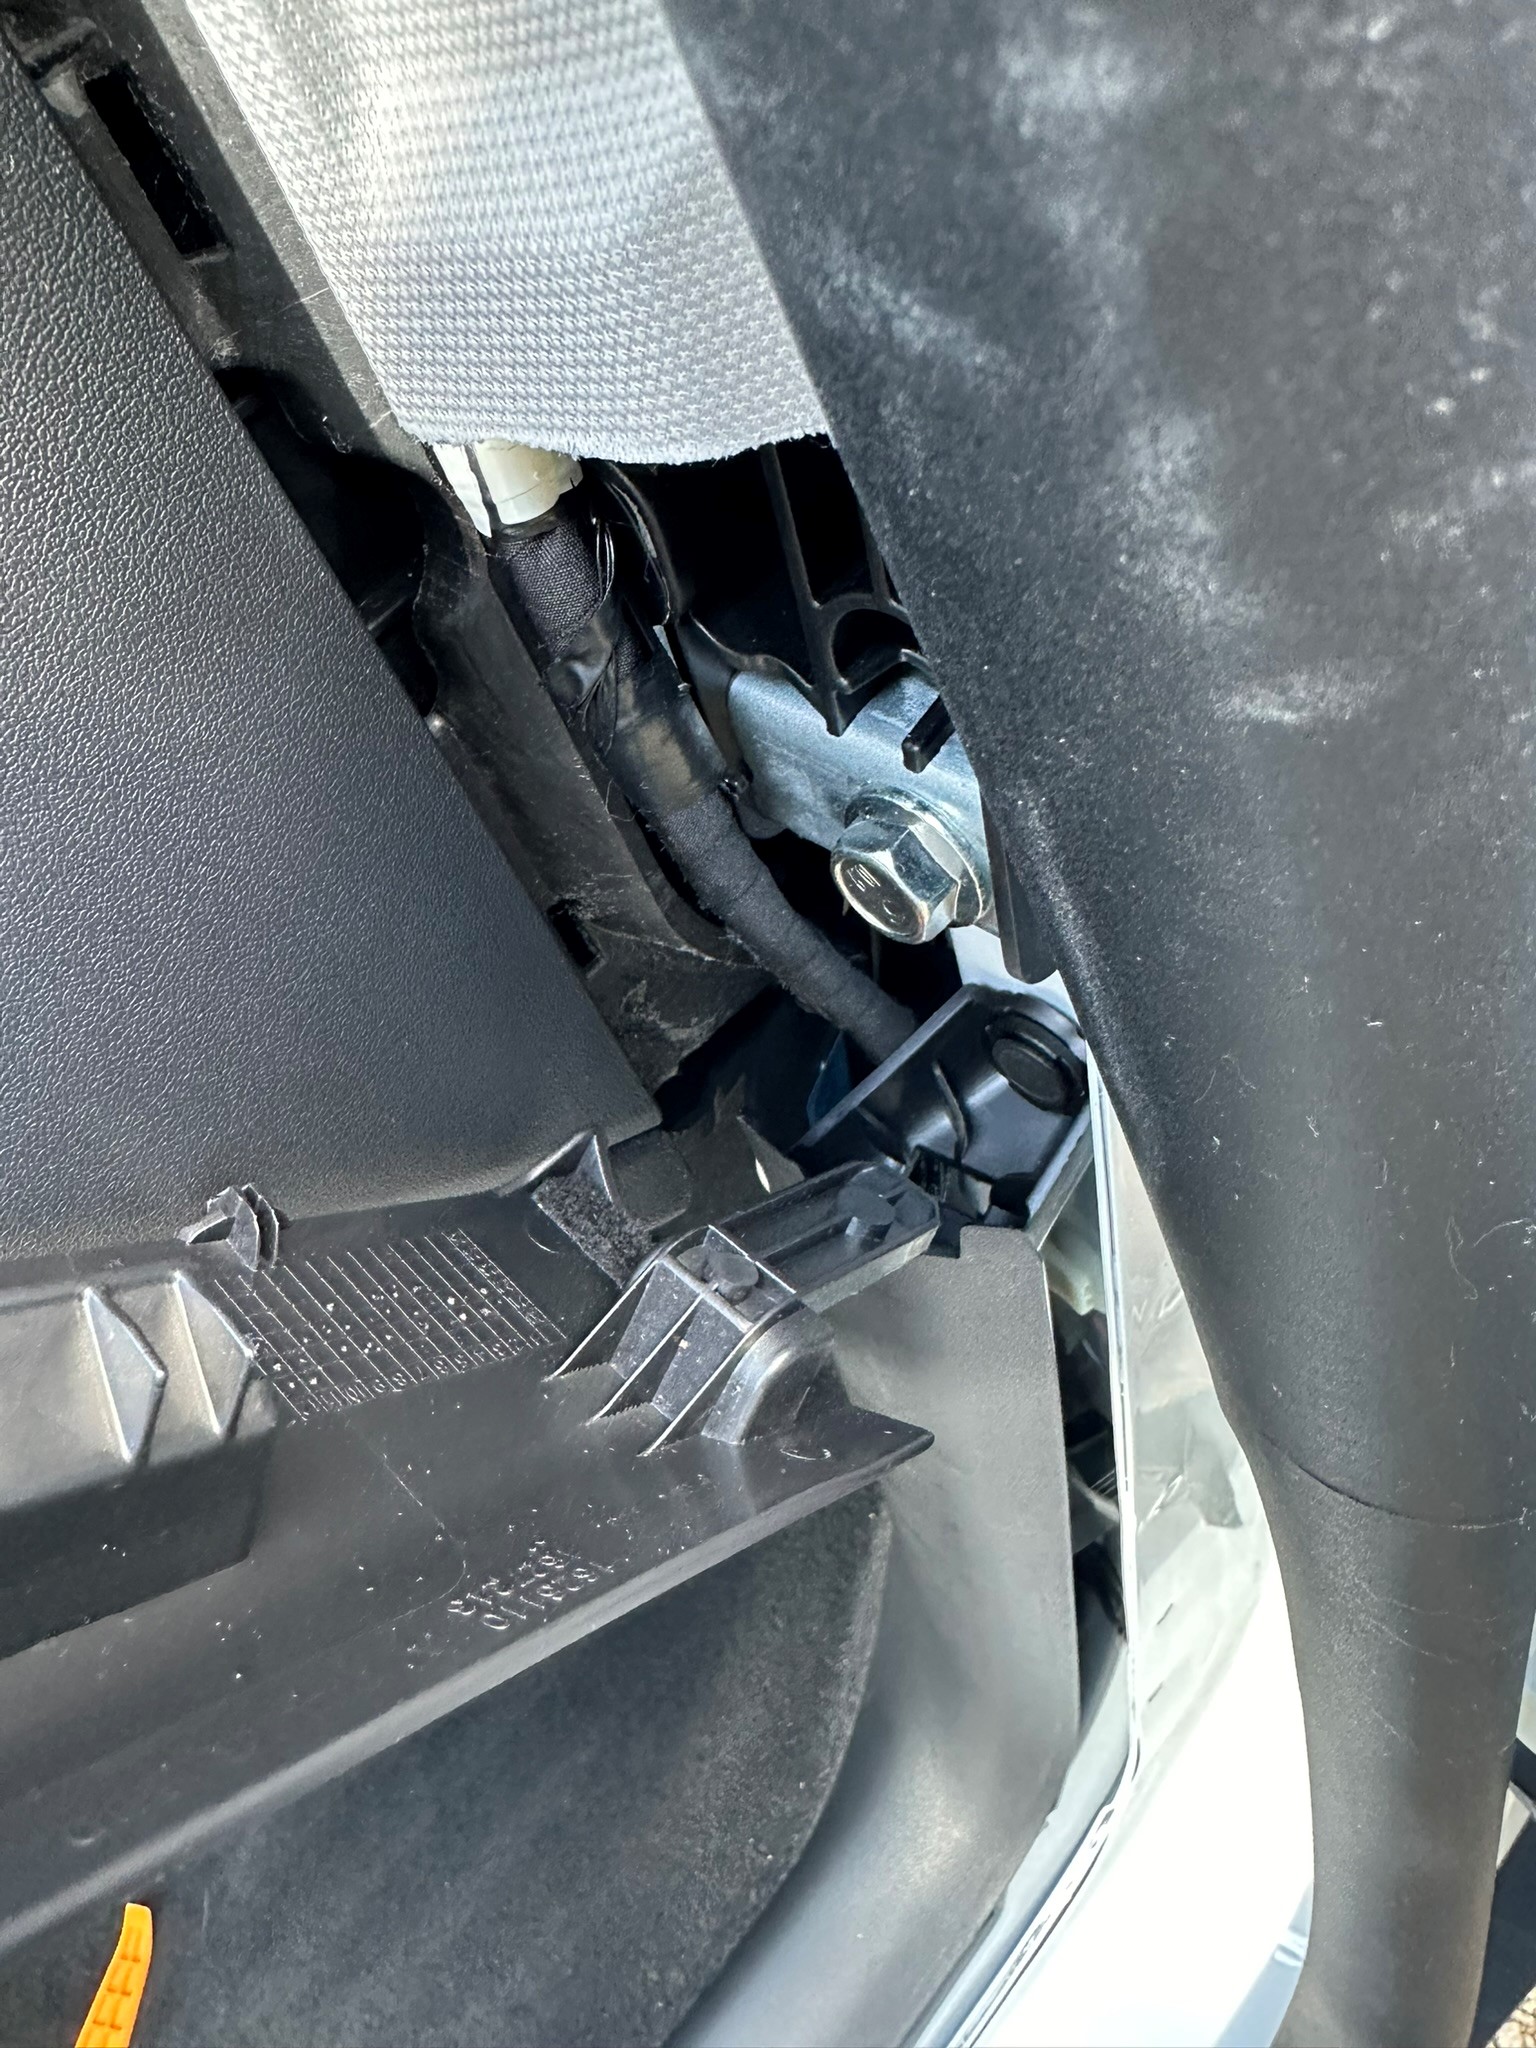
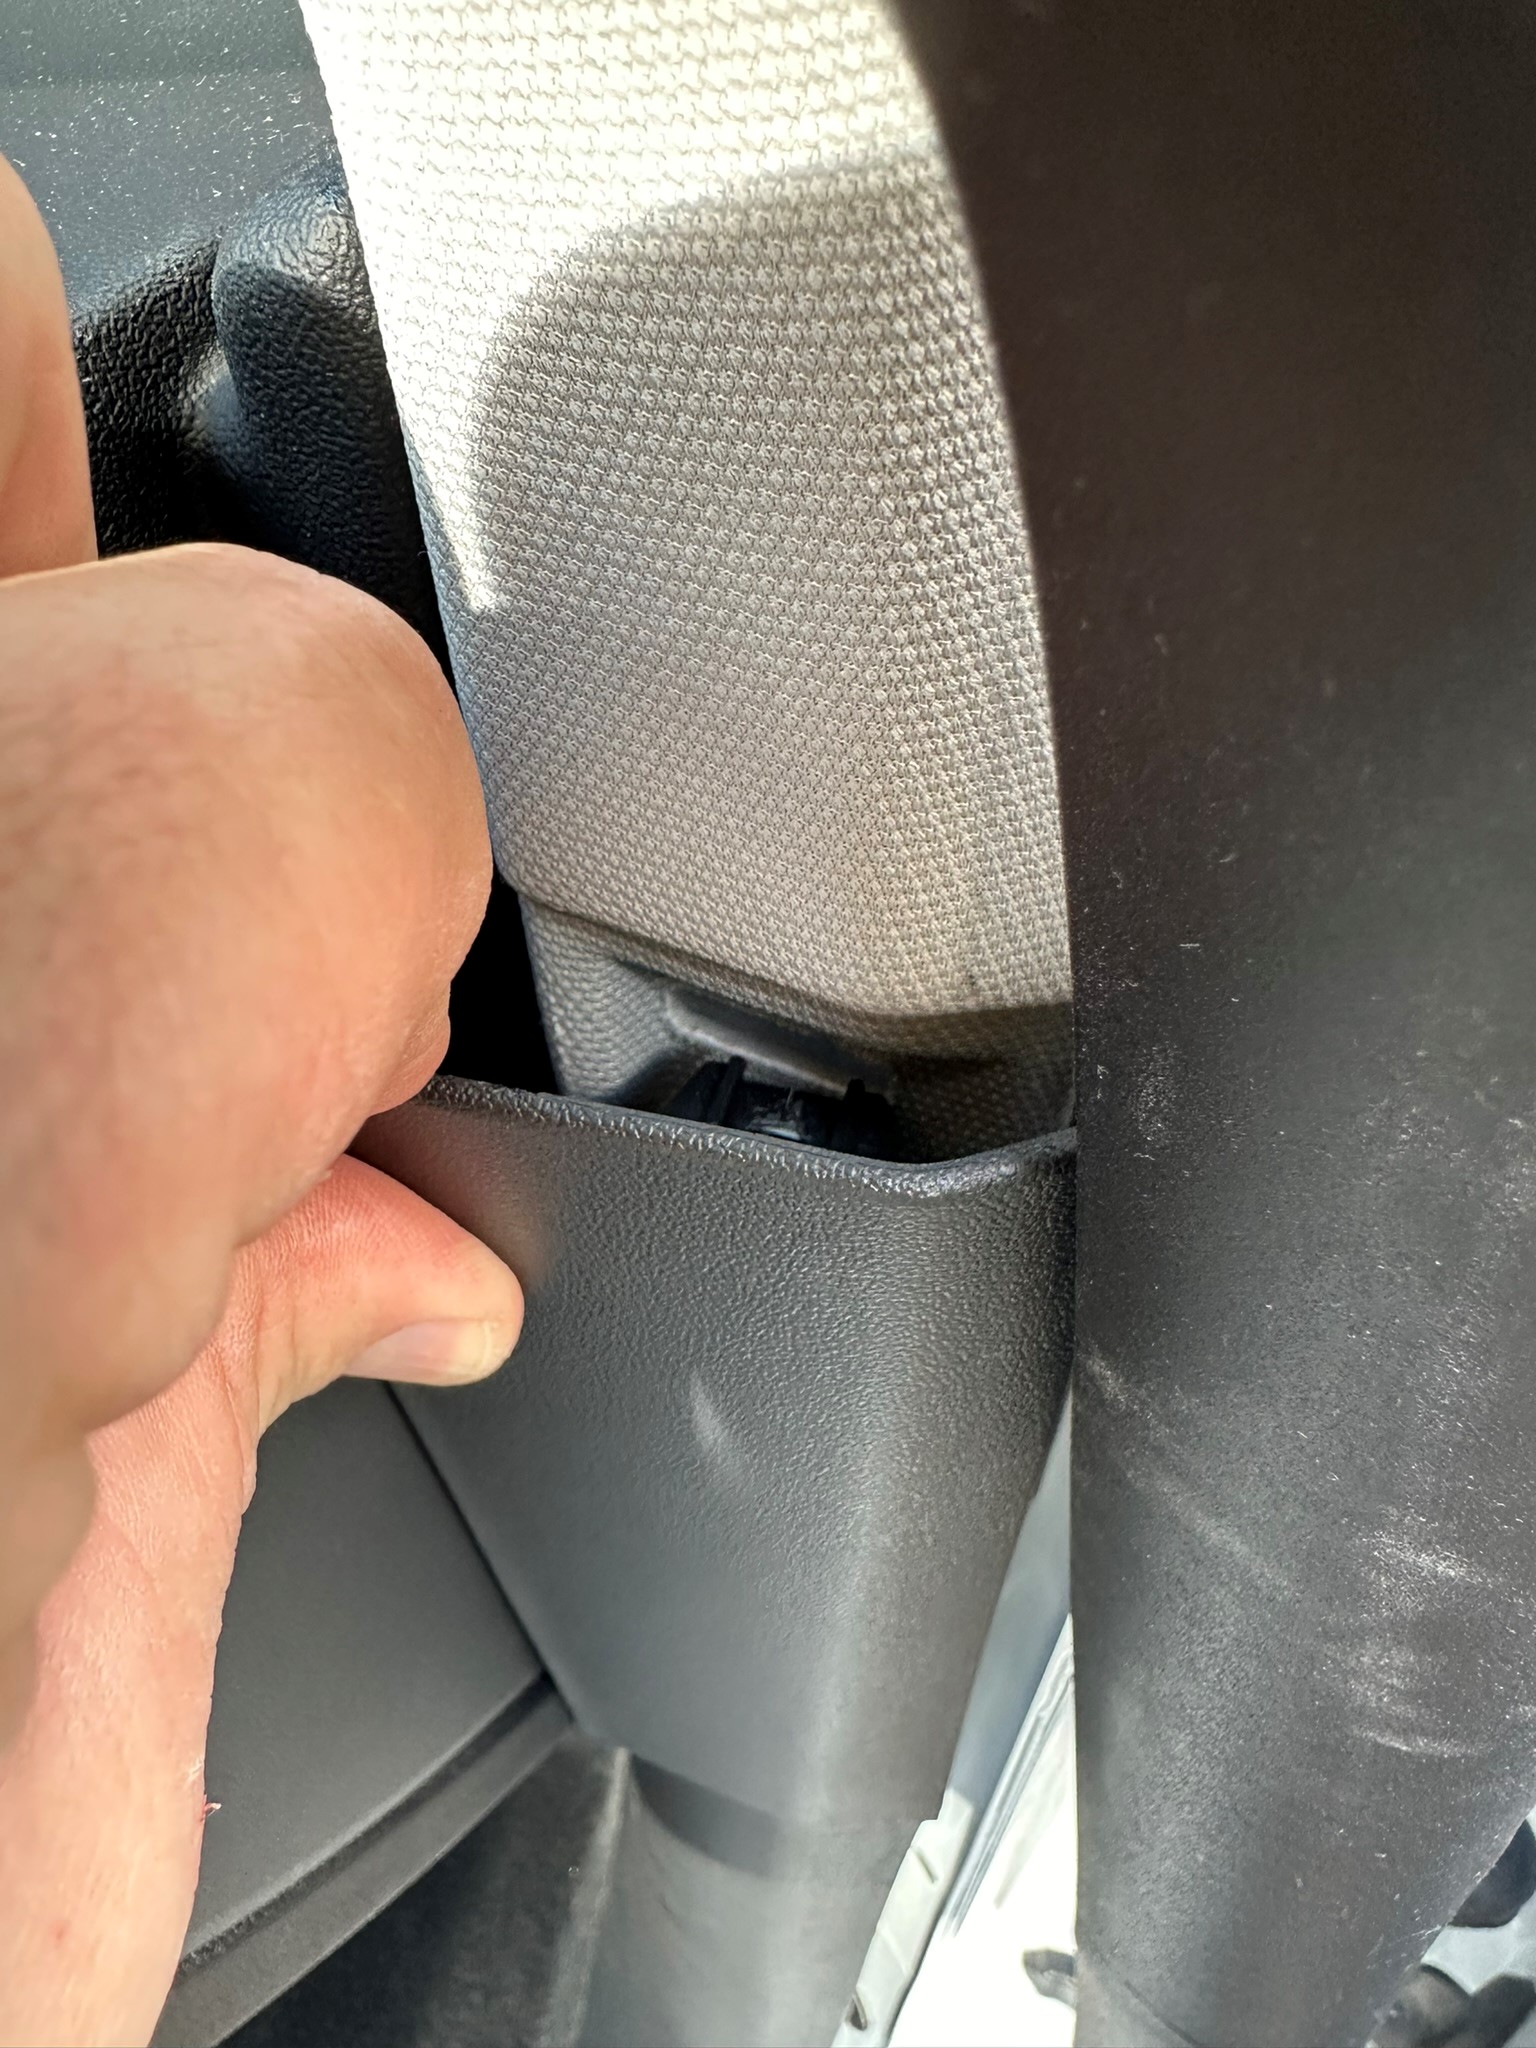
I unclipped the fabric retaining strip.
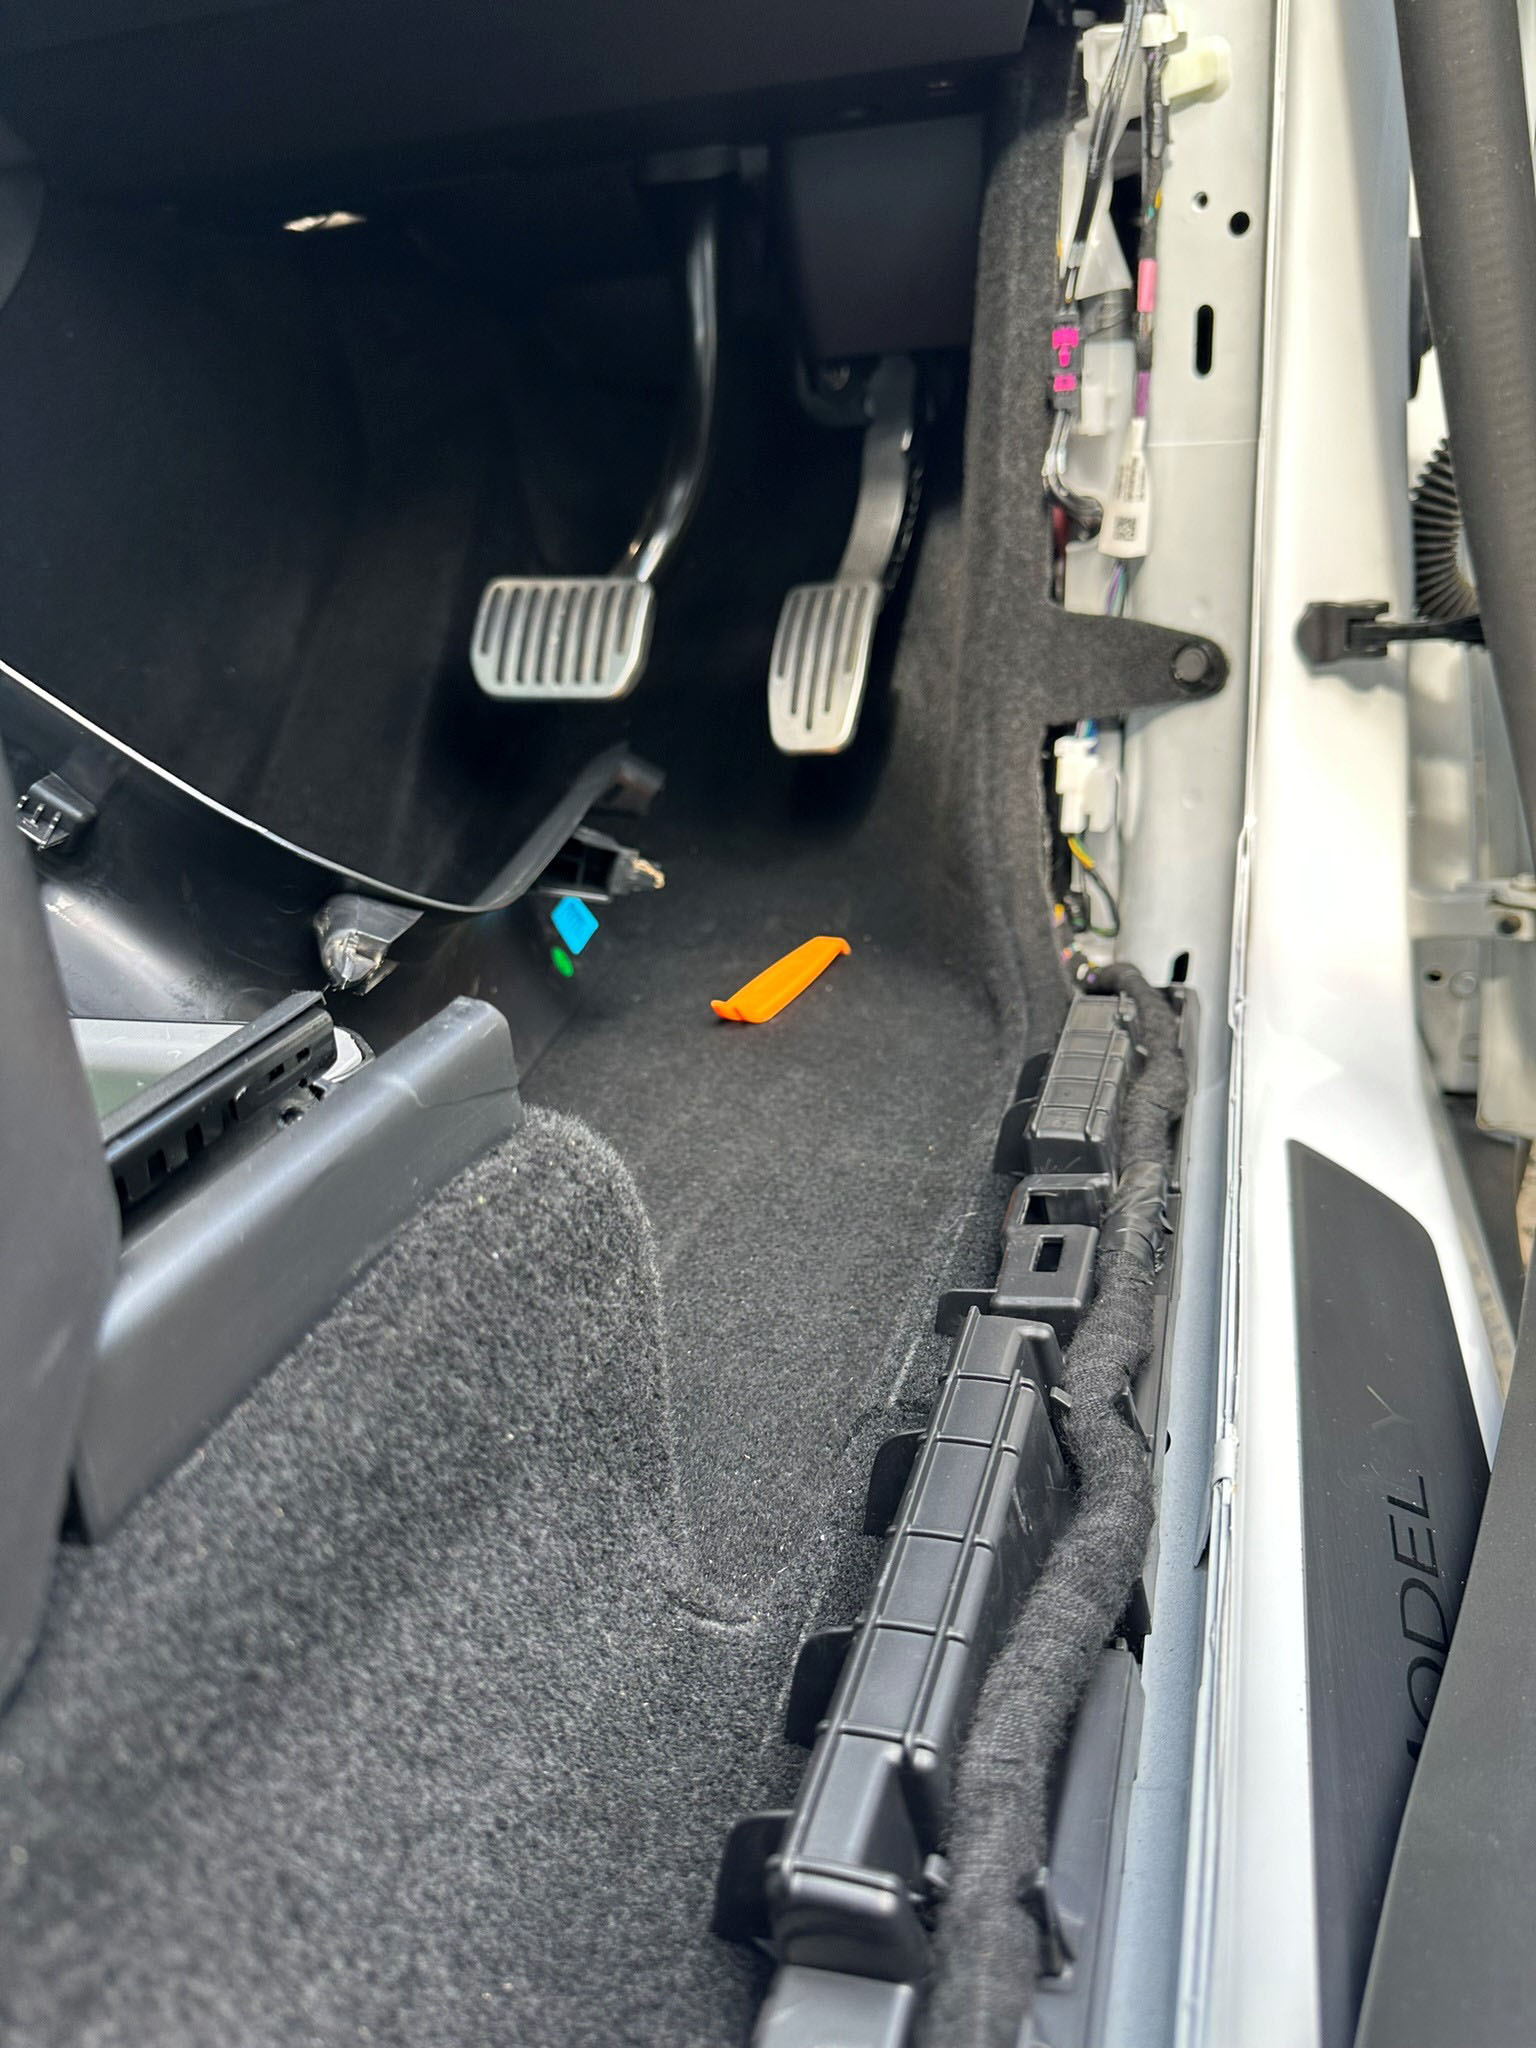
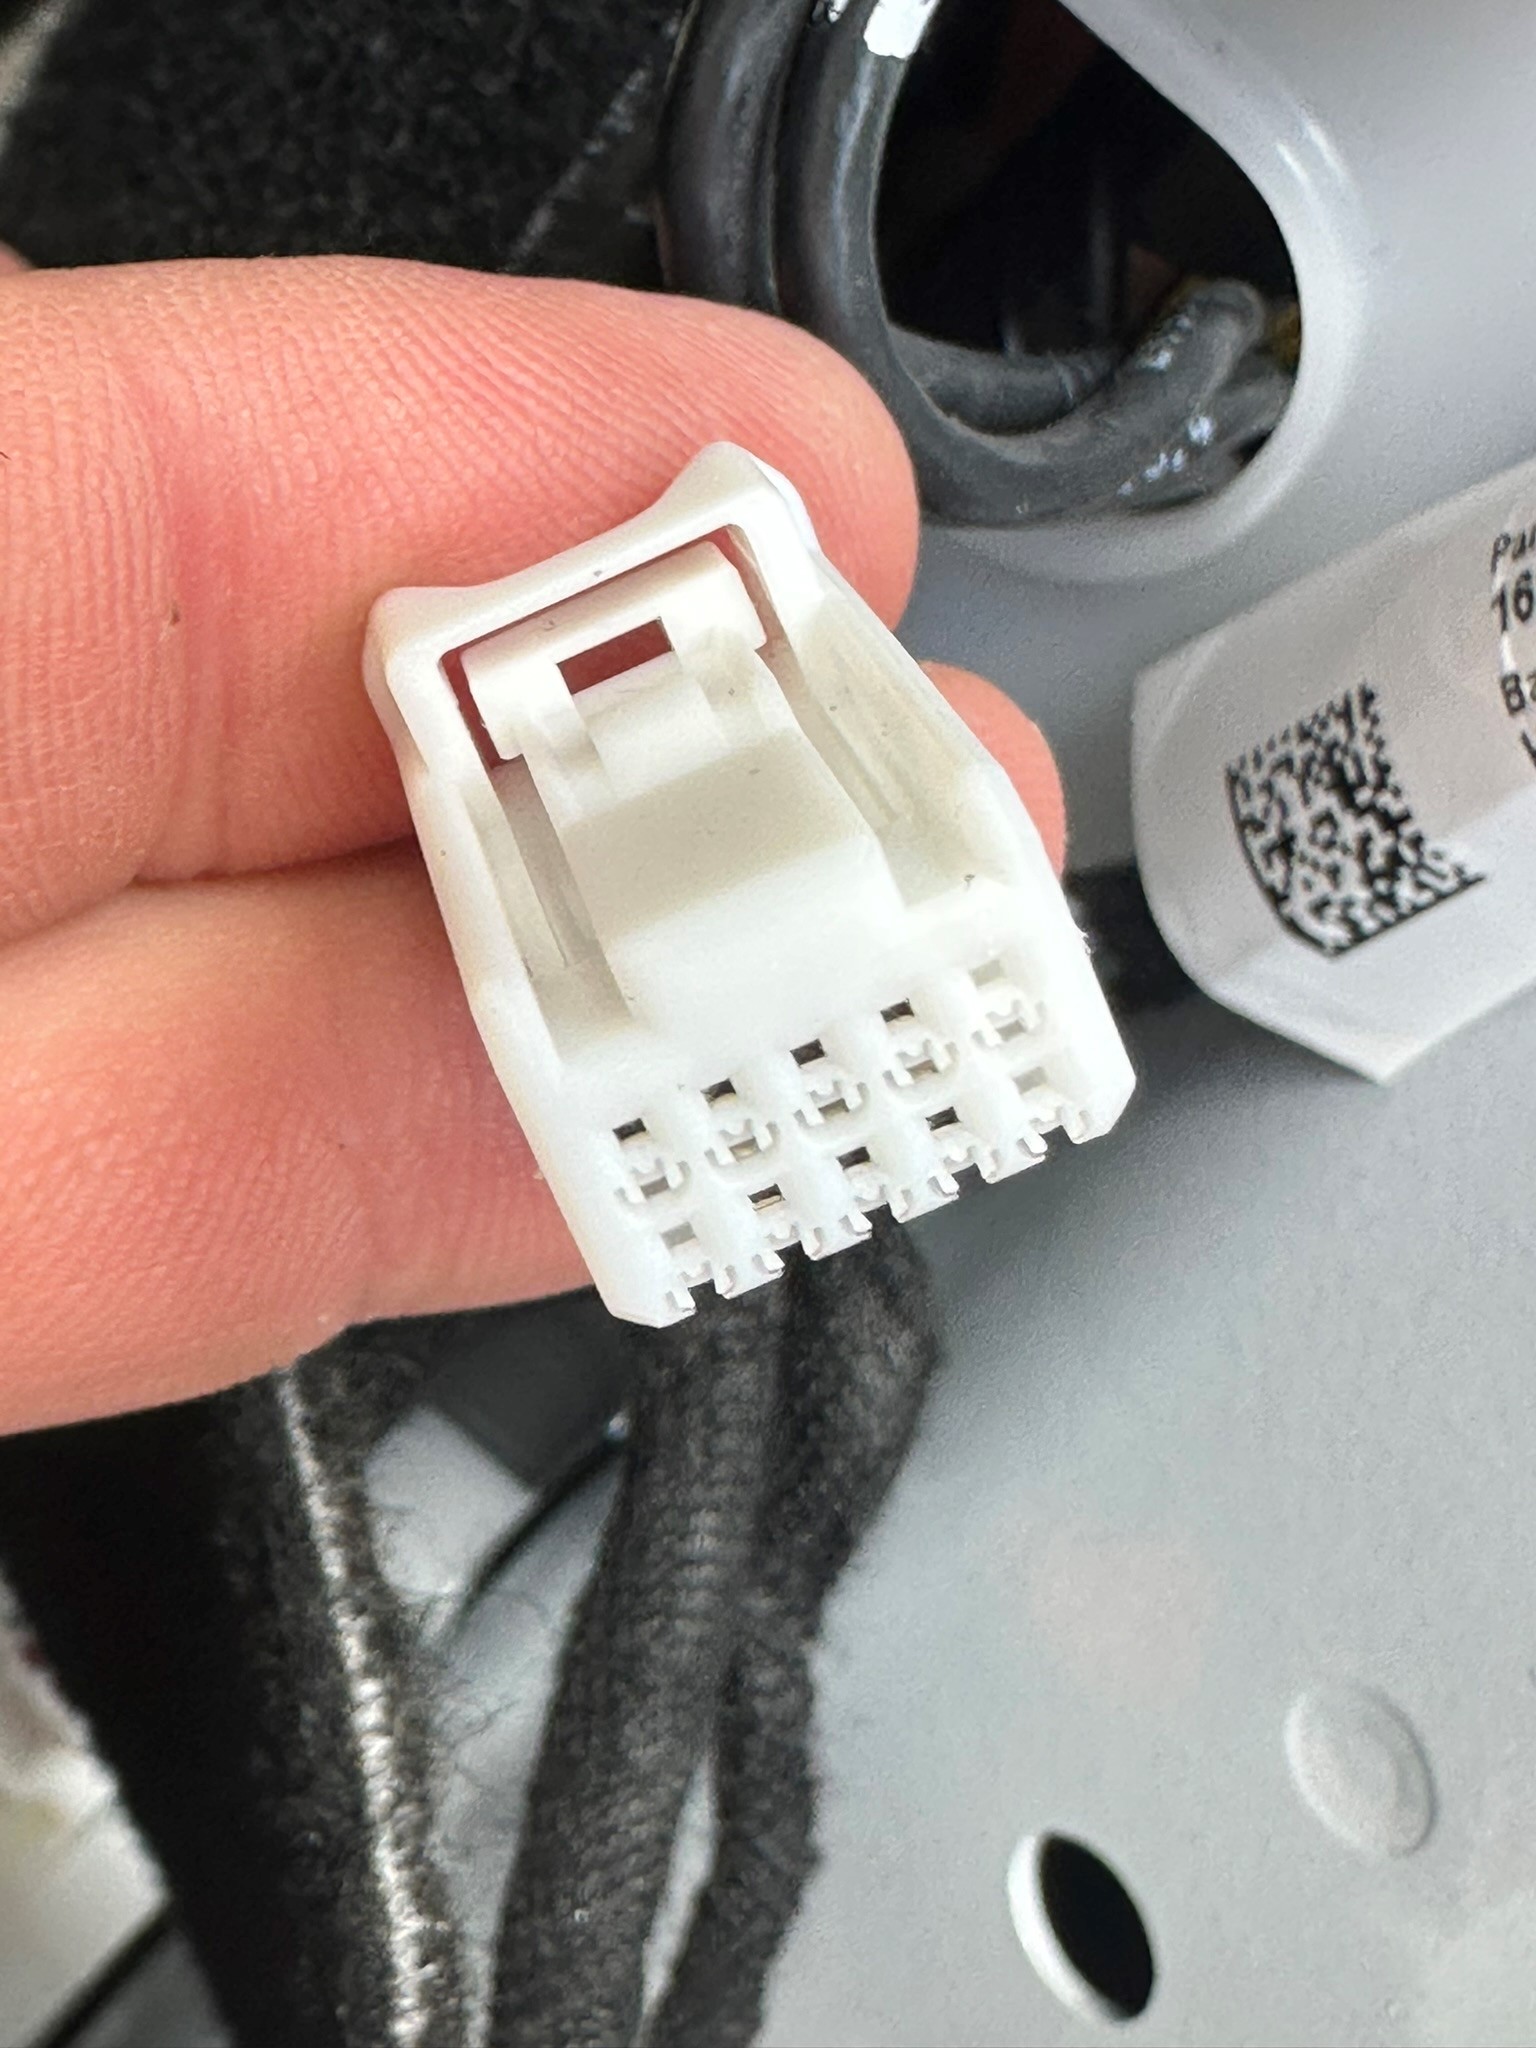
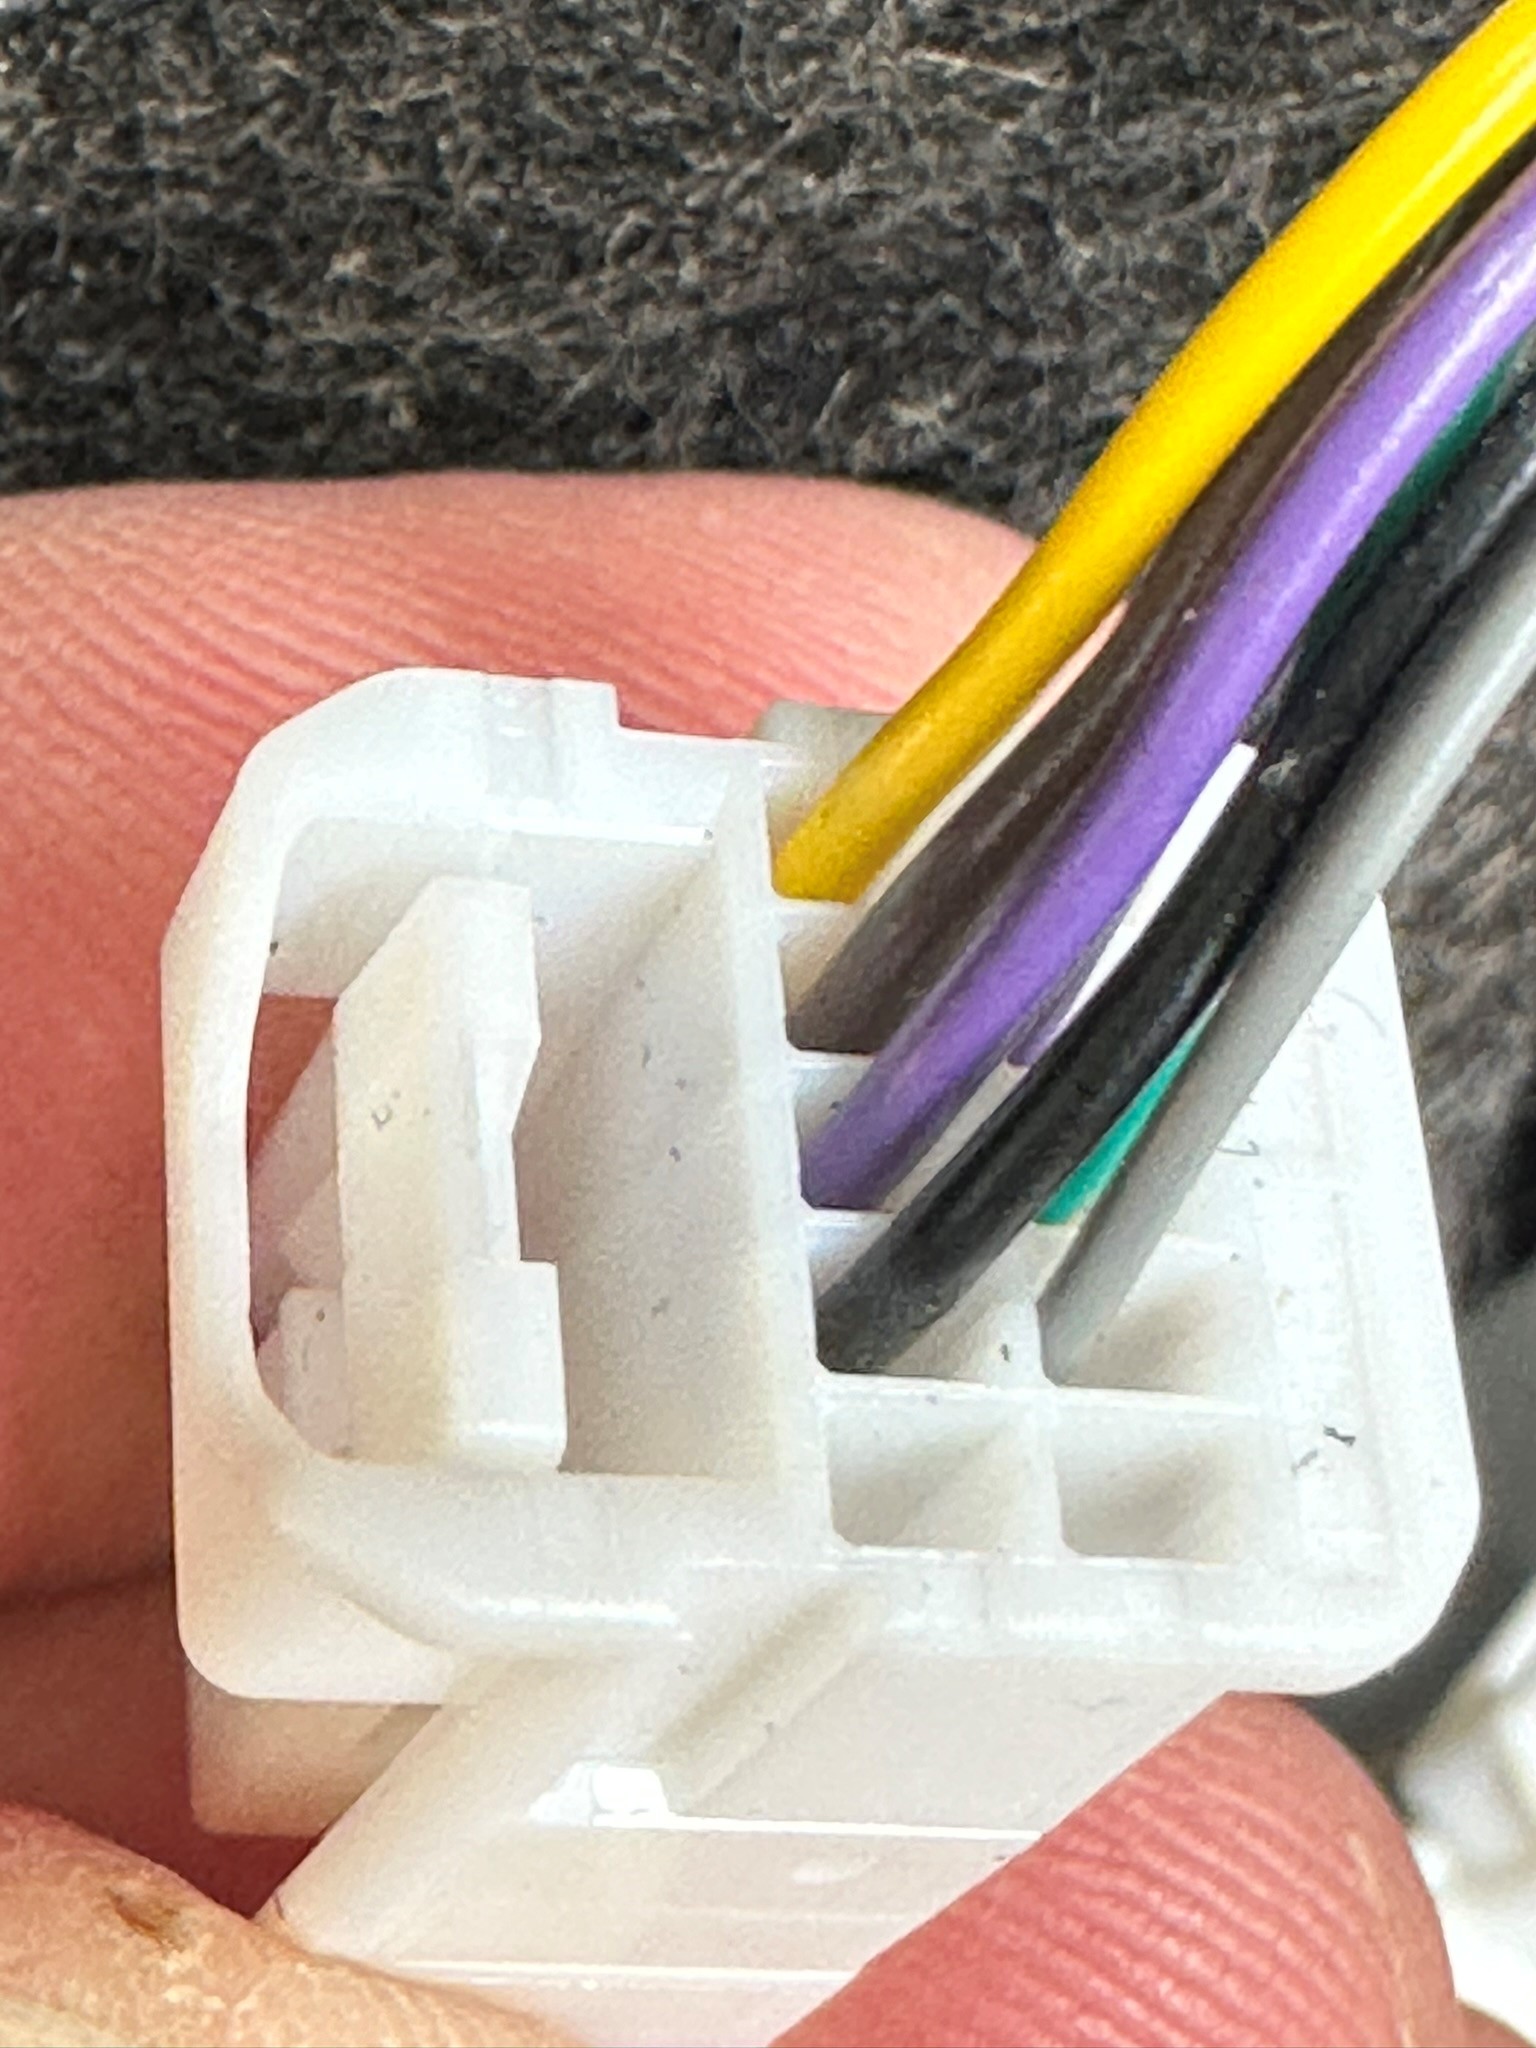
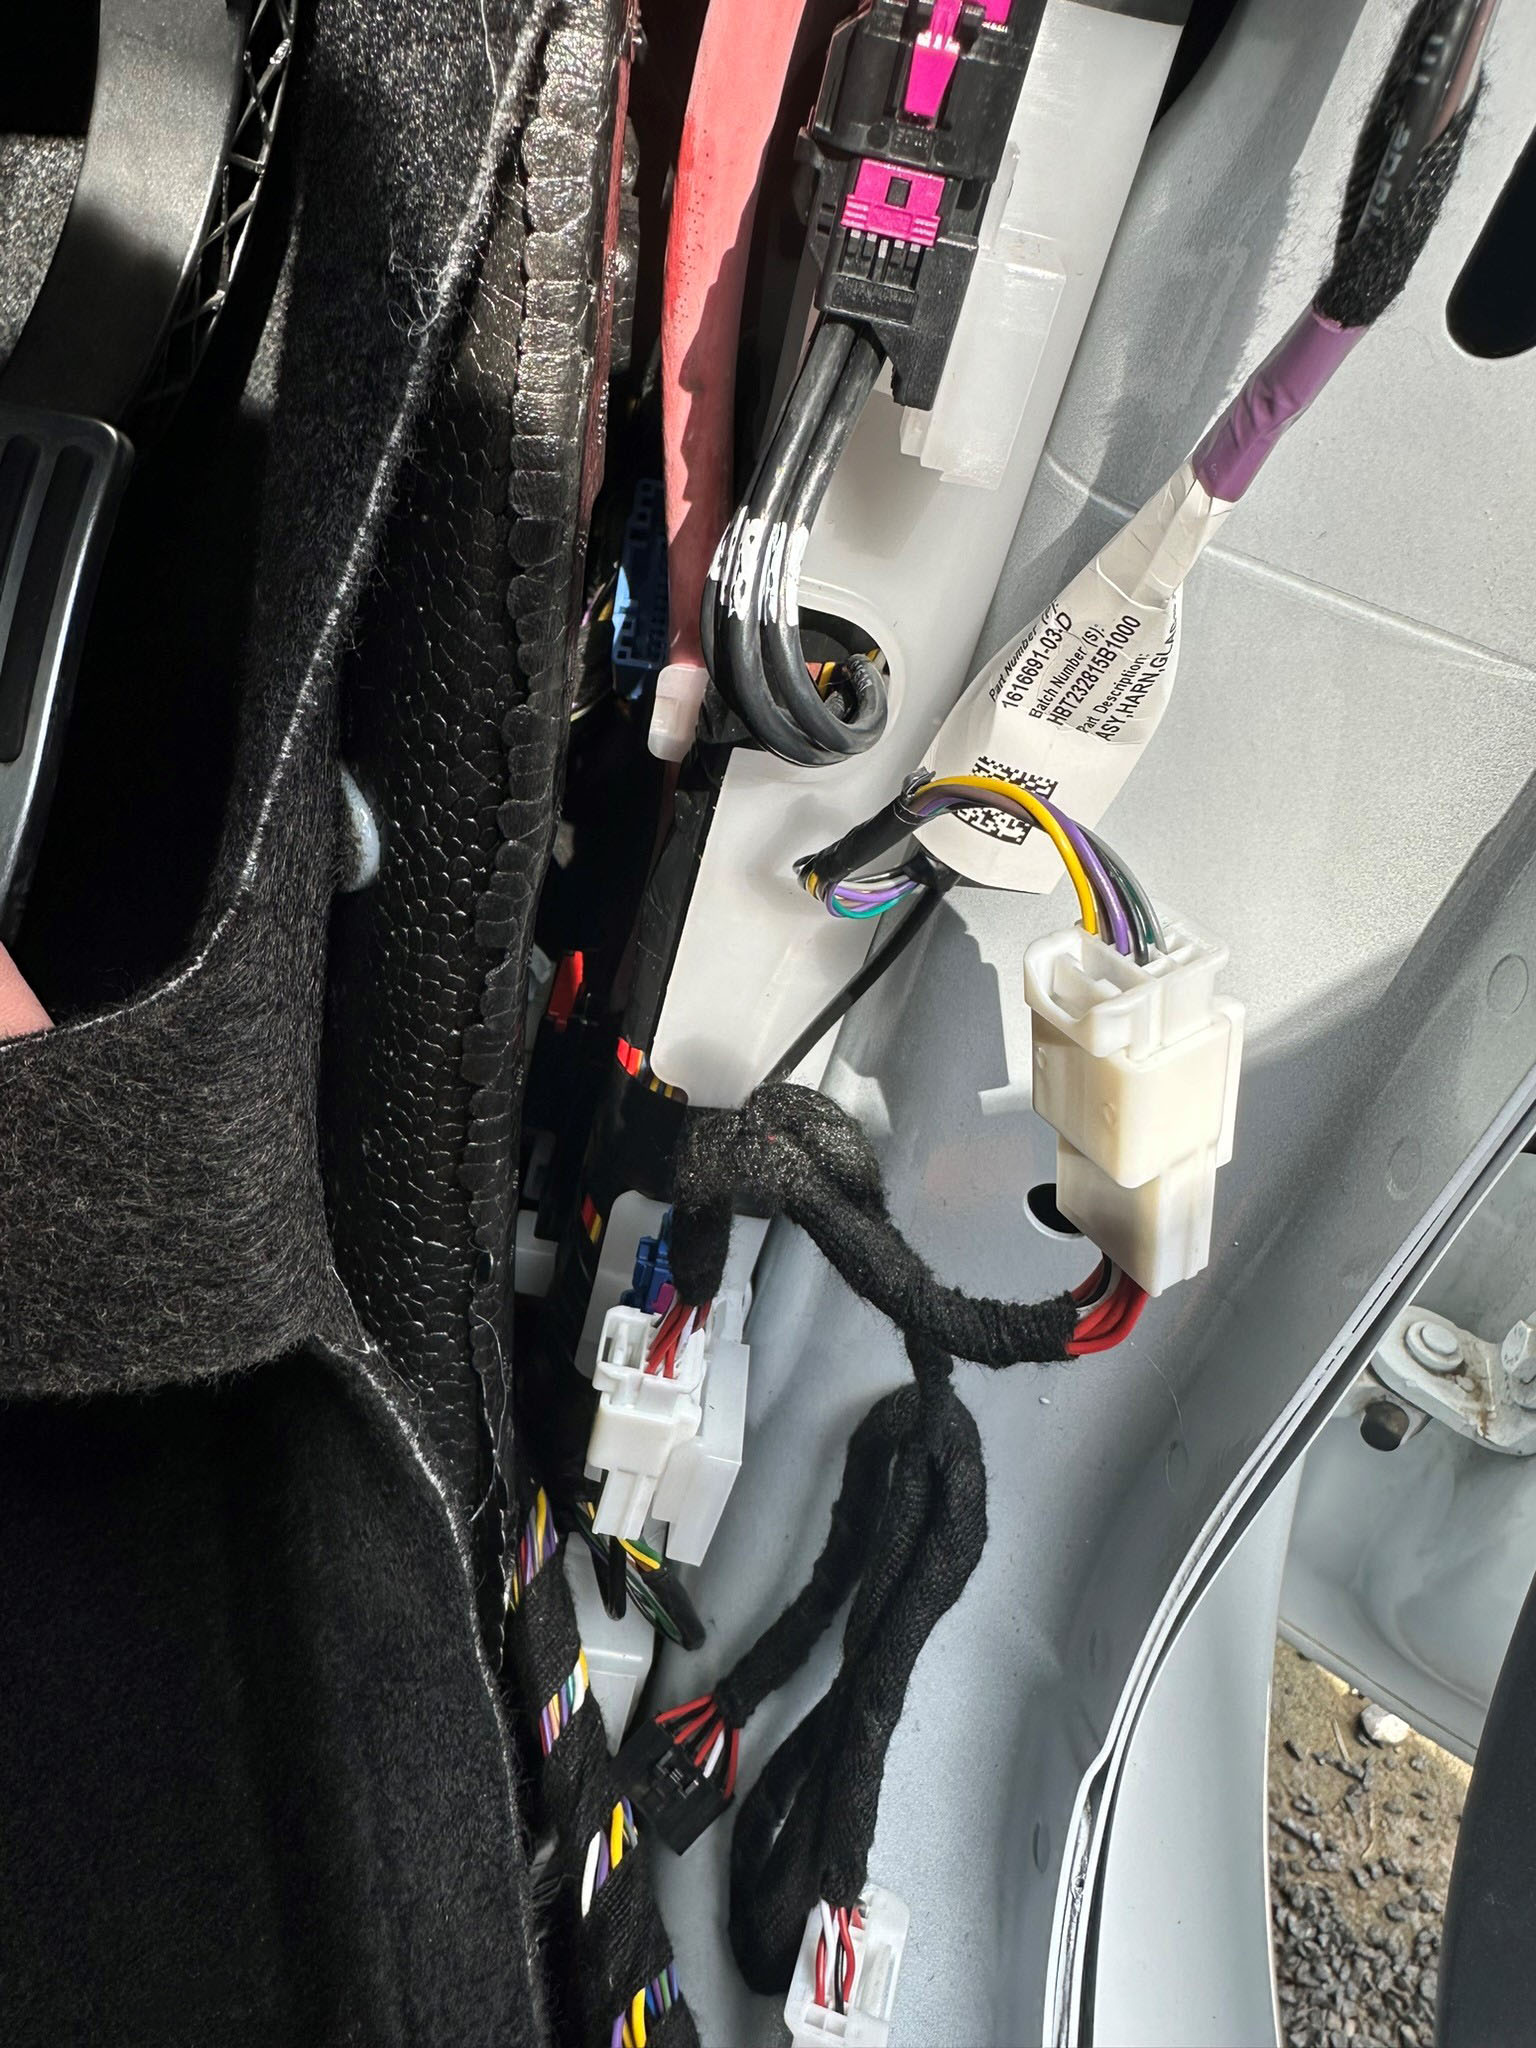
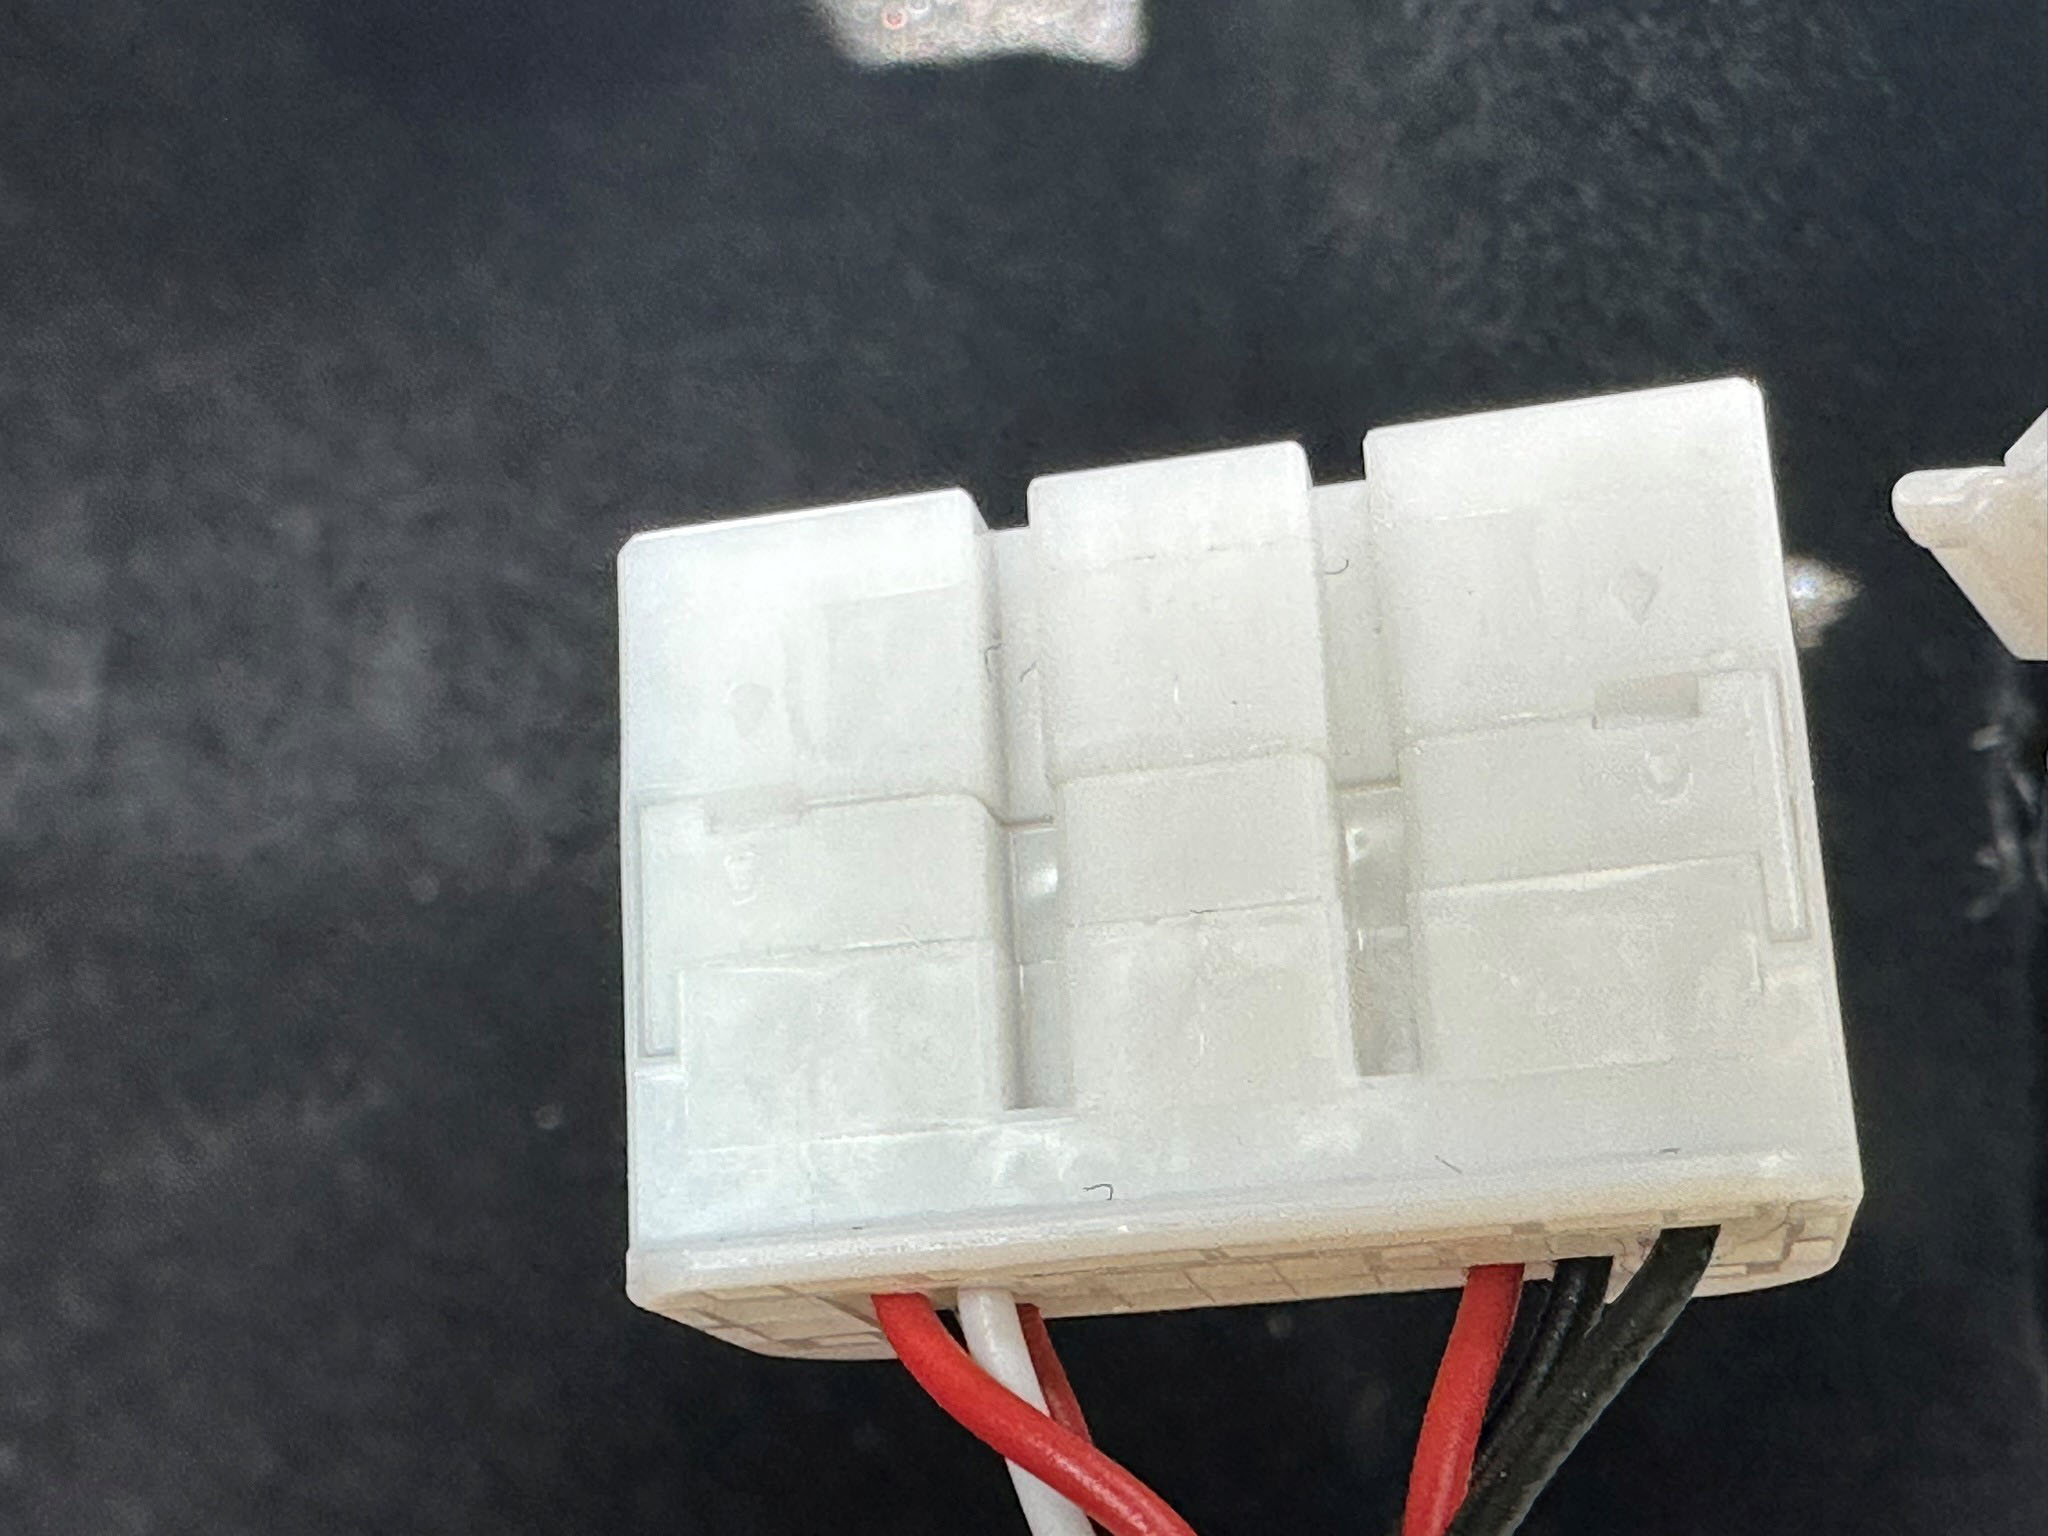
I located the two plugs (white and blue) to connect to and unplugged the white one.
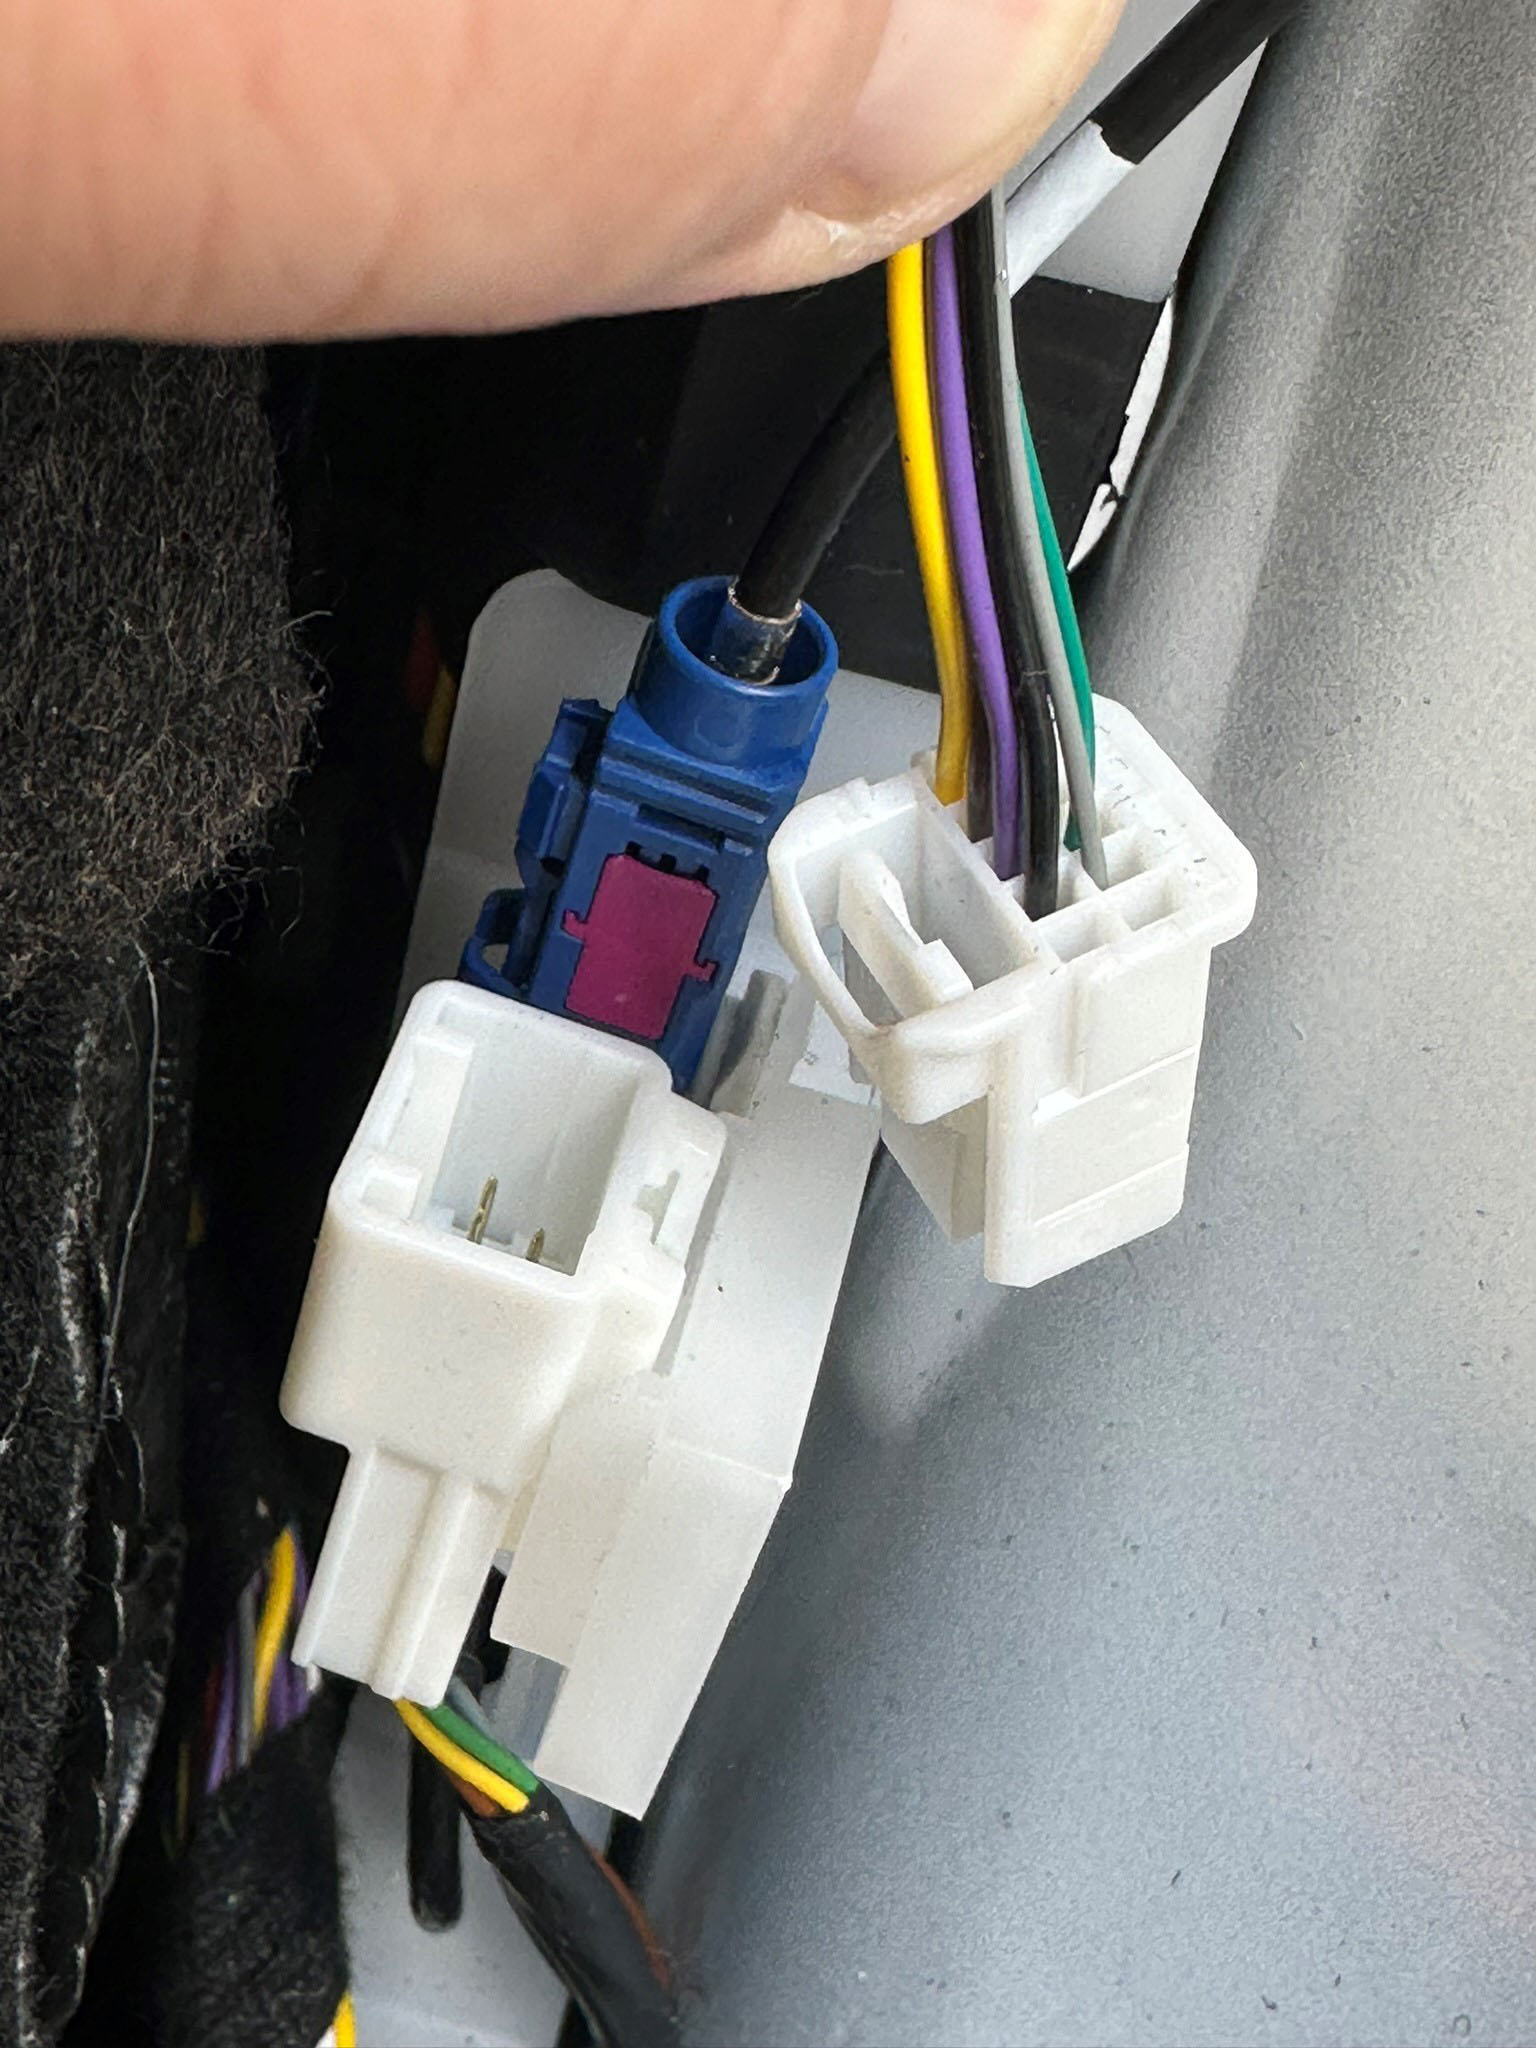
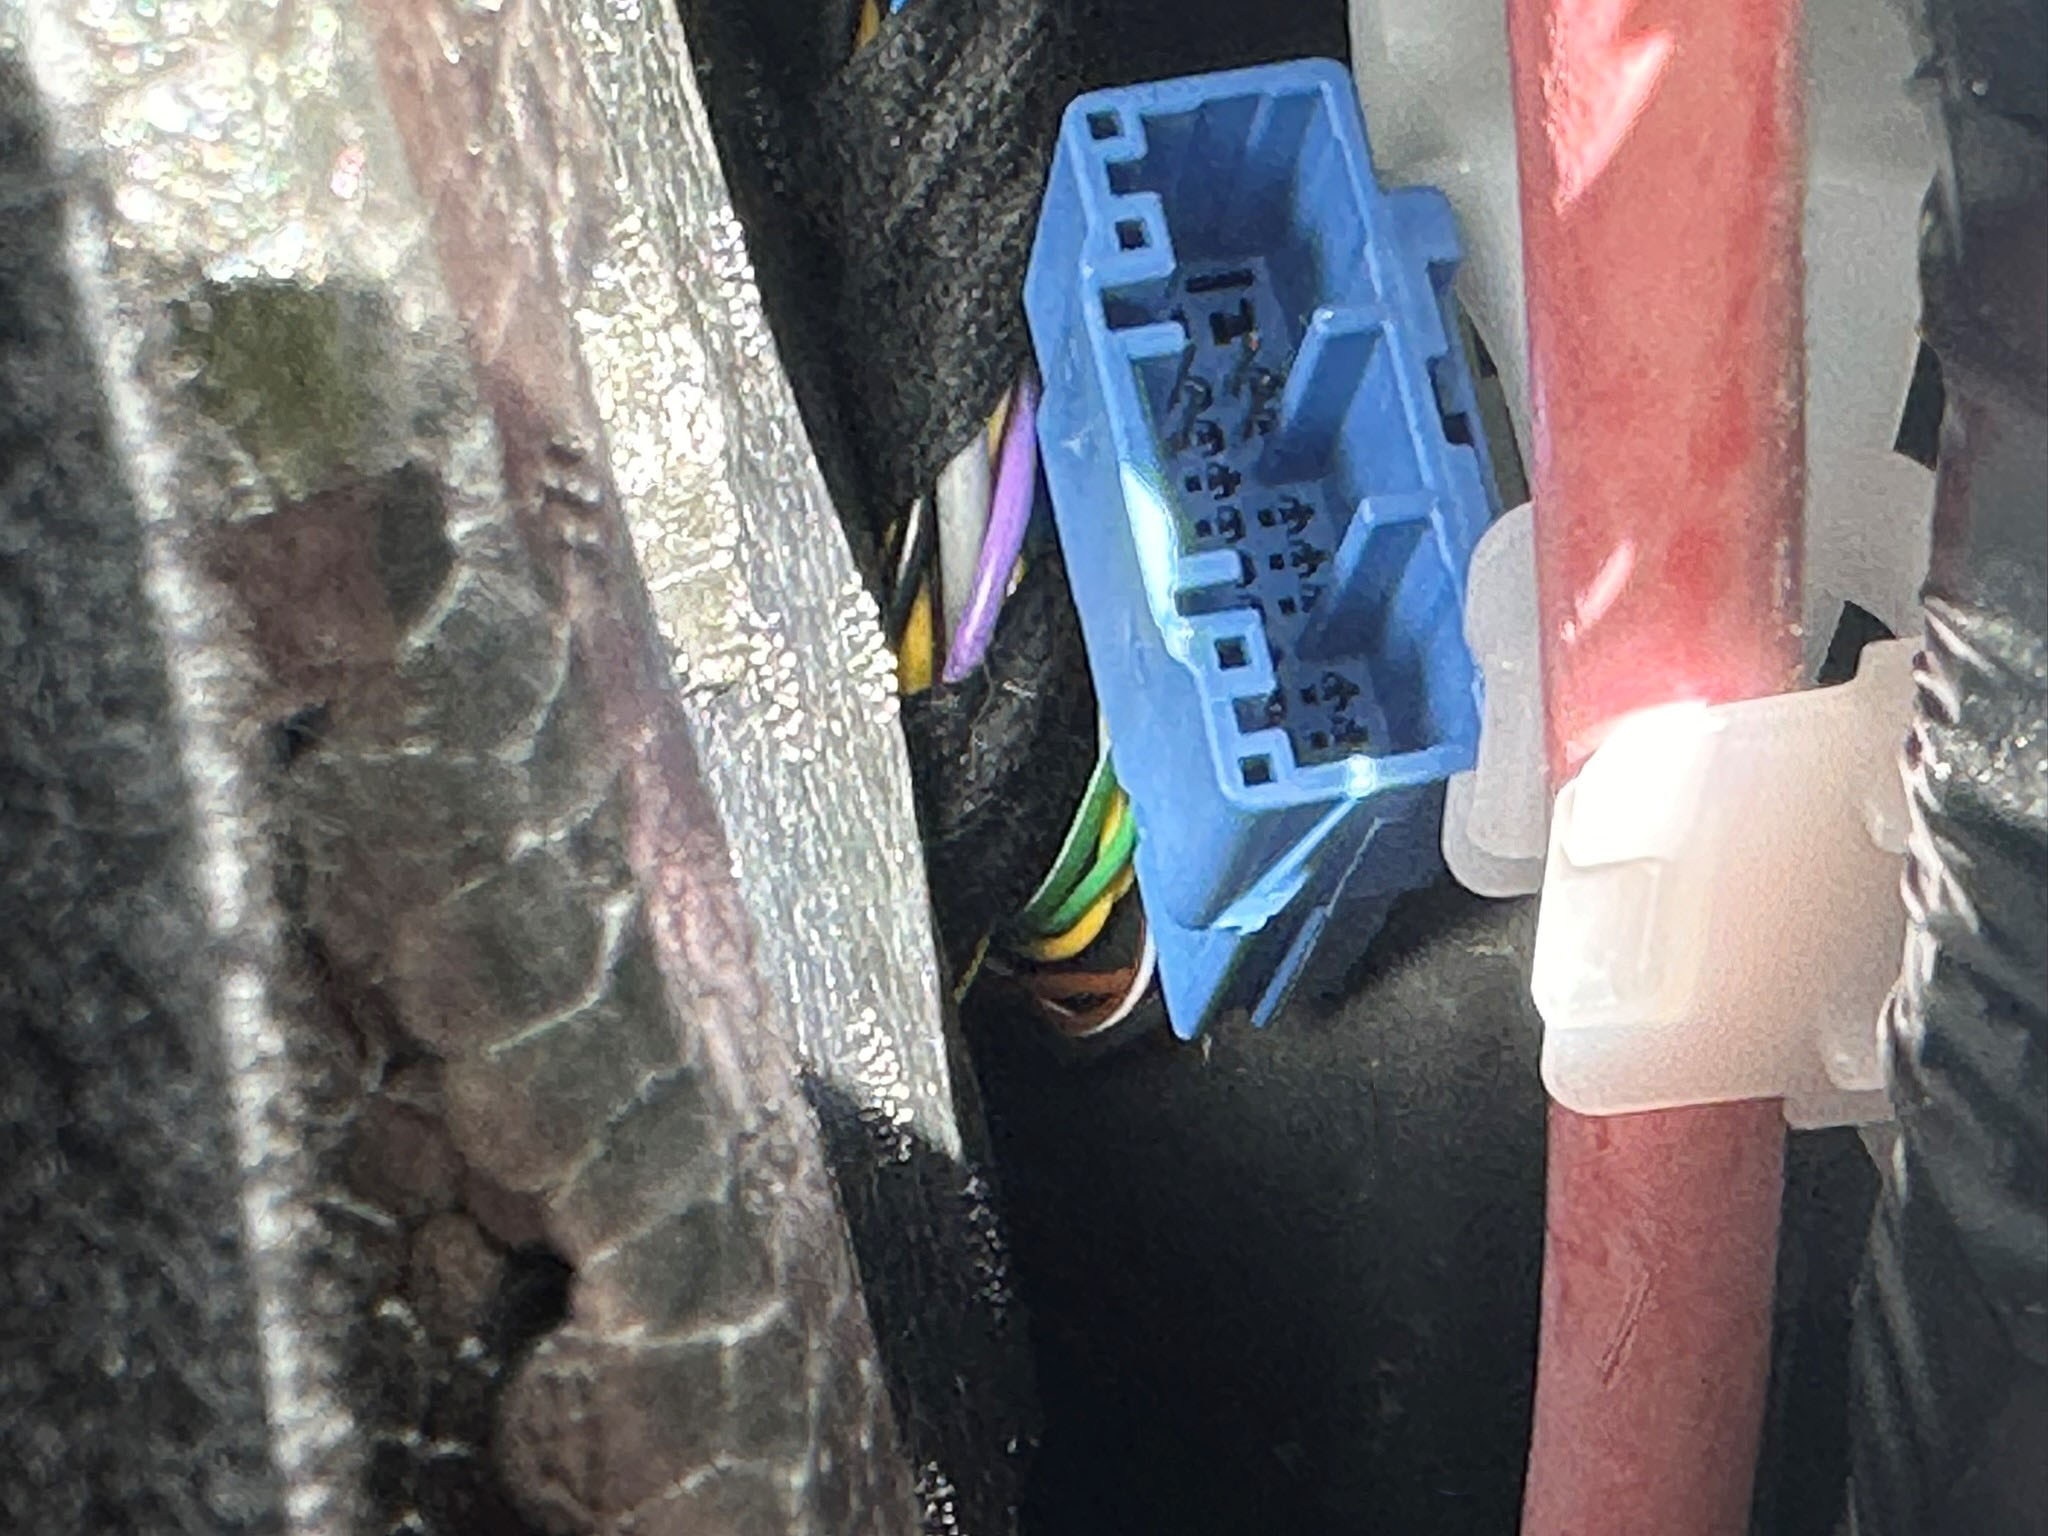
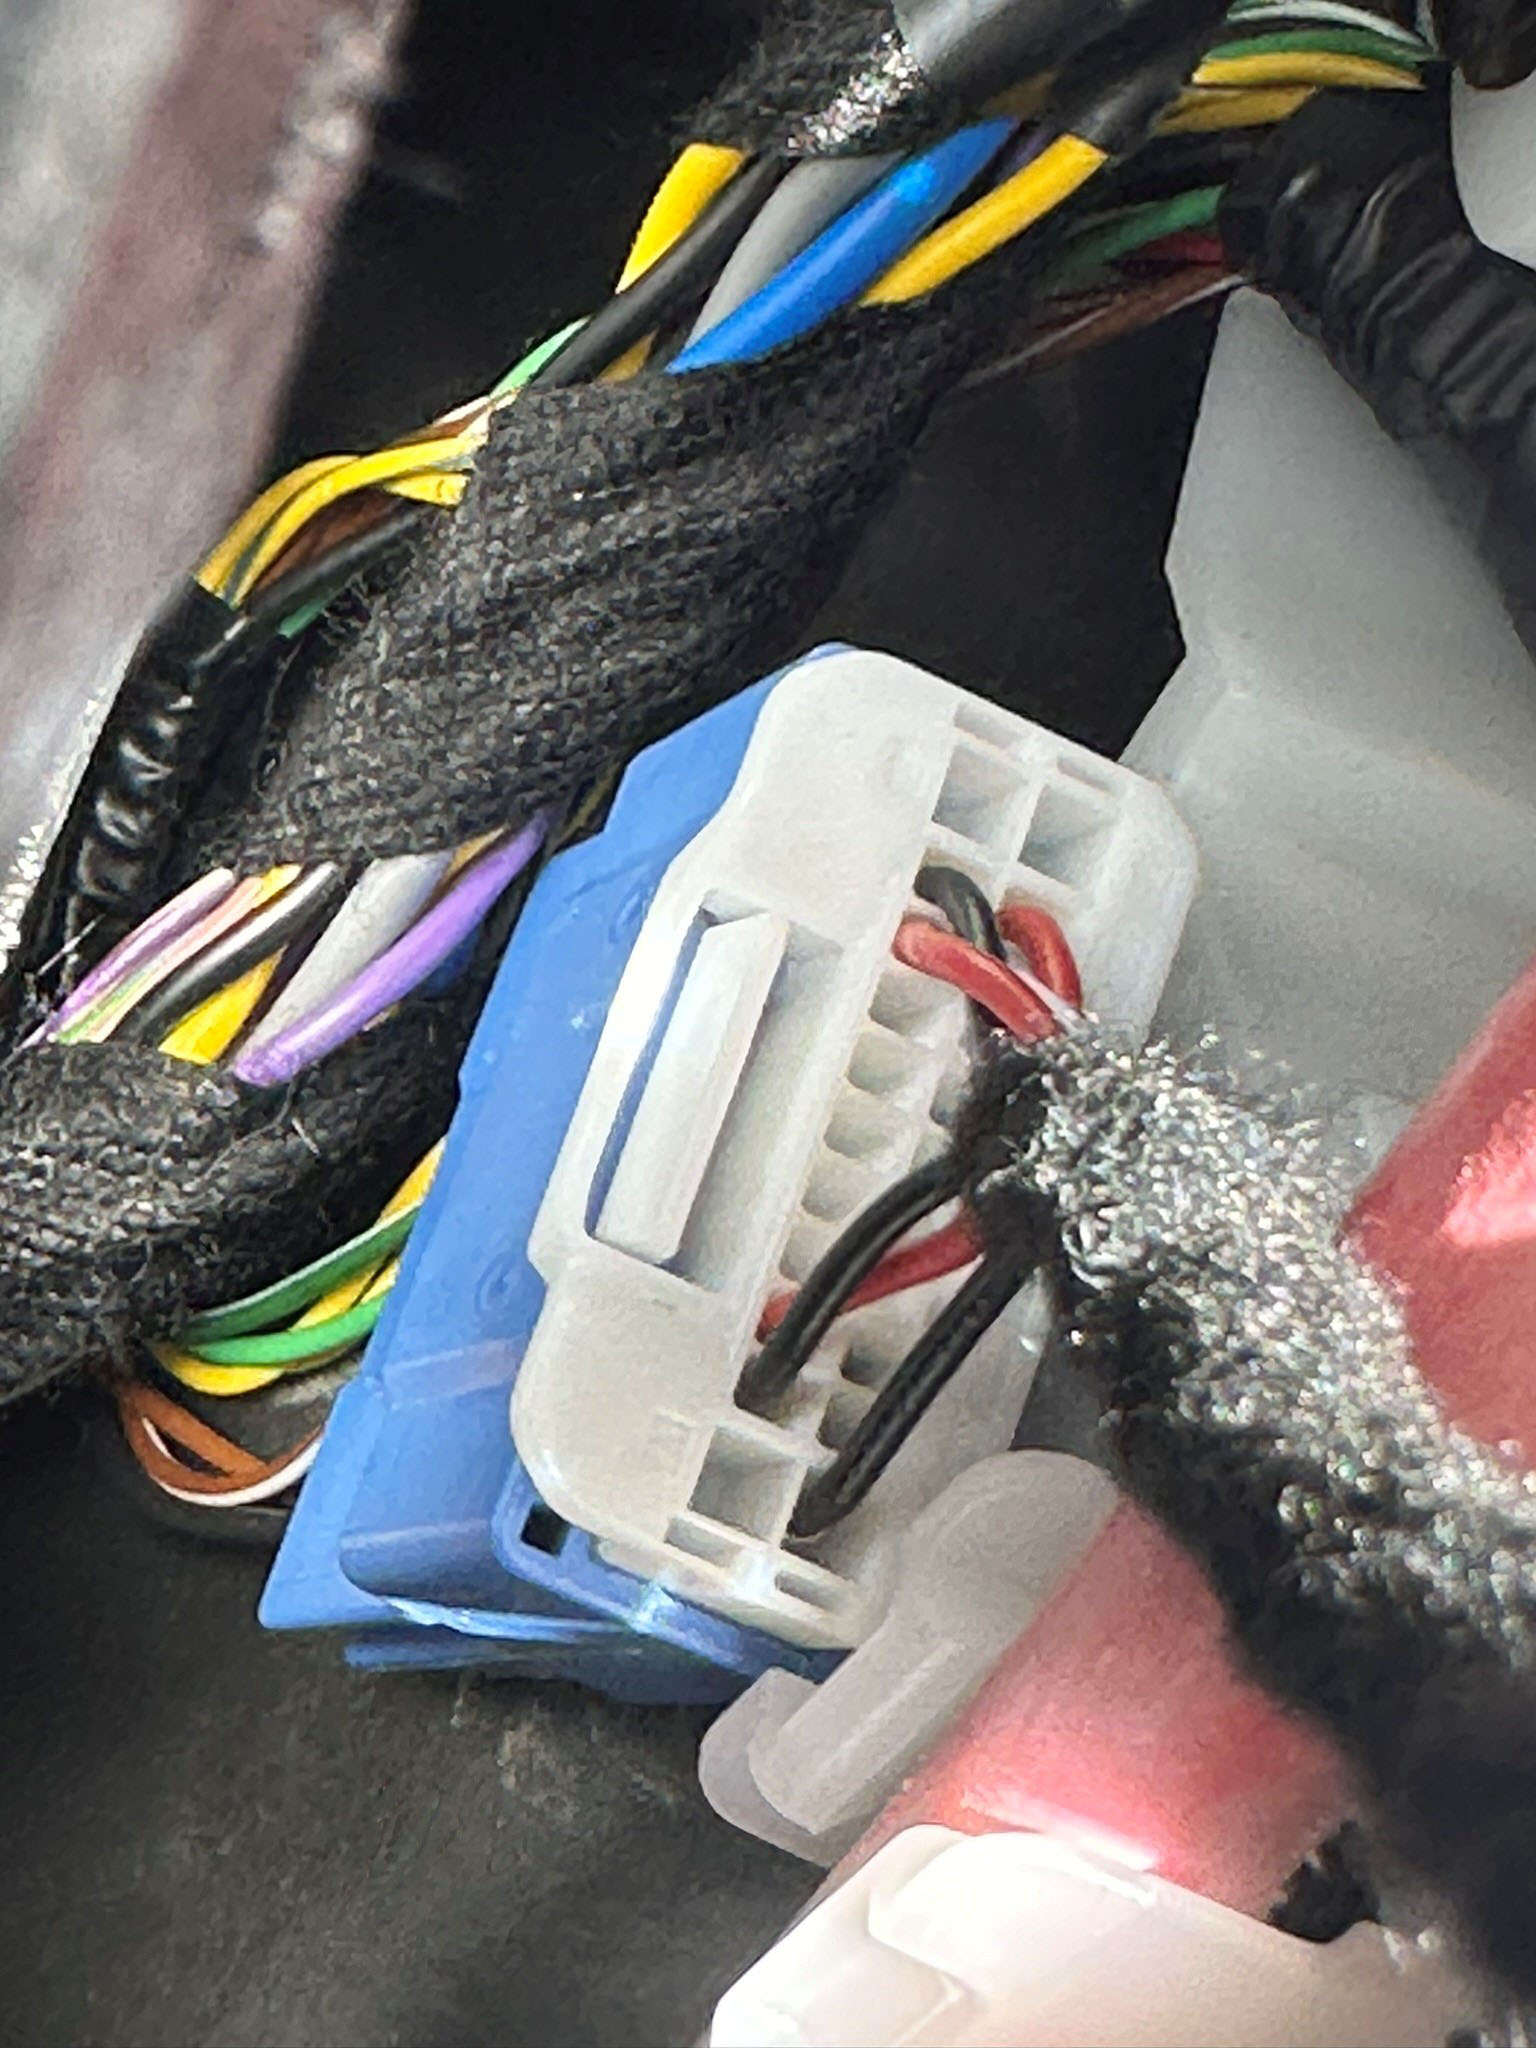
I located the blue Data Bus Plug
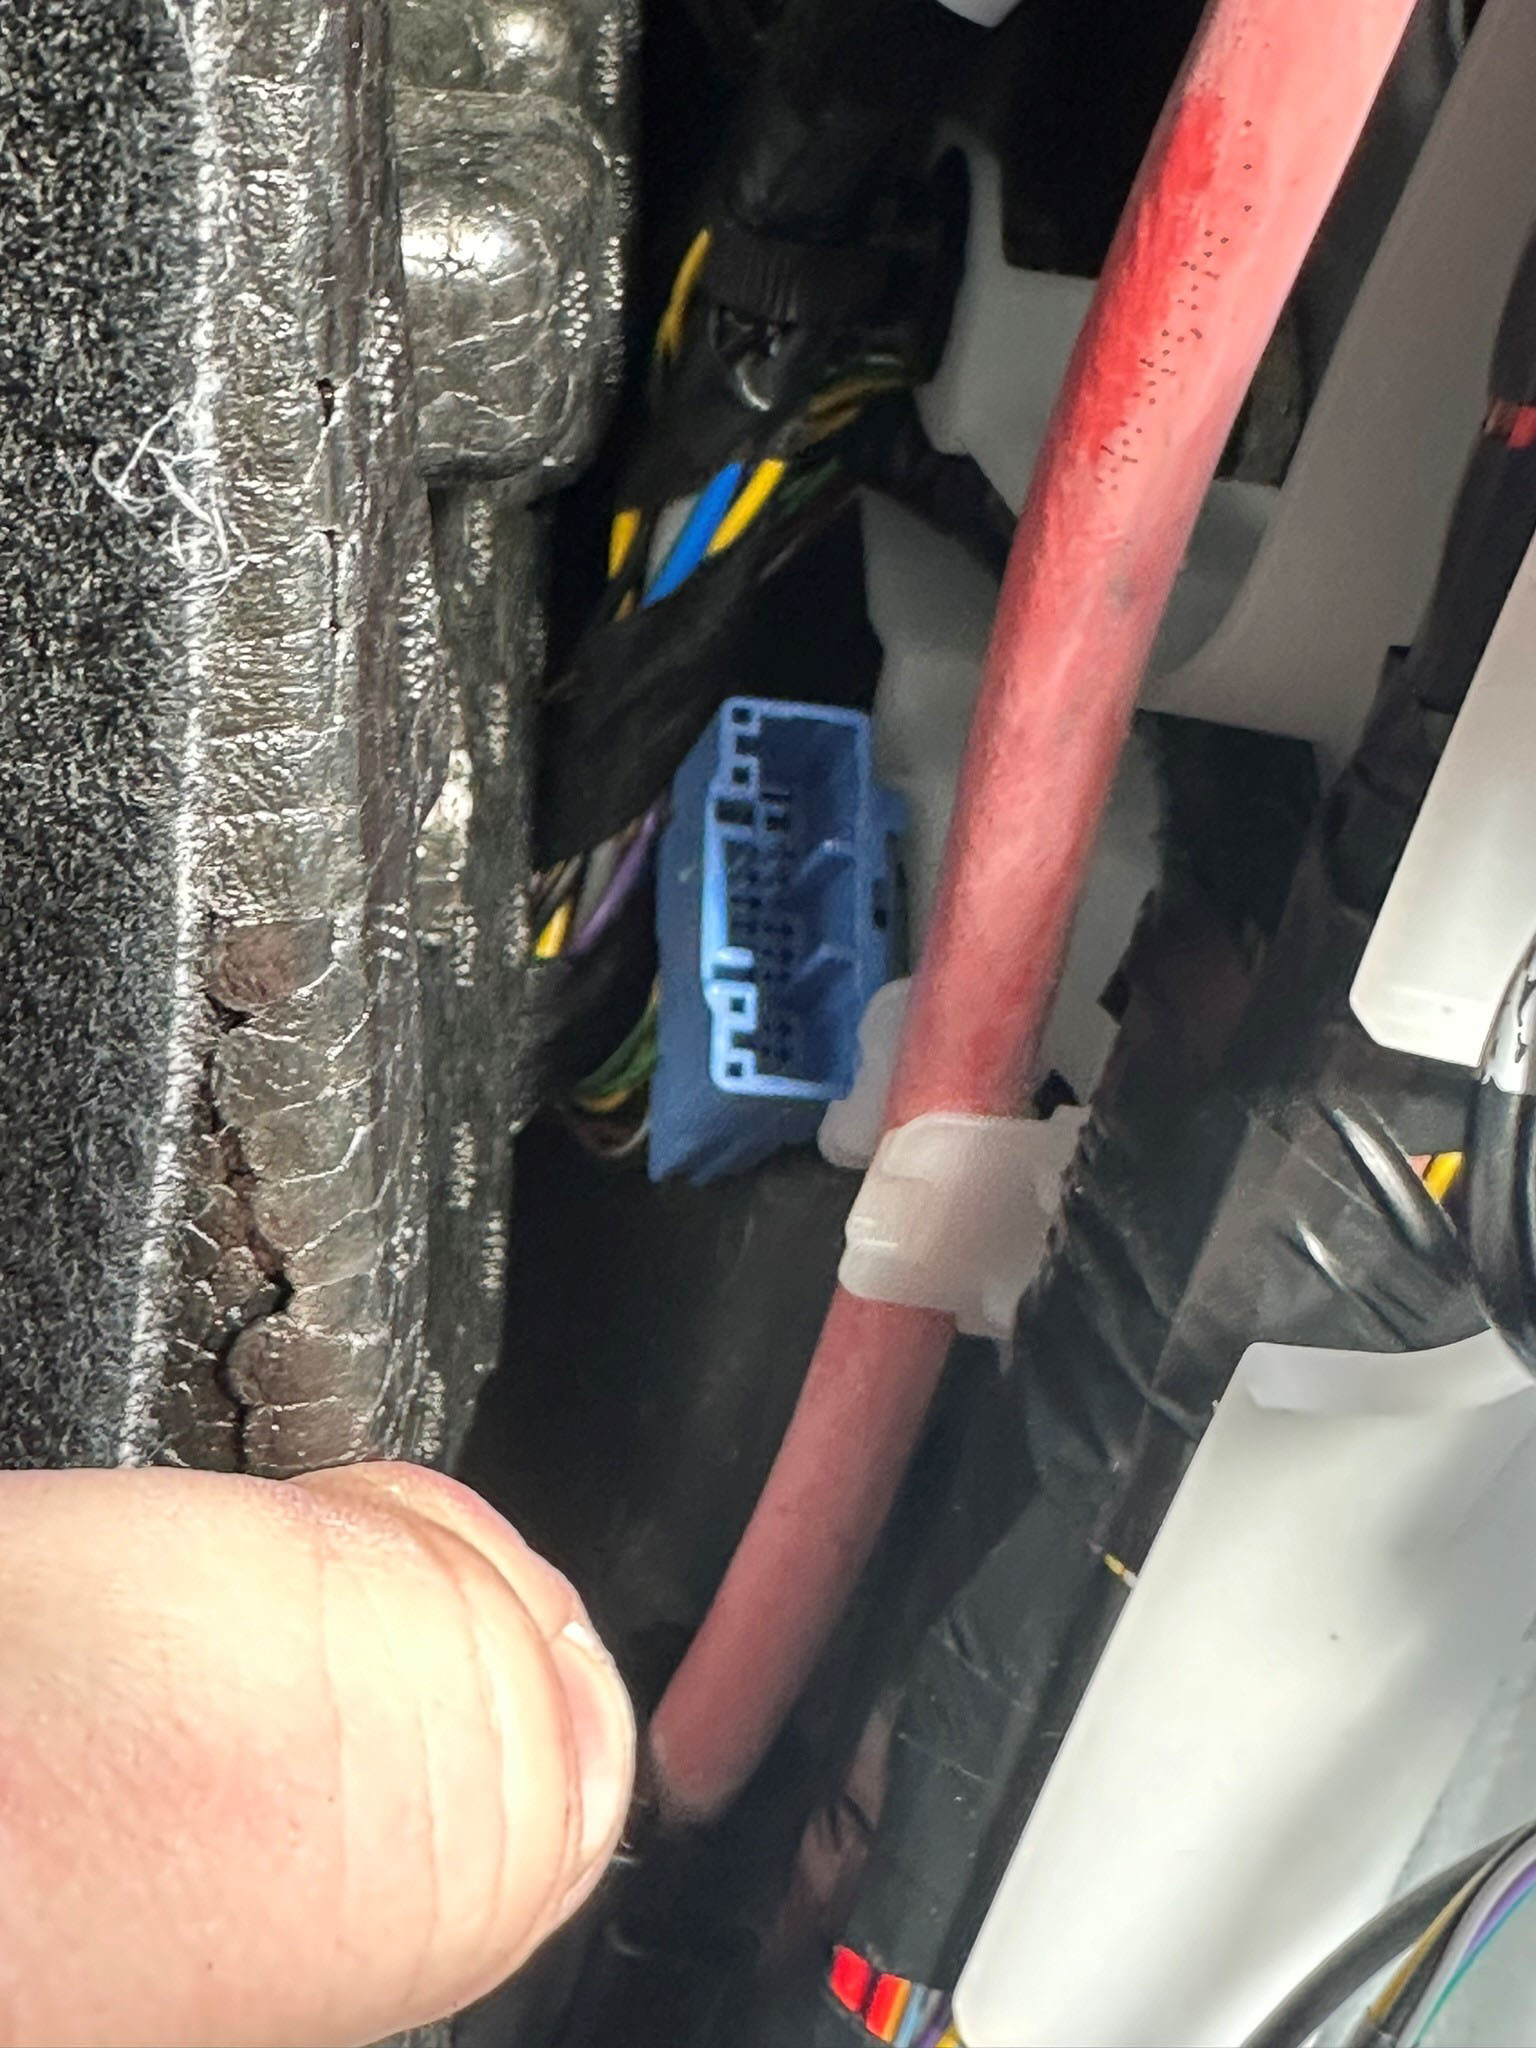
I was able to see the blue plug I needed later.
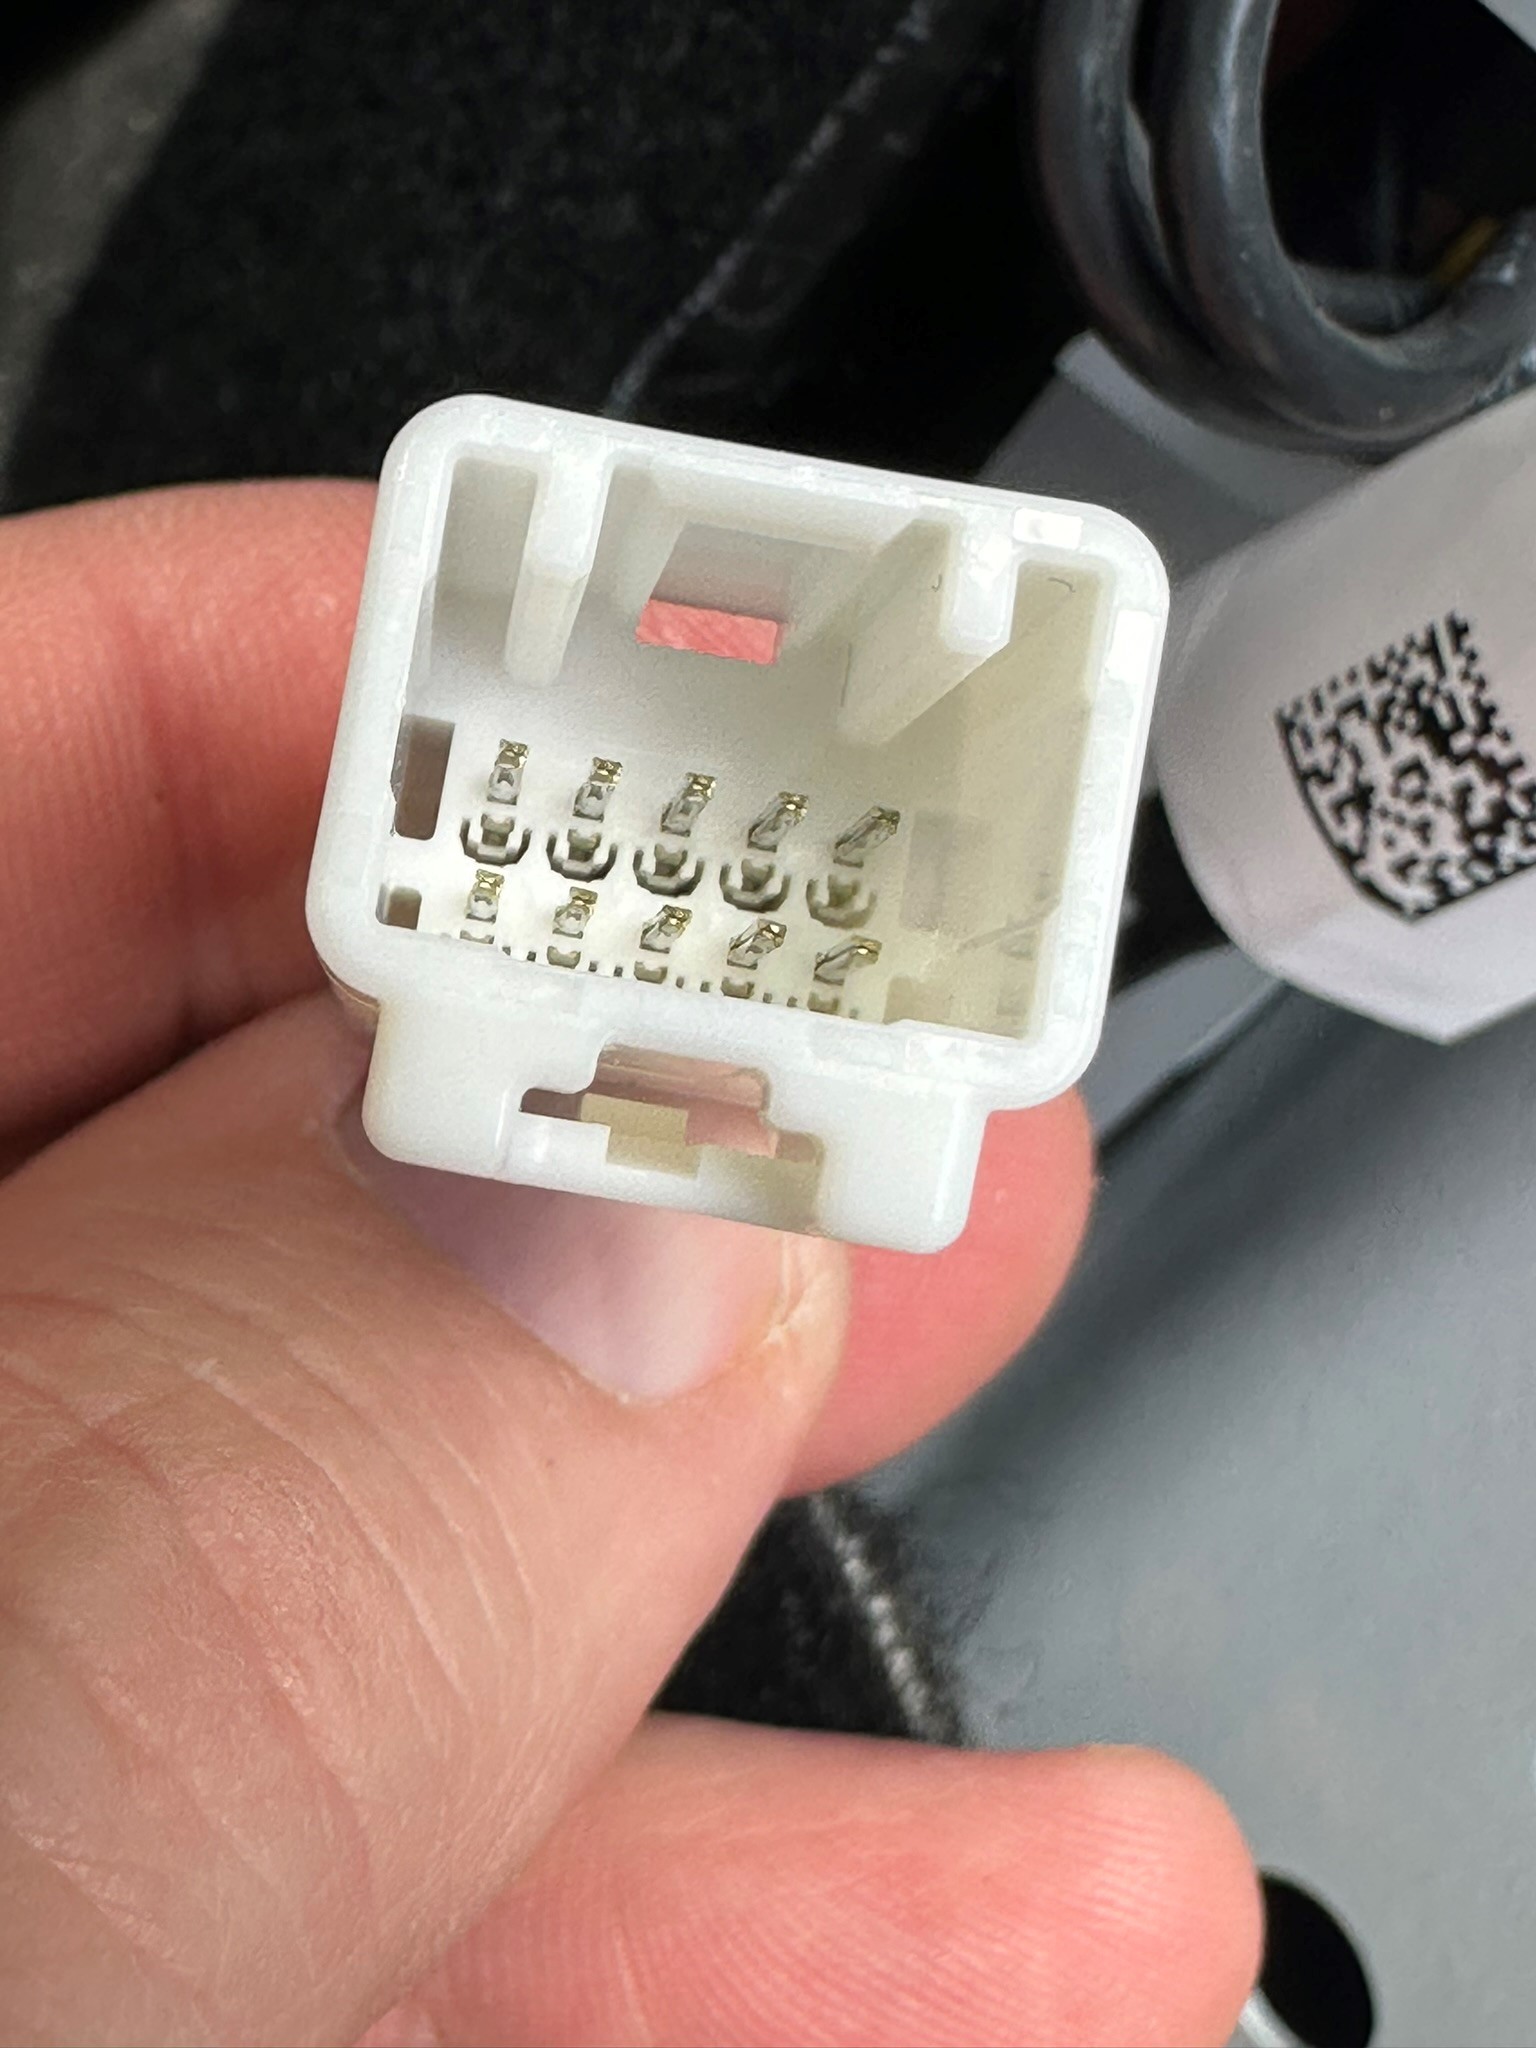
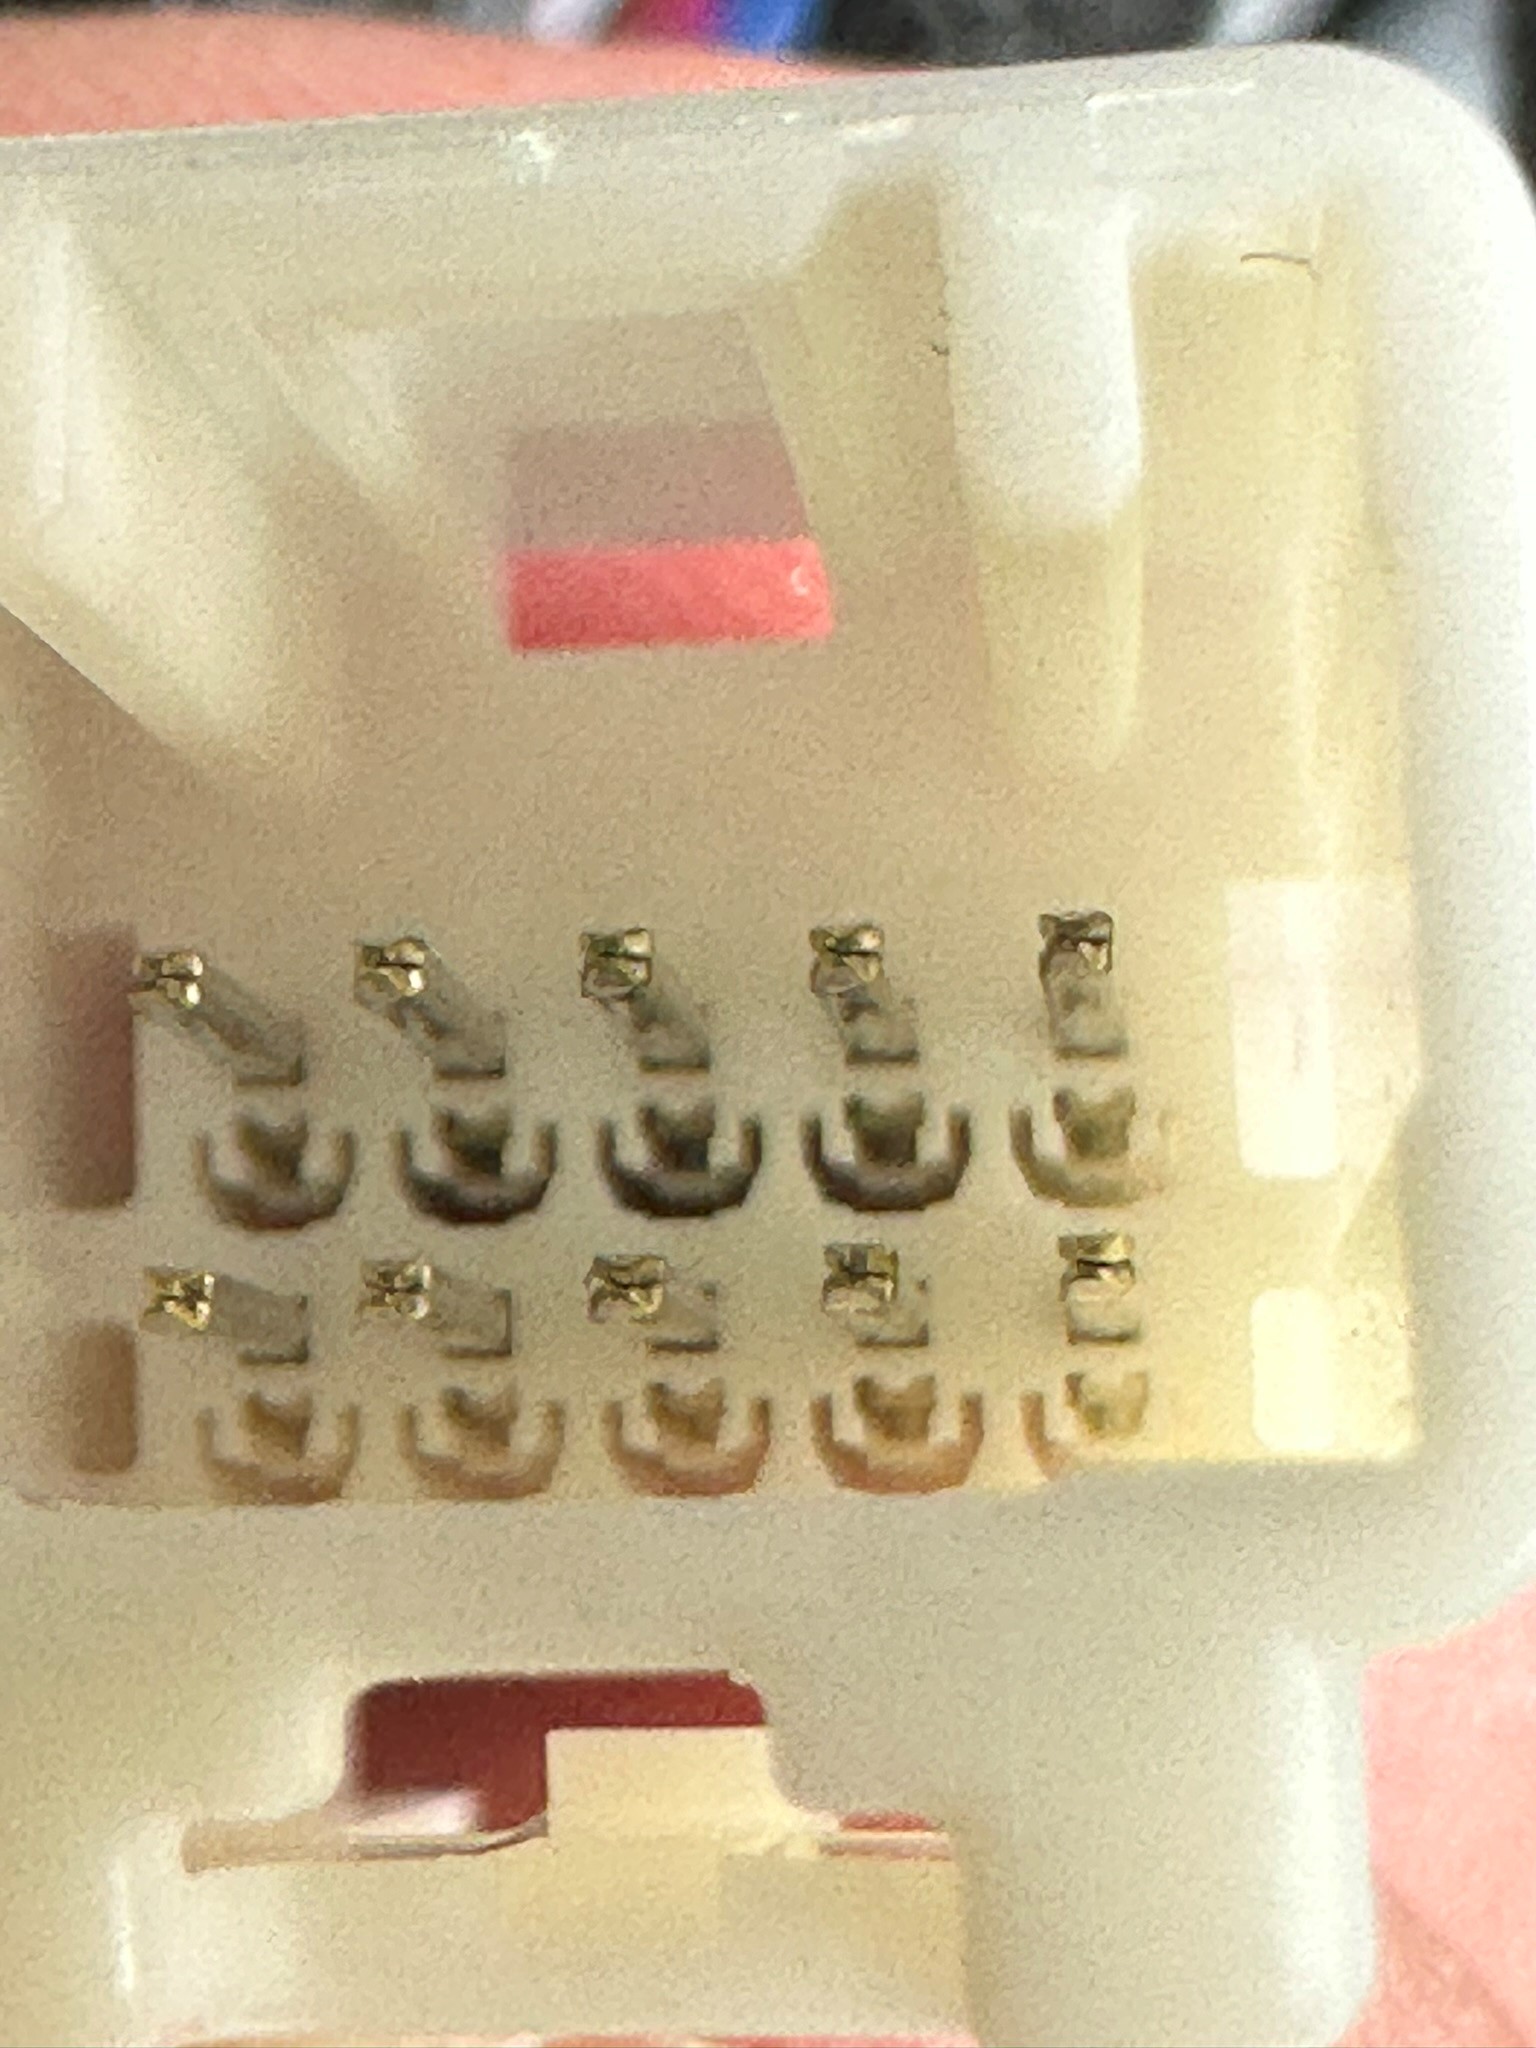
fyi, Inside the white plug.
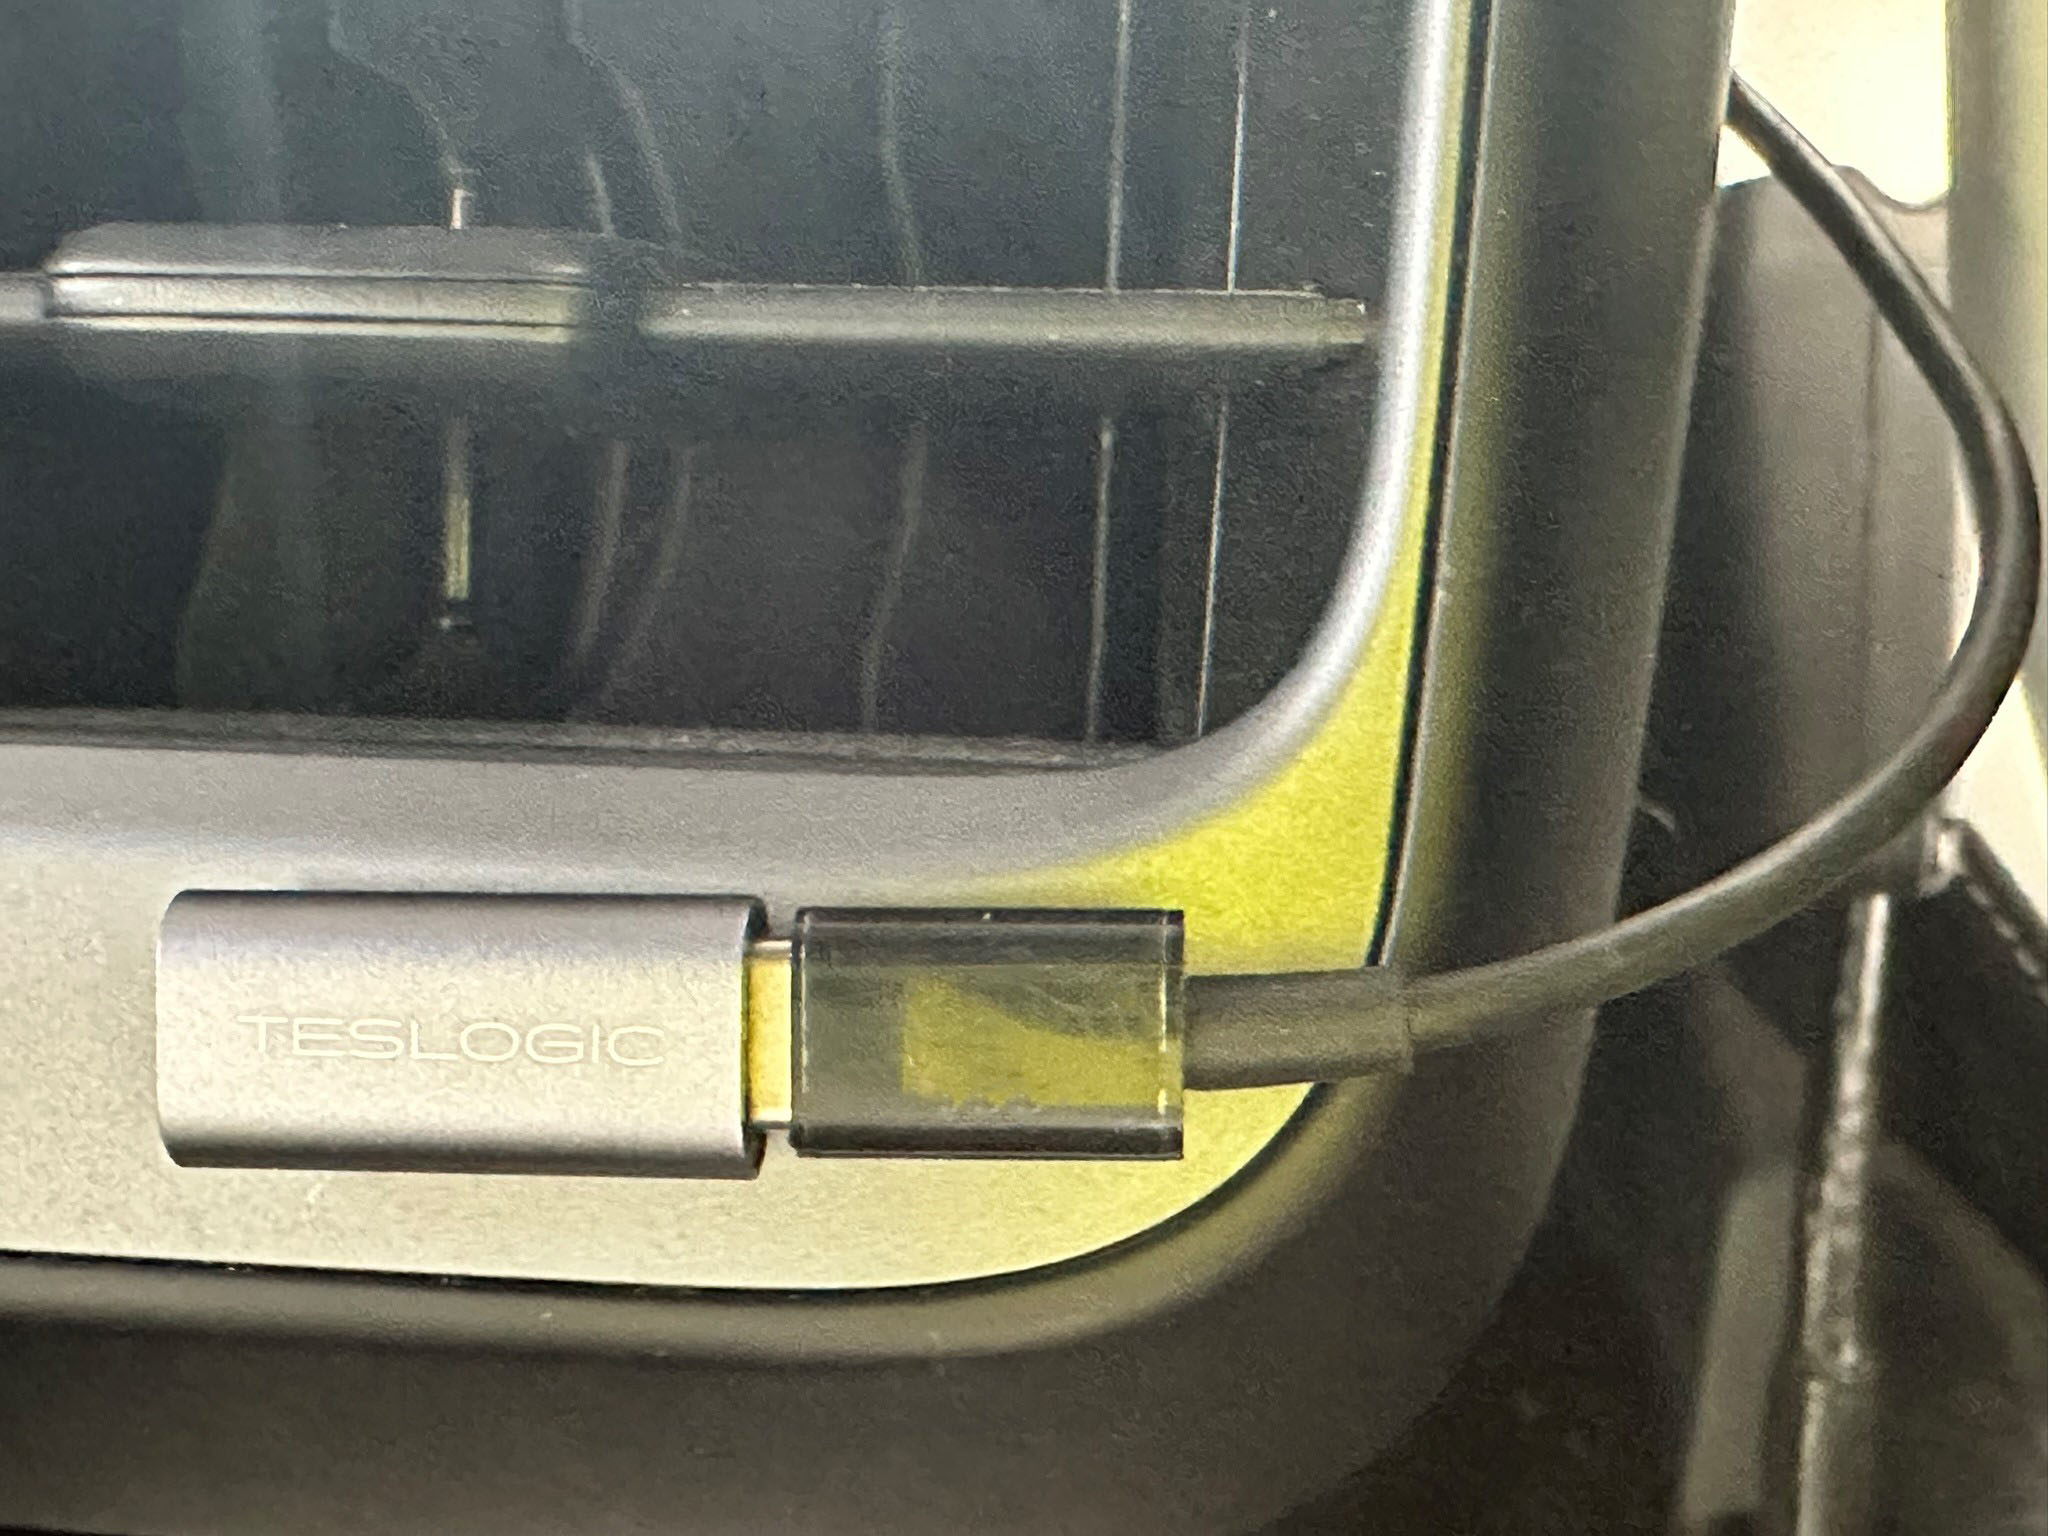
I plugged in the Teslogic (Power) Splitter cable.
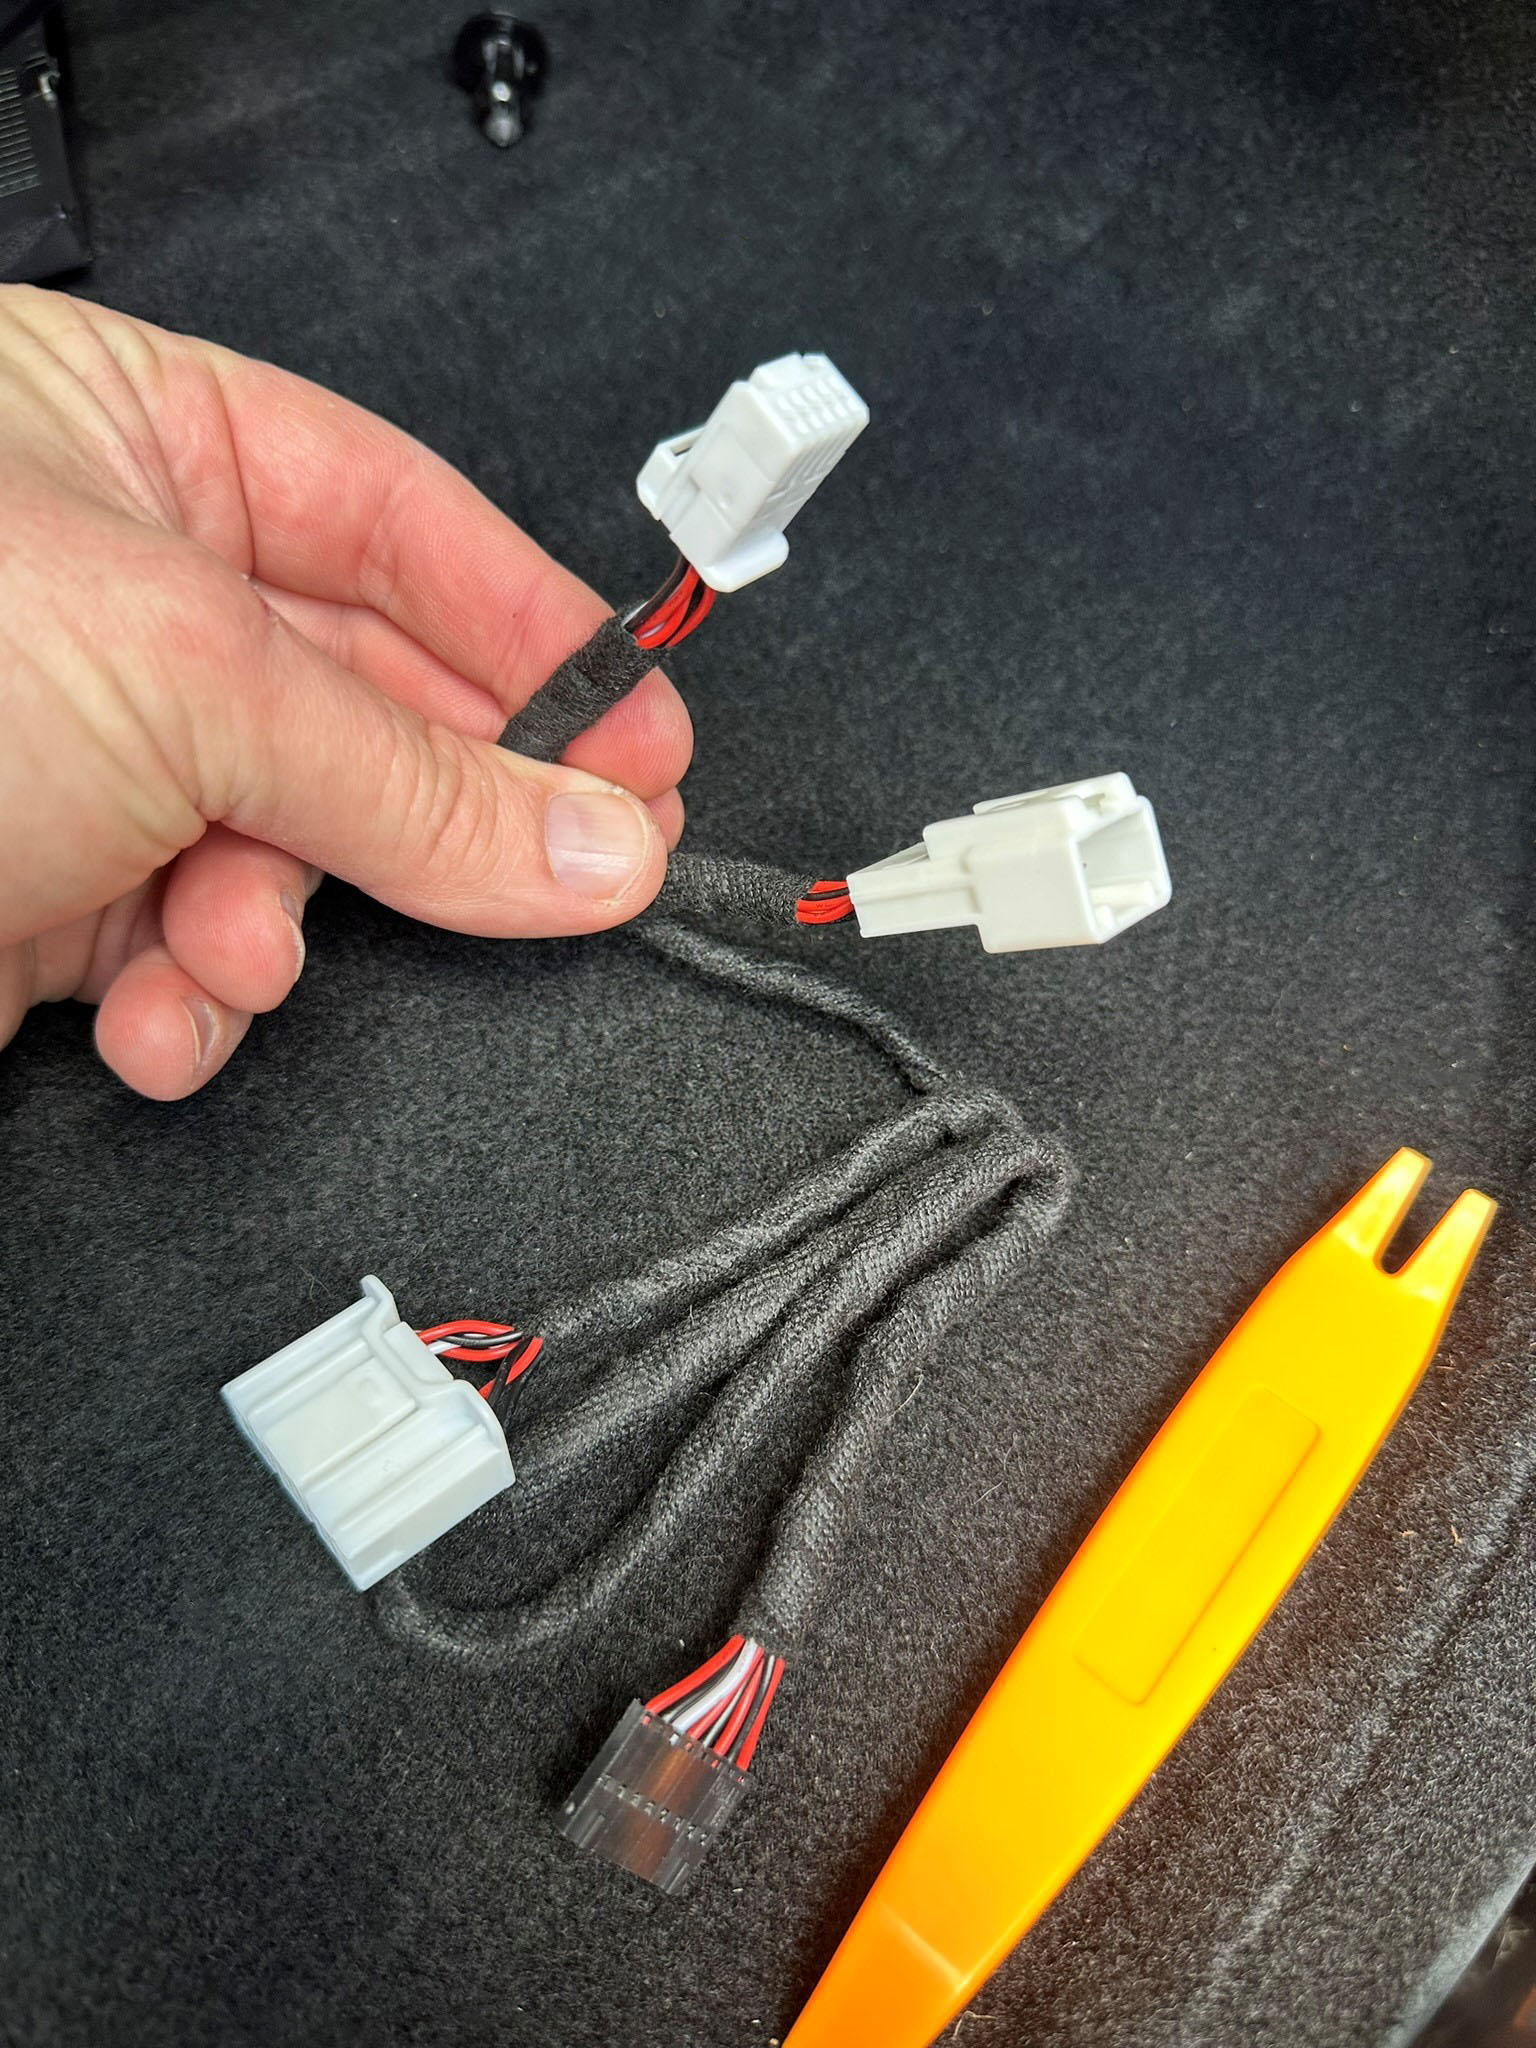
Both ends of the plug were firmly connected and not stressed.

I plugged in the Tesslogic Transmitter.
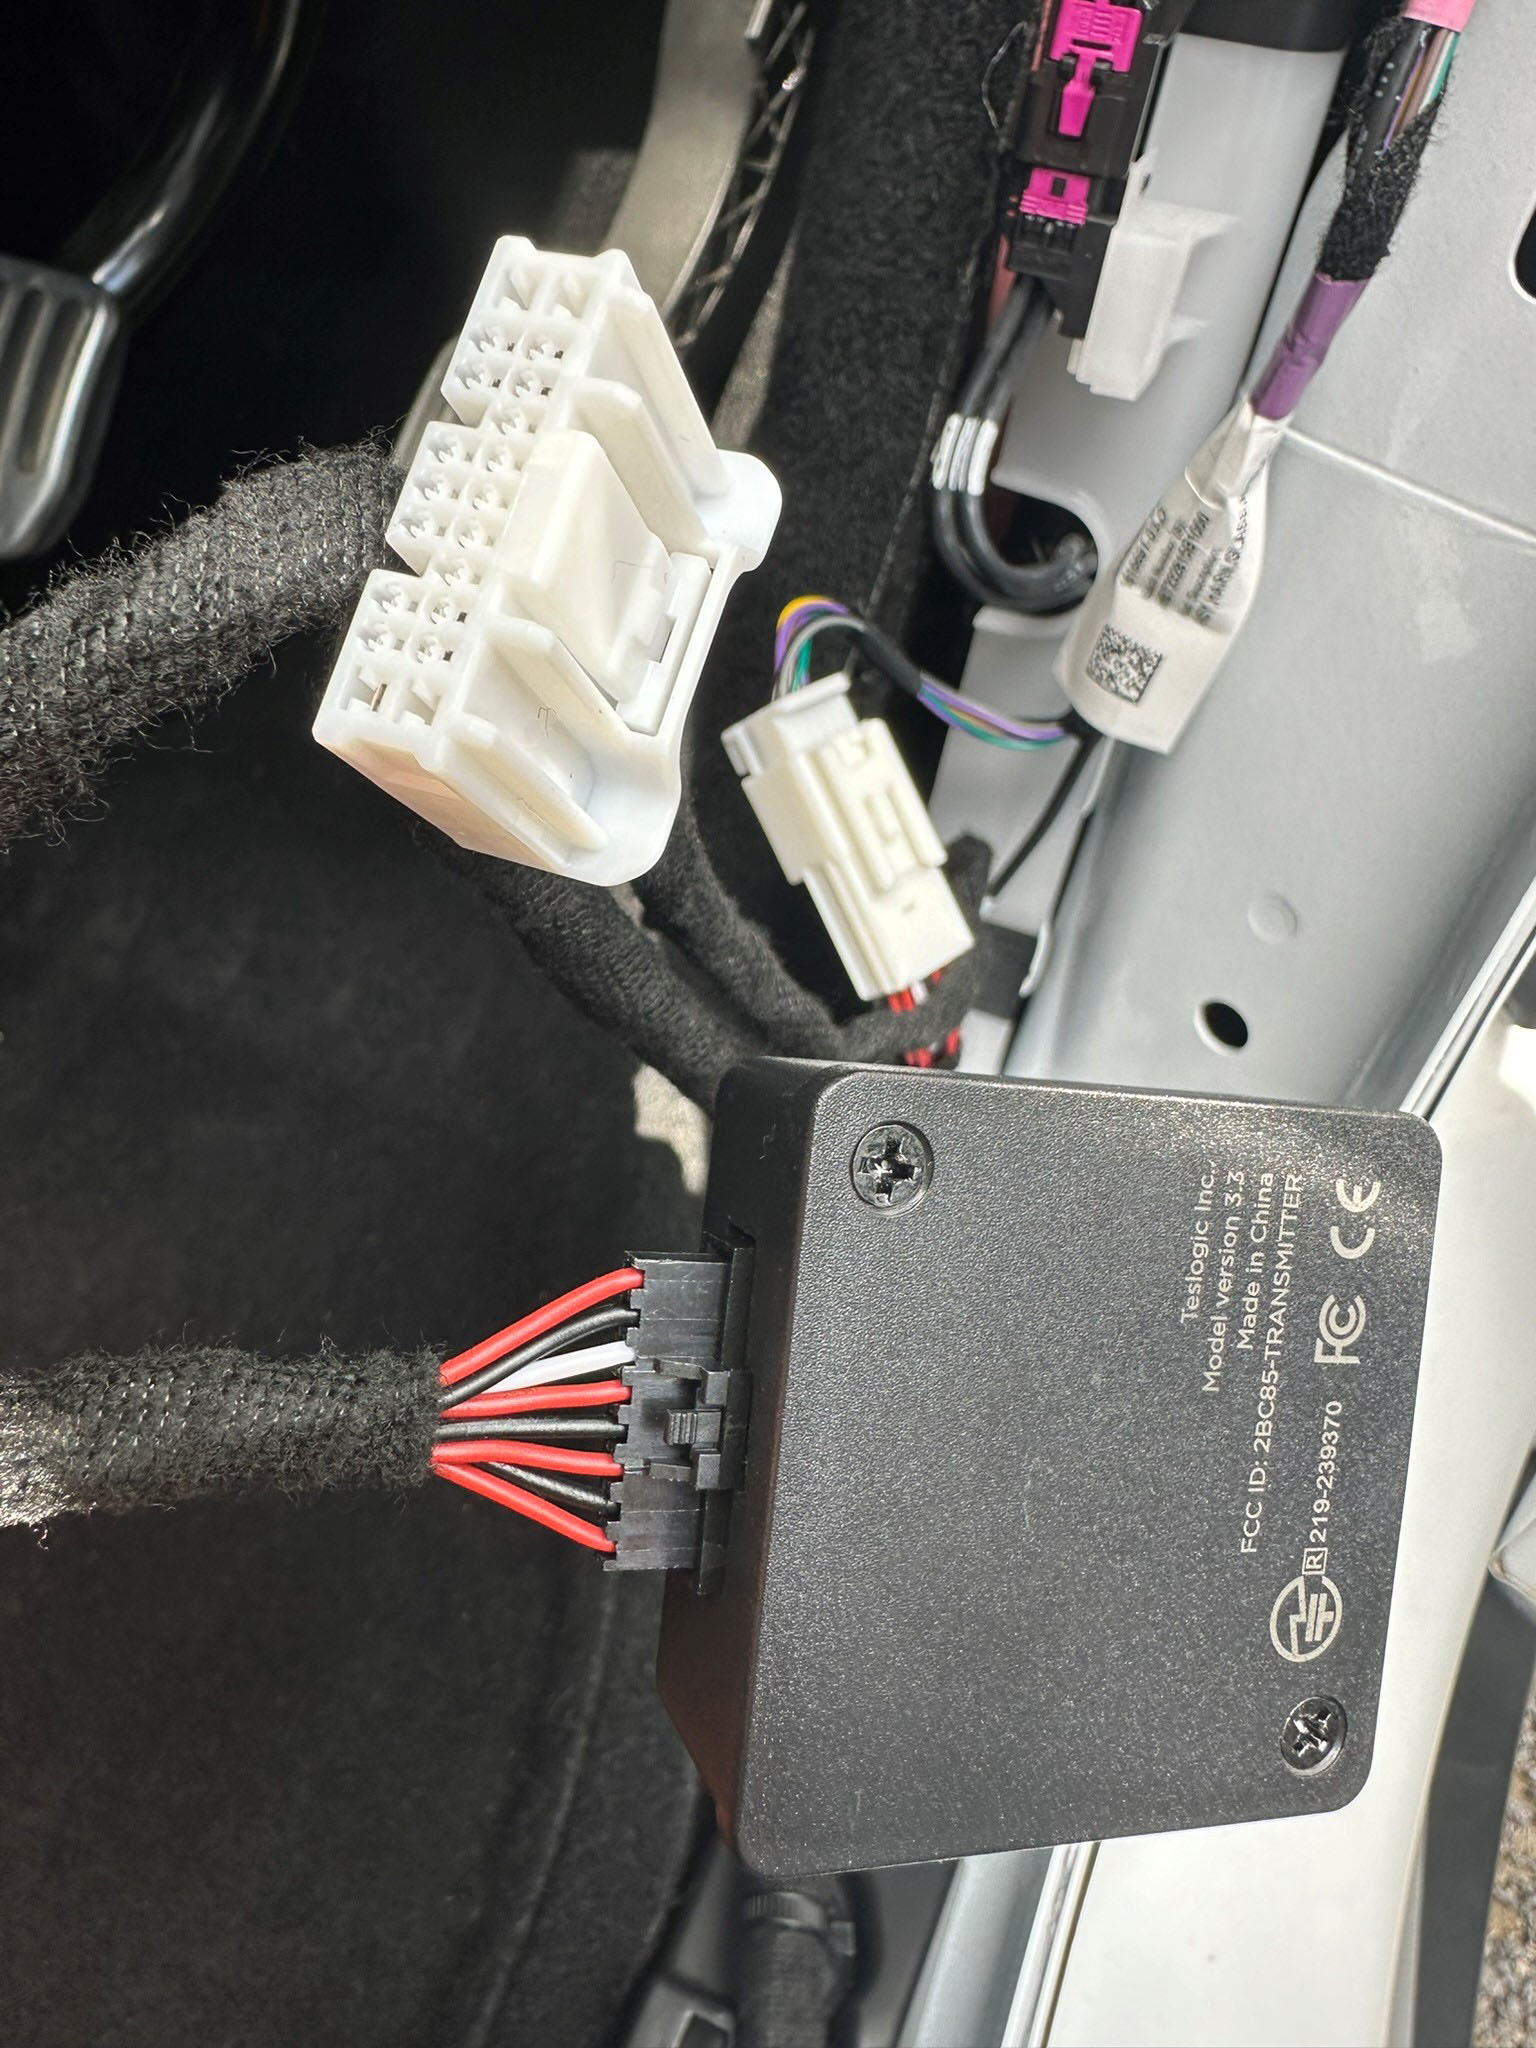
I proceeded to plug into the blue (data?) plug.
White Teslogic I (data?) plug.
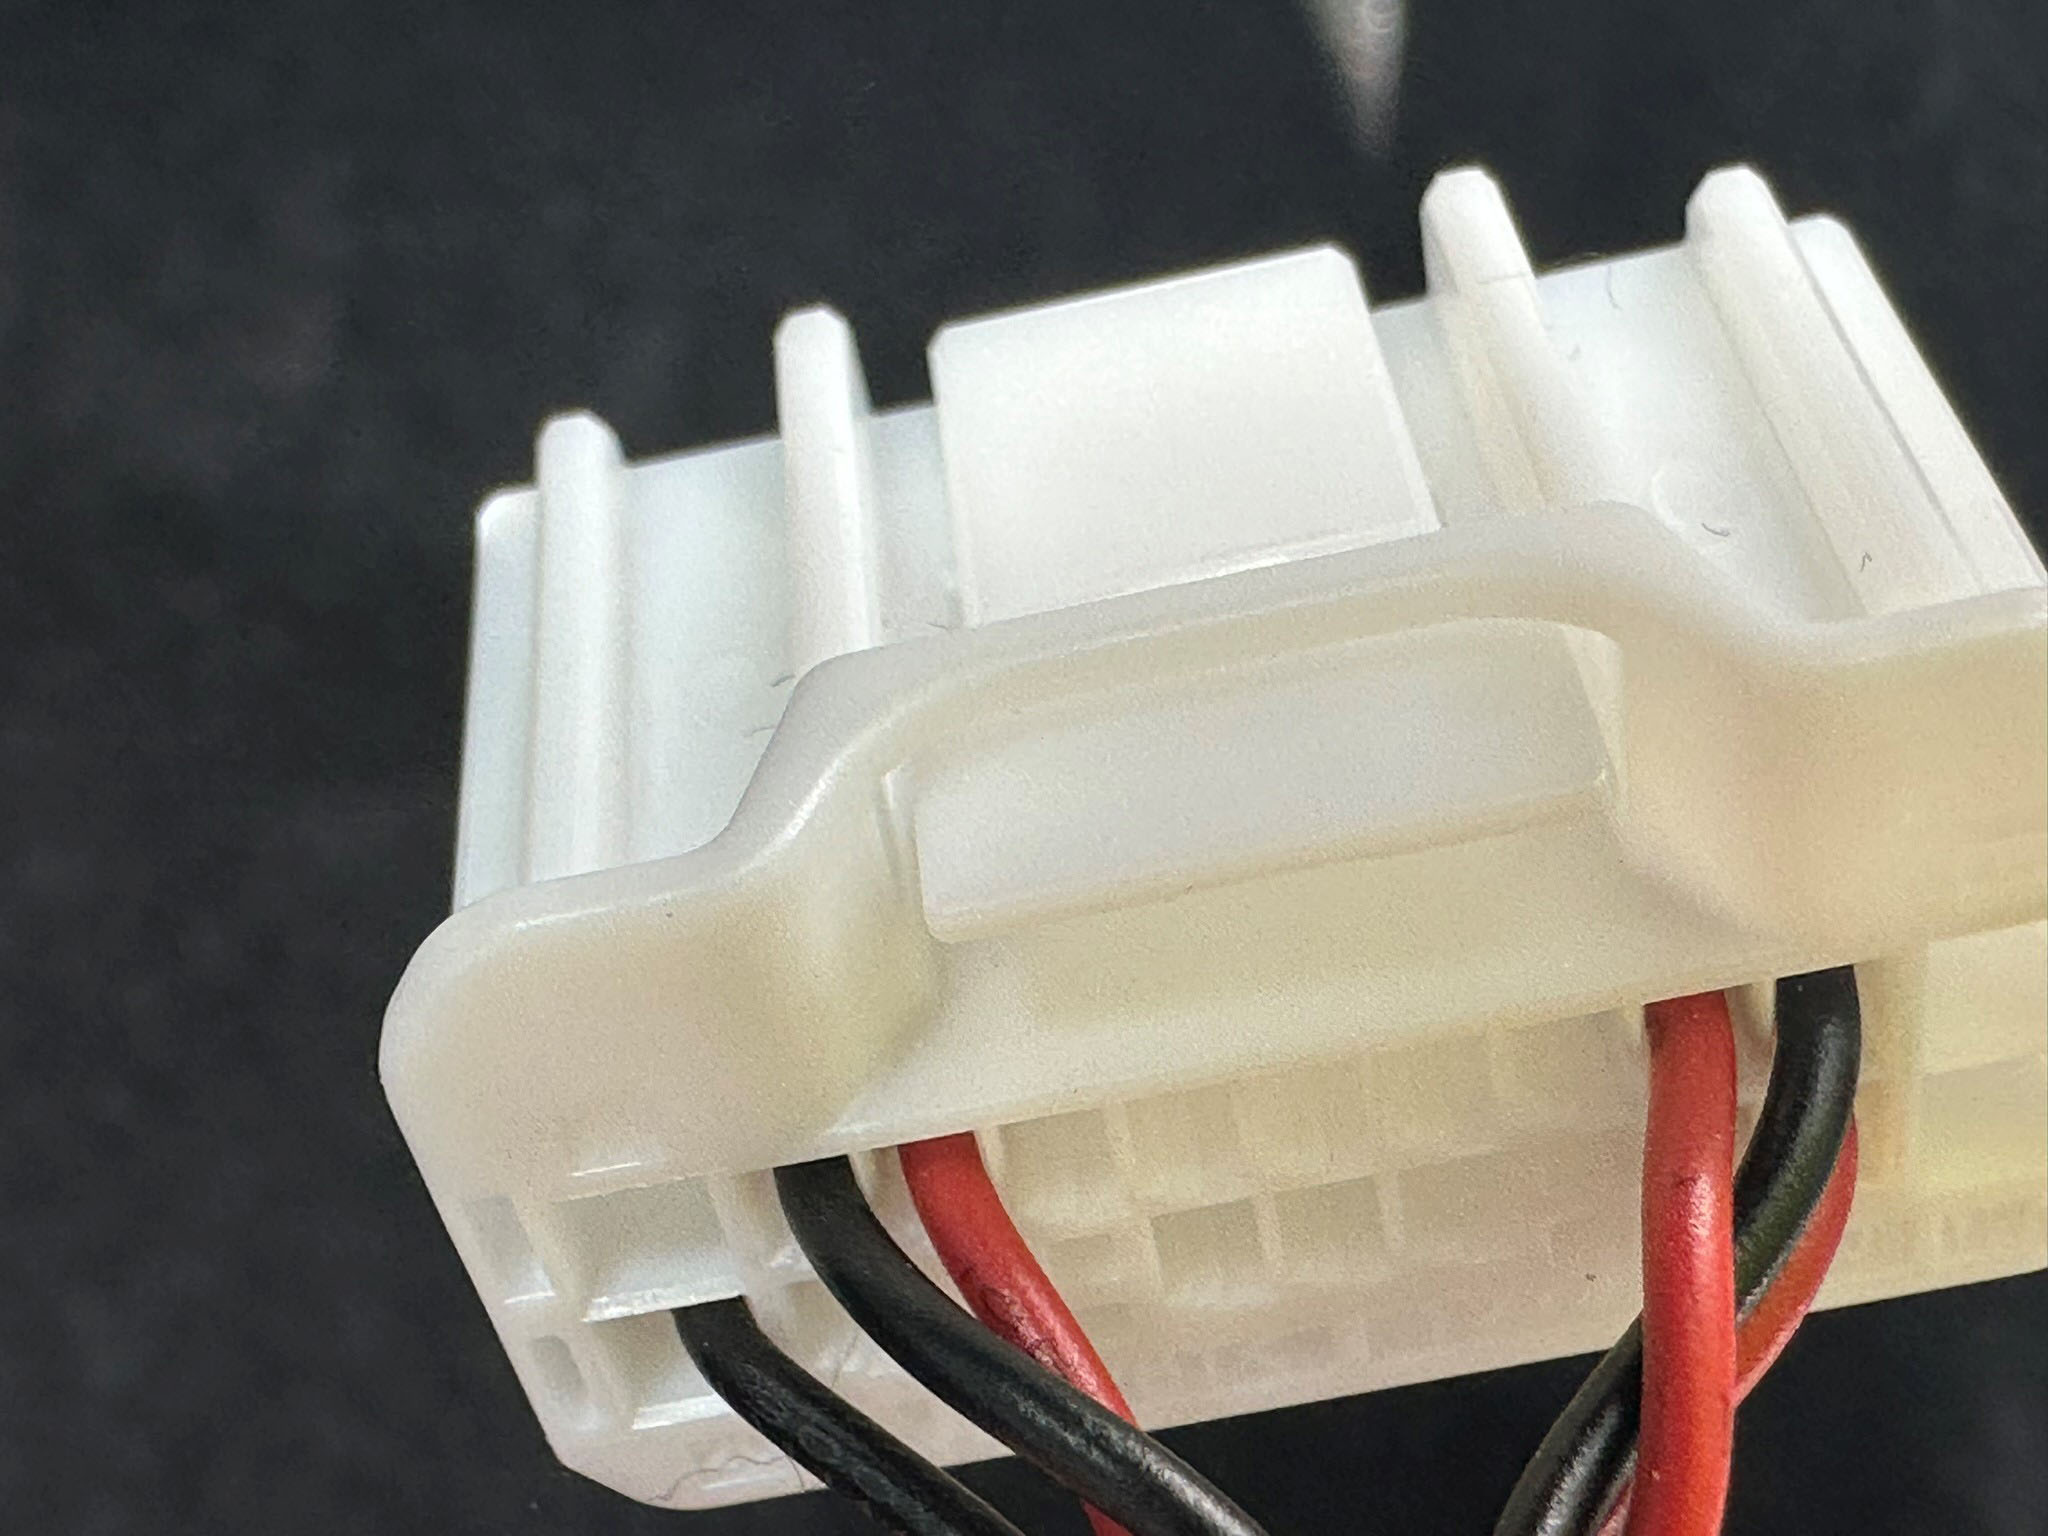
This was plugged in easily.
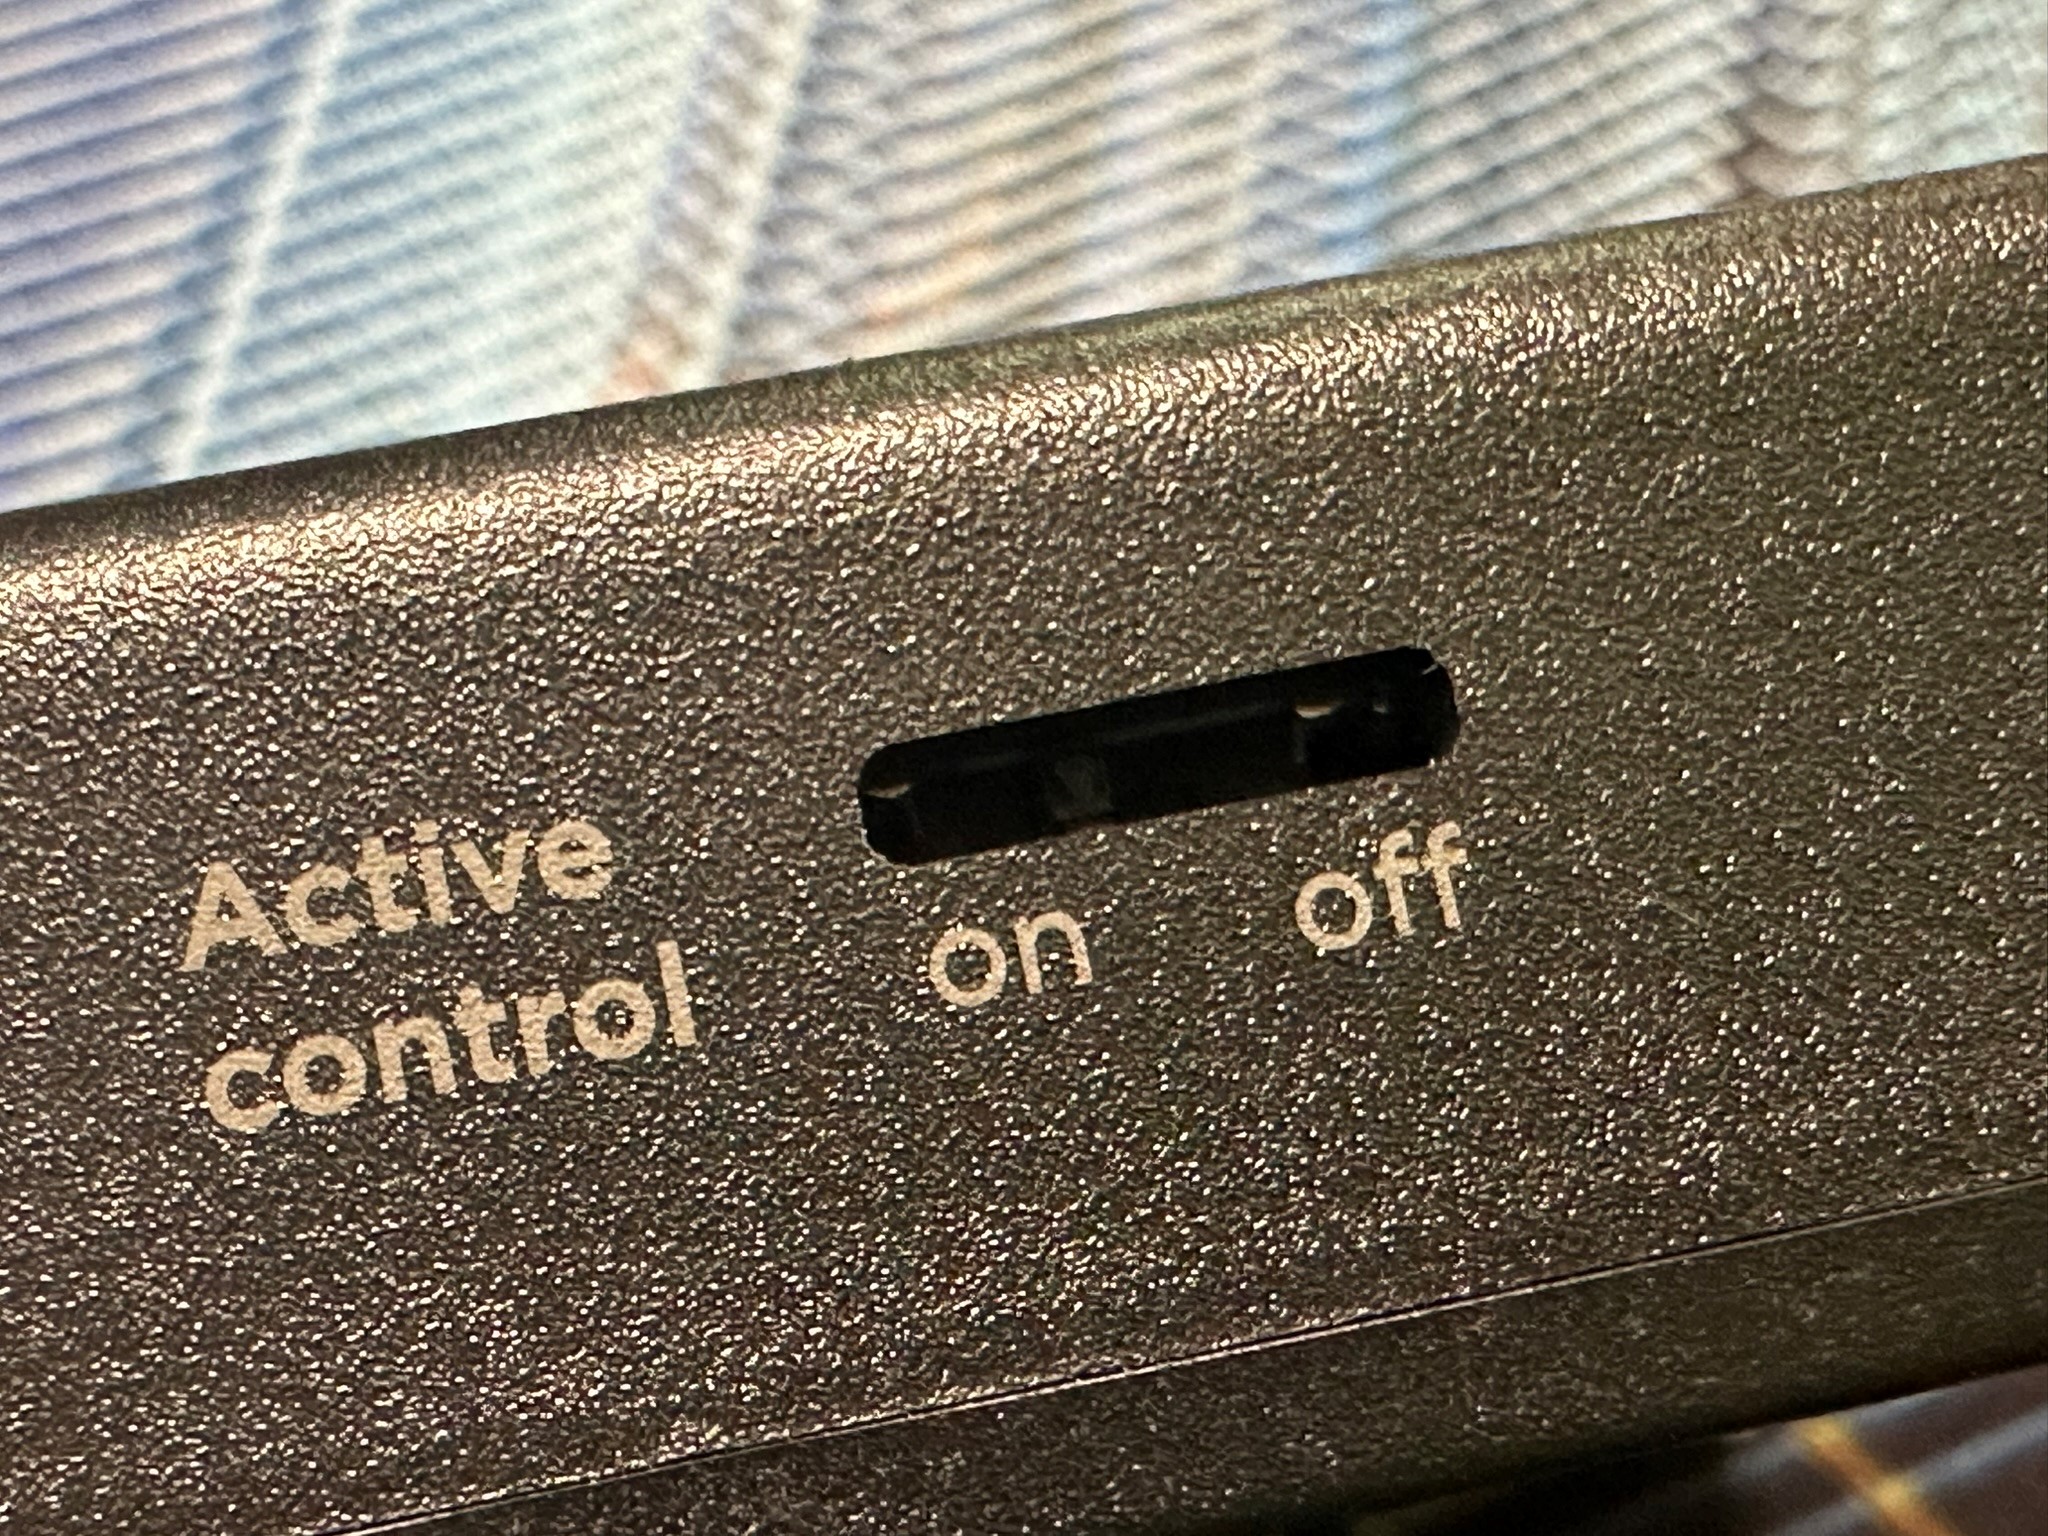
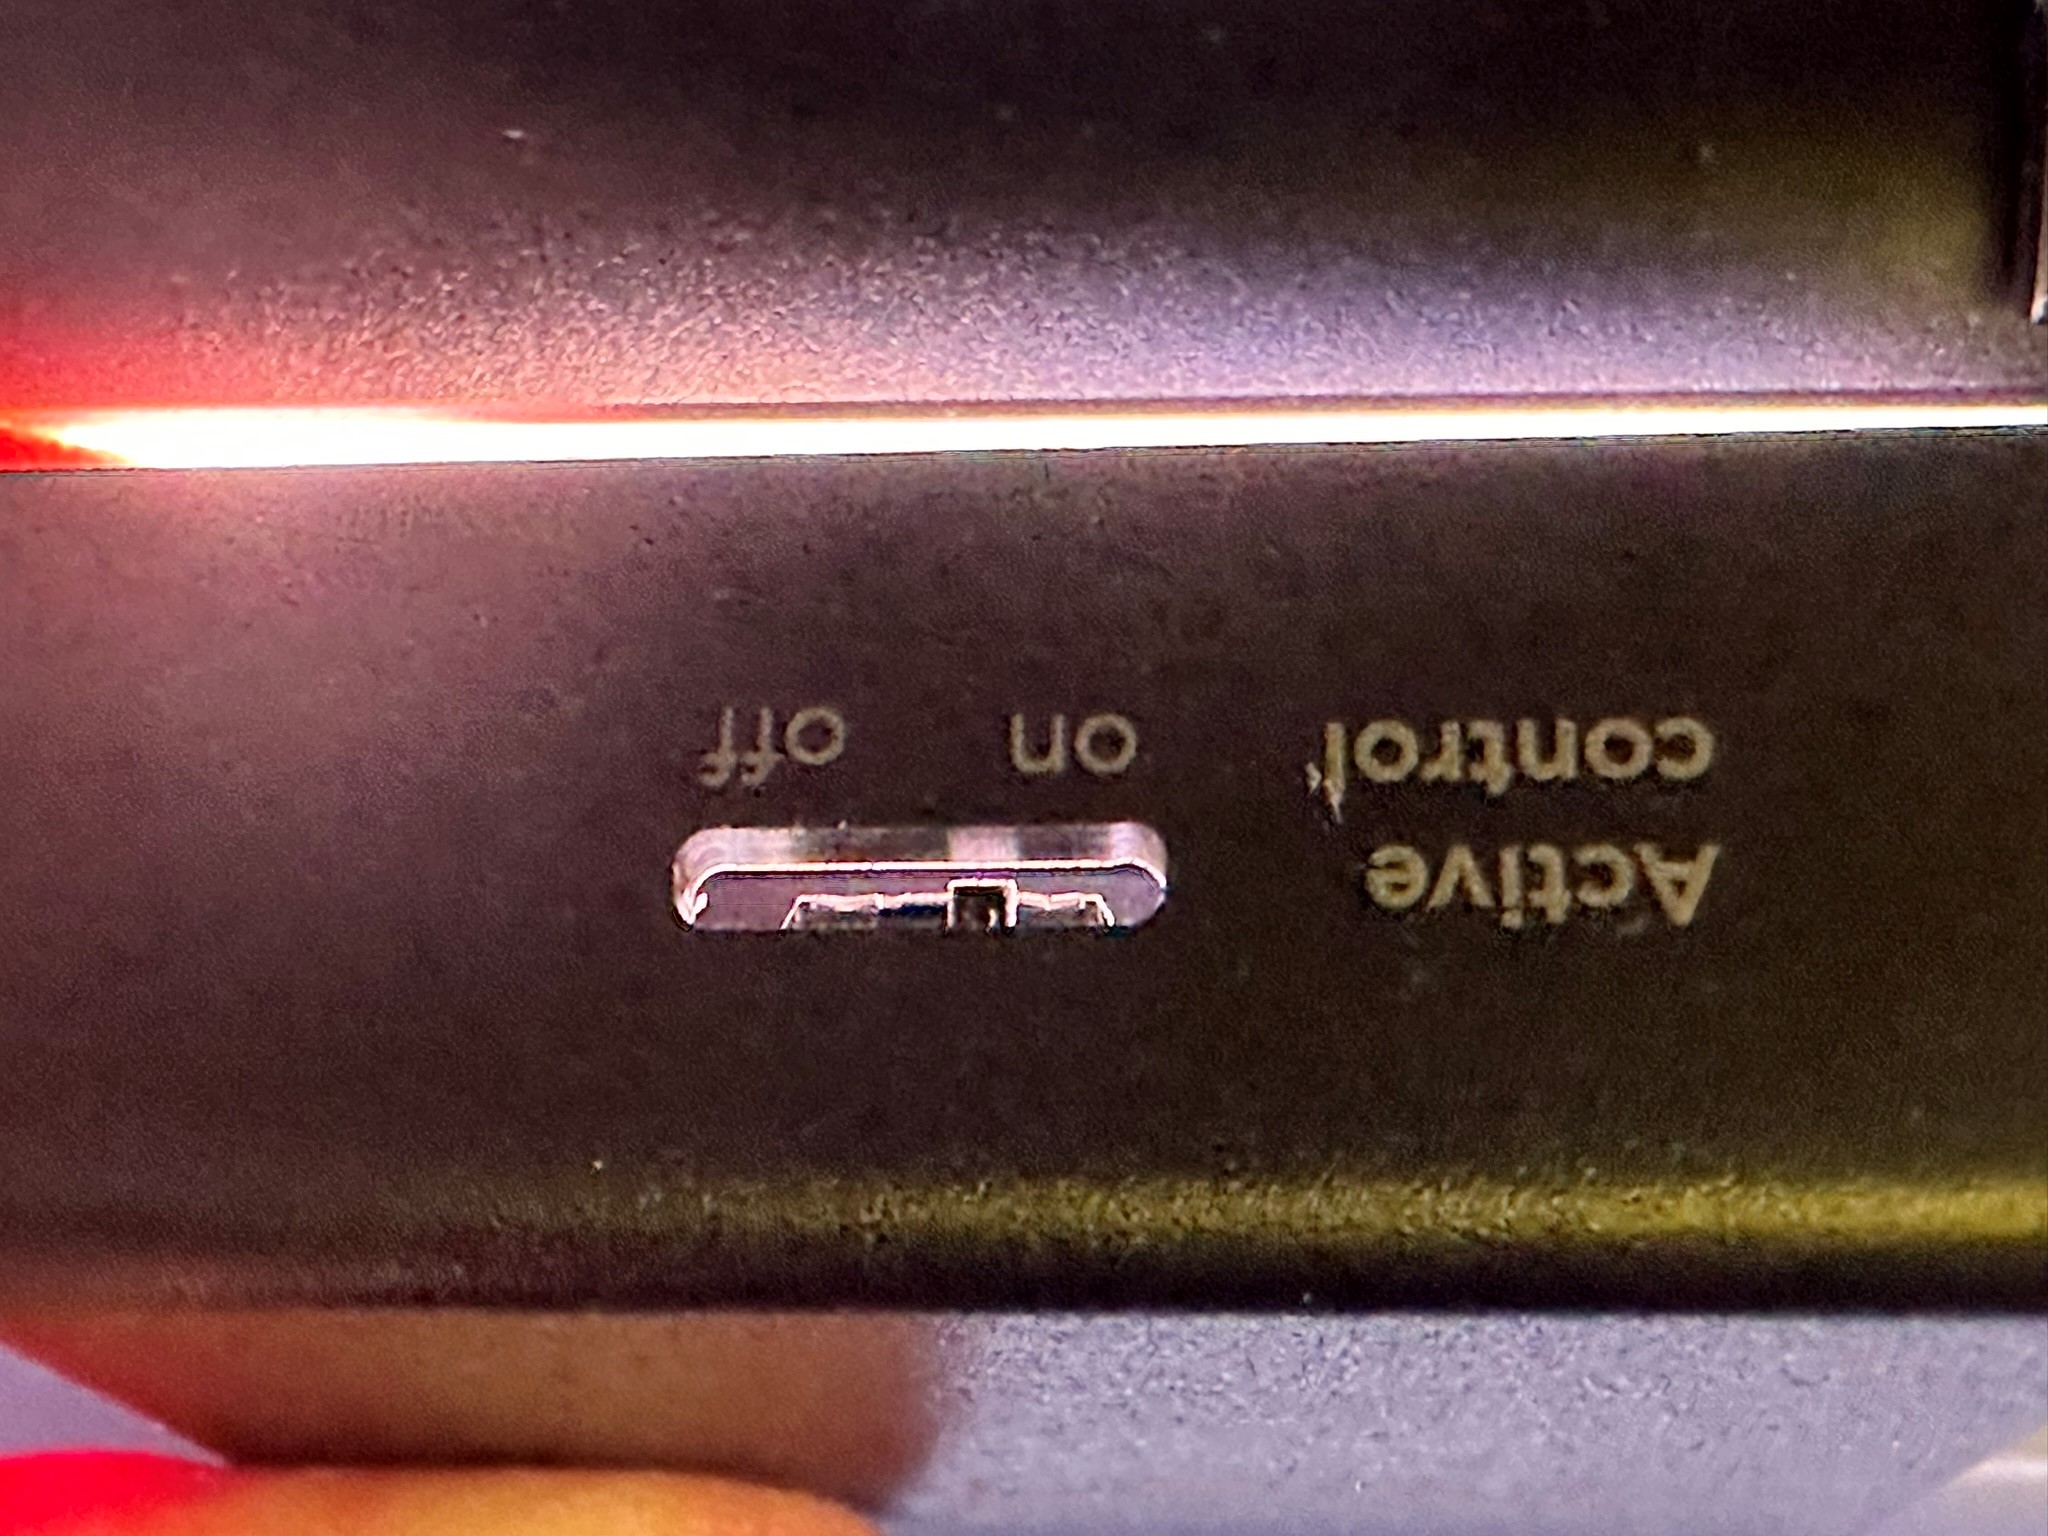
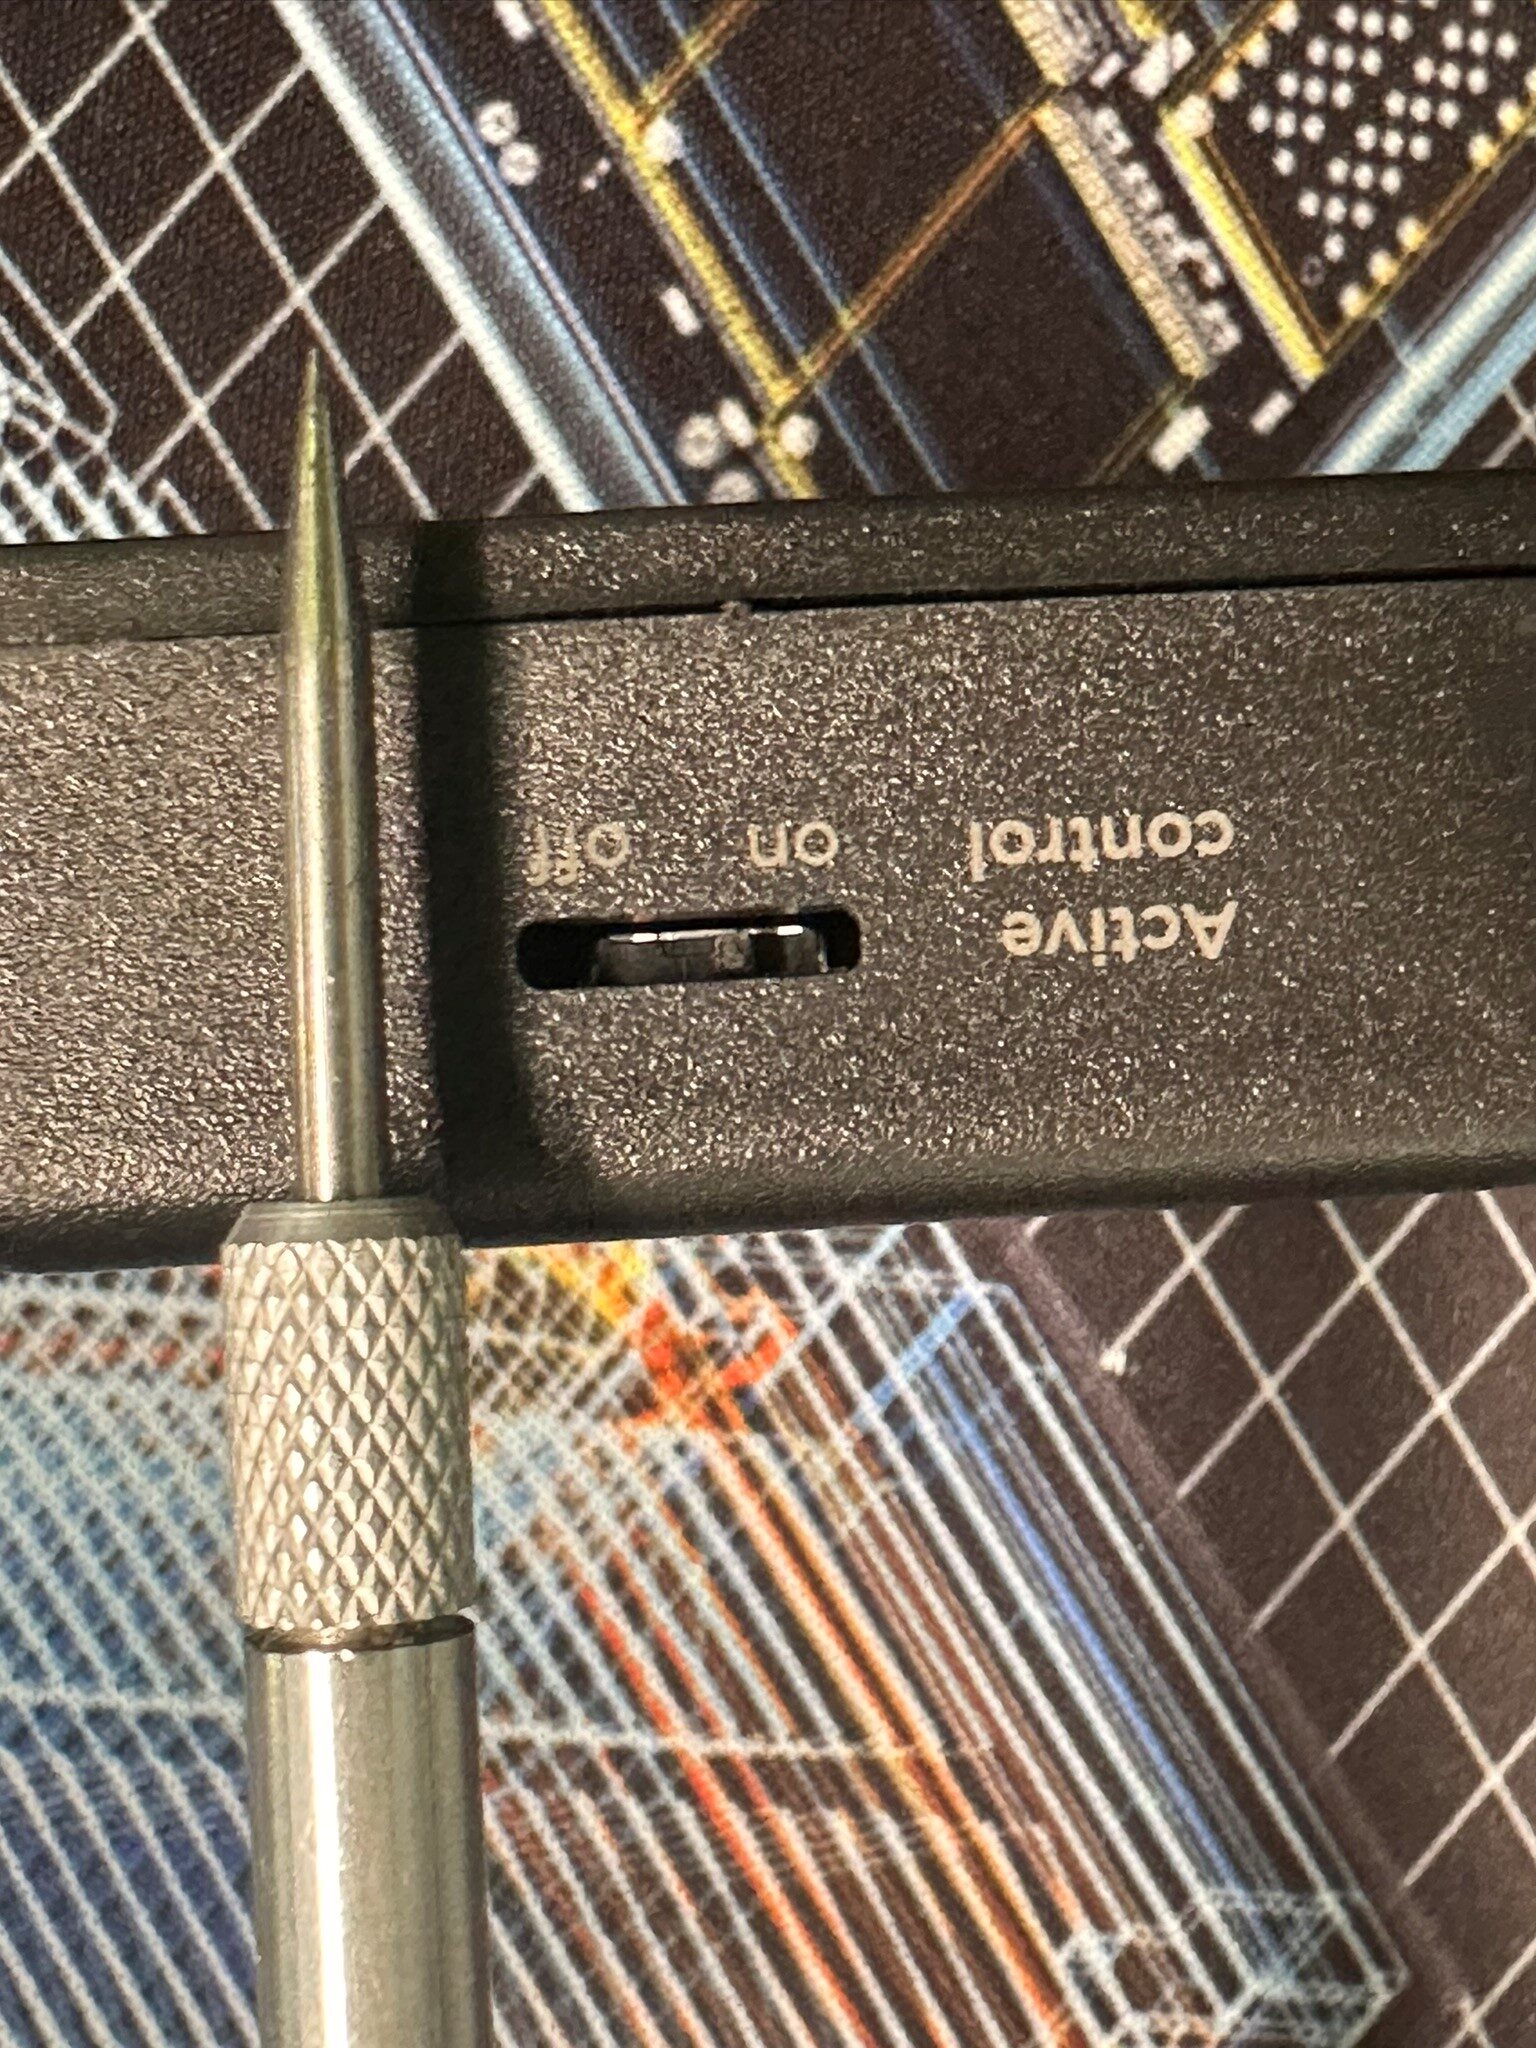
Transmitter /Active Control
Earlier that day I looked at the Transmitter’s Active Control switch on the Transmitter and it was was a bit hard to see if it was ON or OFF.
Switch On to allow the Teslogic App to send commands to the car (Pre Heat the battery, Autio Chill/Sport Mode etc) or Off to install as Read Only.
I was curious to see whta was inside. I opened the device (Phllips head screwdriver) to see the switch’'s state.
I could see 1x E73-2G4M08S1C Bluetooth Wireless Module, 3x SN74LVC125A High-Speed CAN Transceivers and a Main IC (Arm® 32-bit Cortex?)). The parts look reliable and are way better than USB-based Raspberry Pi-based data loggers.
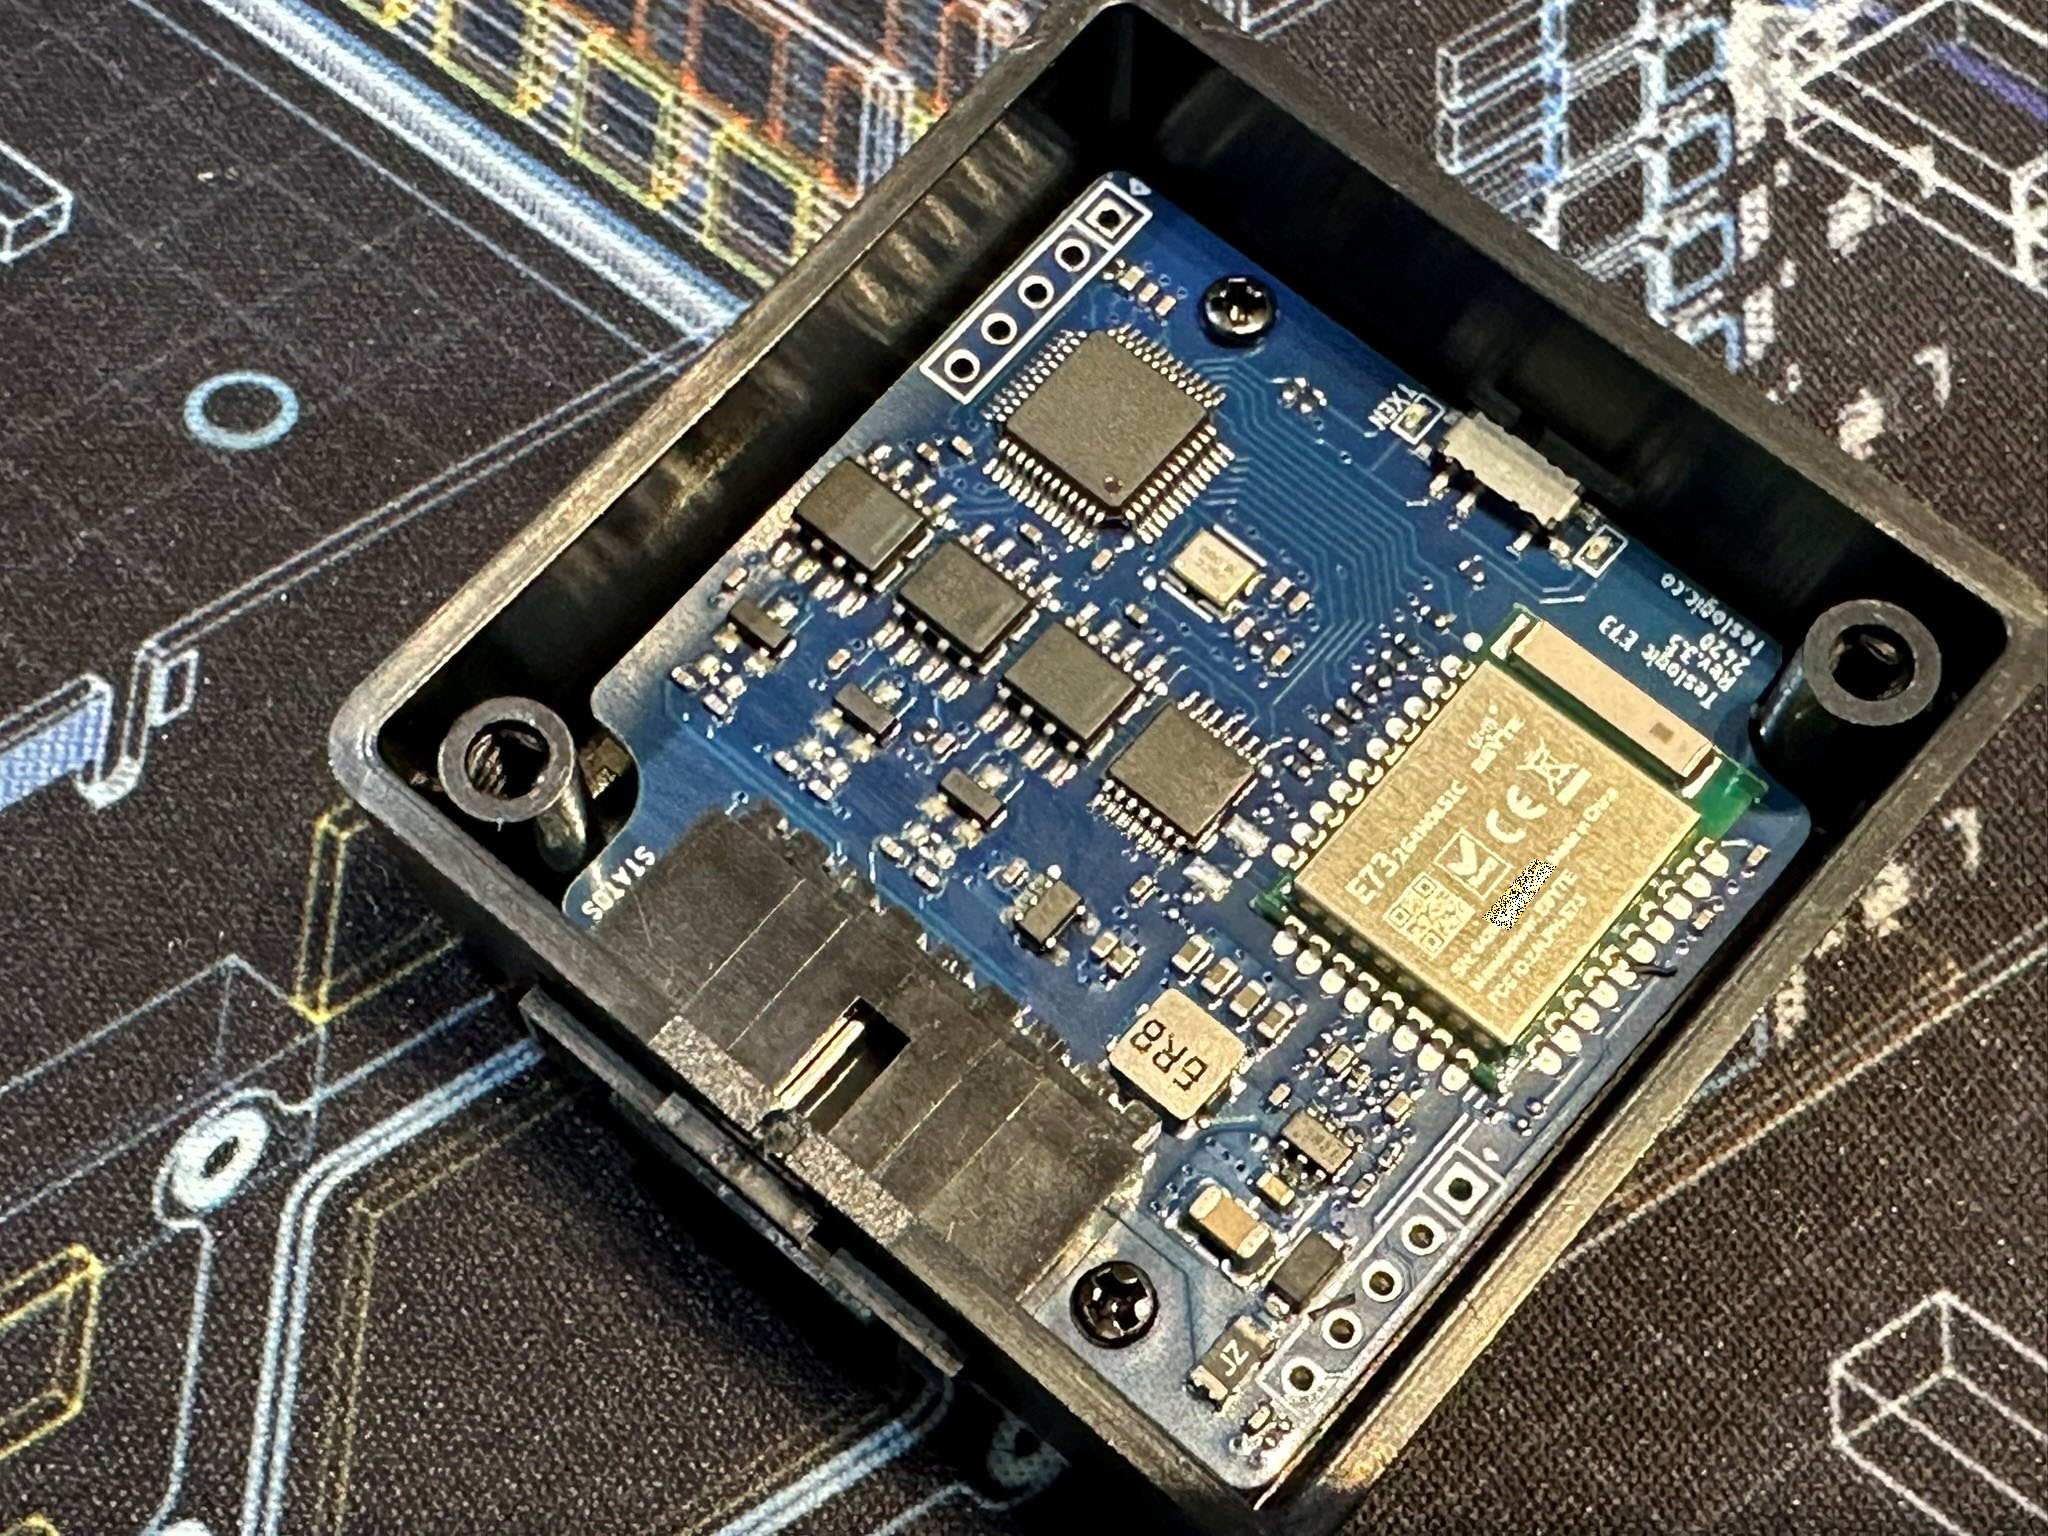
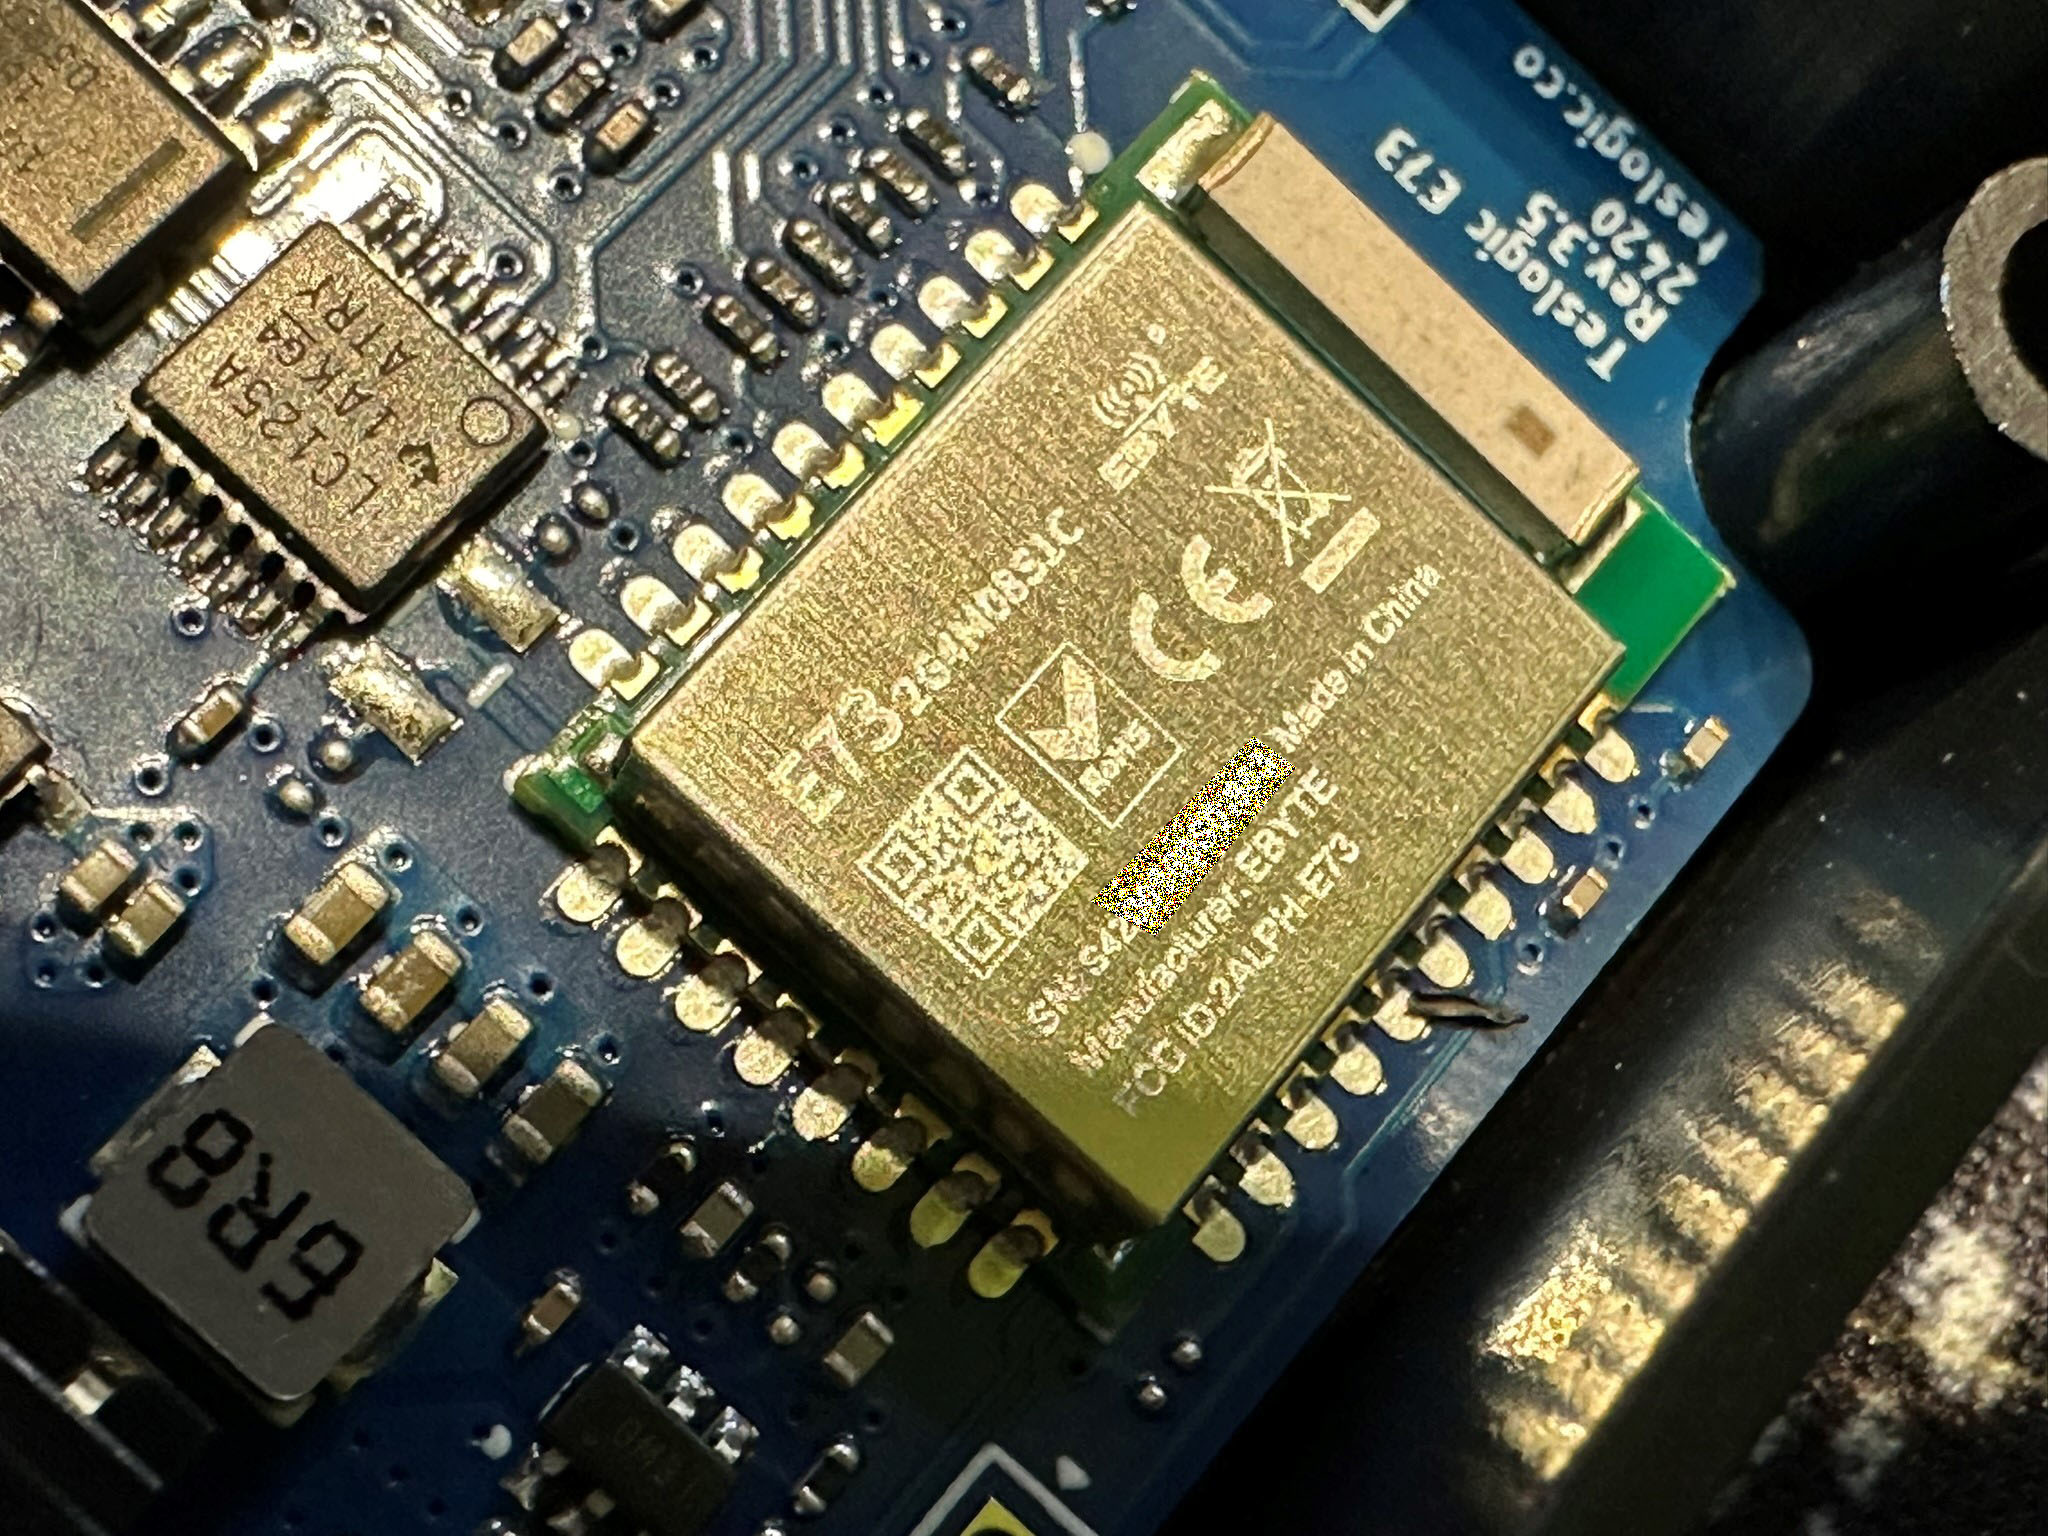
I had hardware verdsin 3.3
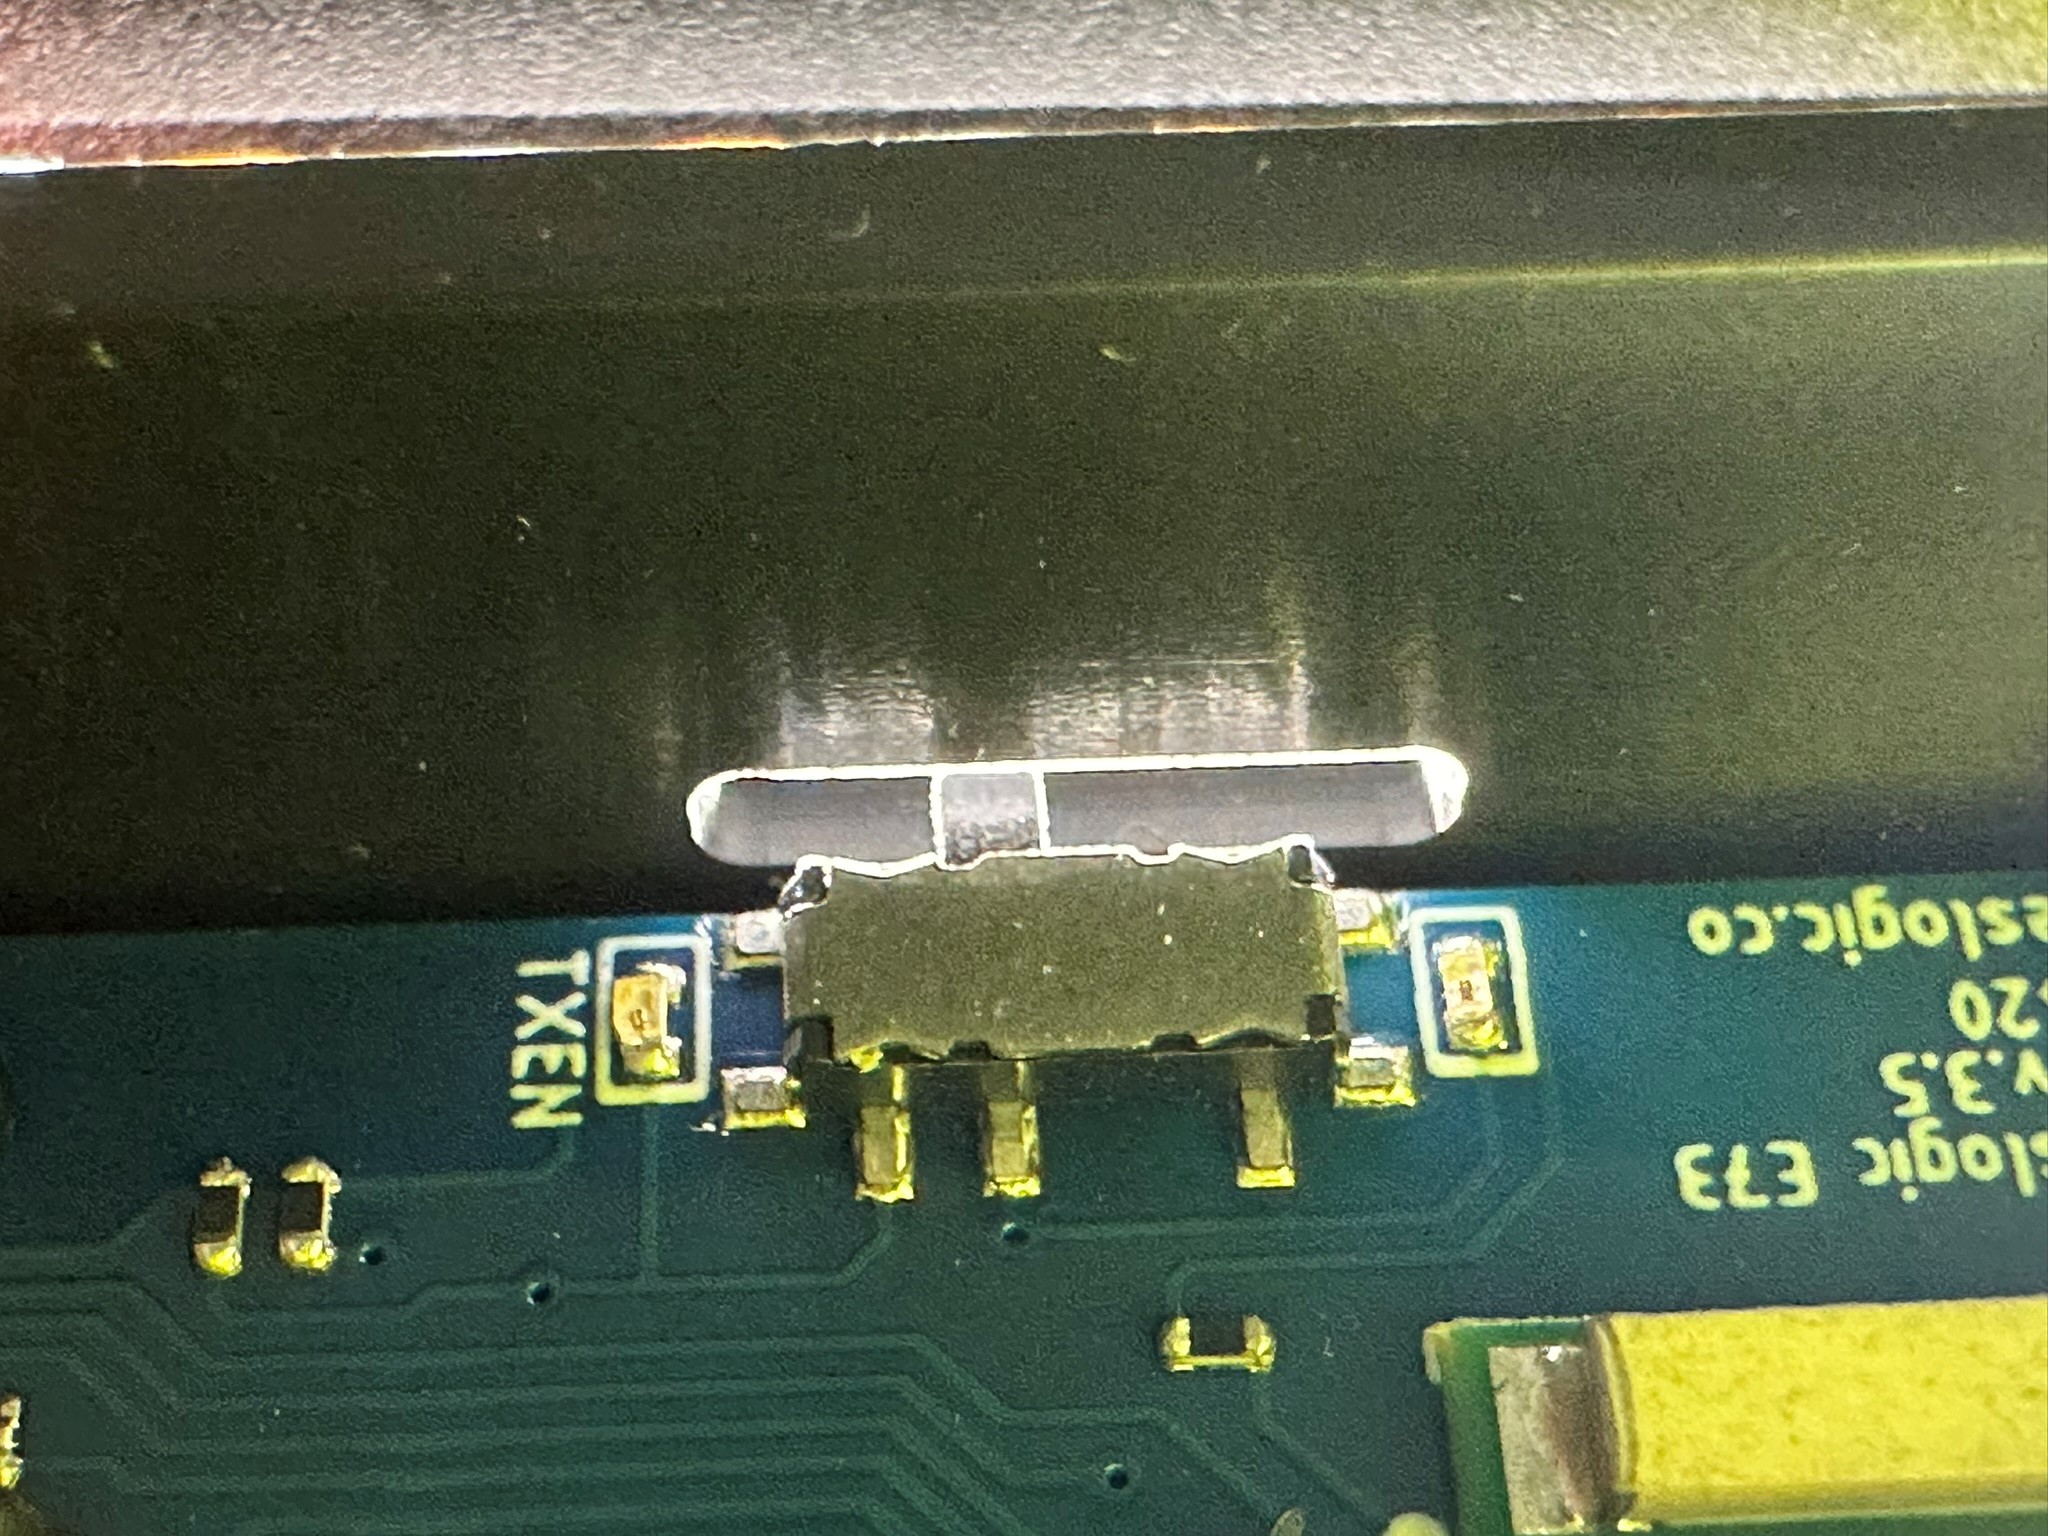
A little bright light revealed the switch position (indoors) or in sunlight outside (ON).
I will leave mine set to (ON).

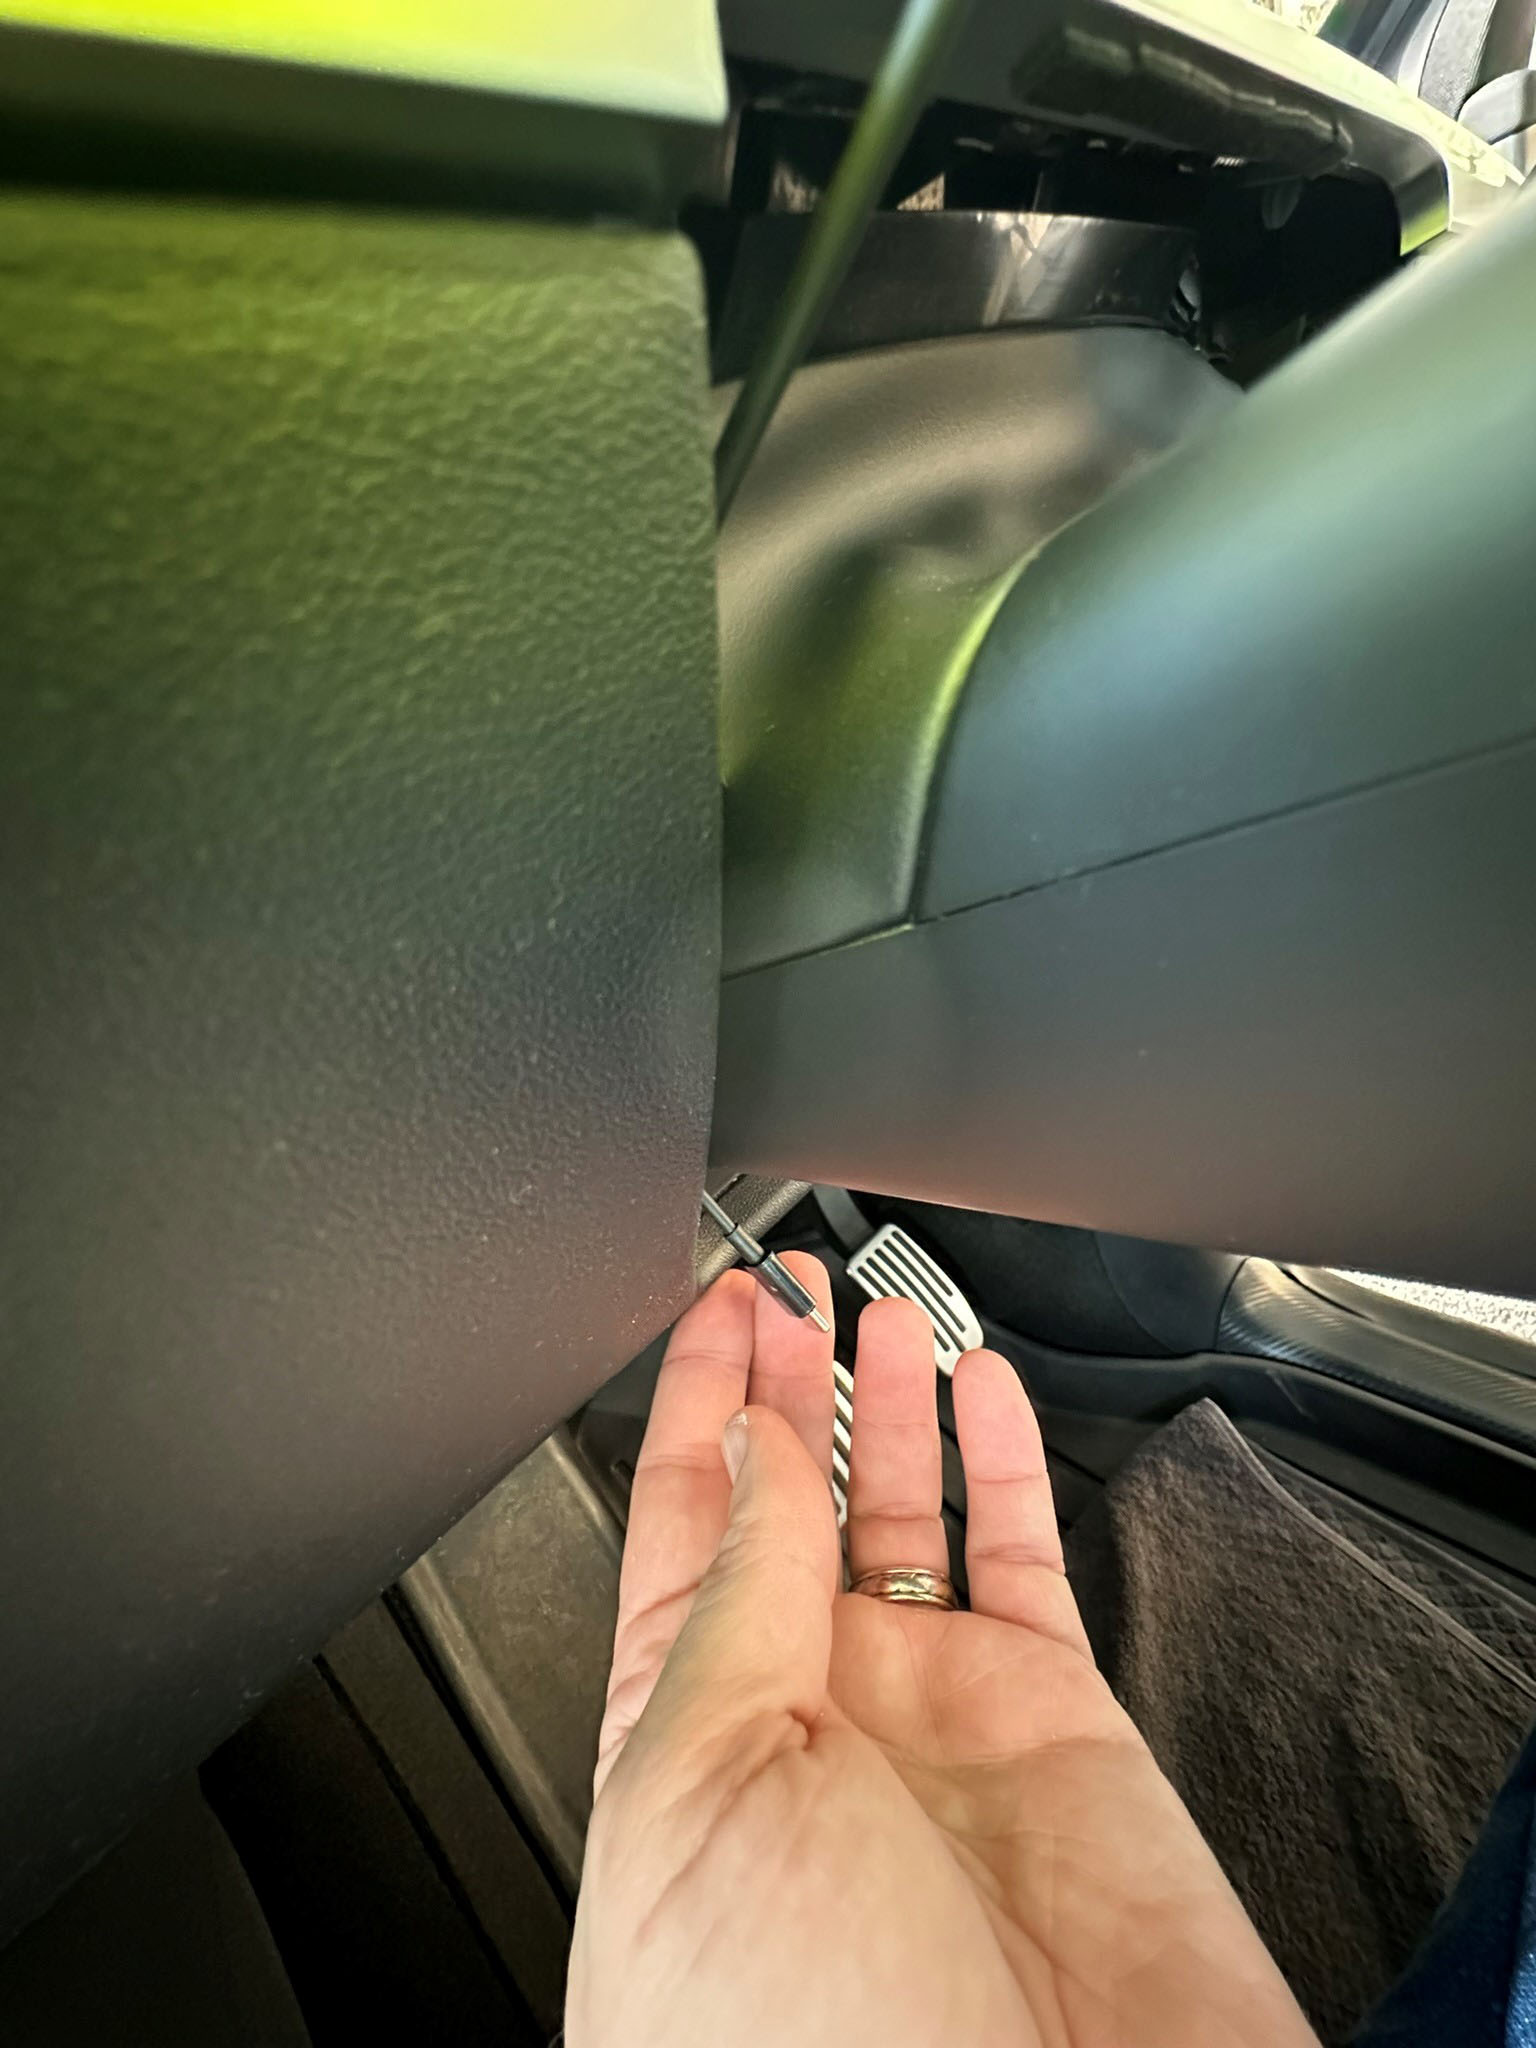
FYI, If you want to change your setting you will need a small pointy thing to move the switch. Be careful it is surface mounted to the PCB.
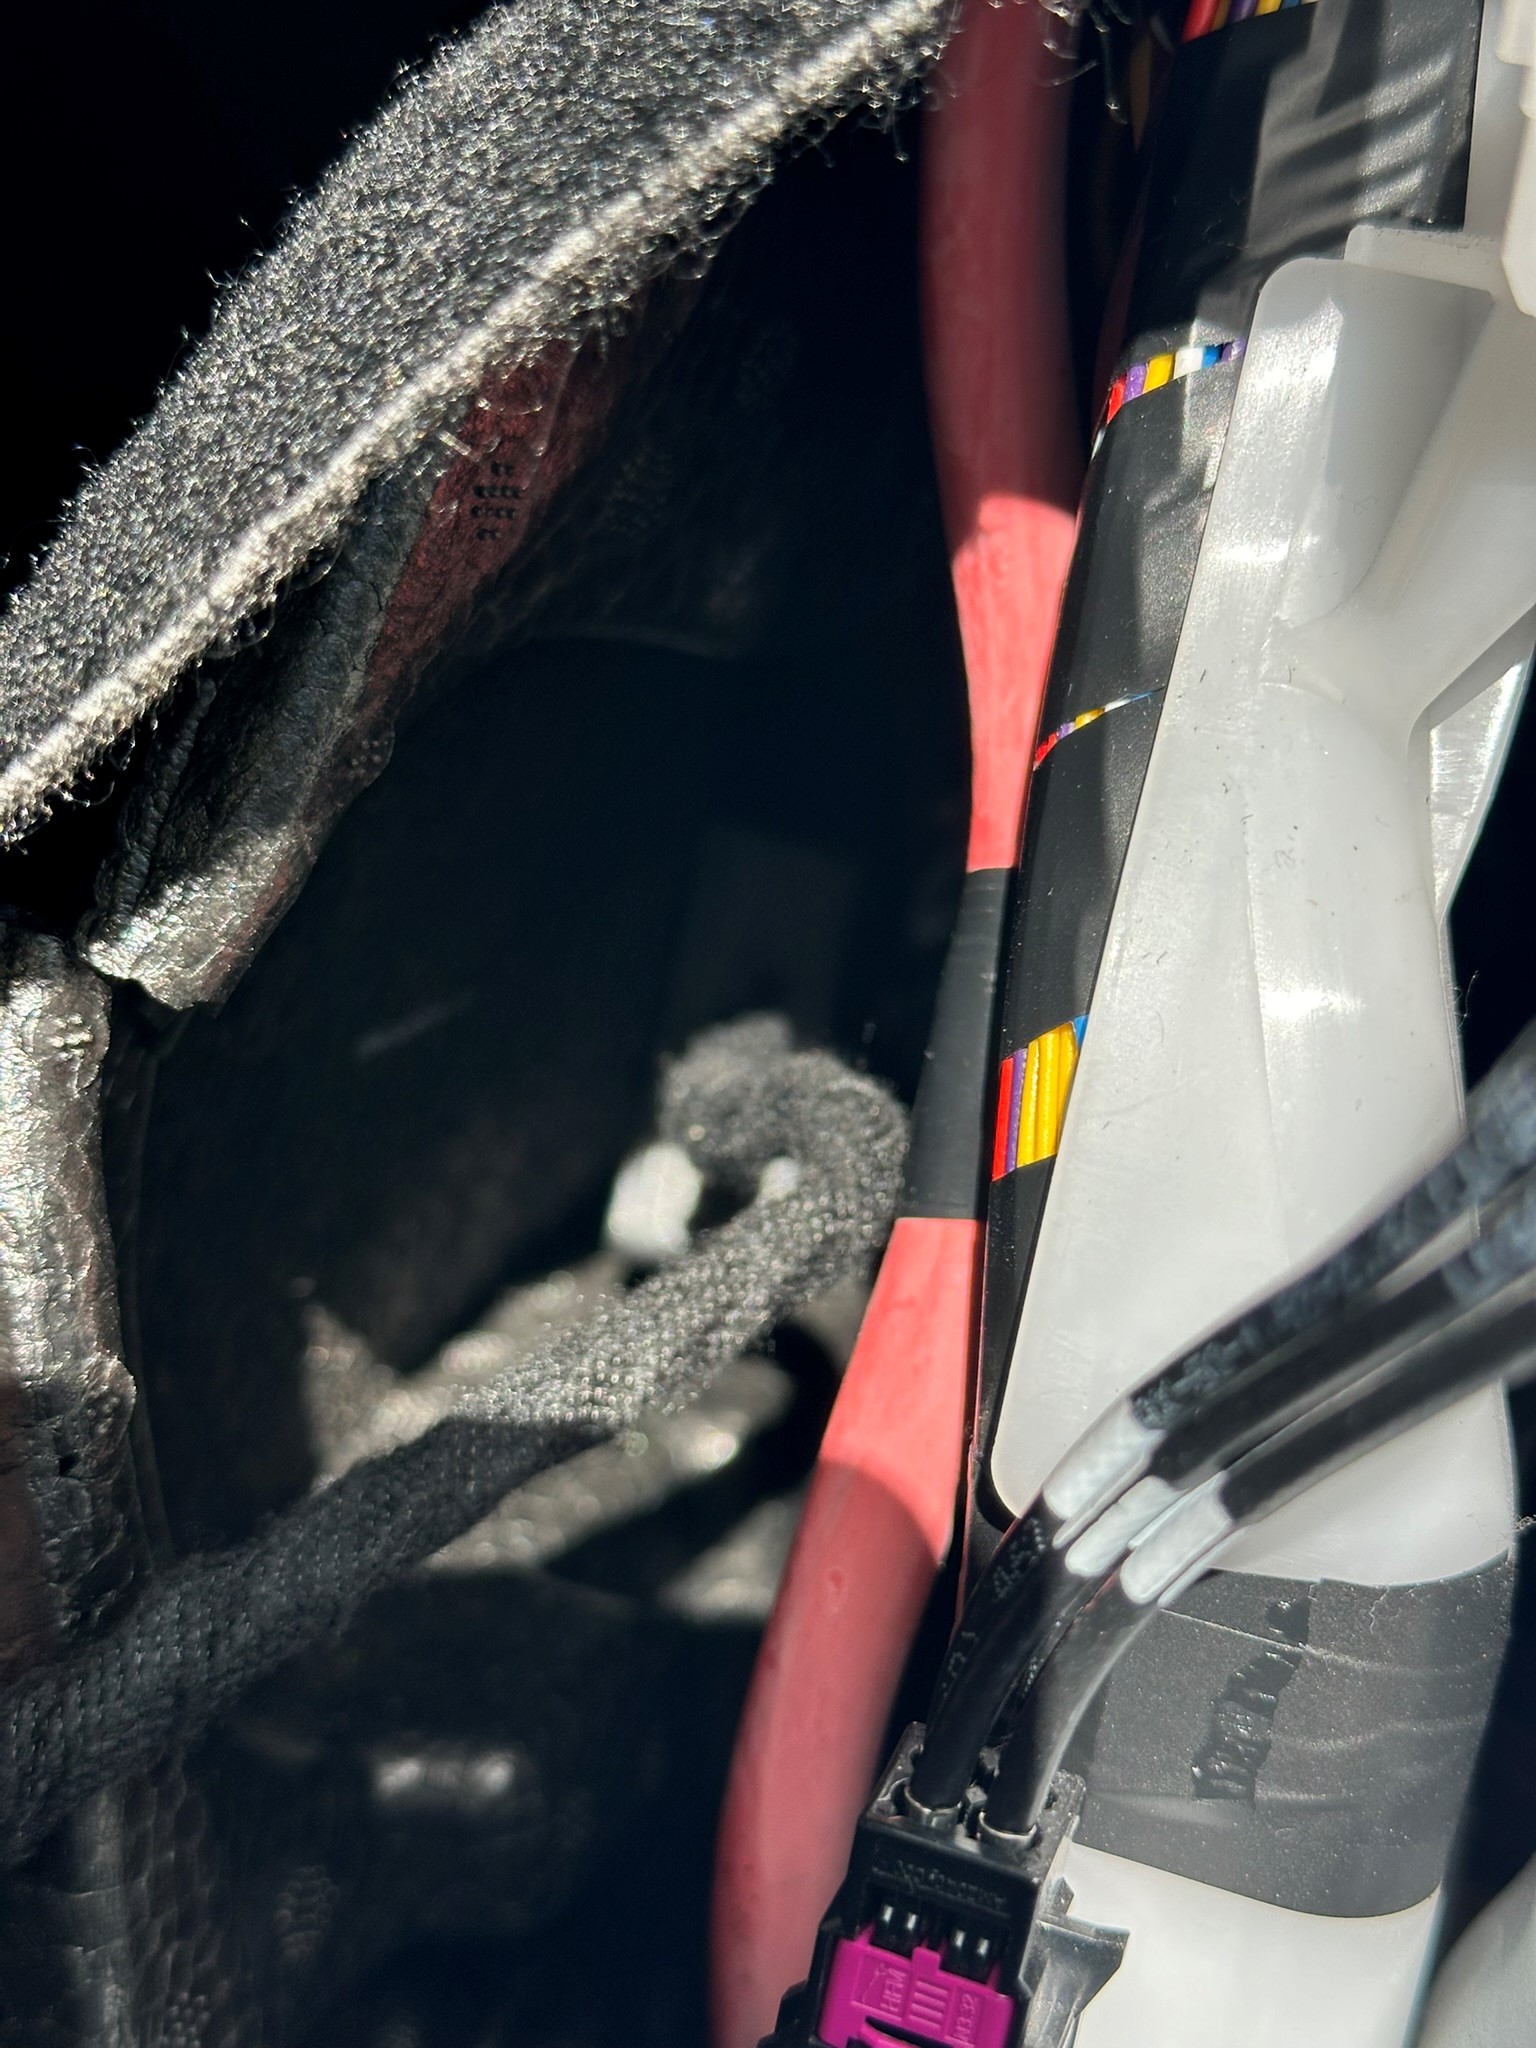
After I connected mty transmitter, I tucked the transmitter and cabling in the gap beside the driver’s footwell.
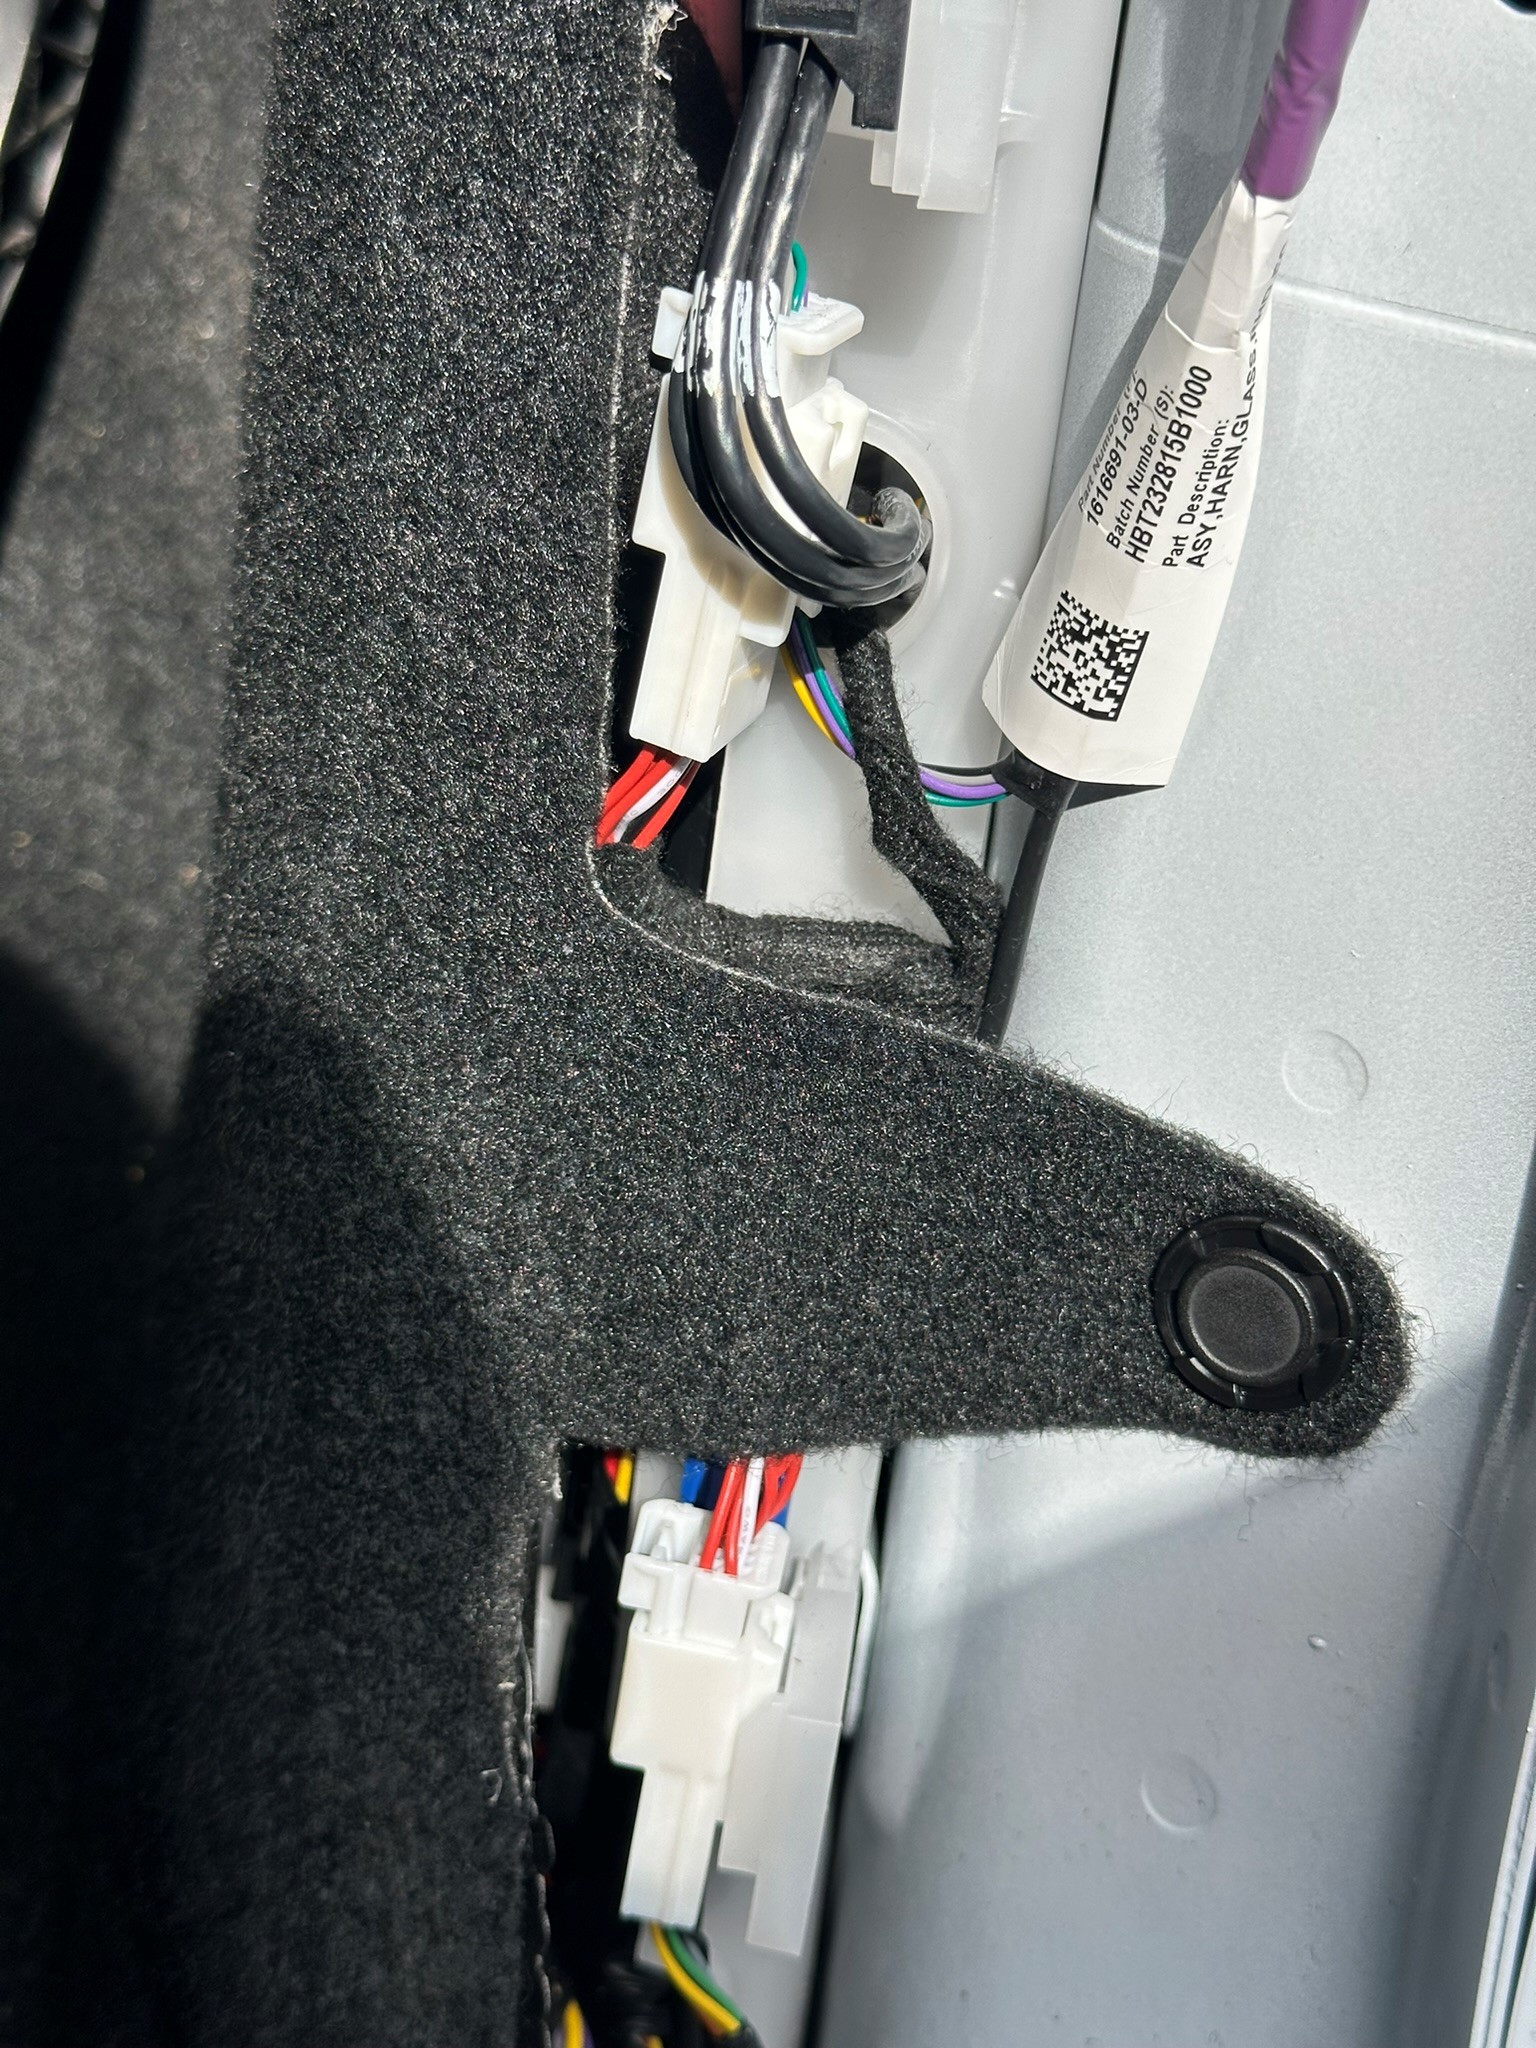
Now I reversed the initial steps to gain access. I re-inserted the clip on the fabric, holding the cables back.
Be careful of the white clips on the foot scuff guard, two white clips were missing
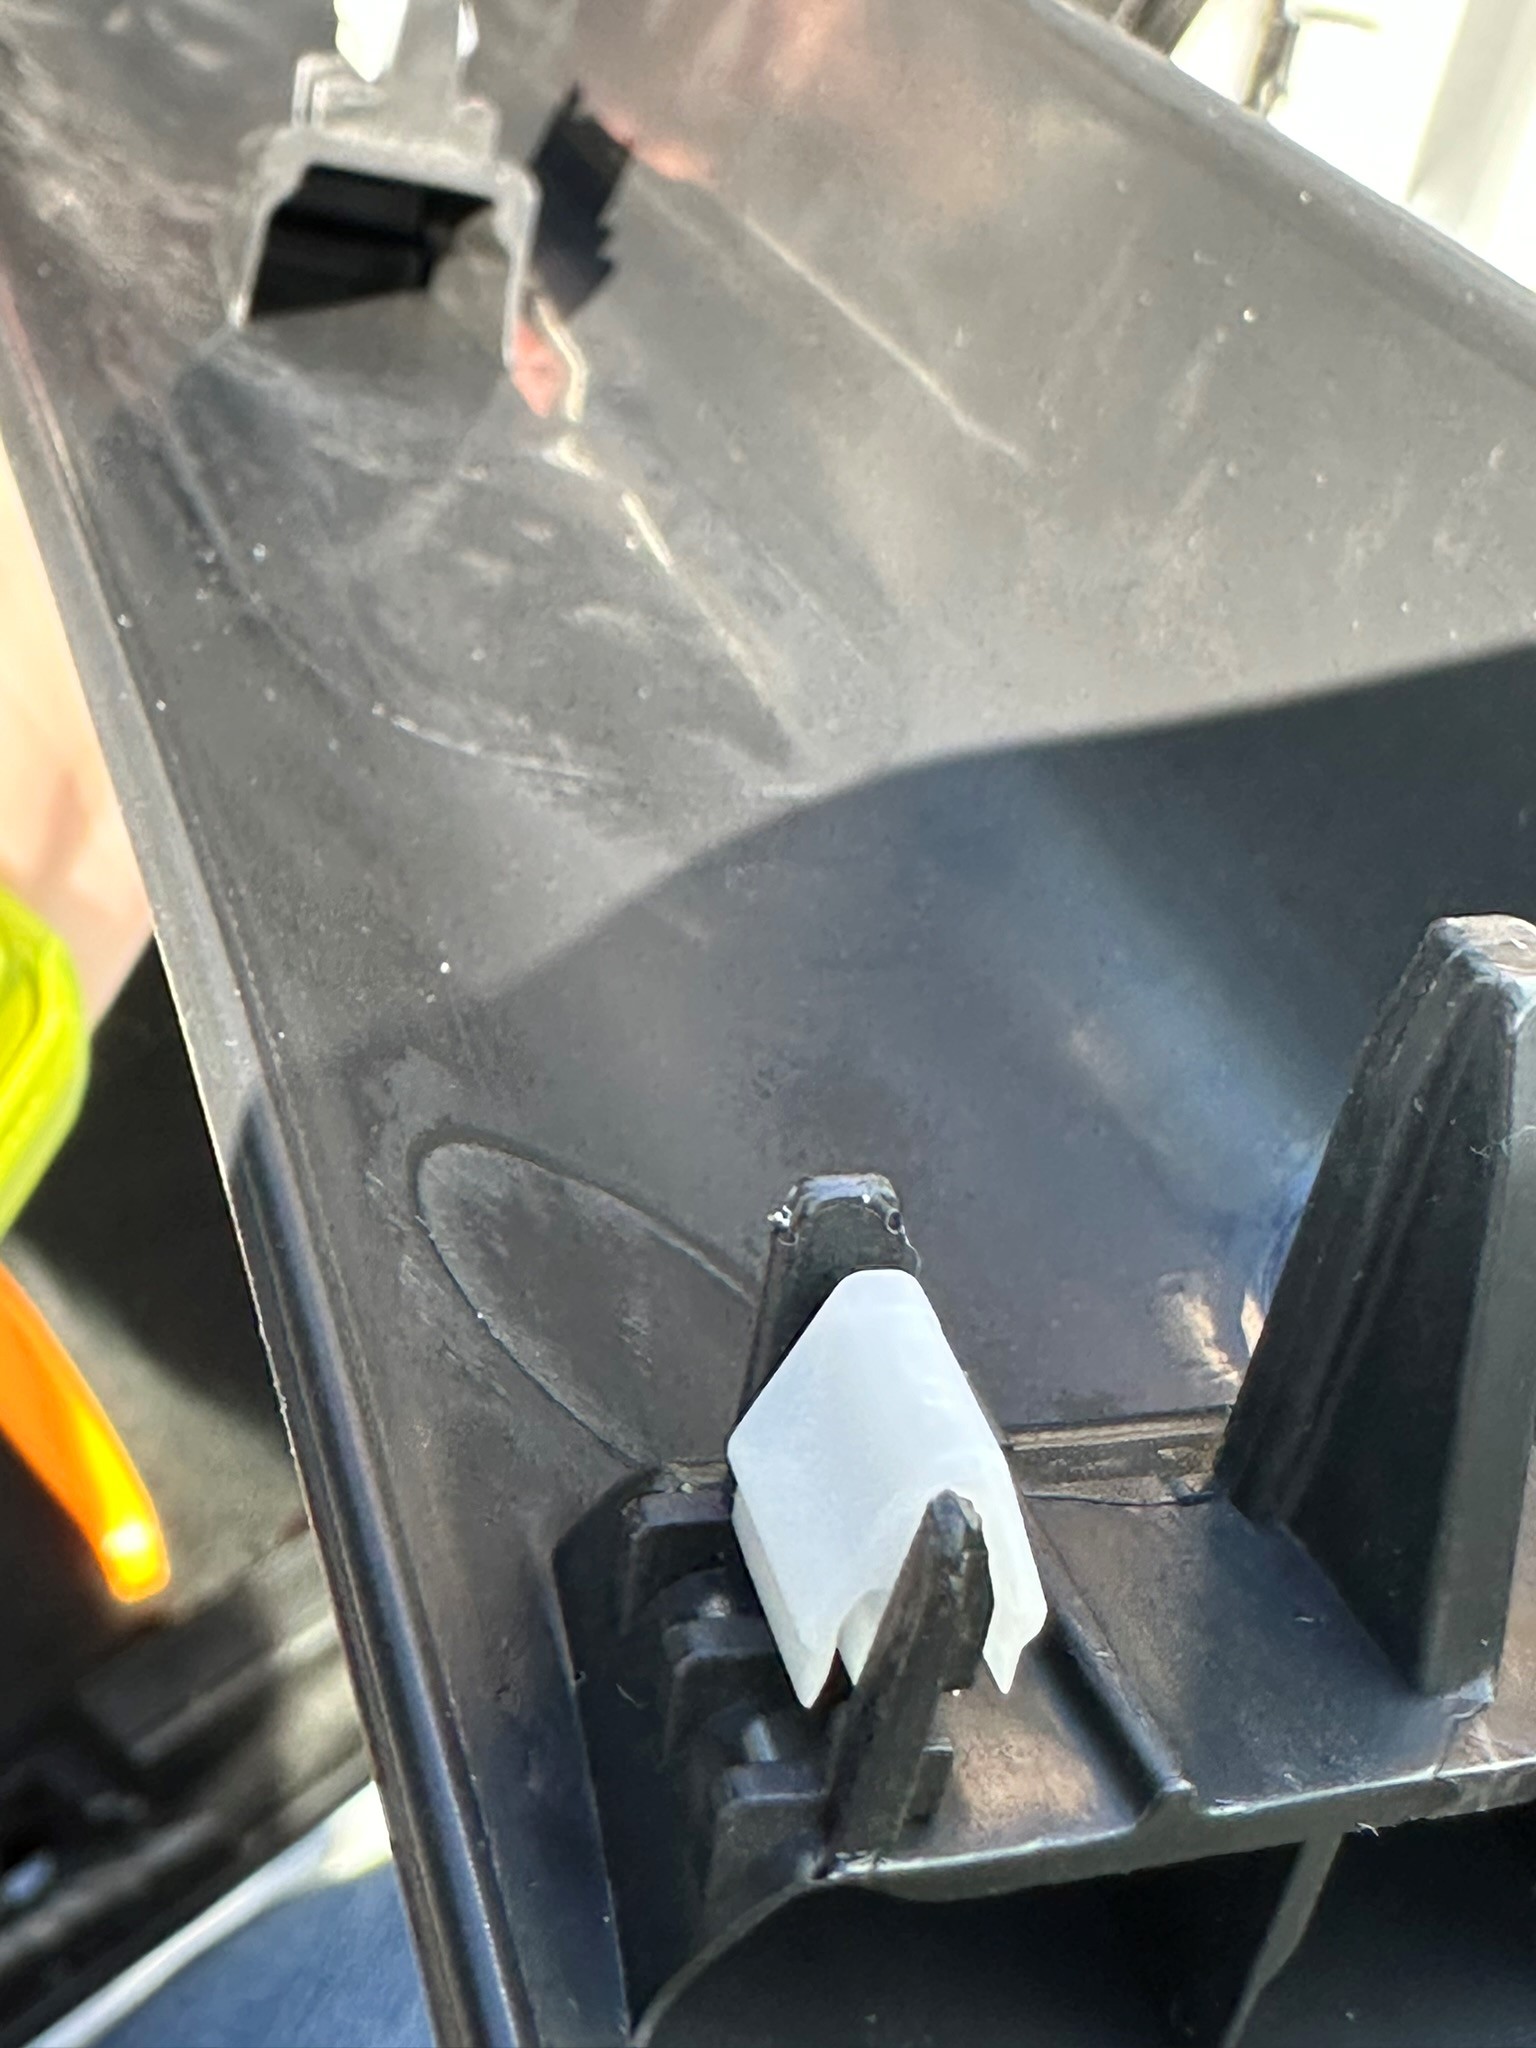
I could see they fell into gaps when I pulled the panel off
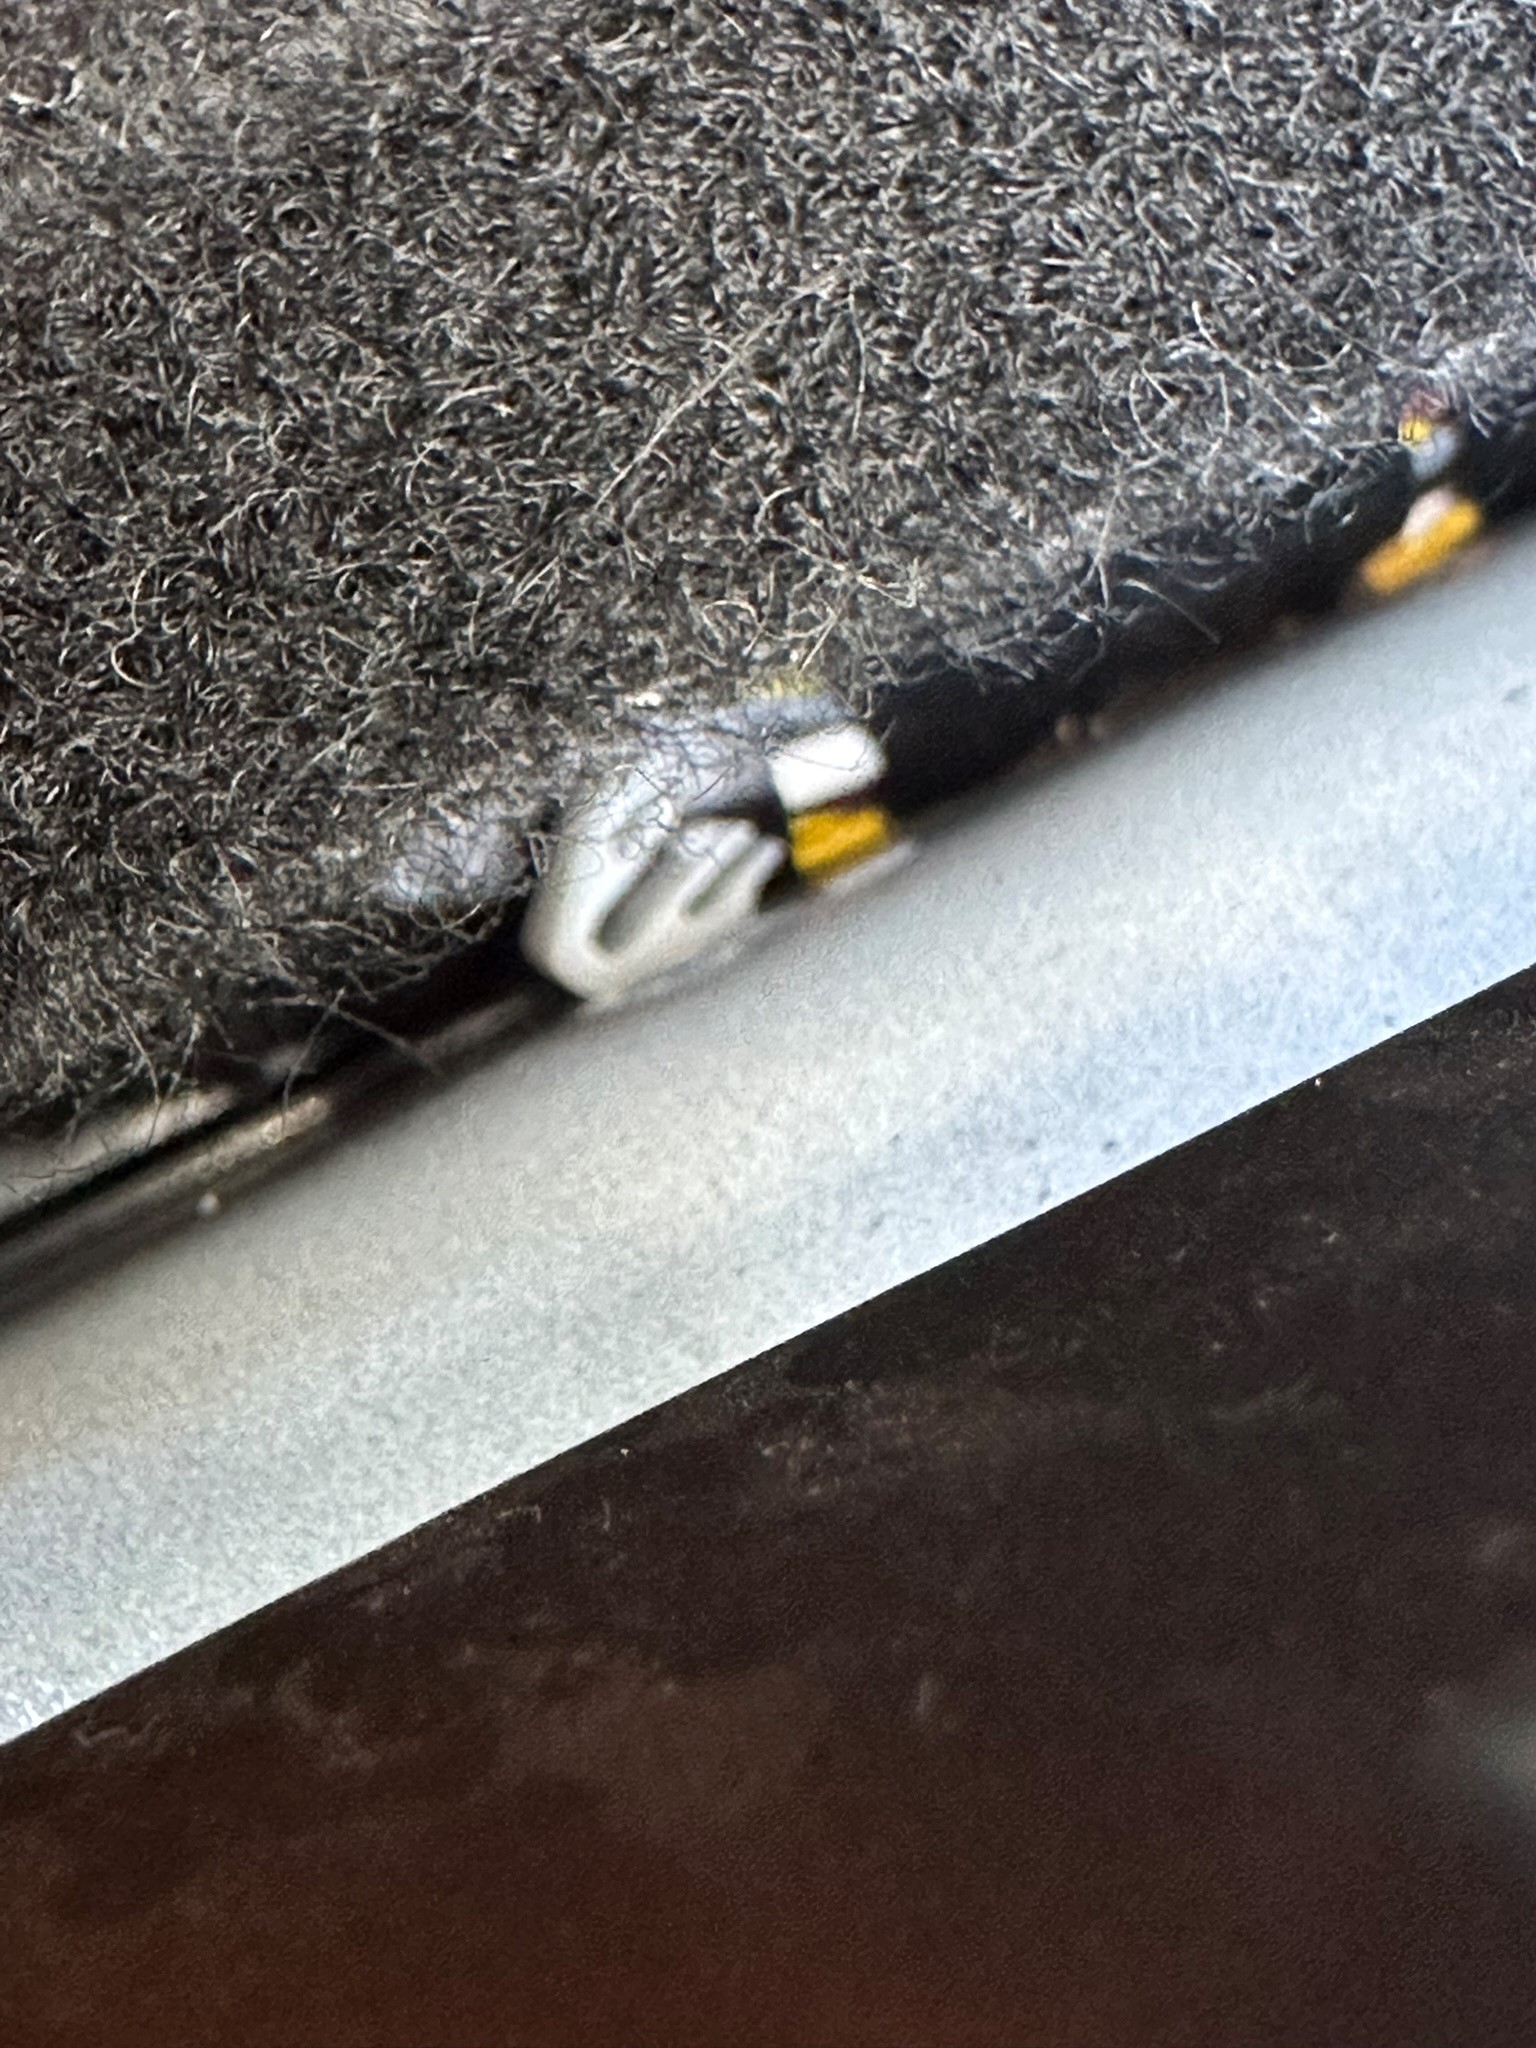
I fished out the clips and re attached then back on the footplate.

I pushed down the door panel into the clips from the rear to the front
Push the top plastic back into place
I reinserted the plug.

The top panel was reconnected to it’s original position. Place to bottom in first the push the top.
Push in place
The door rubber and after-market protection were returned to normal
The Tesla floor mat was returned.
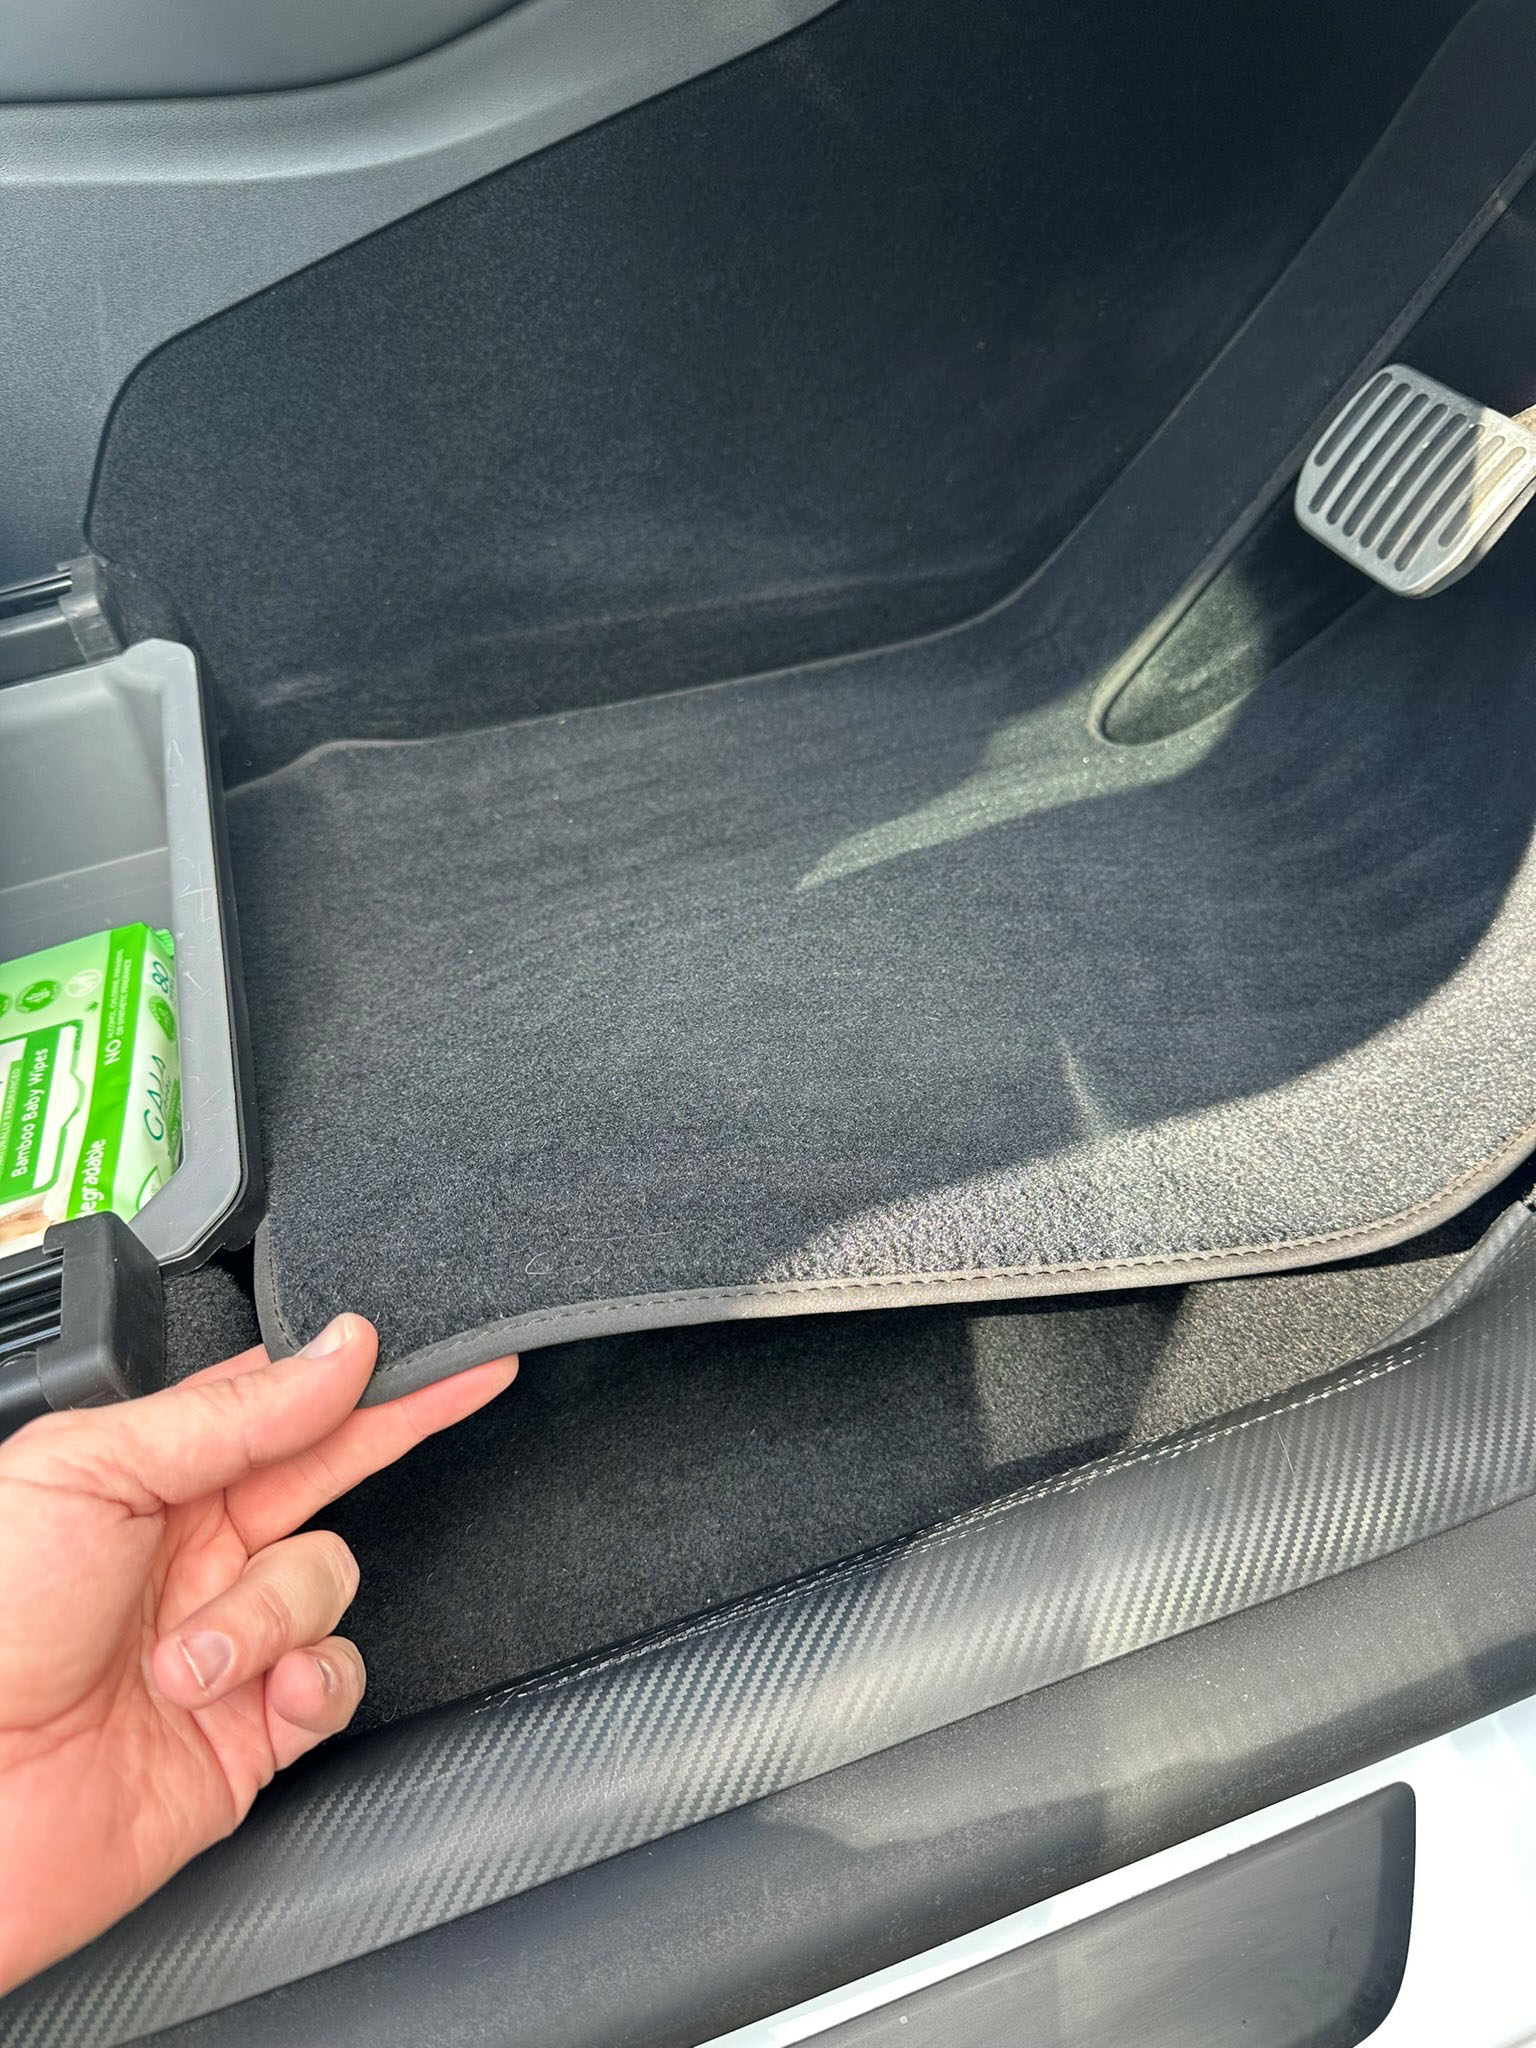
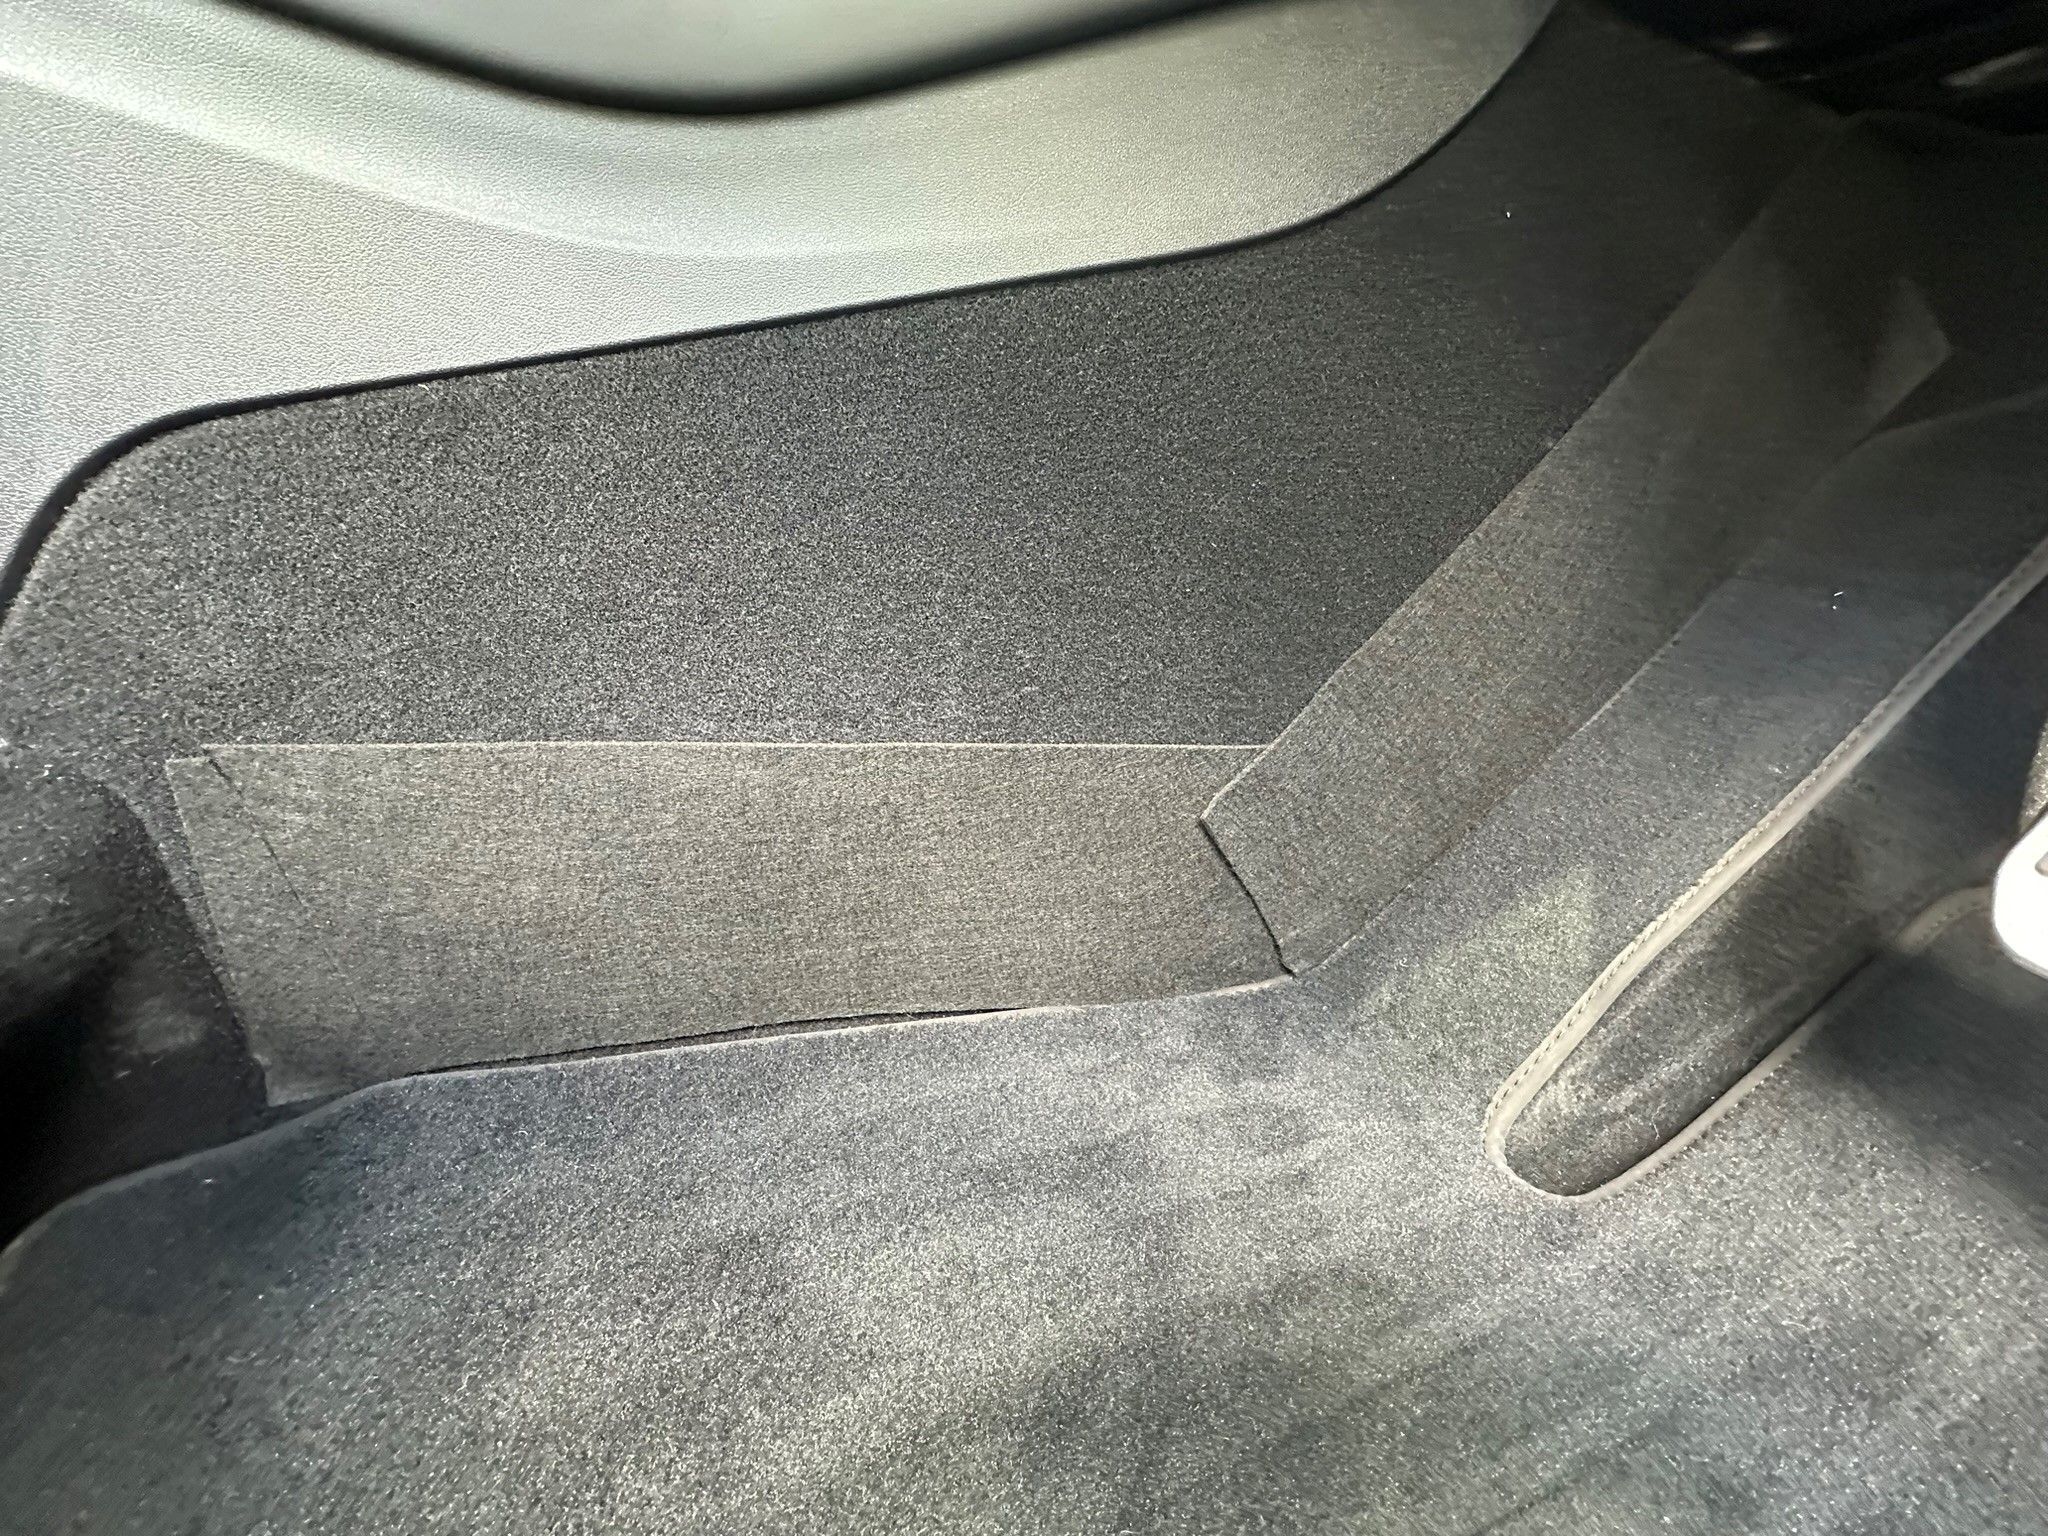
While I was there, I added some felt strips to protect the floor carpet from dusty feet.
The after-market bucket floor mat was returned.
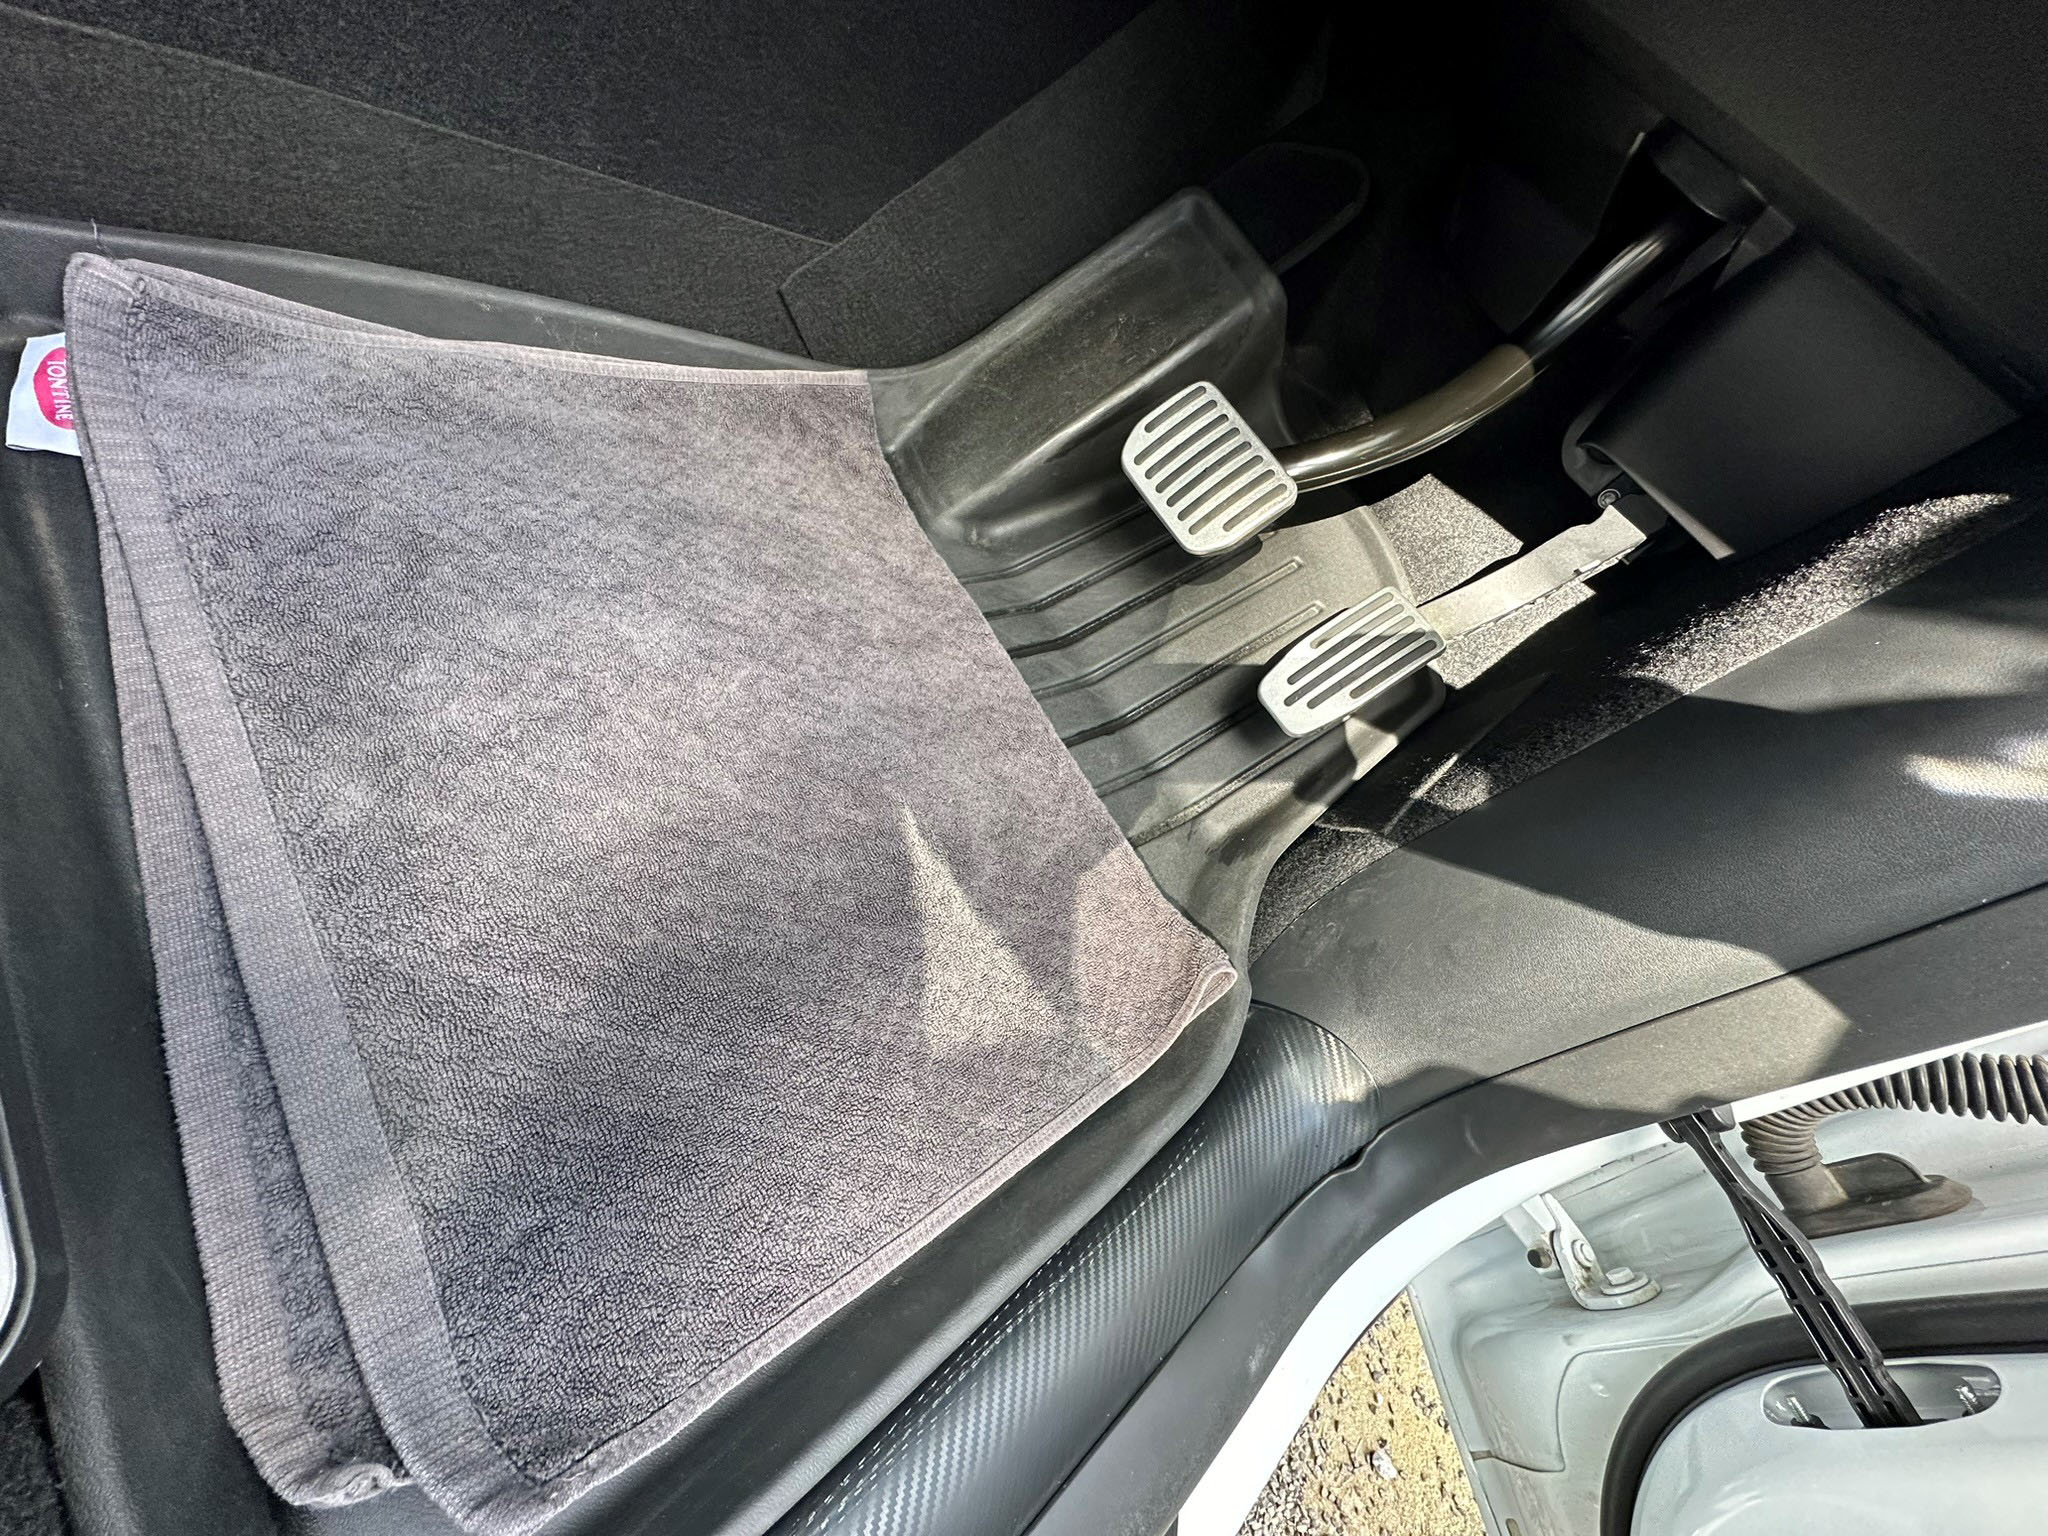
A towel (to catch dirt and rocks) was returned.
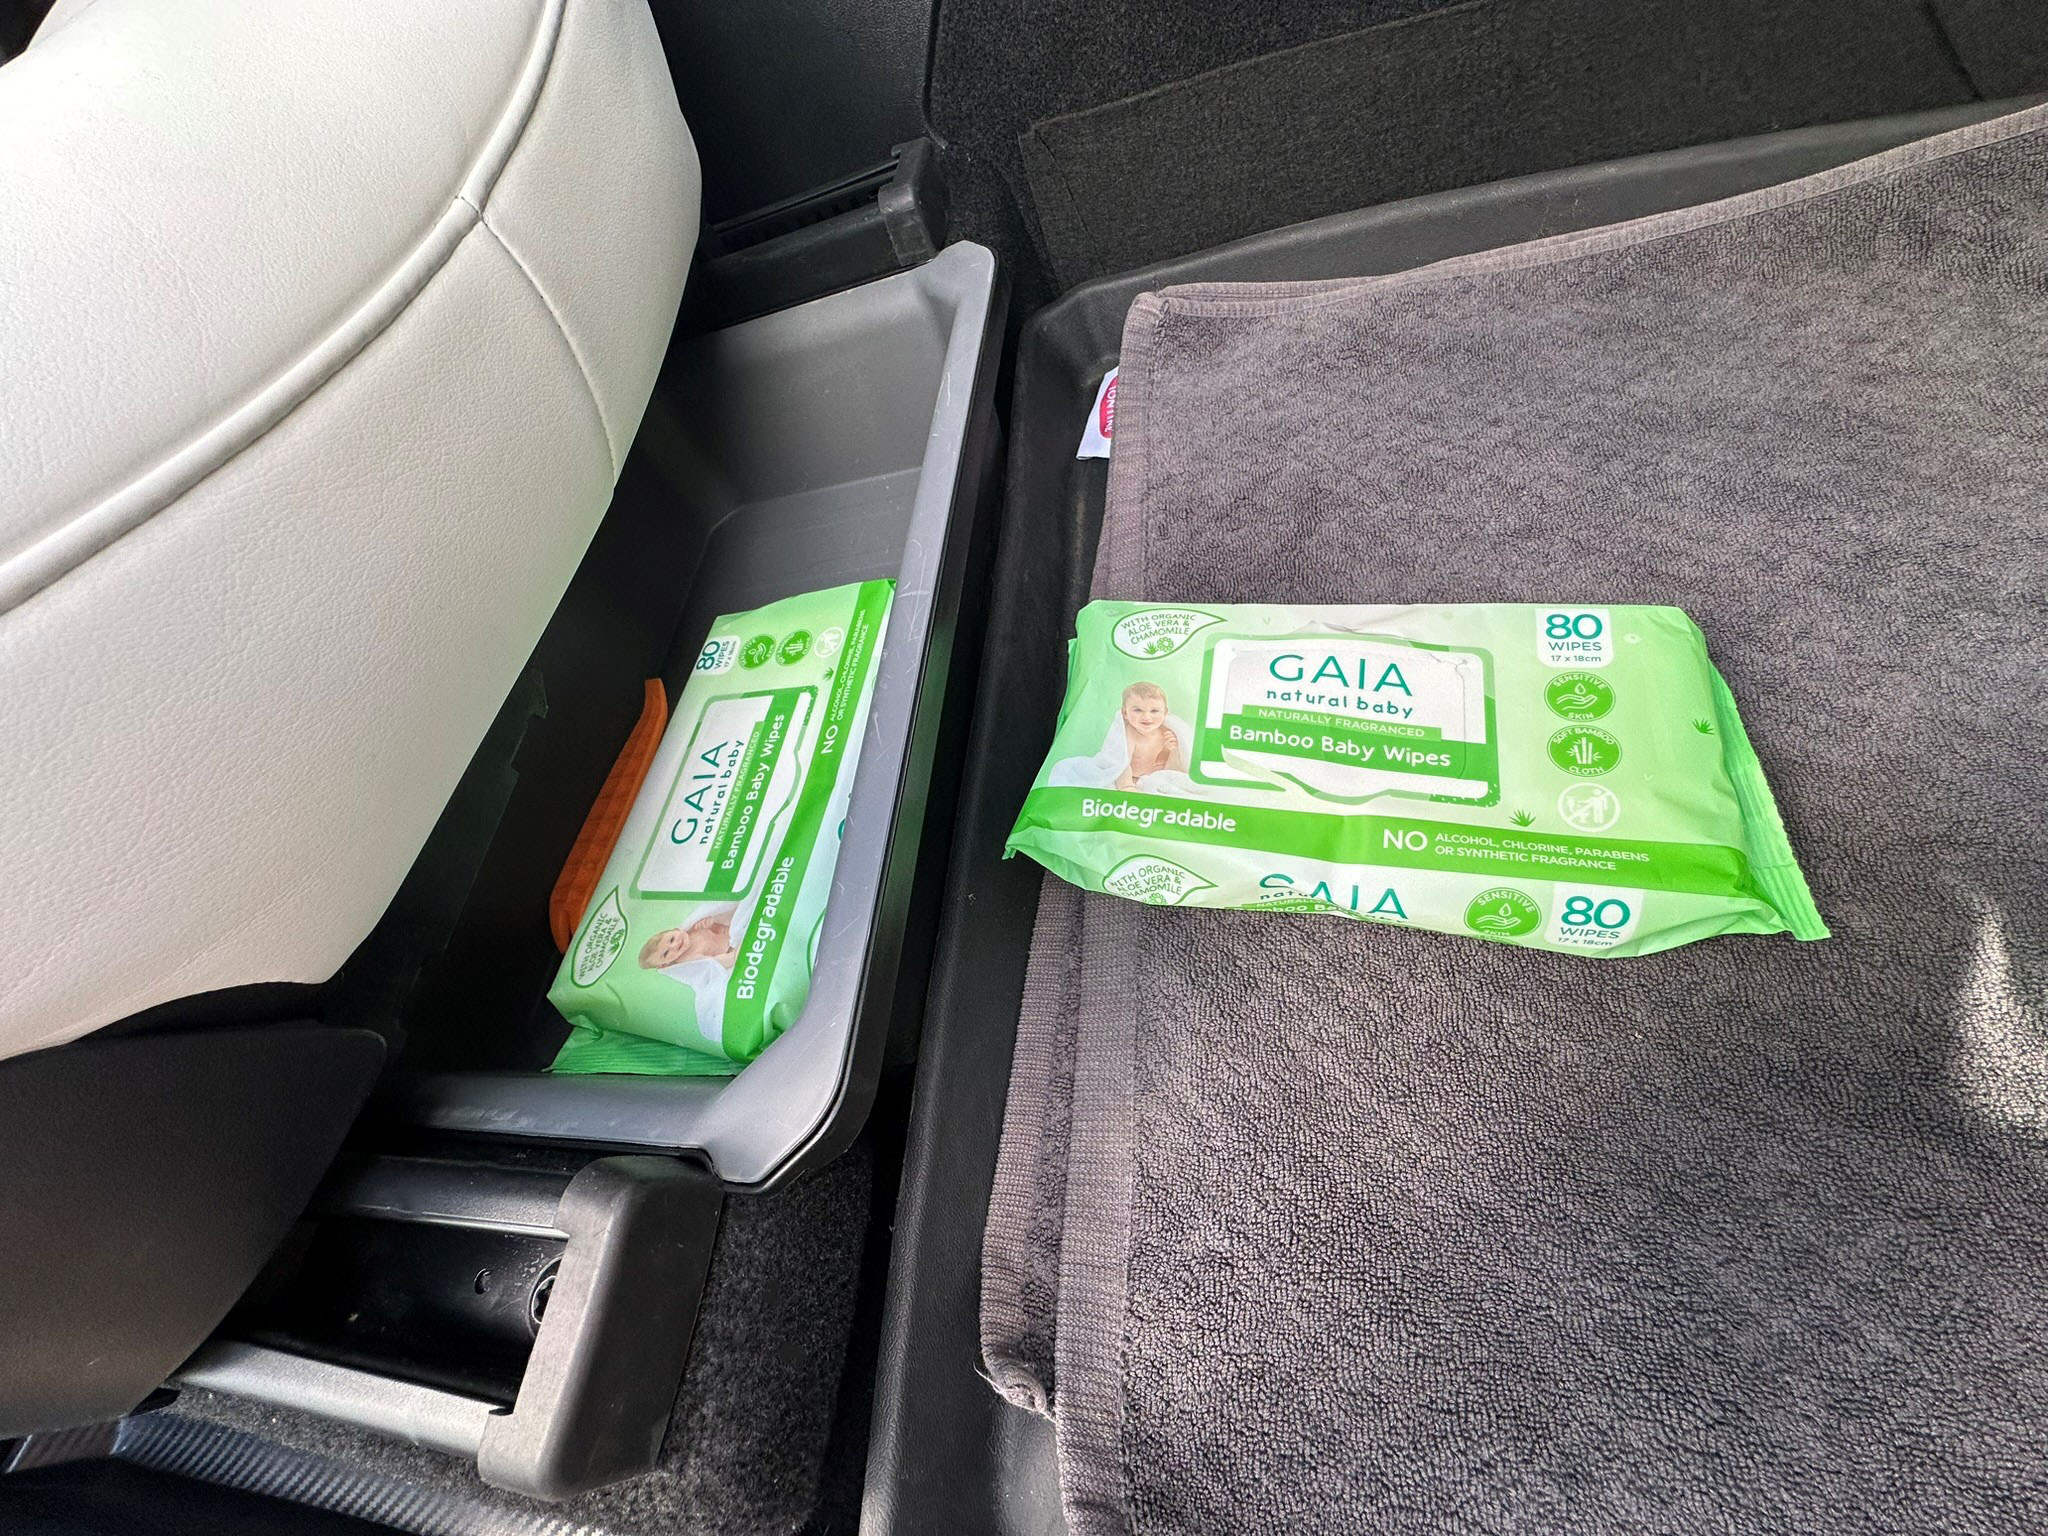
Baby wipes came out to wipe everything down.
Istalling the Wireless Charging Mount
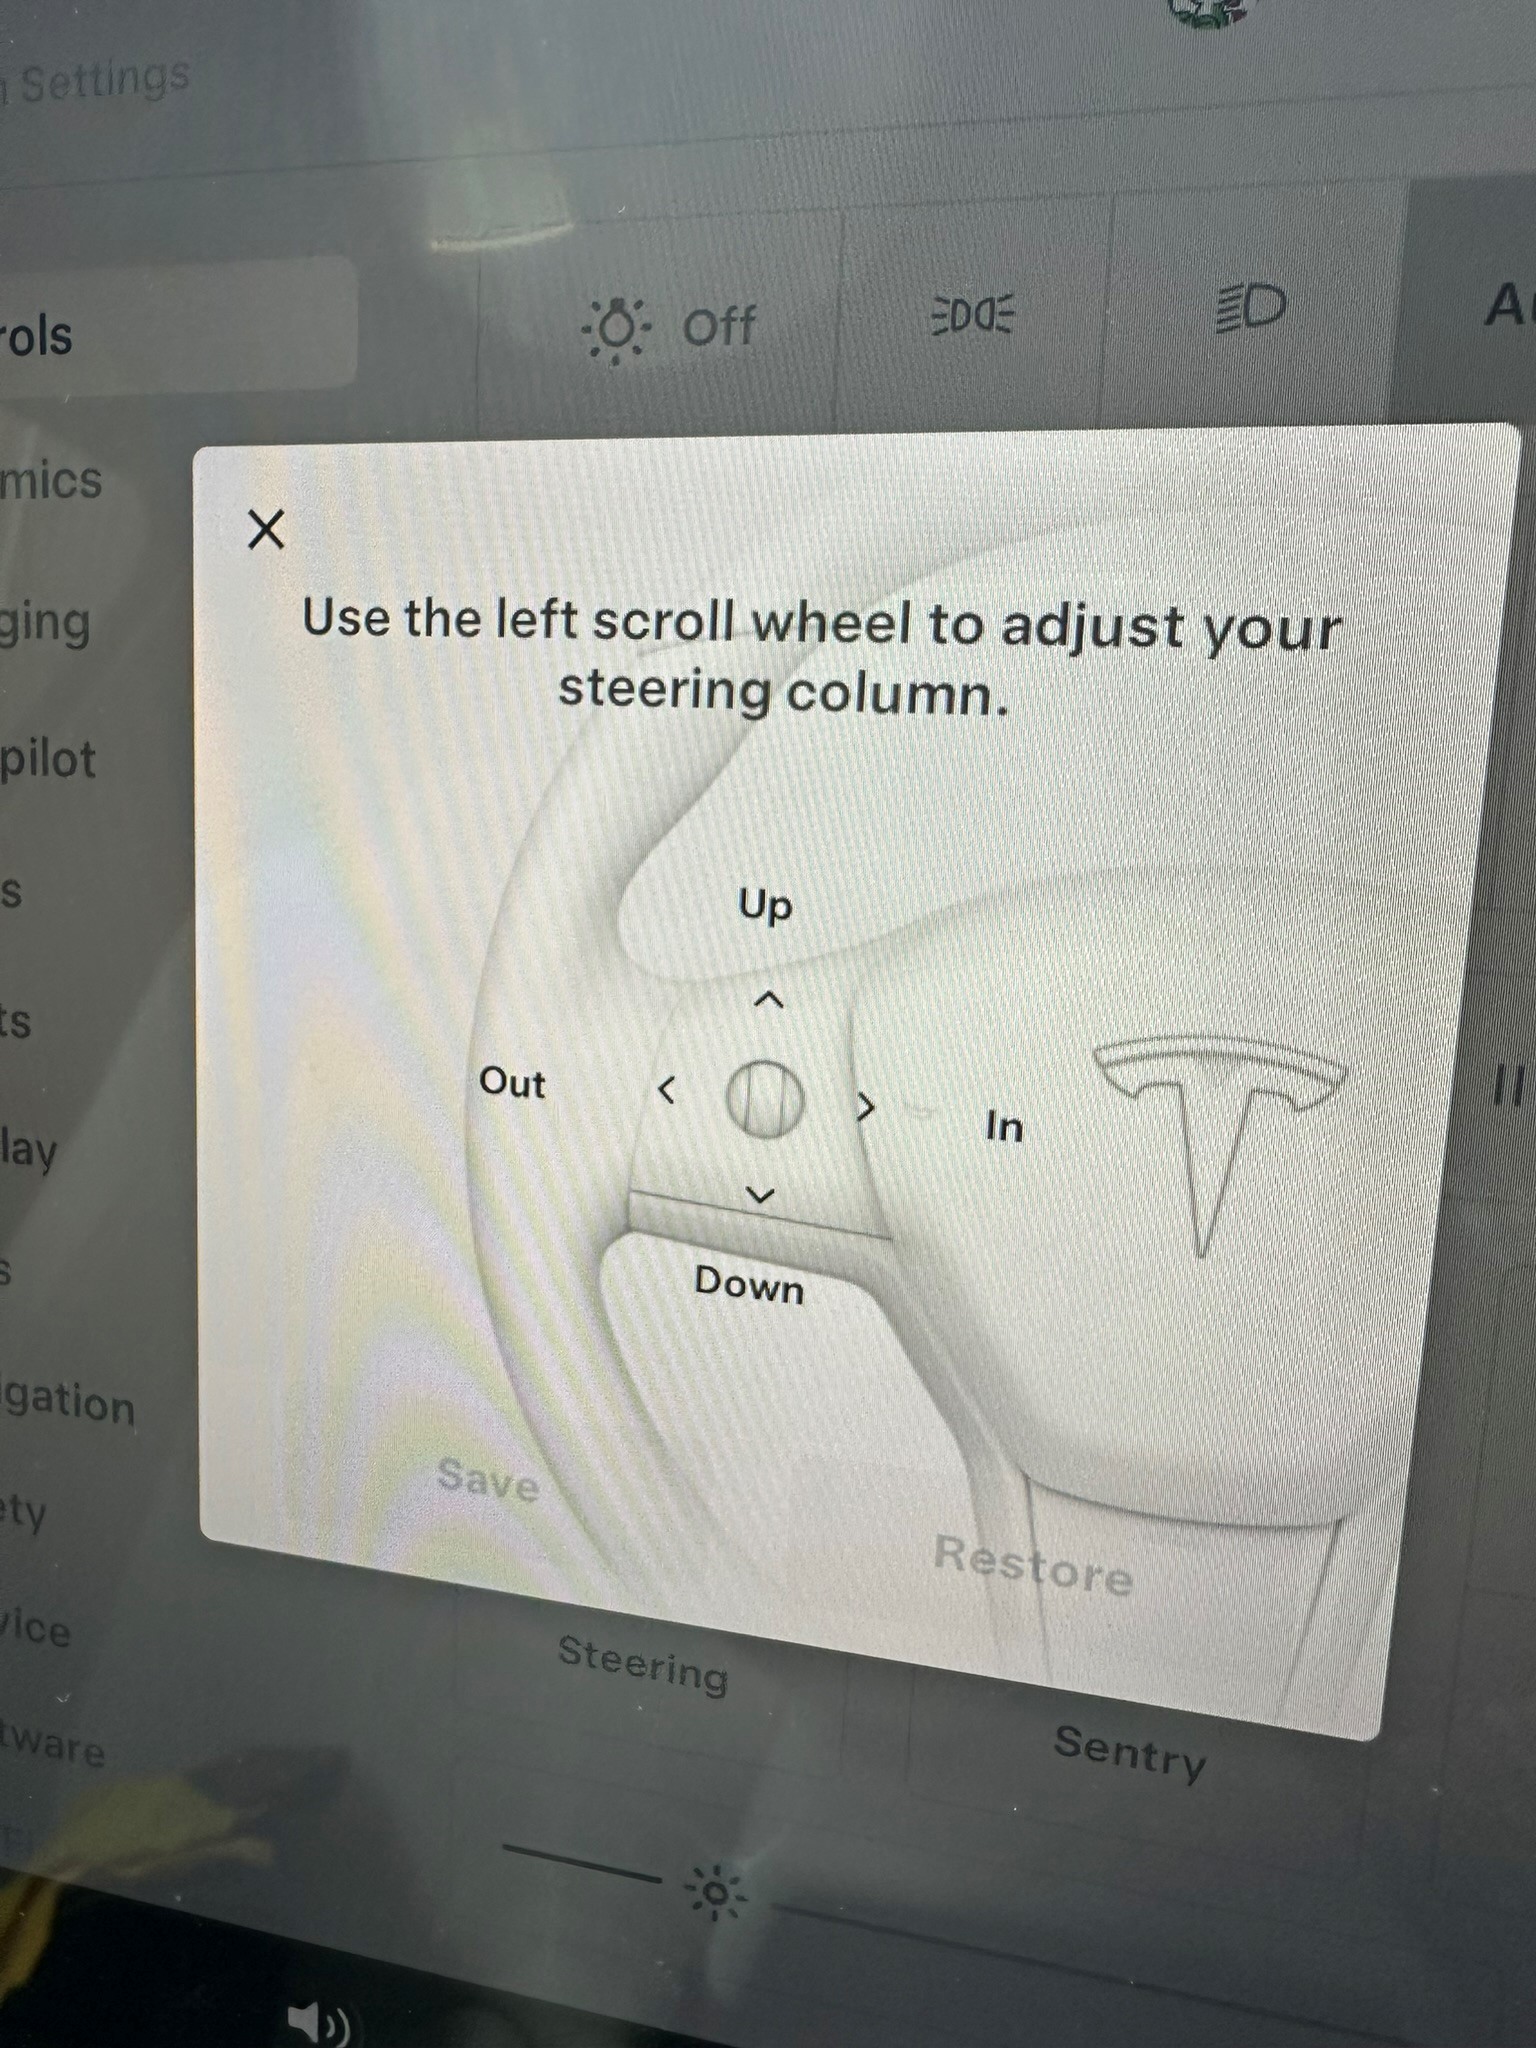
I moved the steering wheel forward and cleaned behind the steering wheel.
I mounted the wireless charger and made sure it had good flat contact.
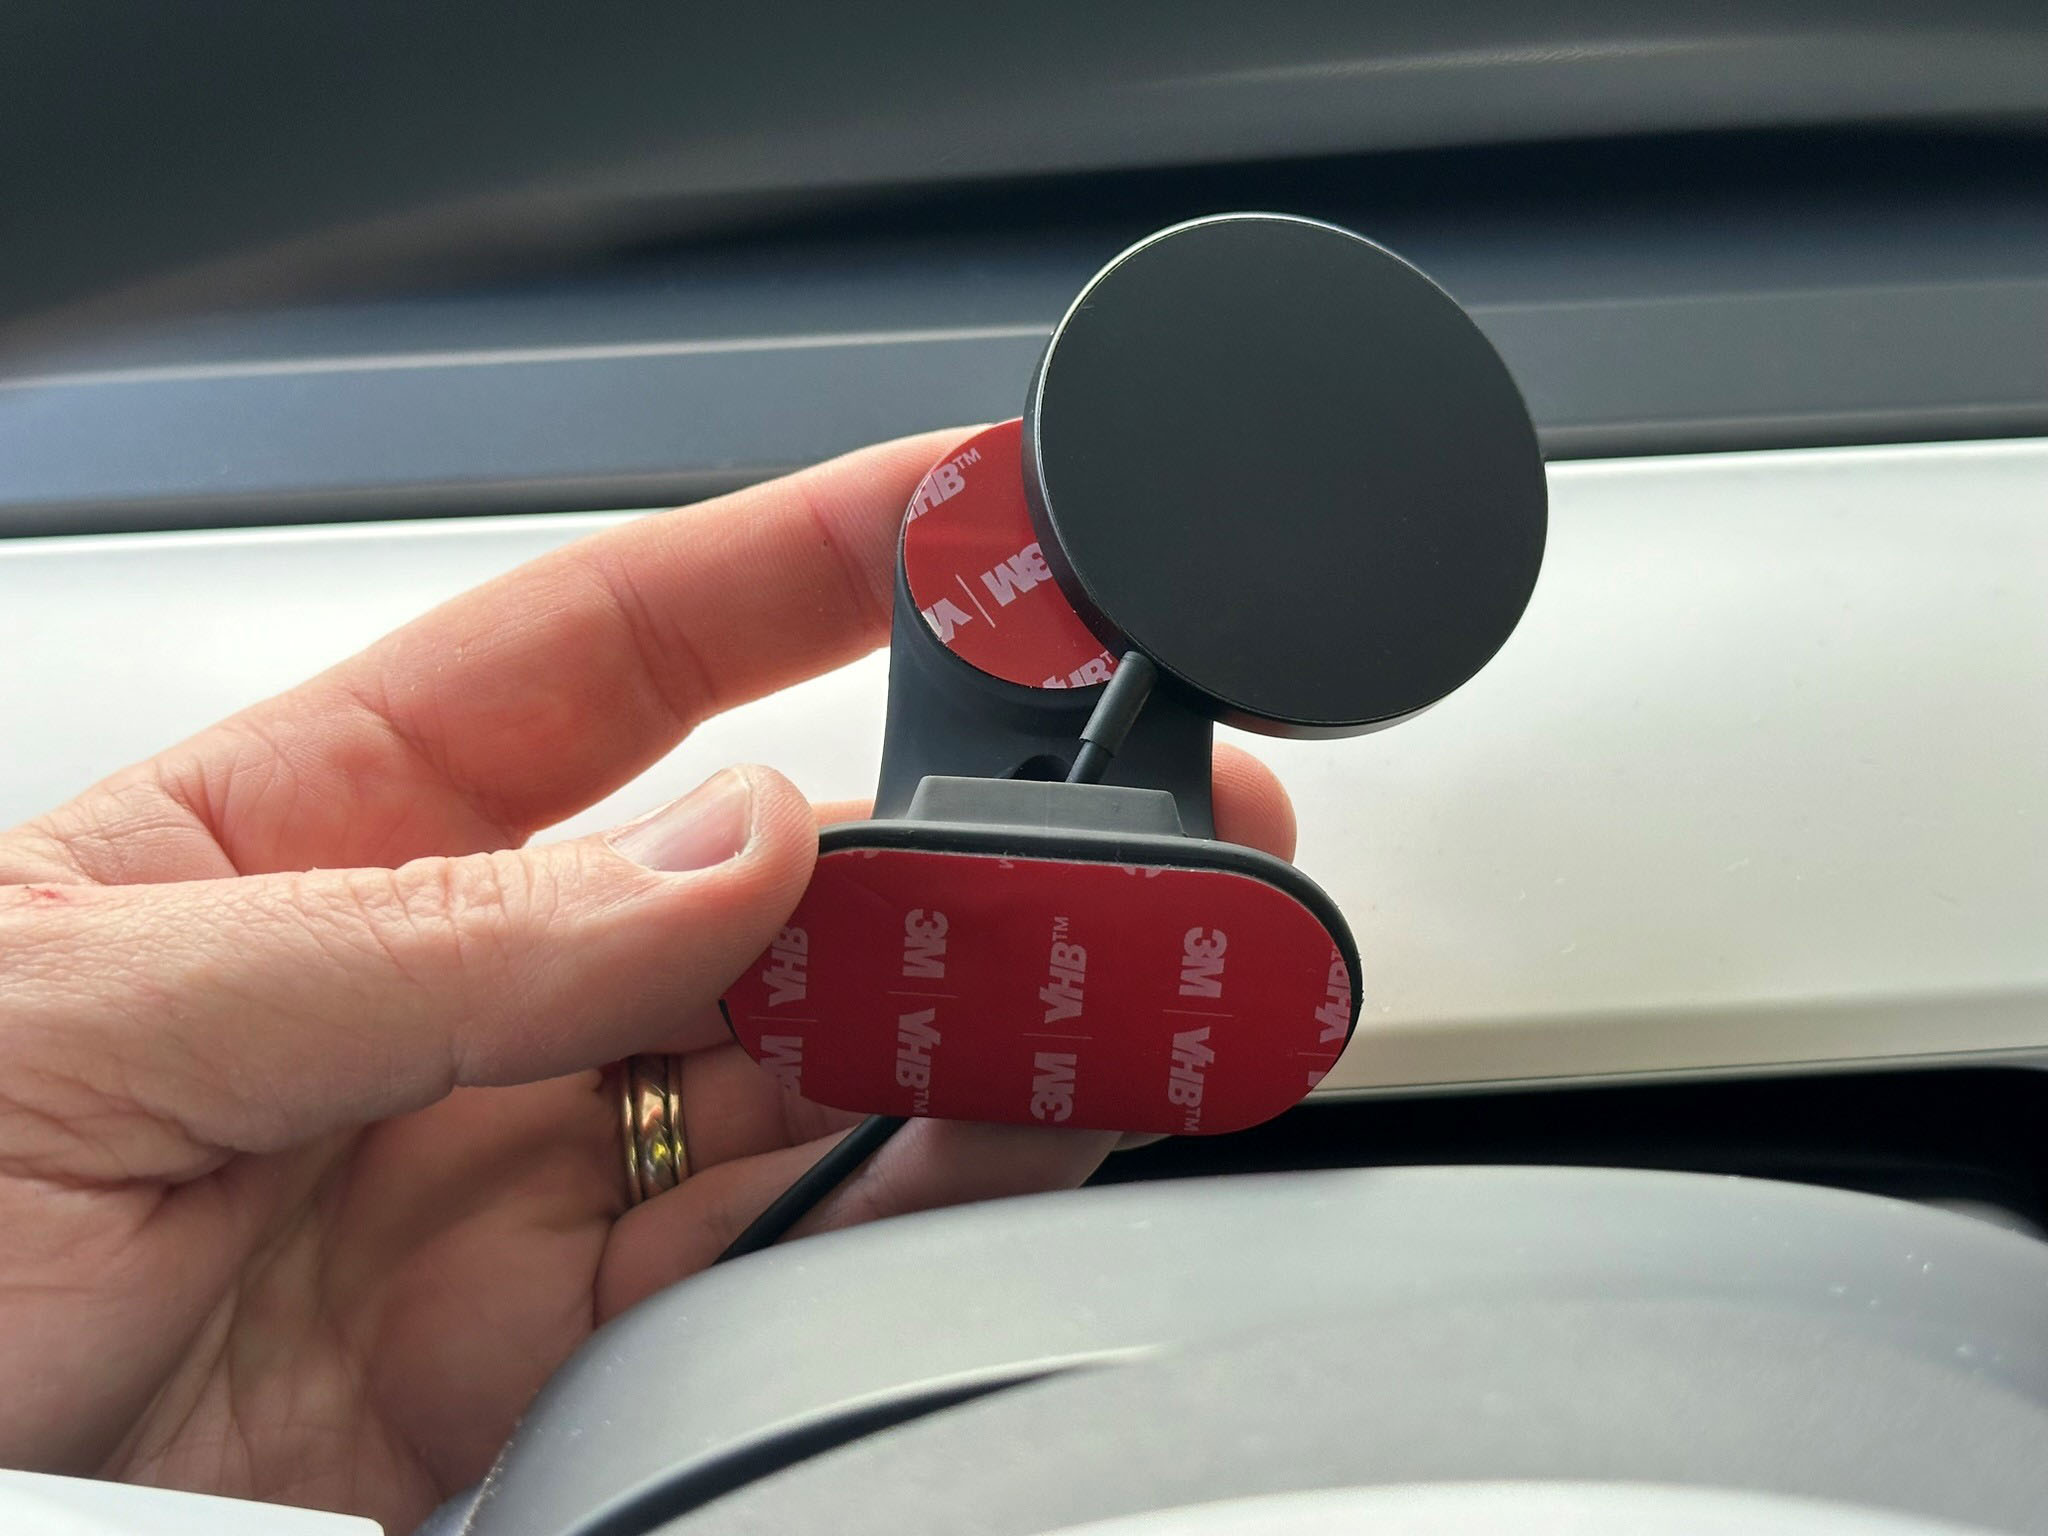
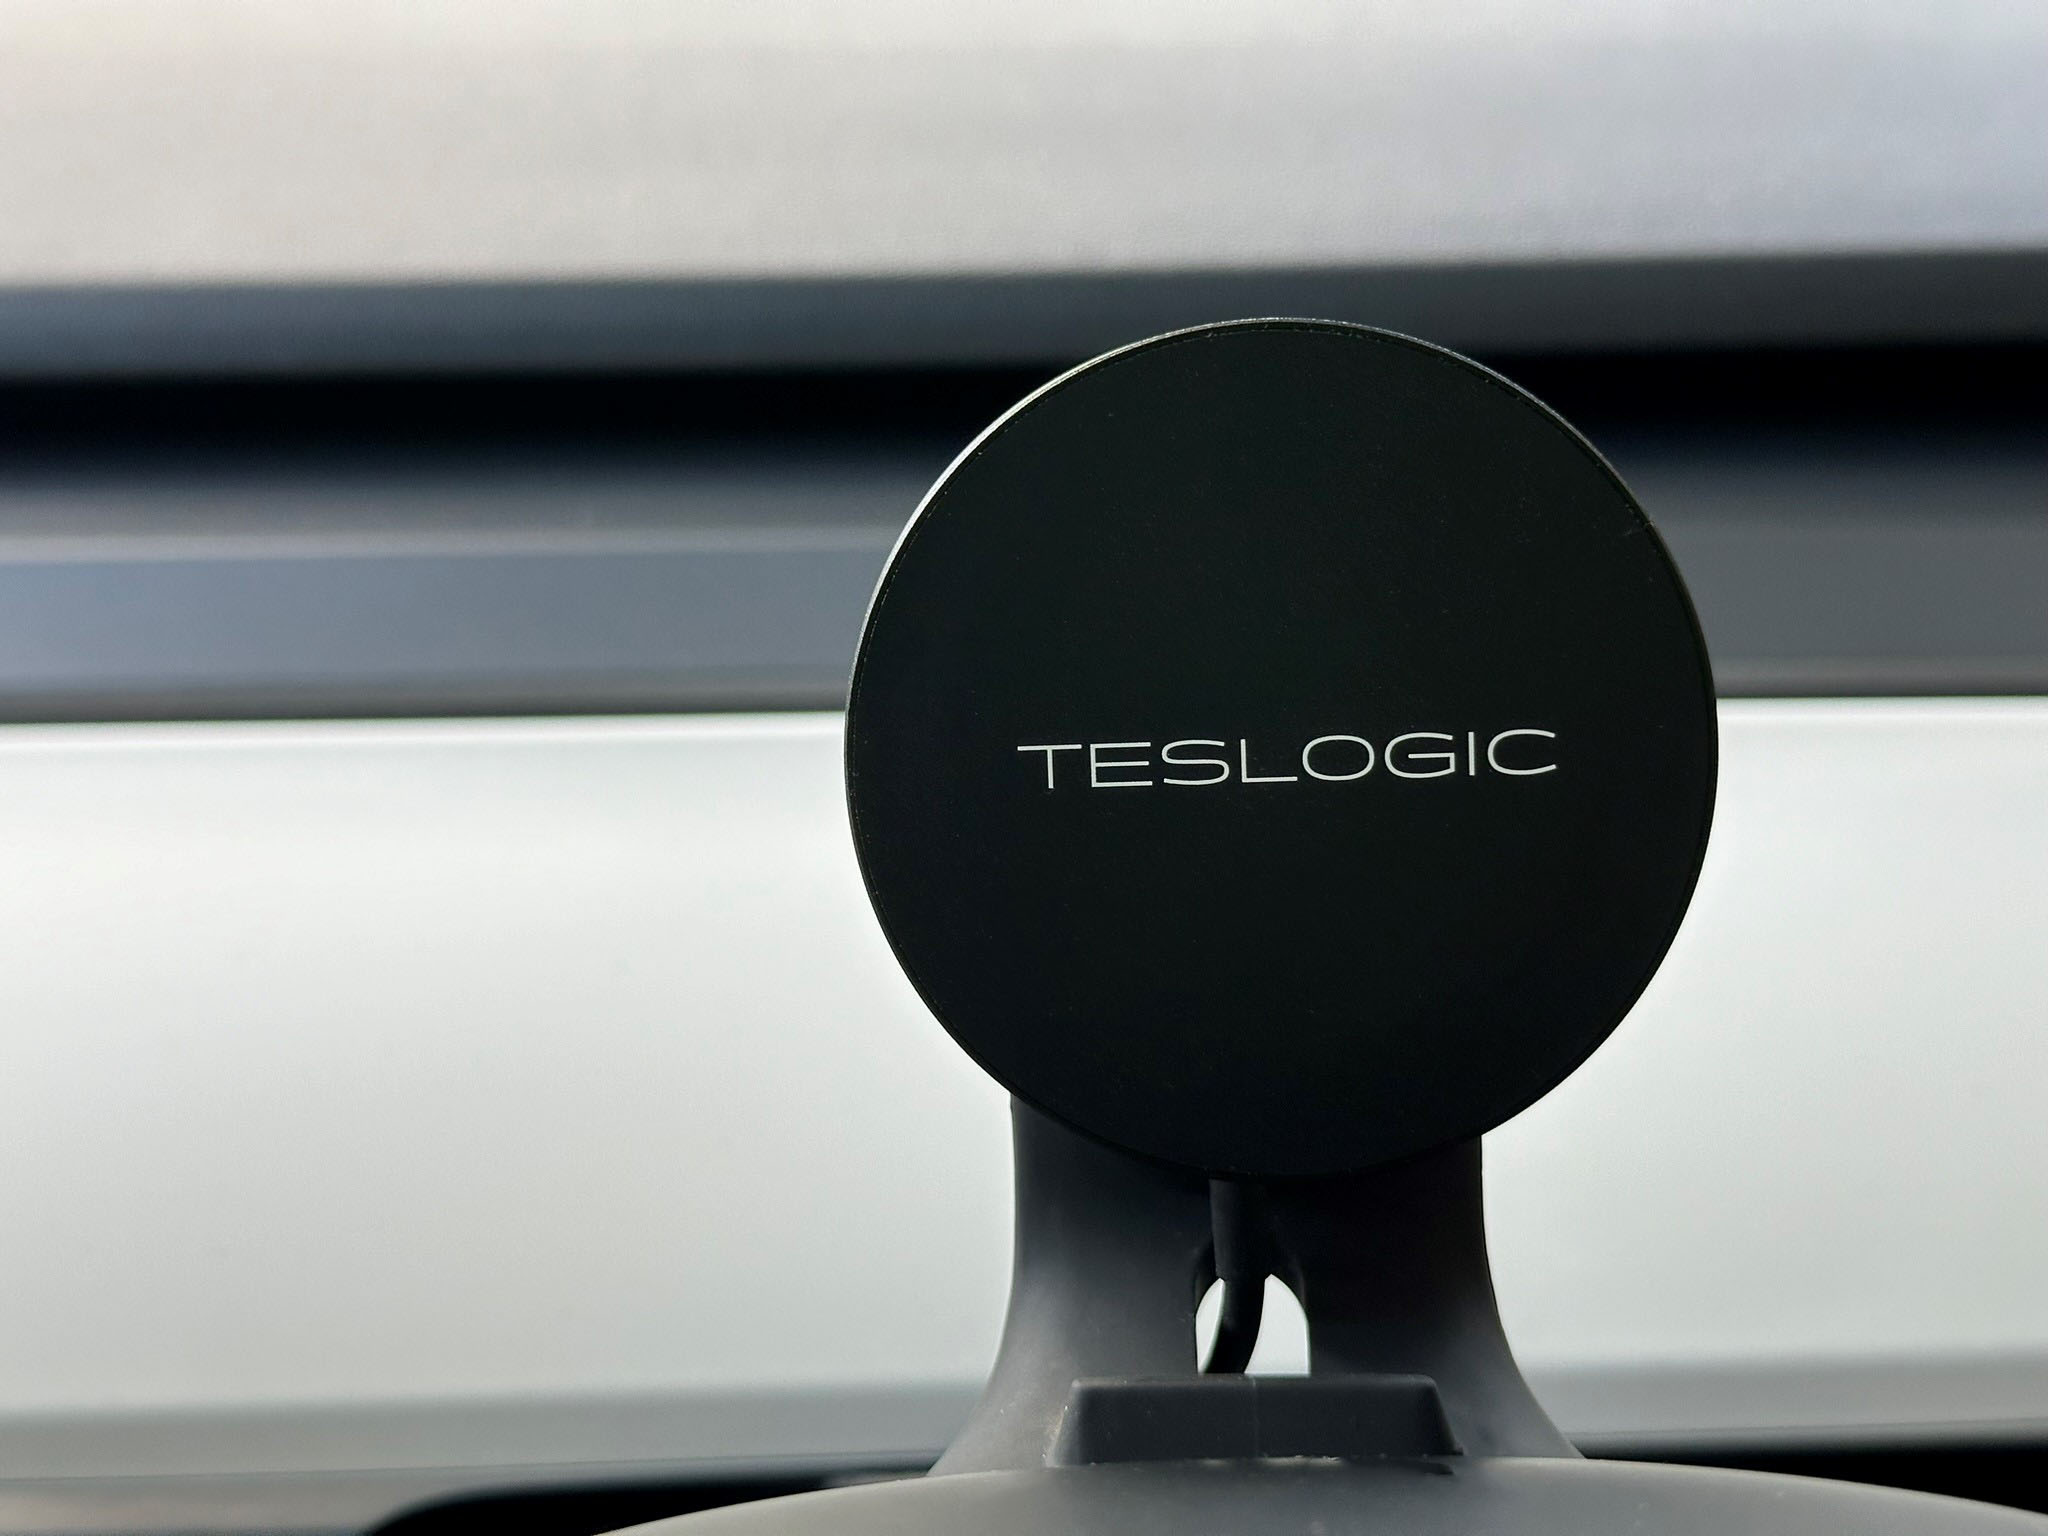
Phone Mount was set in the deisred place
fyi: Do not stick on the black metal disk on like I did, It blocks the wireless charging.
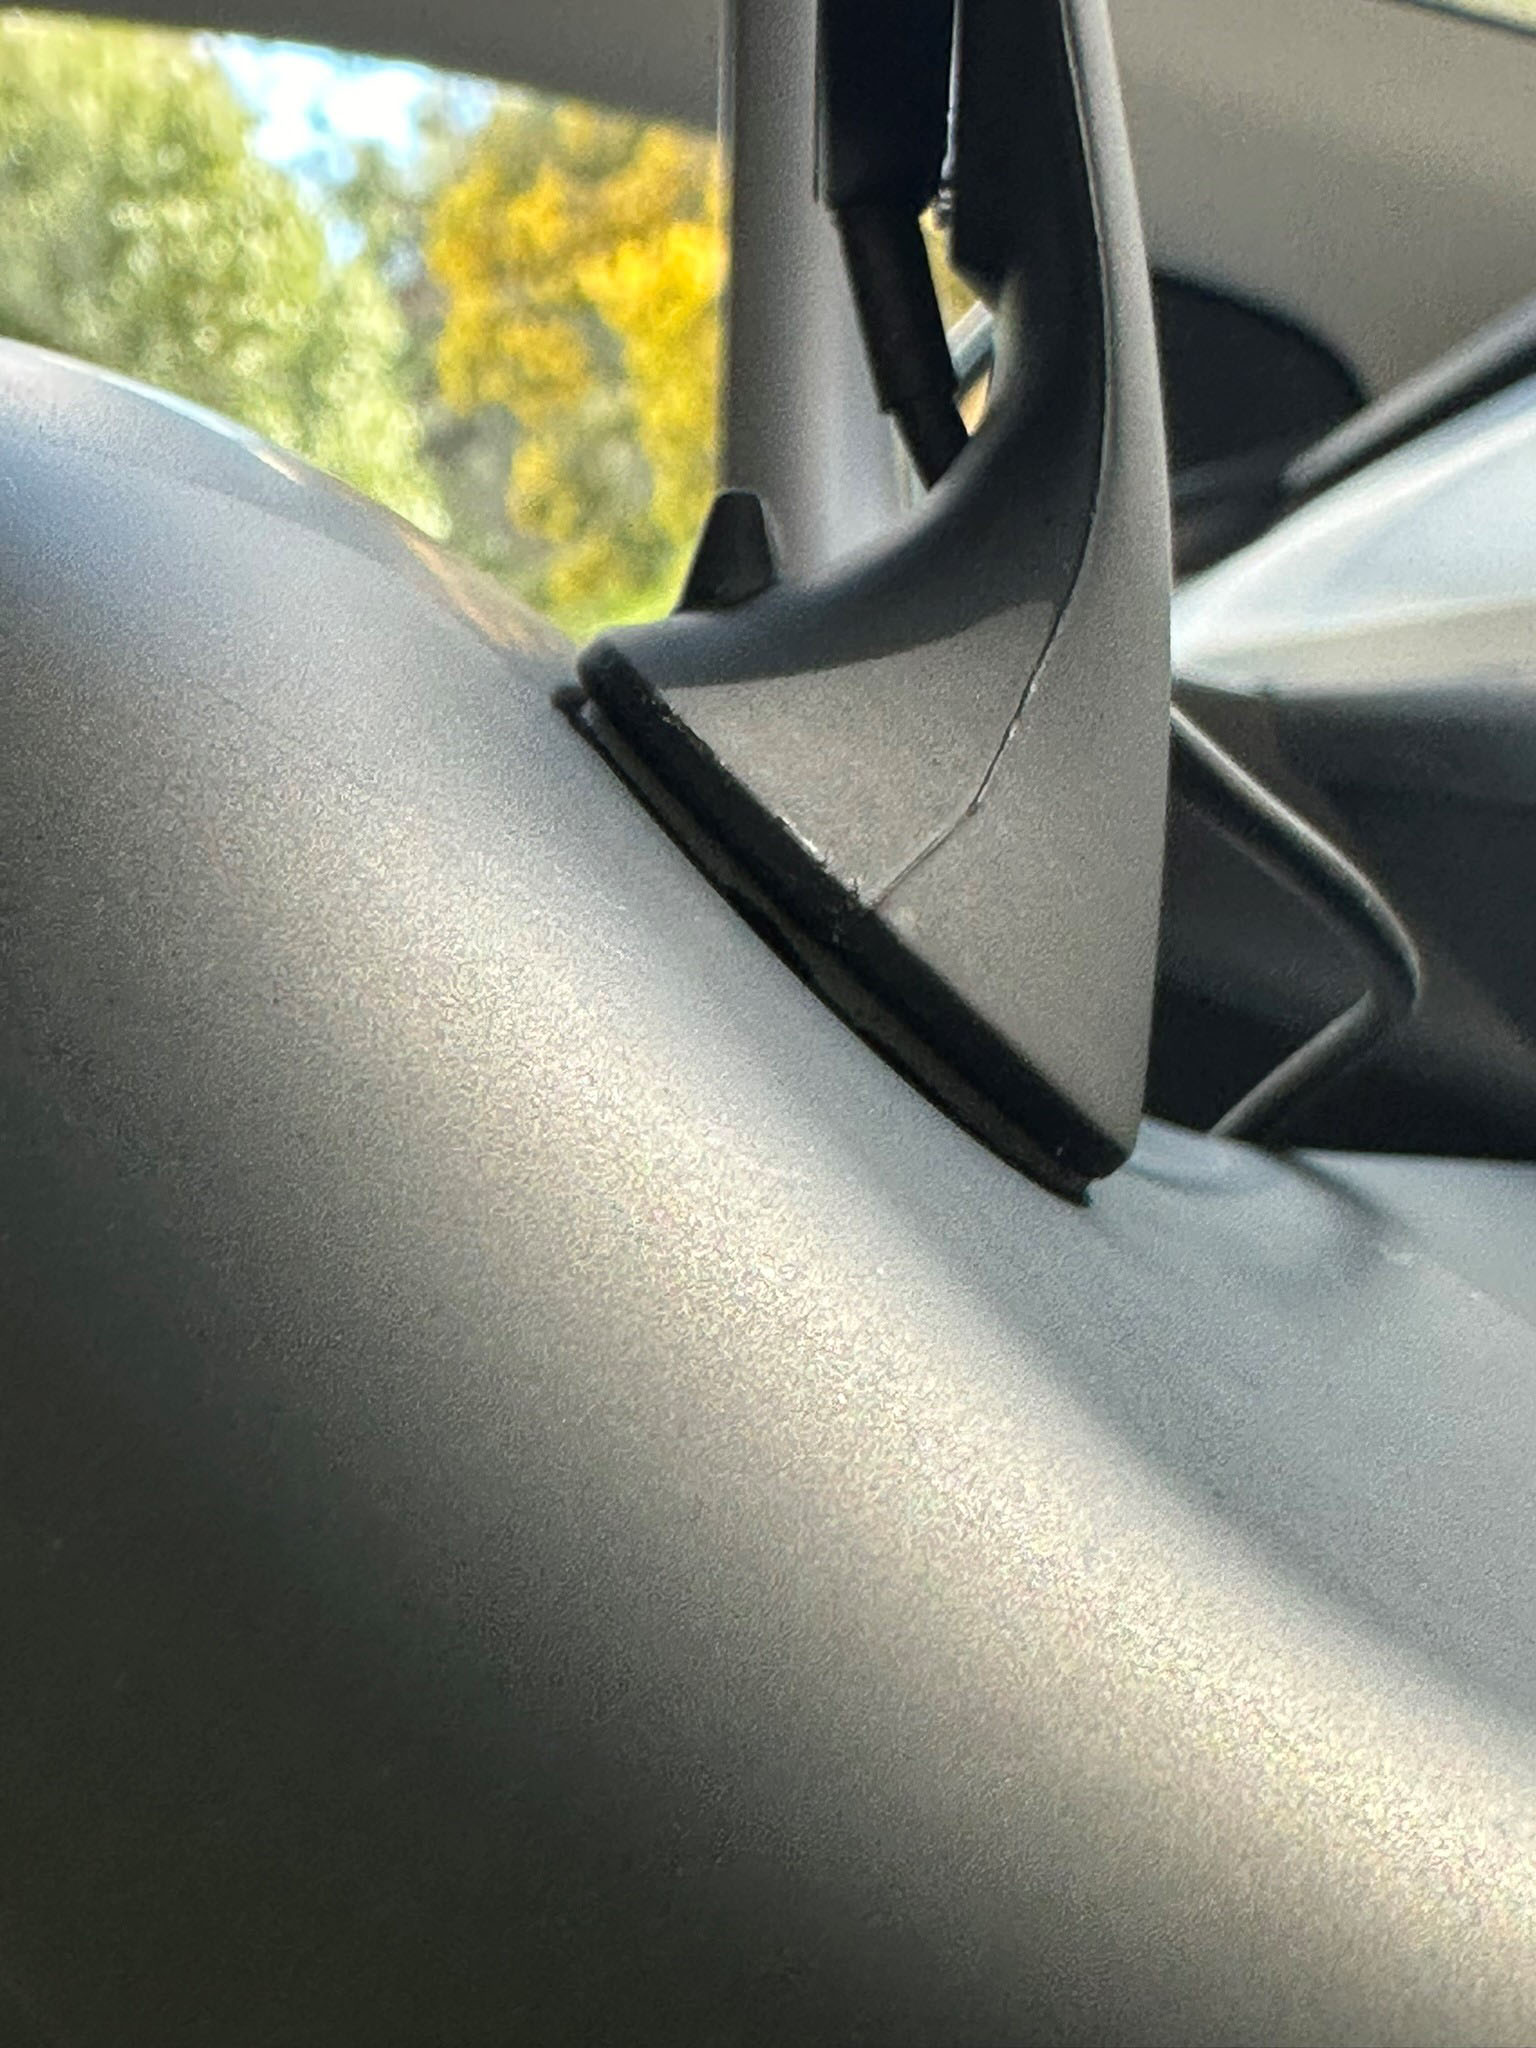
The cable was mounted as advised by the manual (behind the steering wheel).
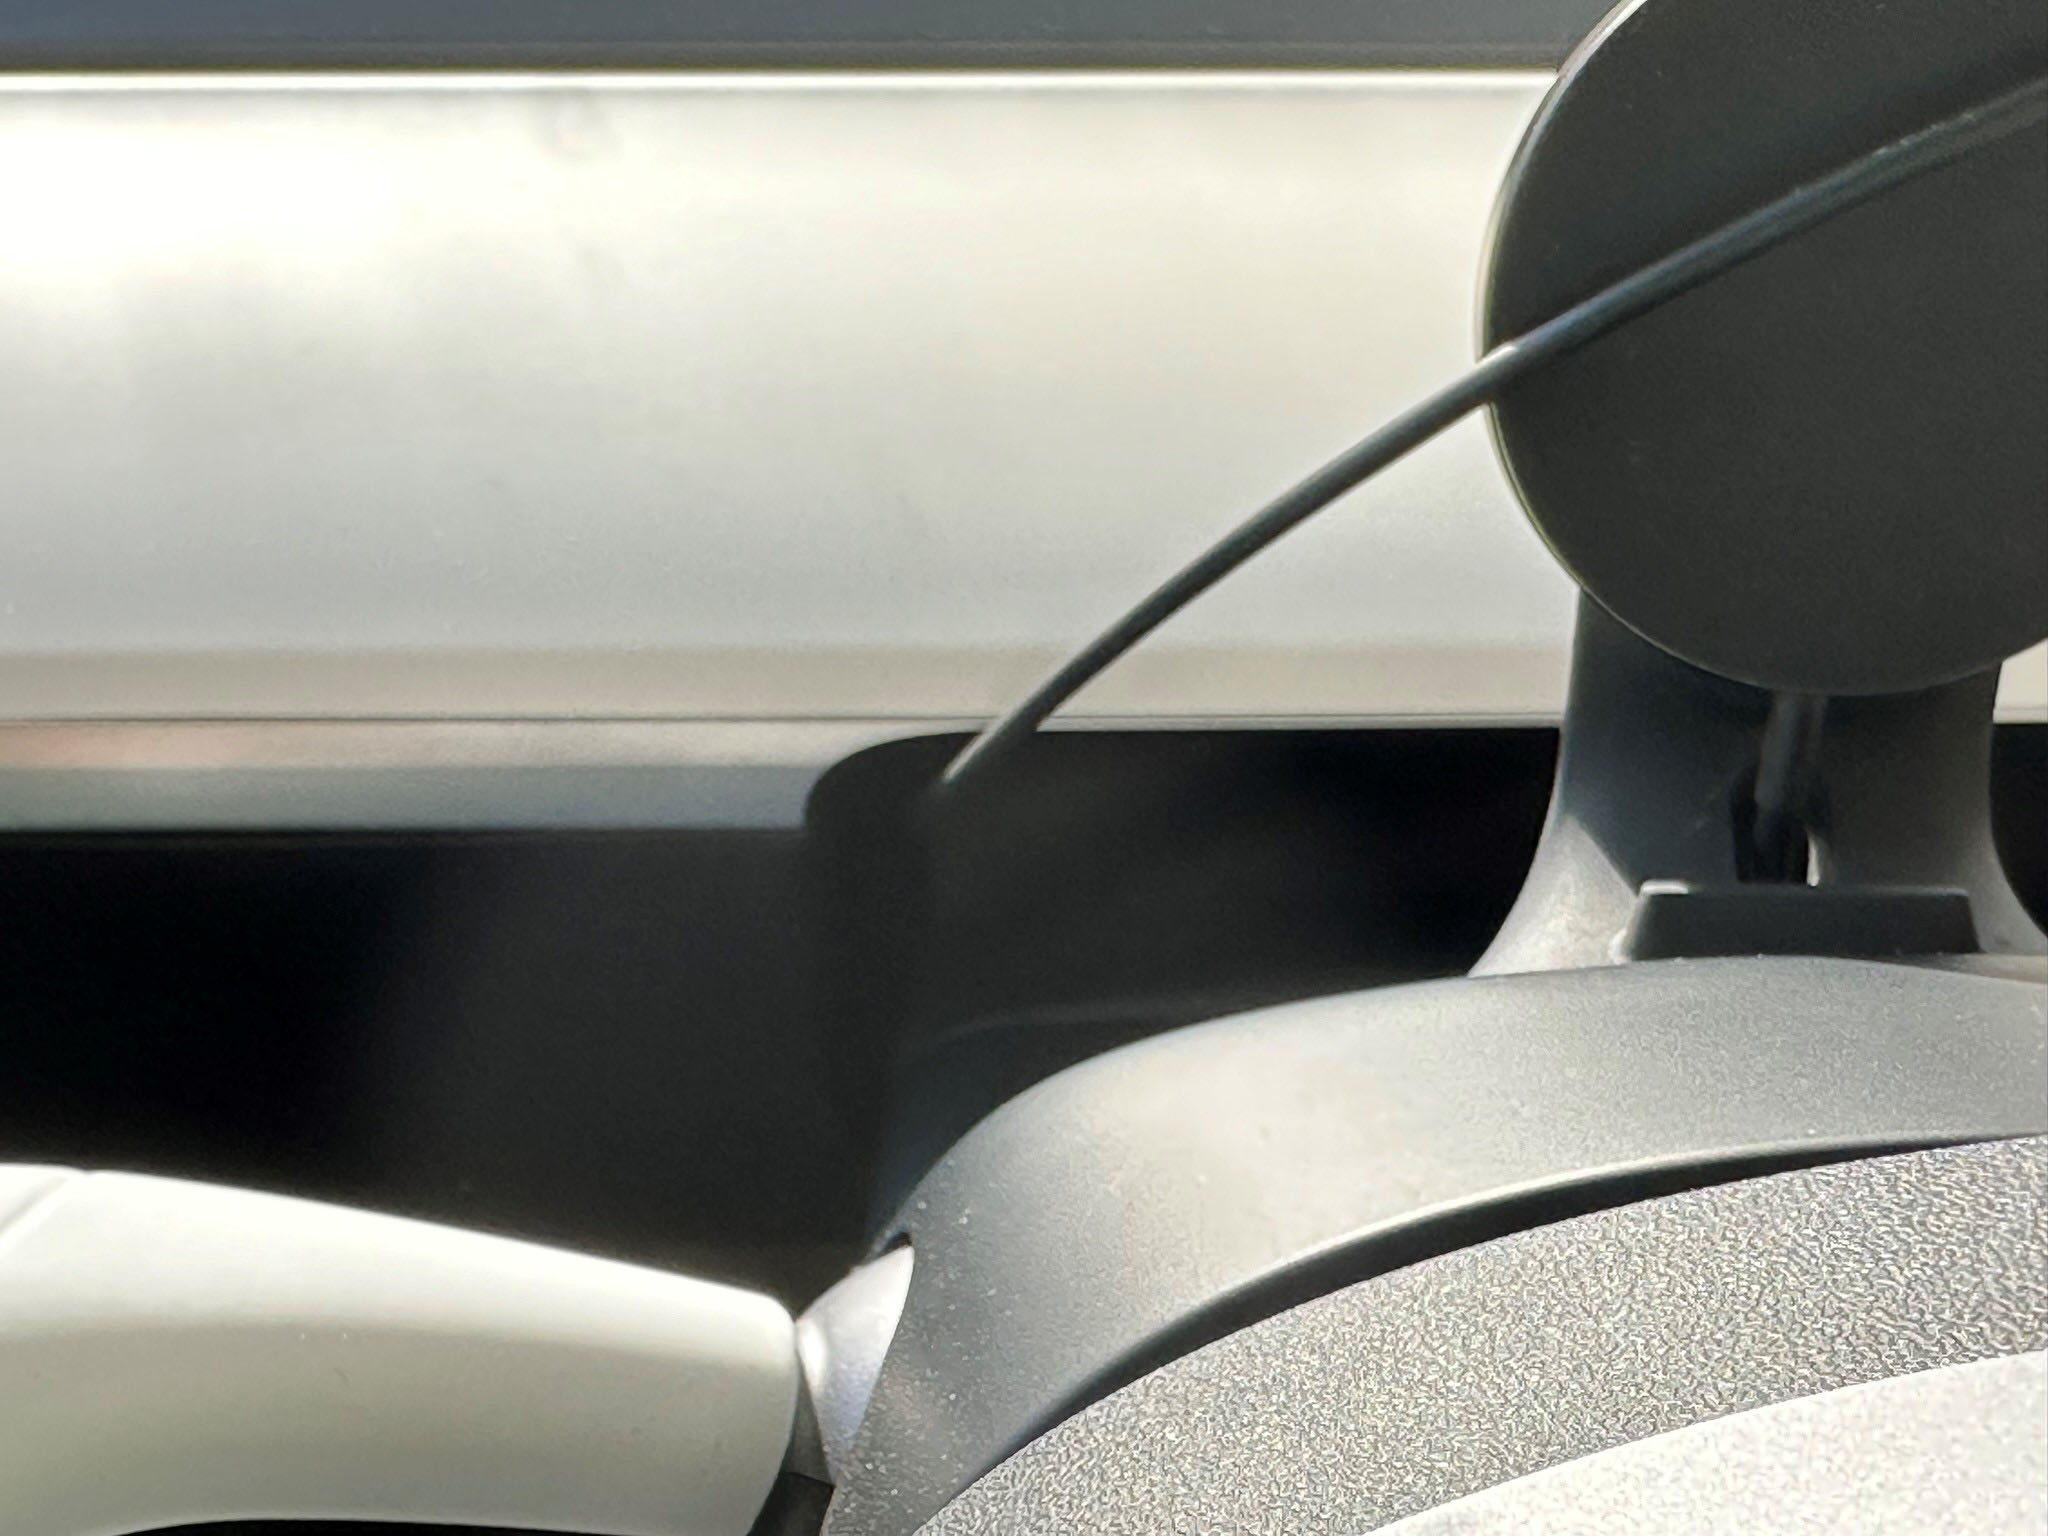
The cable was mounted as advised by the manual (under the steering wheel).
The cable was mounted as advised by the manual (under the side trim beside the seat).

I plugged in the charger into the rear USB socket.
Testing the Teslogic
A quick test and it works
At night
Screens
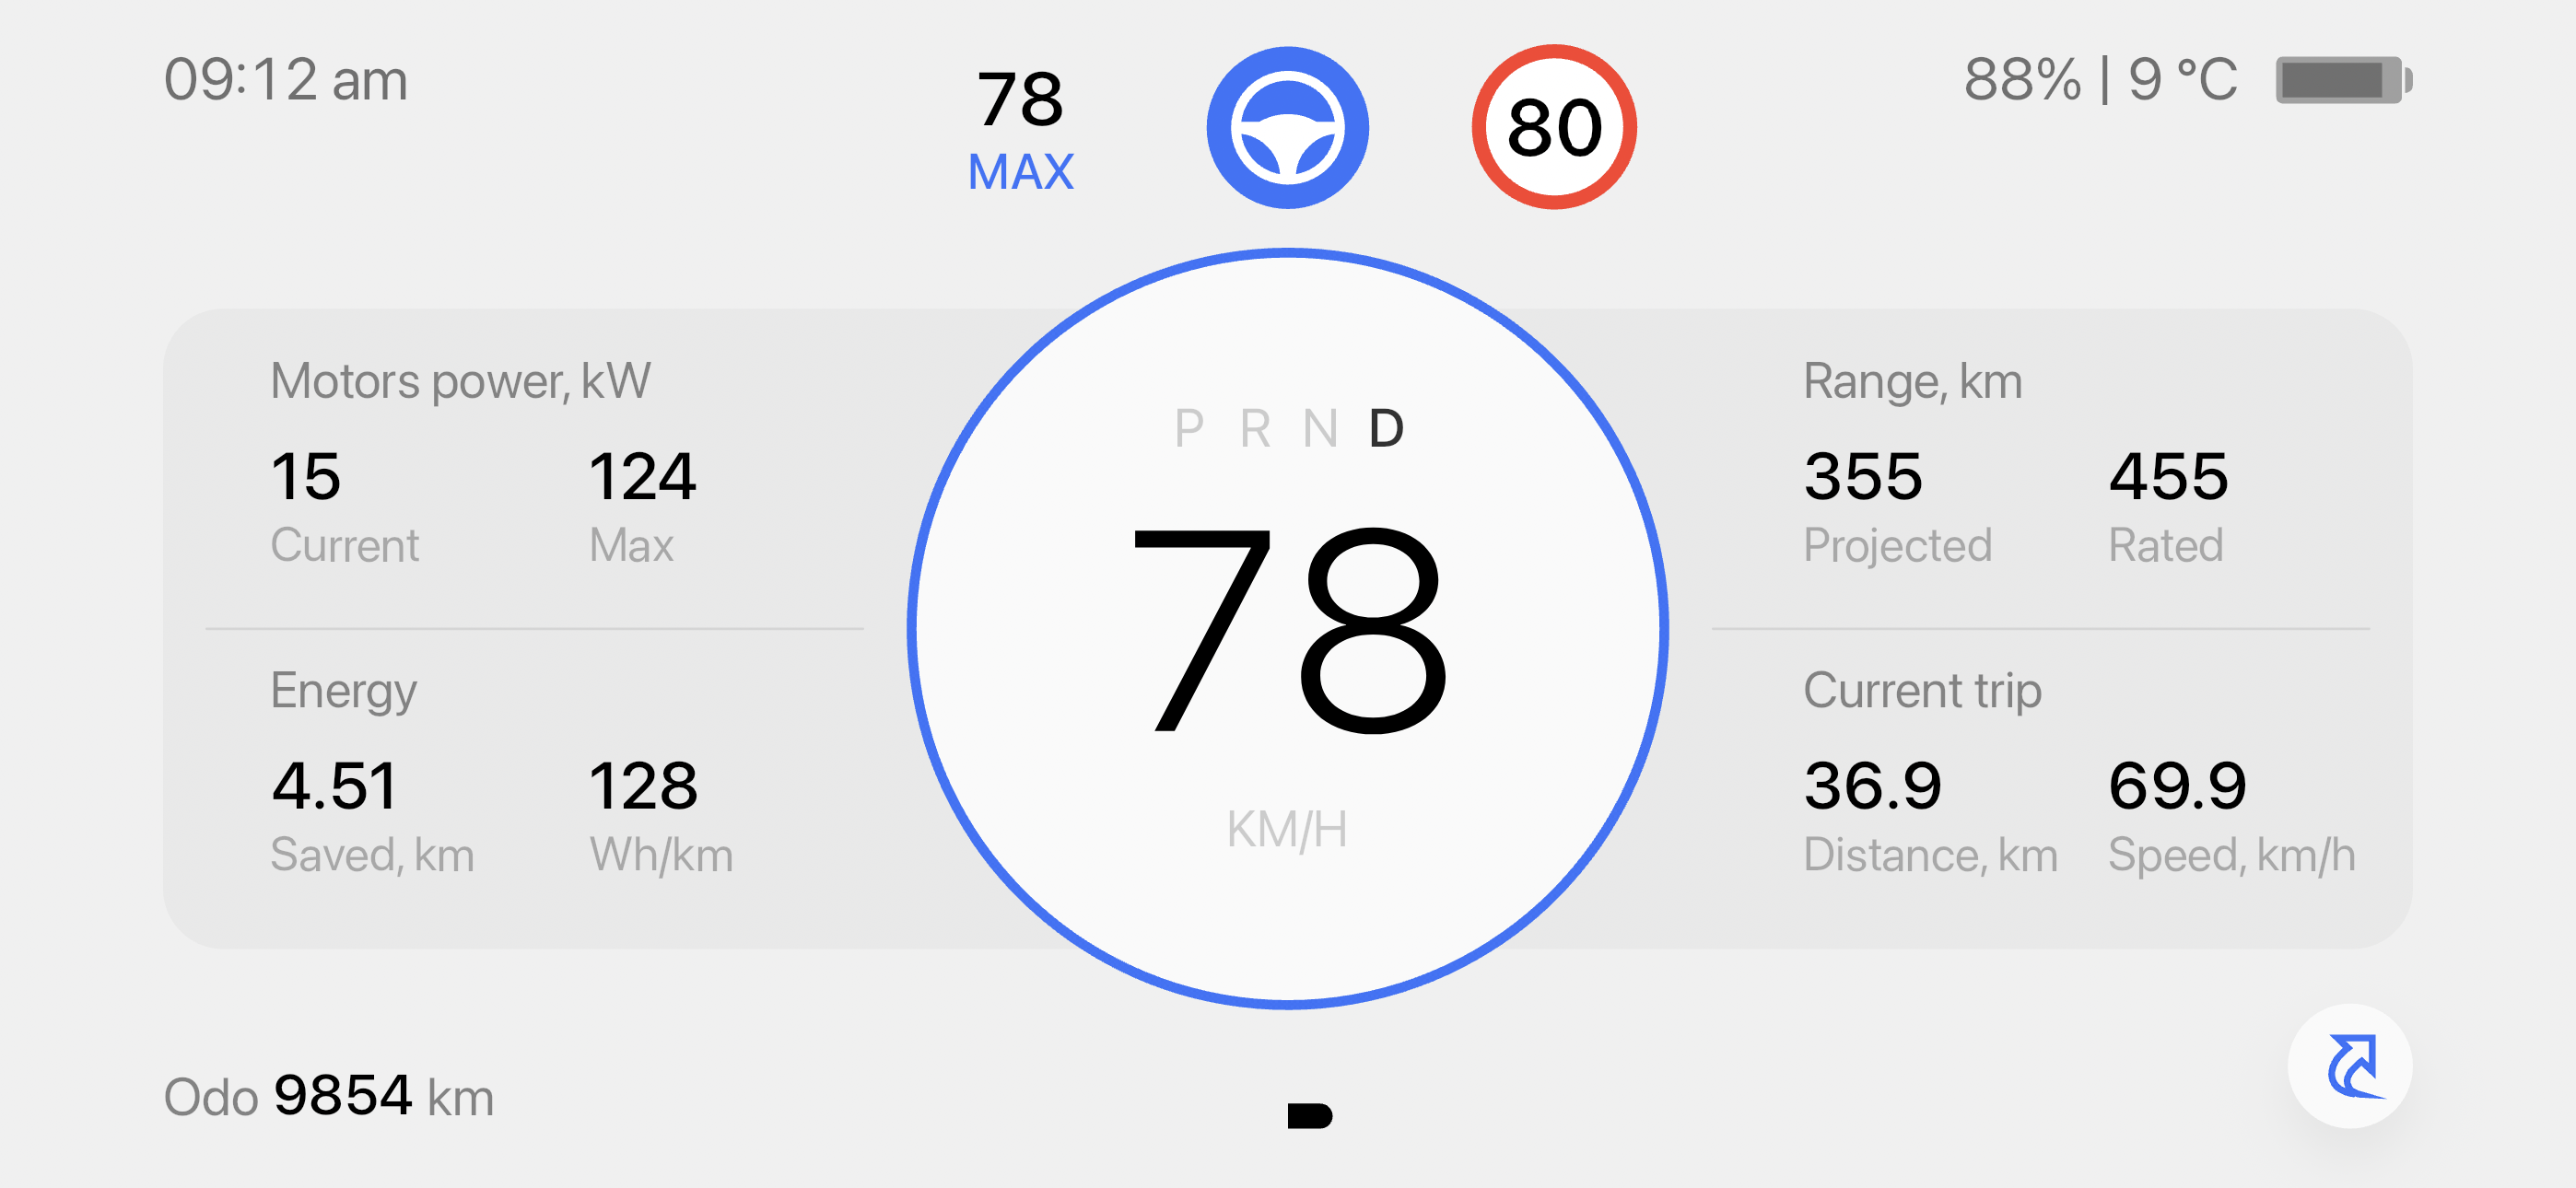
Live energy consumption screen
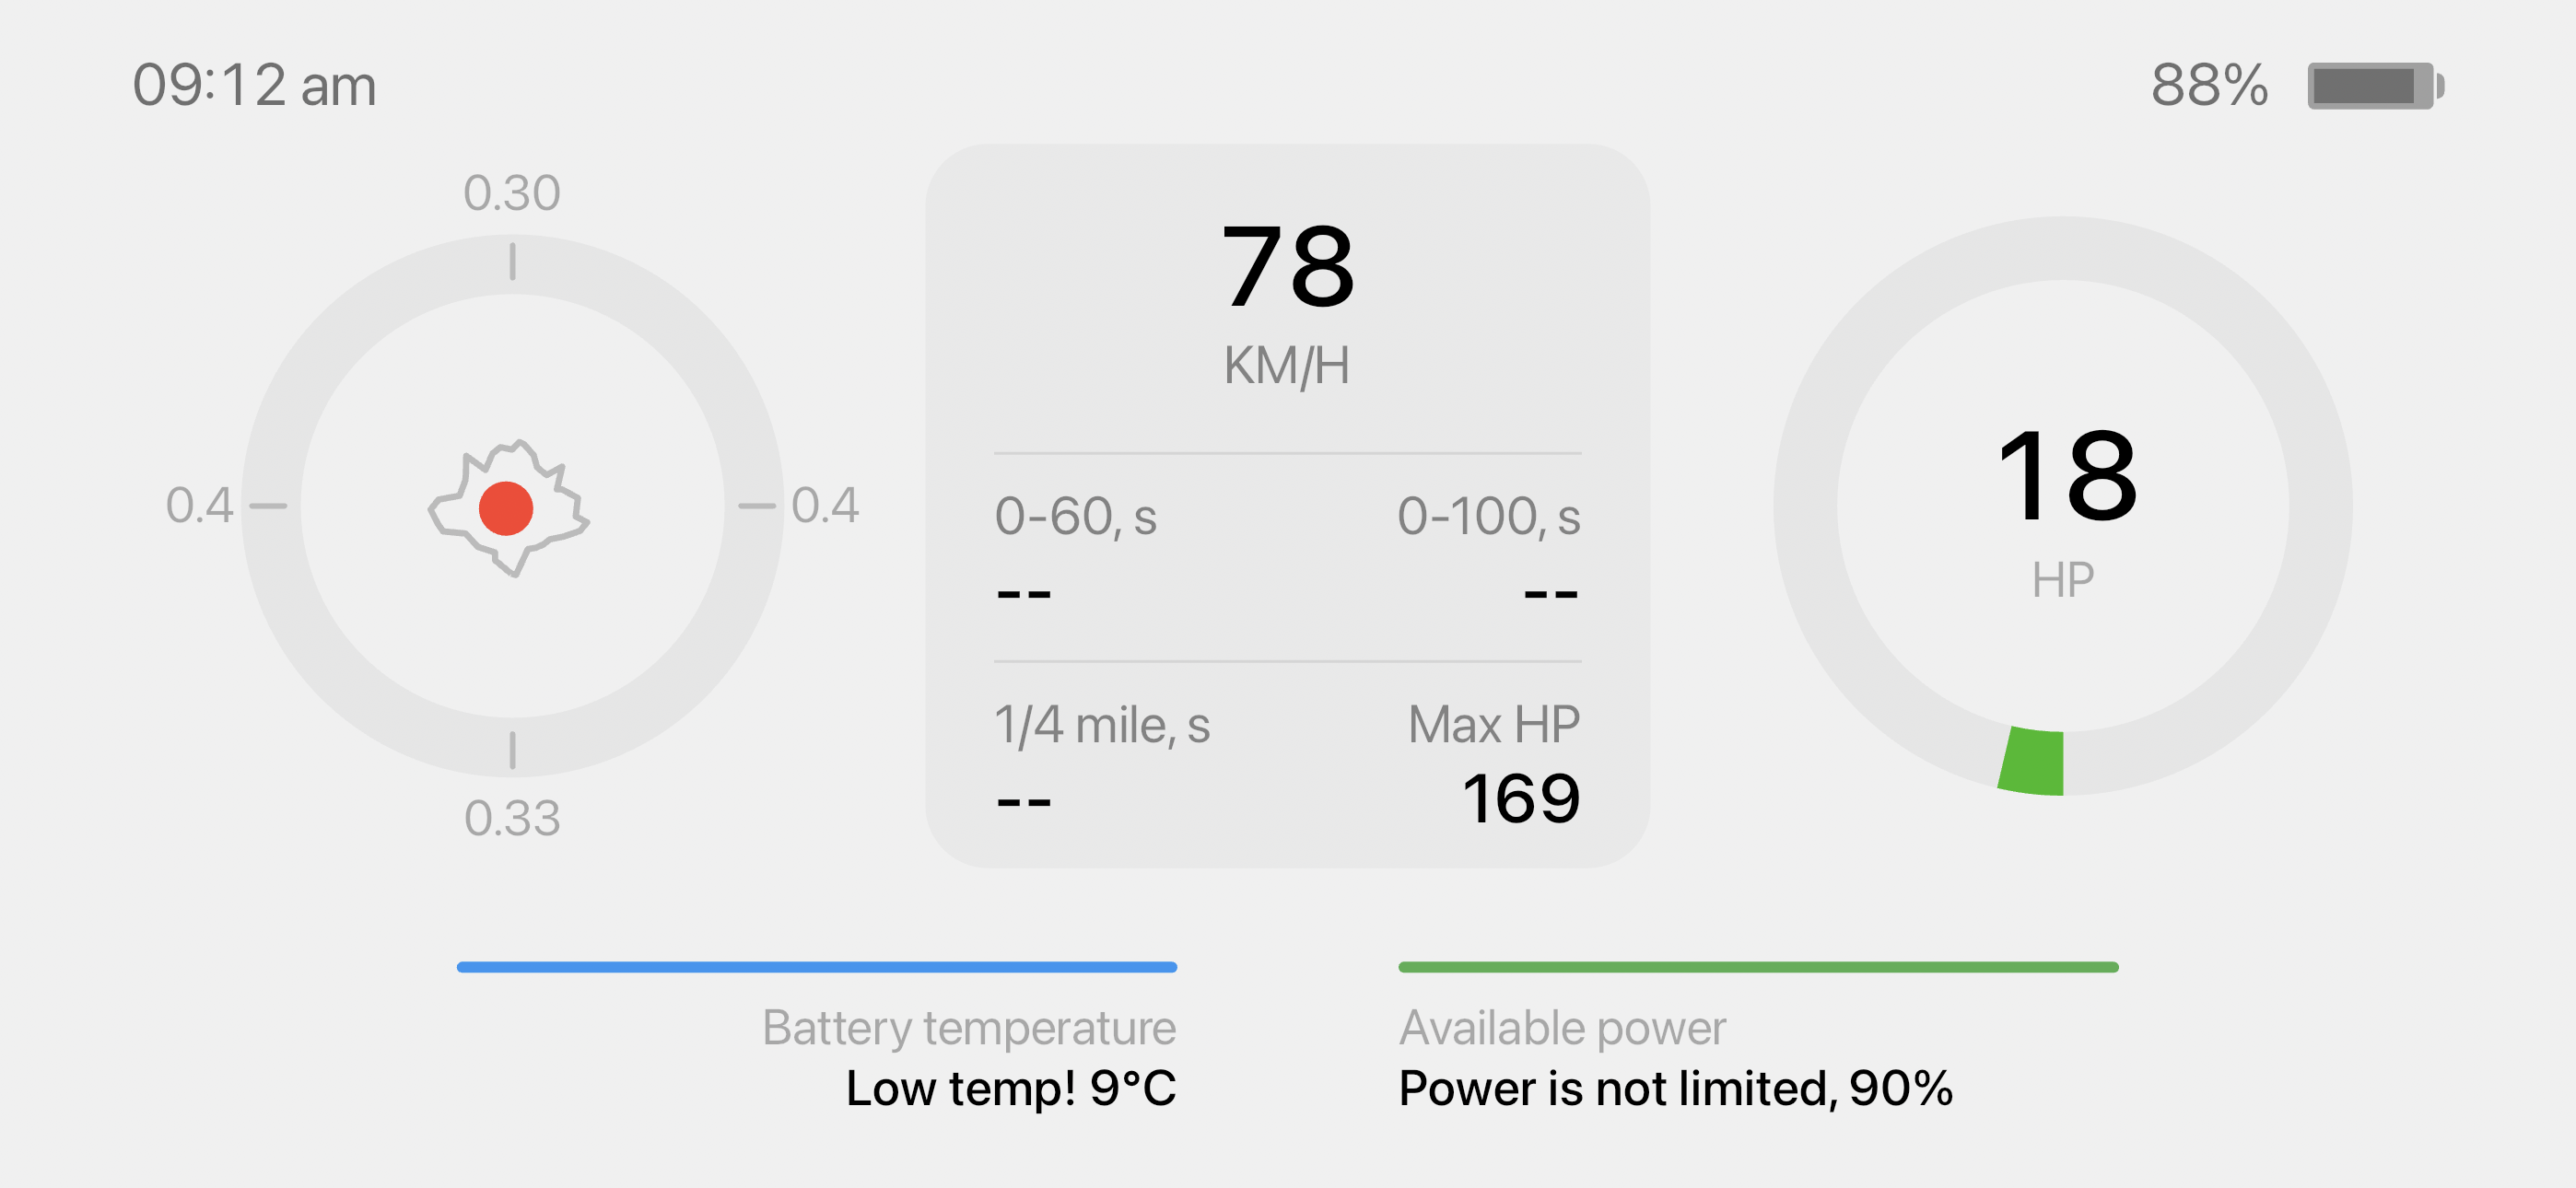
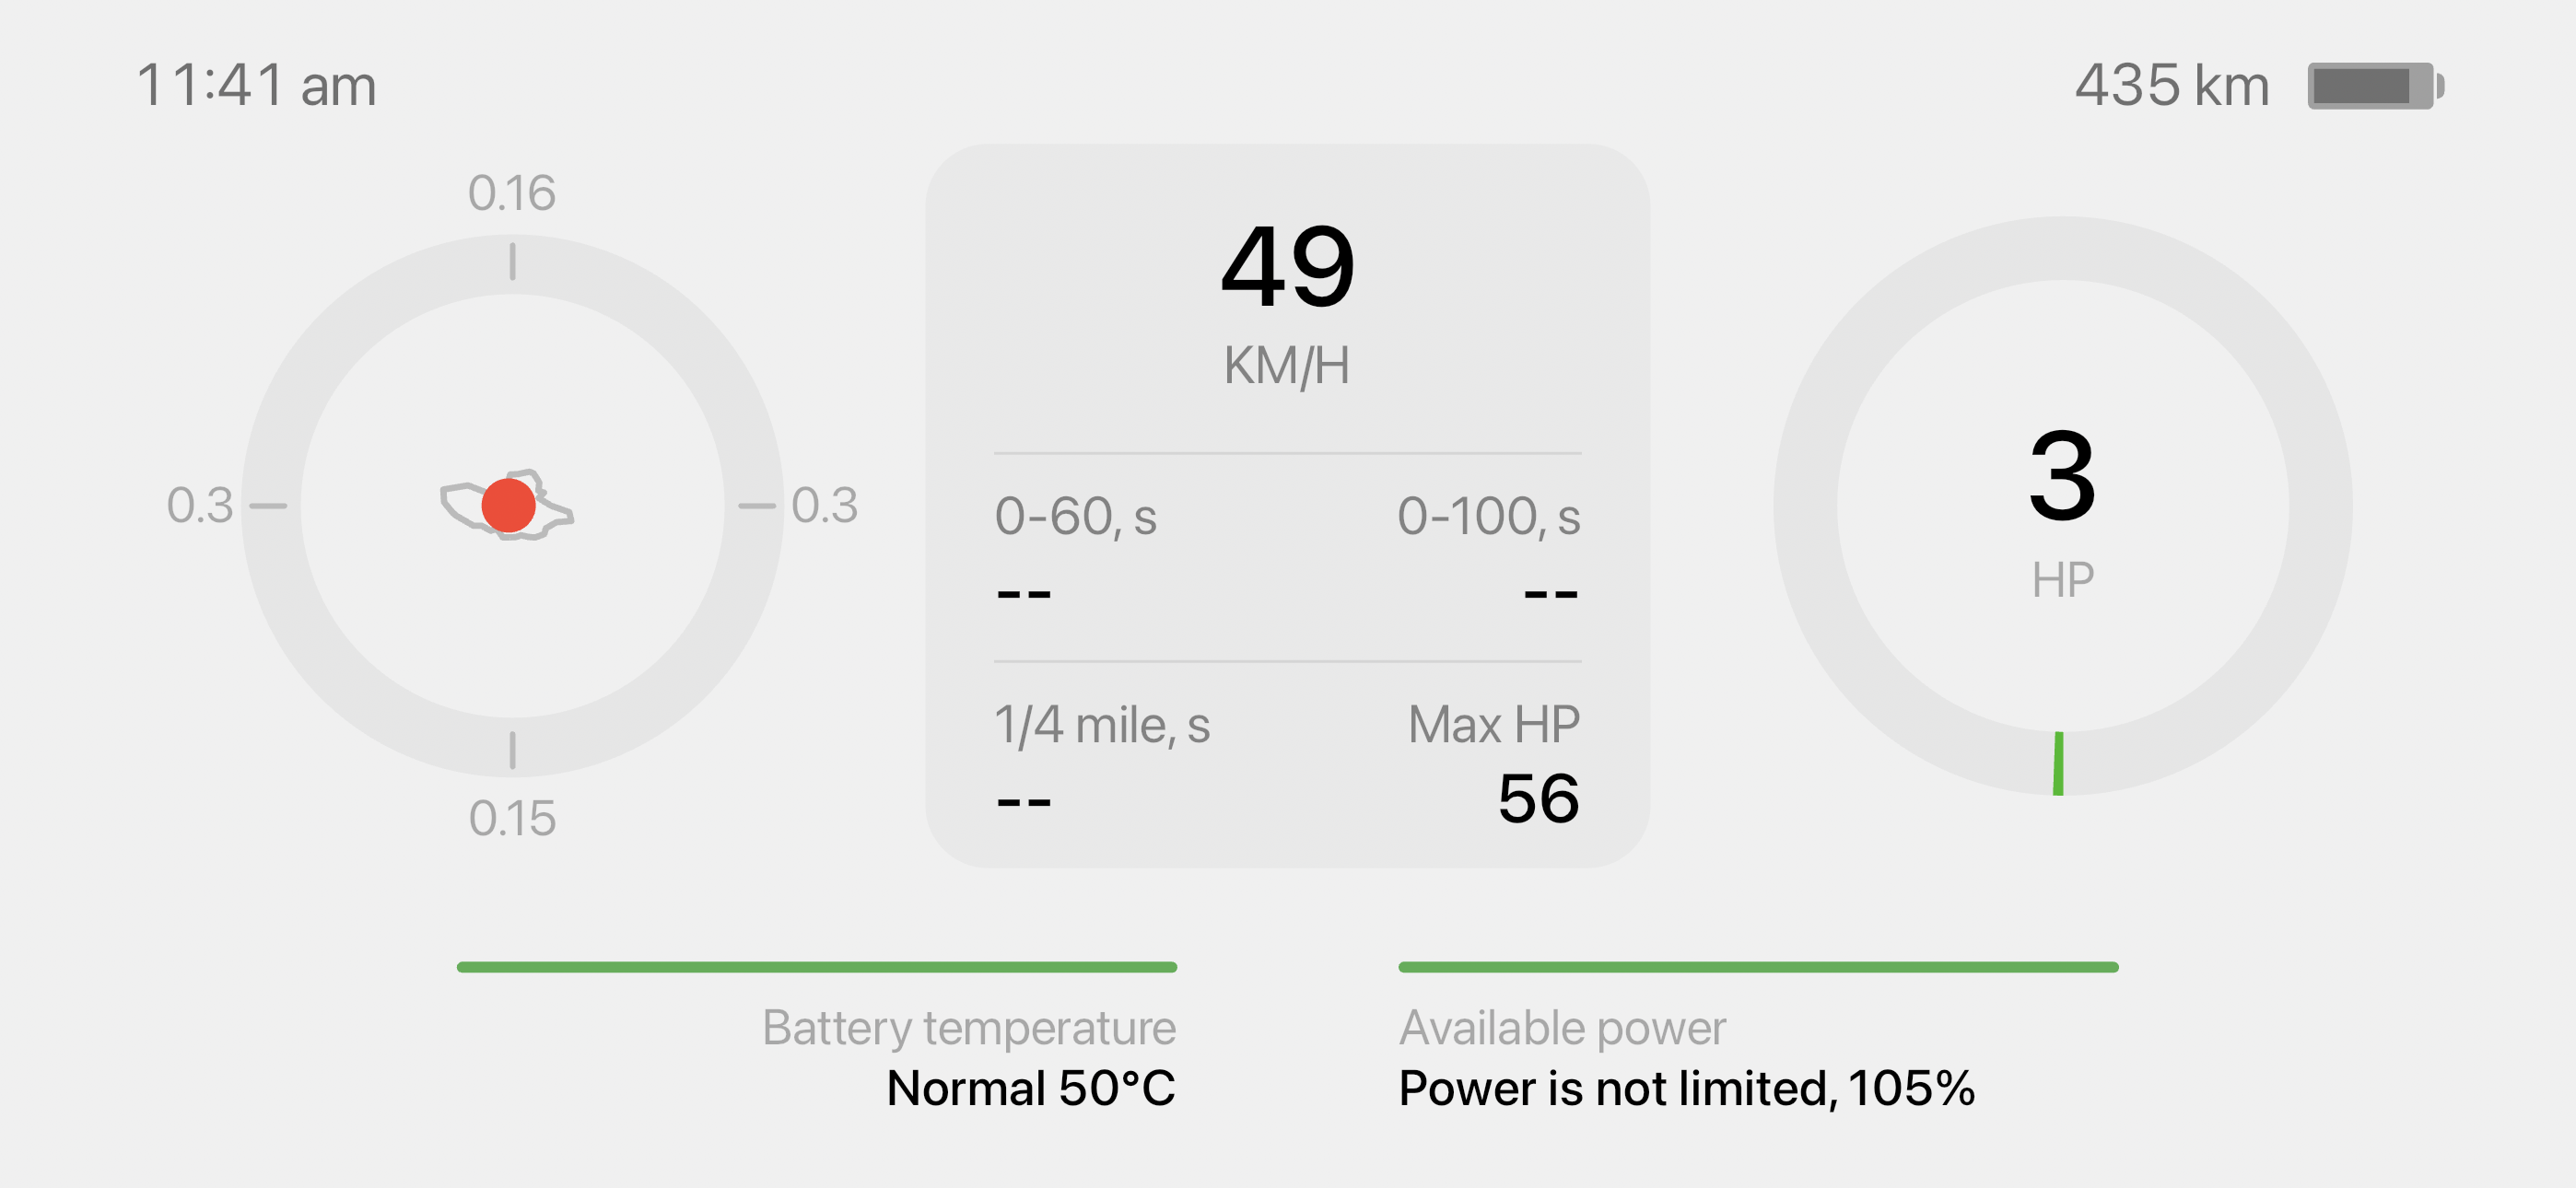
G Forces and horsepower screen
Configuring the Teslogic Dashboard
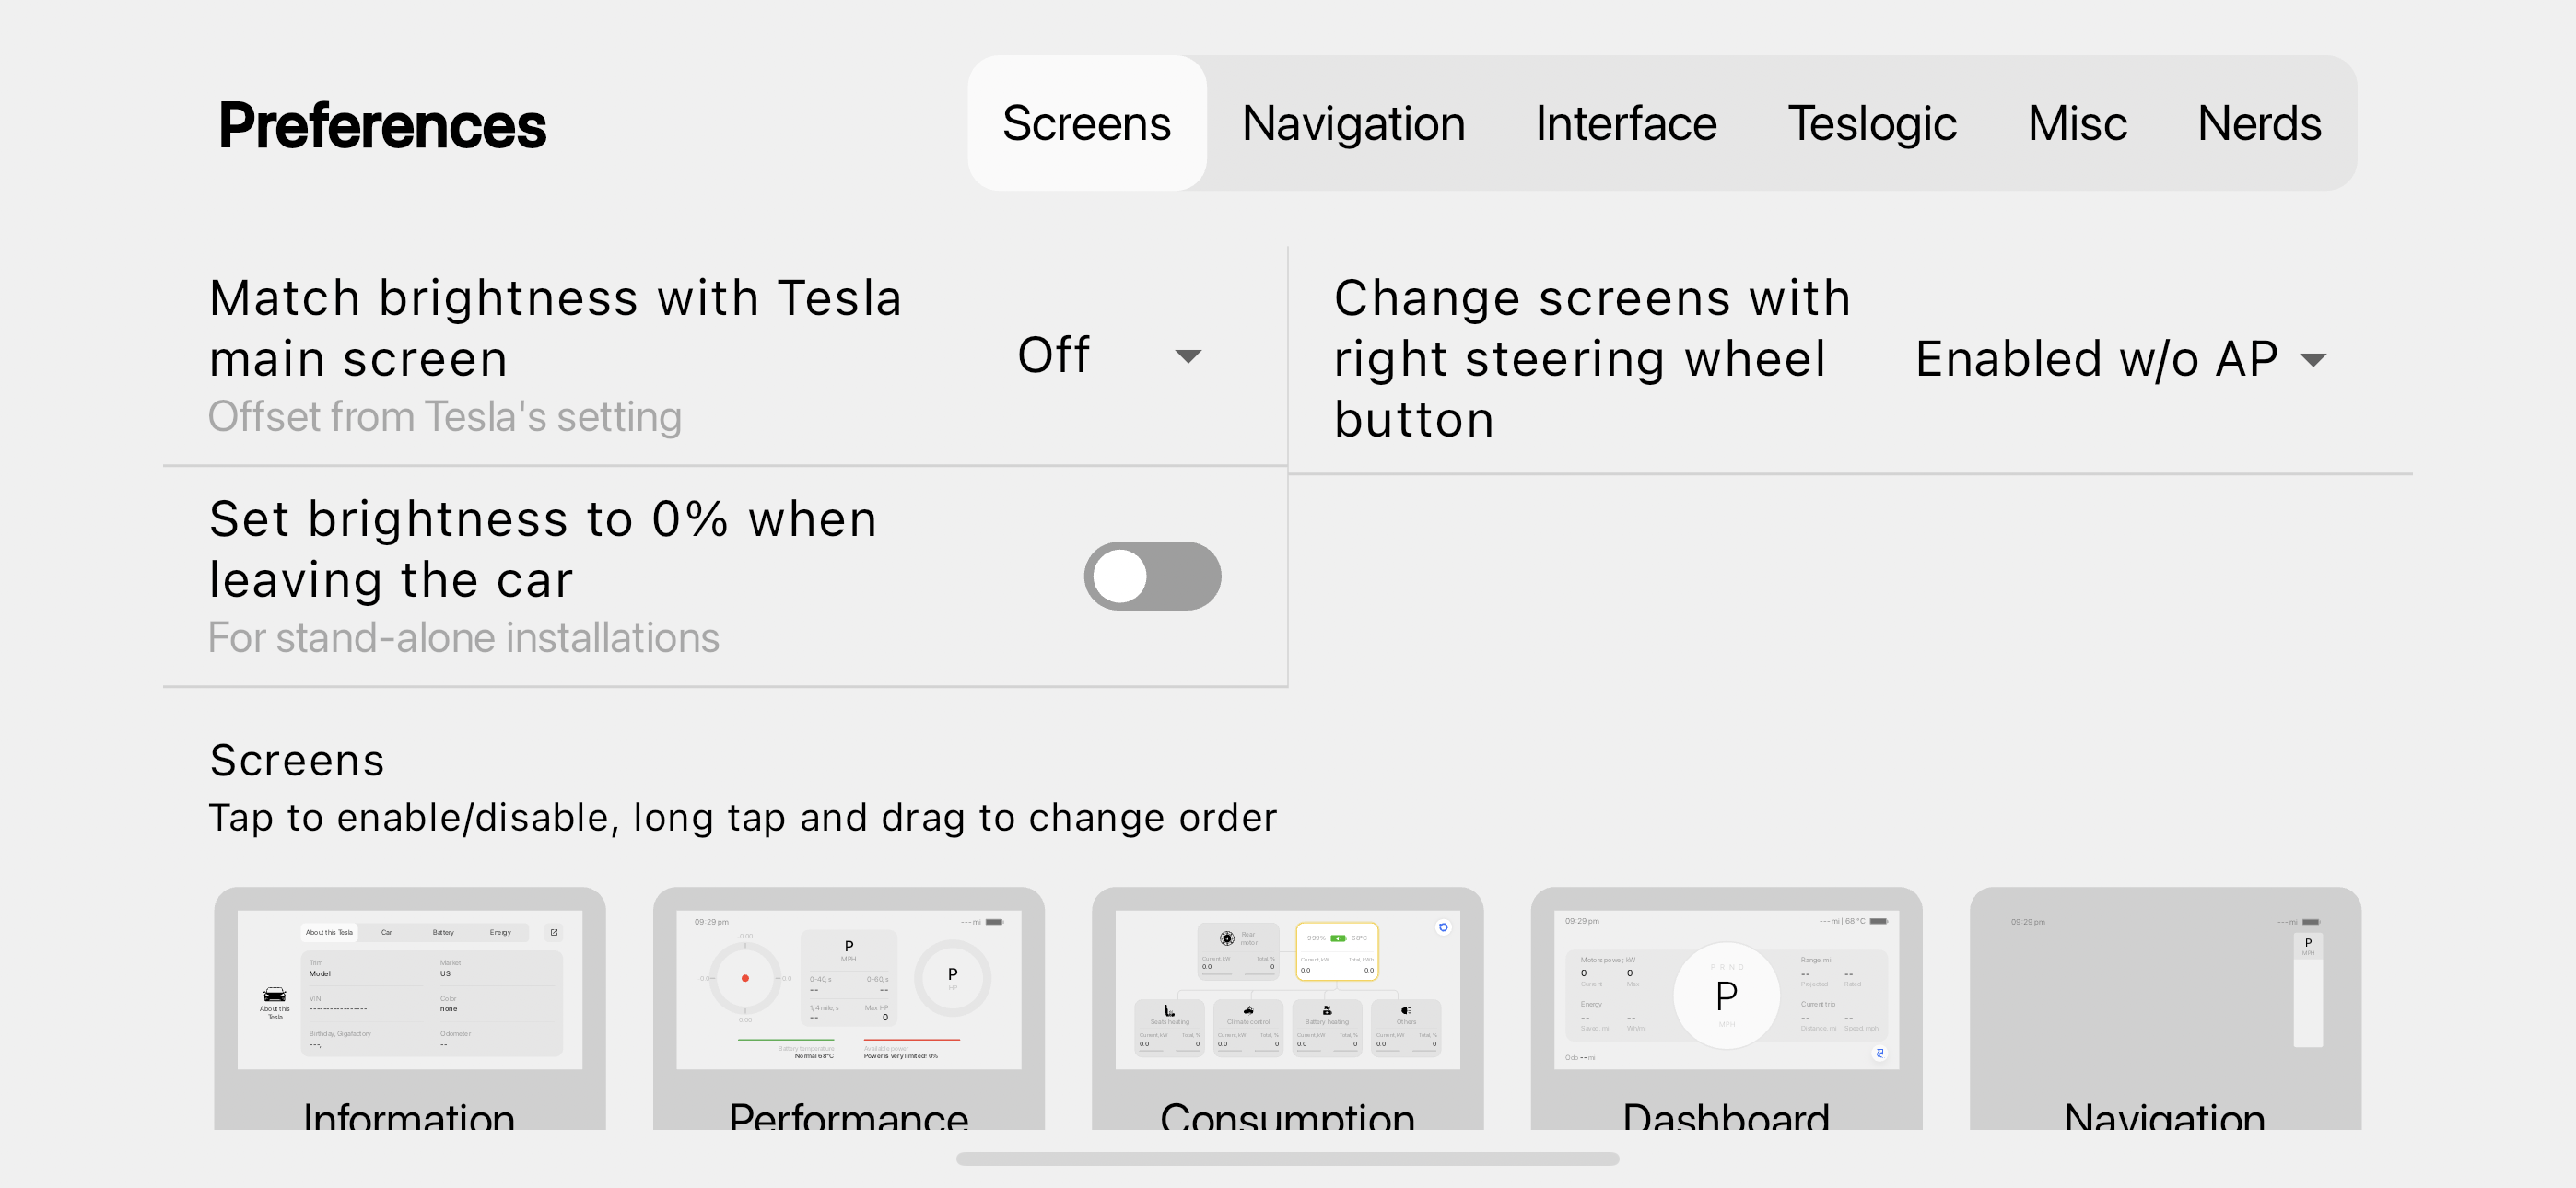
I opened the Teslogic app on my phone in the car and swiped right to access the settings.
I do not plan on leaving my phone in the car so I did not turn on “Set Brightness to 0%”, I did set Match brightness with Tesla Main Screen.
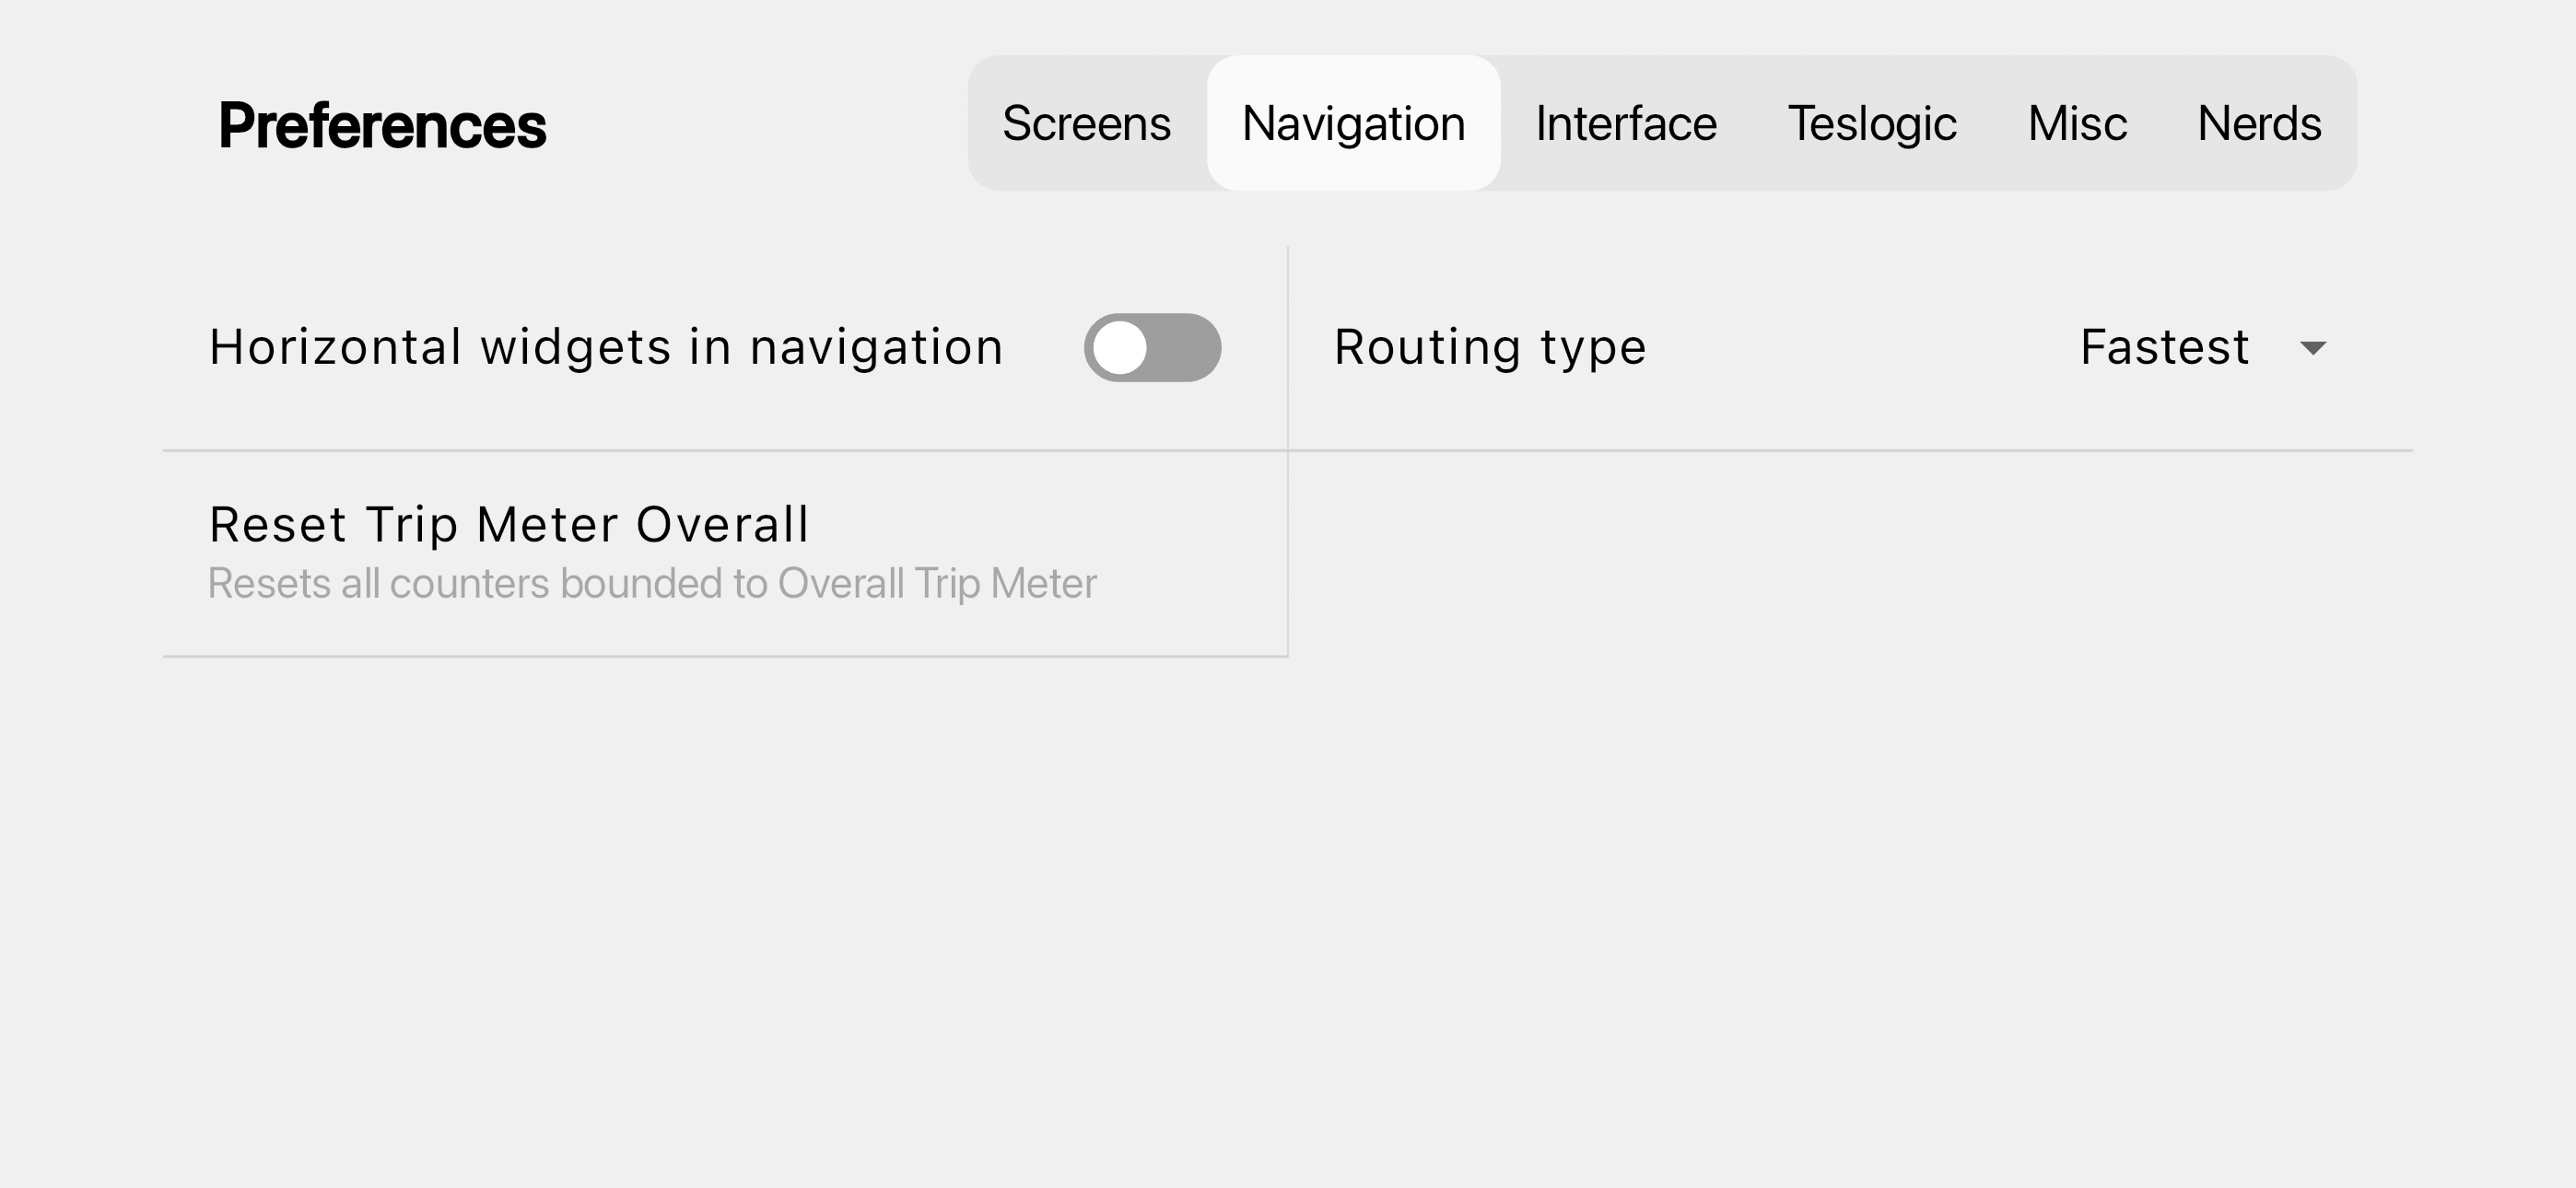
I did not make any changes to the navigation tab.
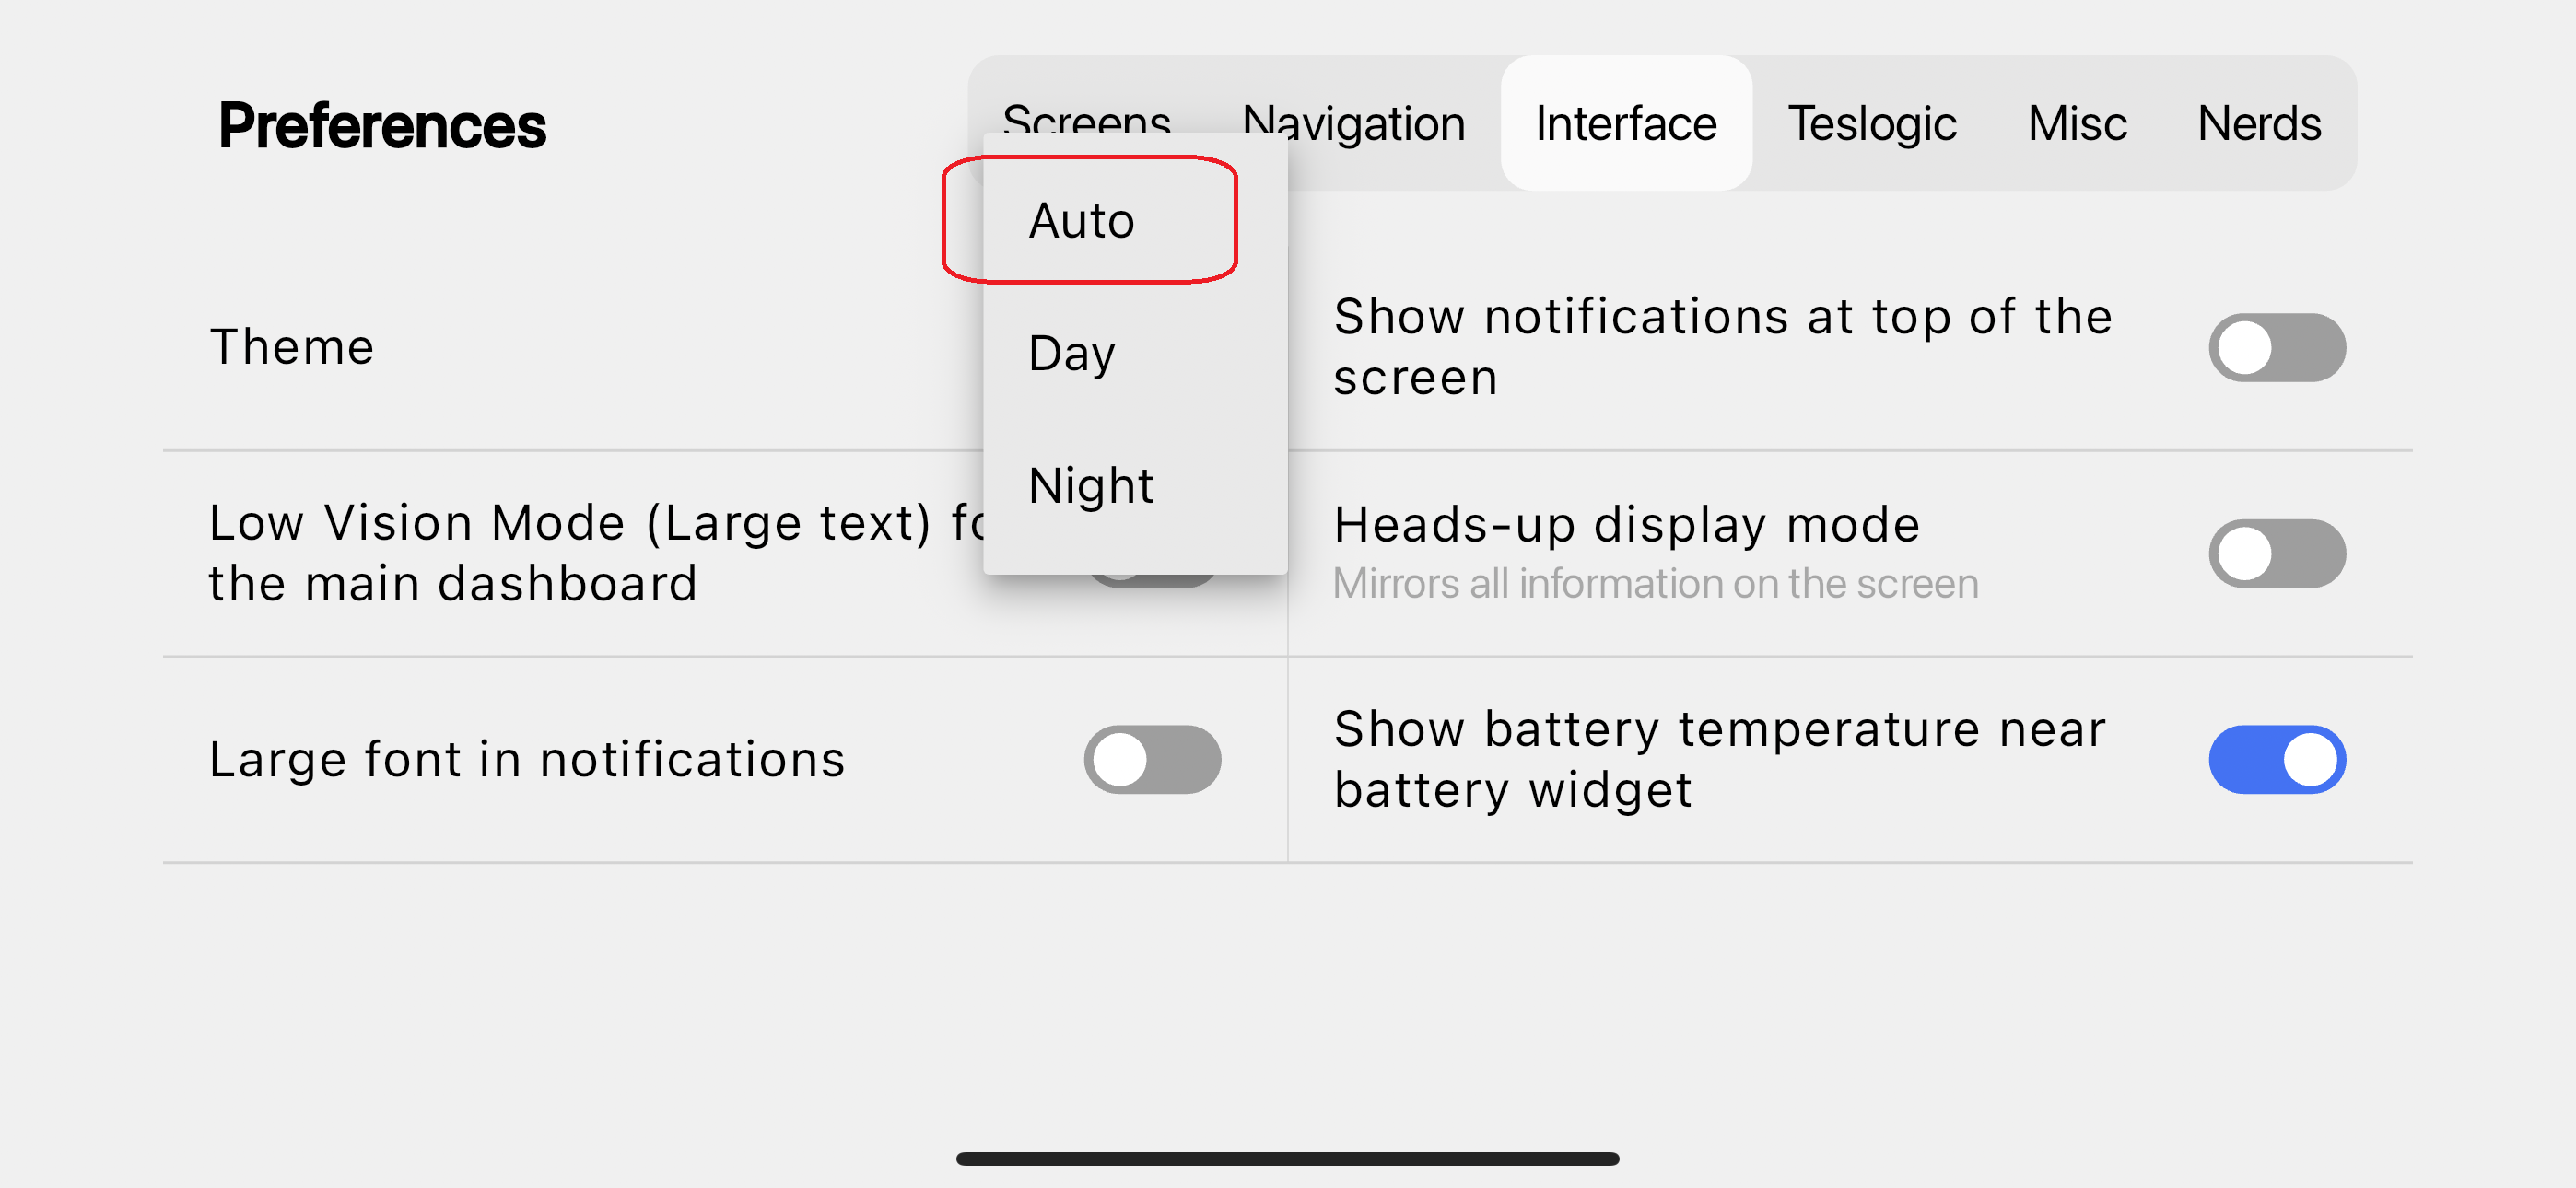
I set the Theme to Auto and Show Battery temperature near the battery widget.
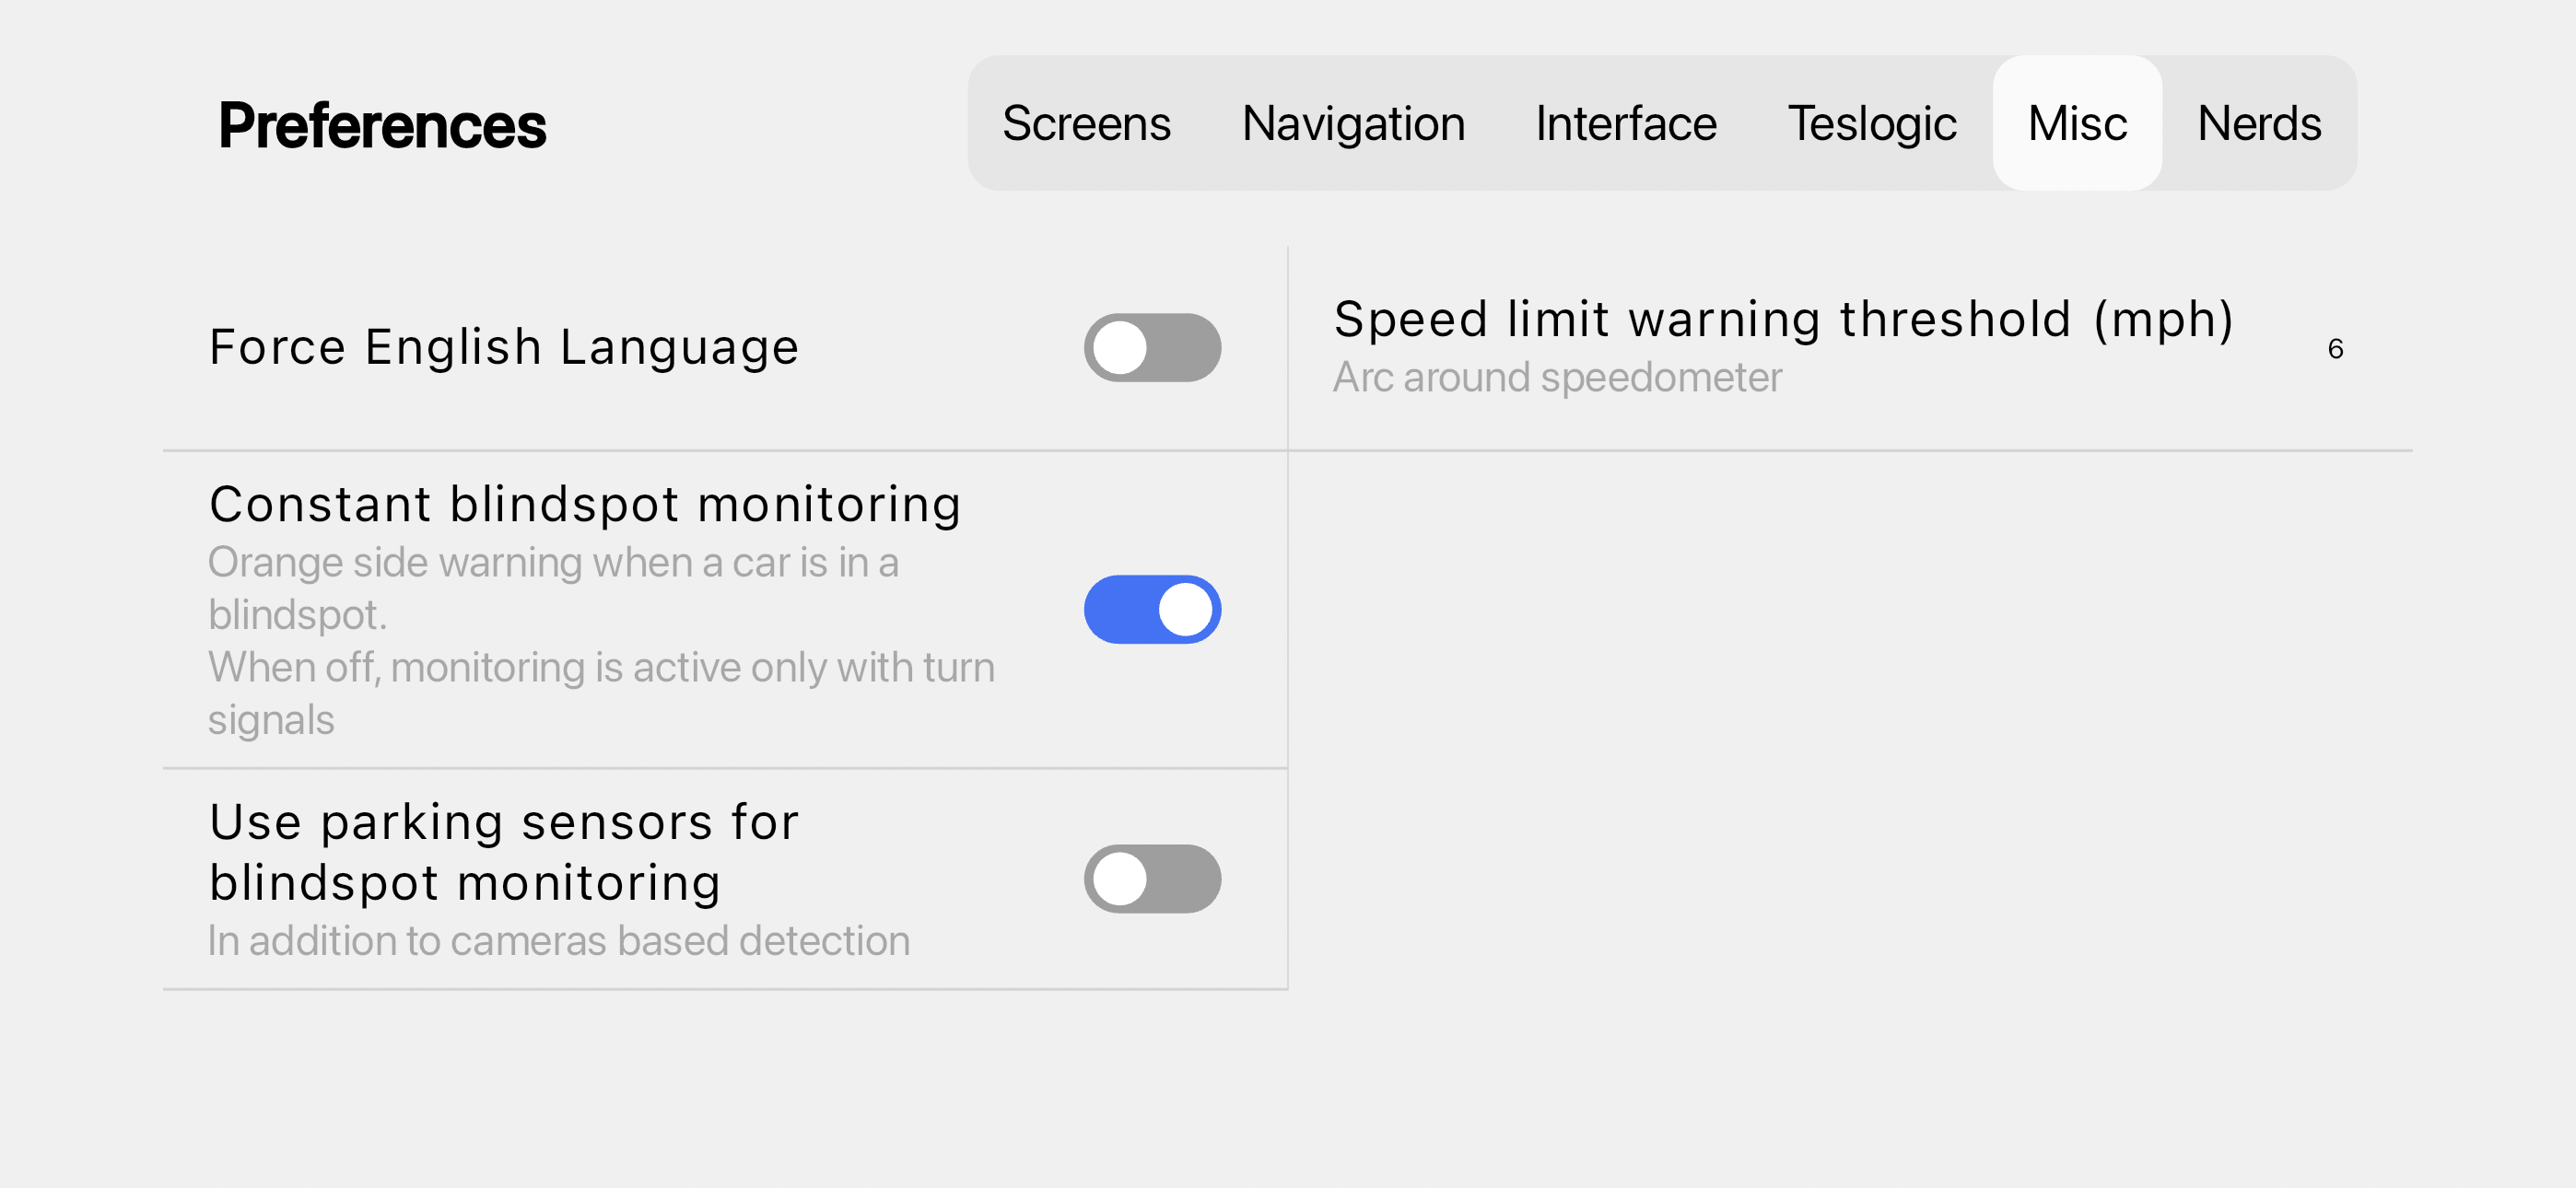
I did enable constant blindspot monitoring. This is using Tesla Vision now, but a future update will read data from the Ultra Sonic Sensors.
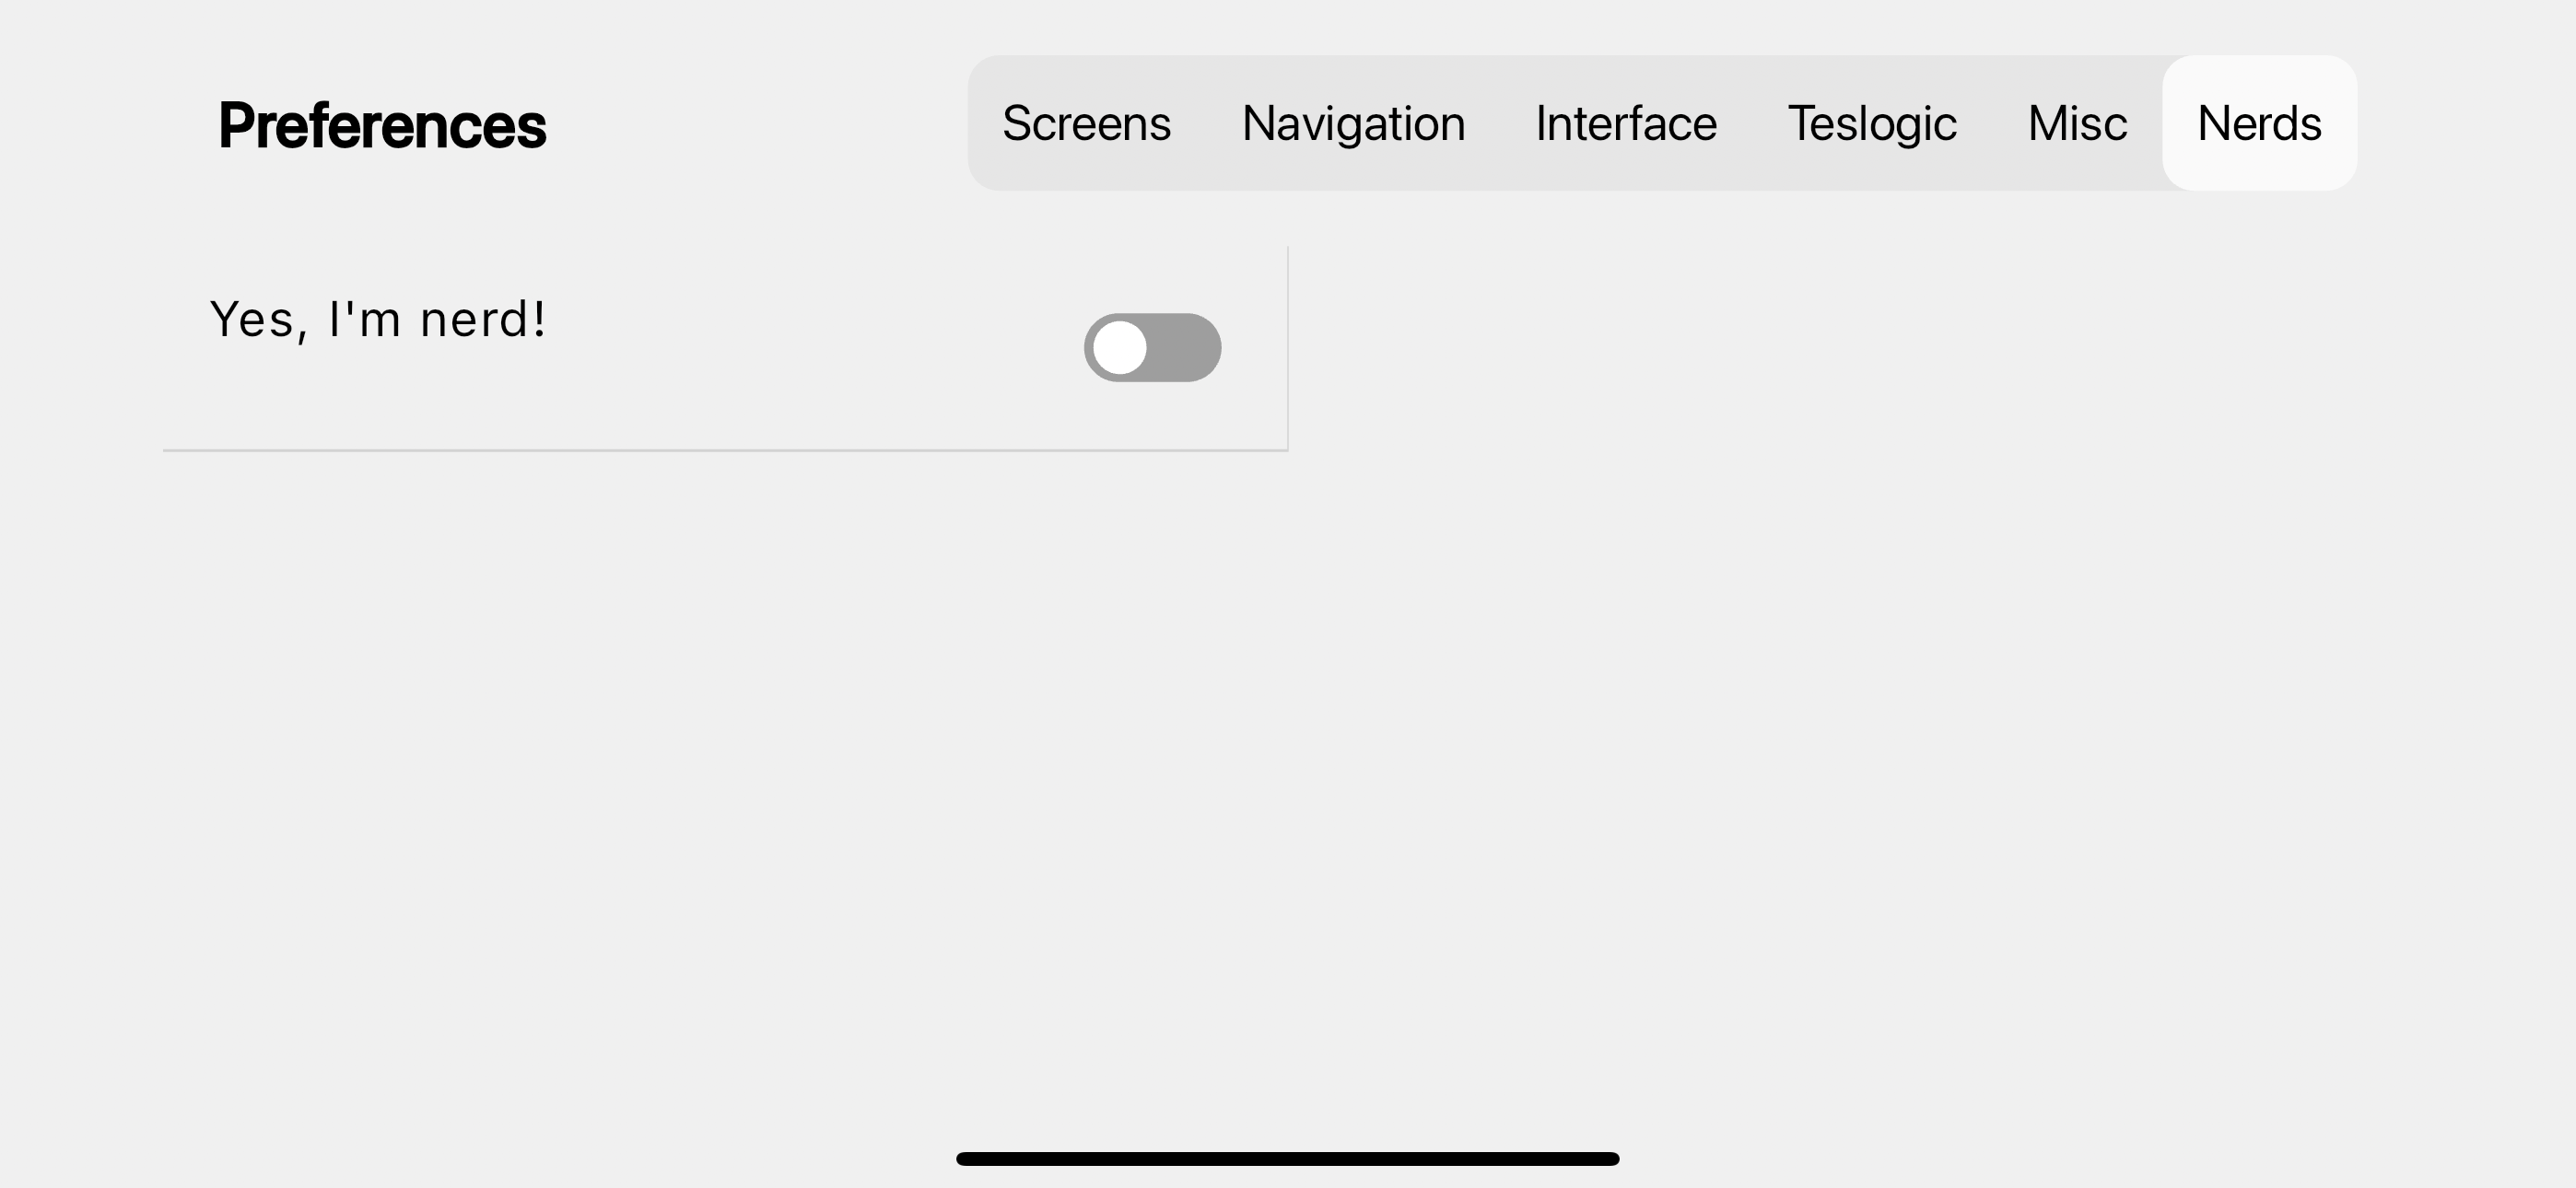
I do not need to log CAN bus messages and will leave this disabled.
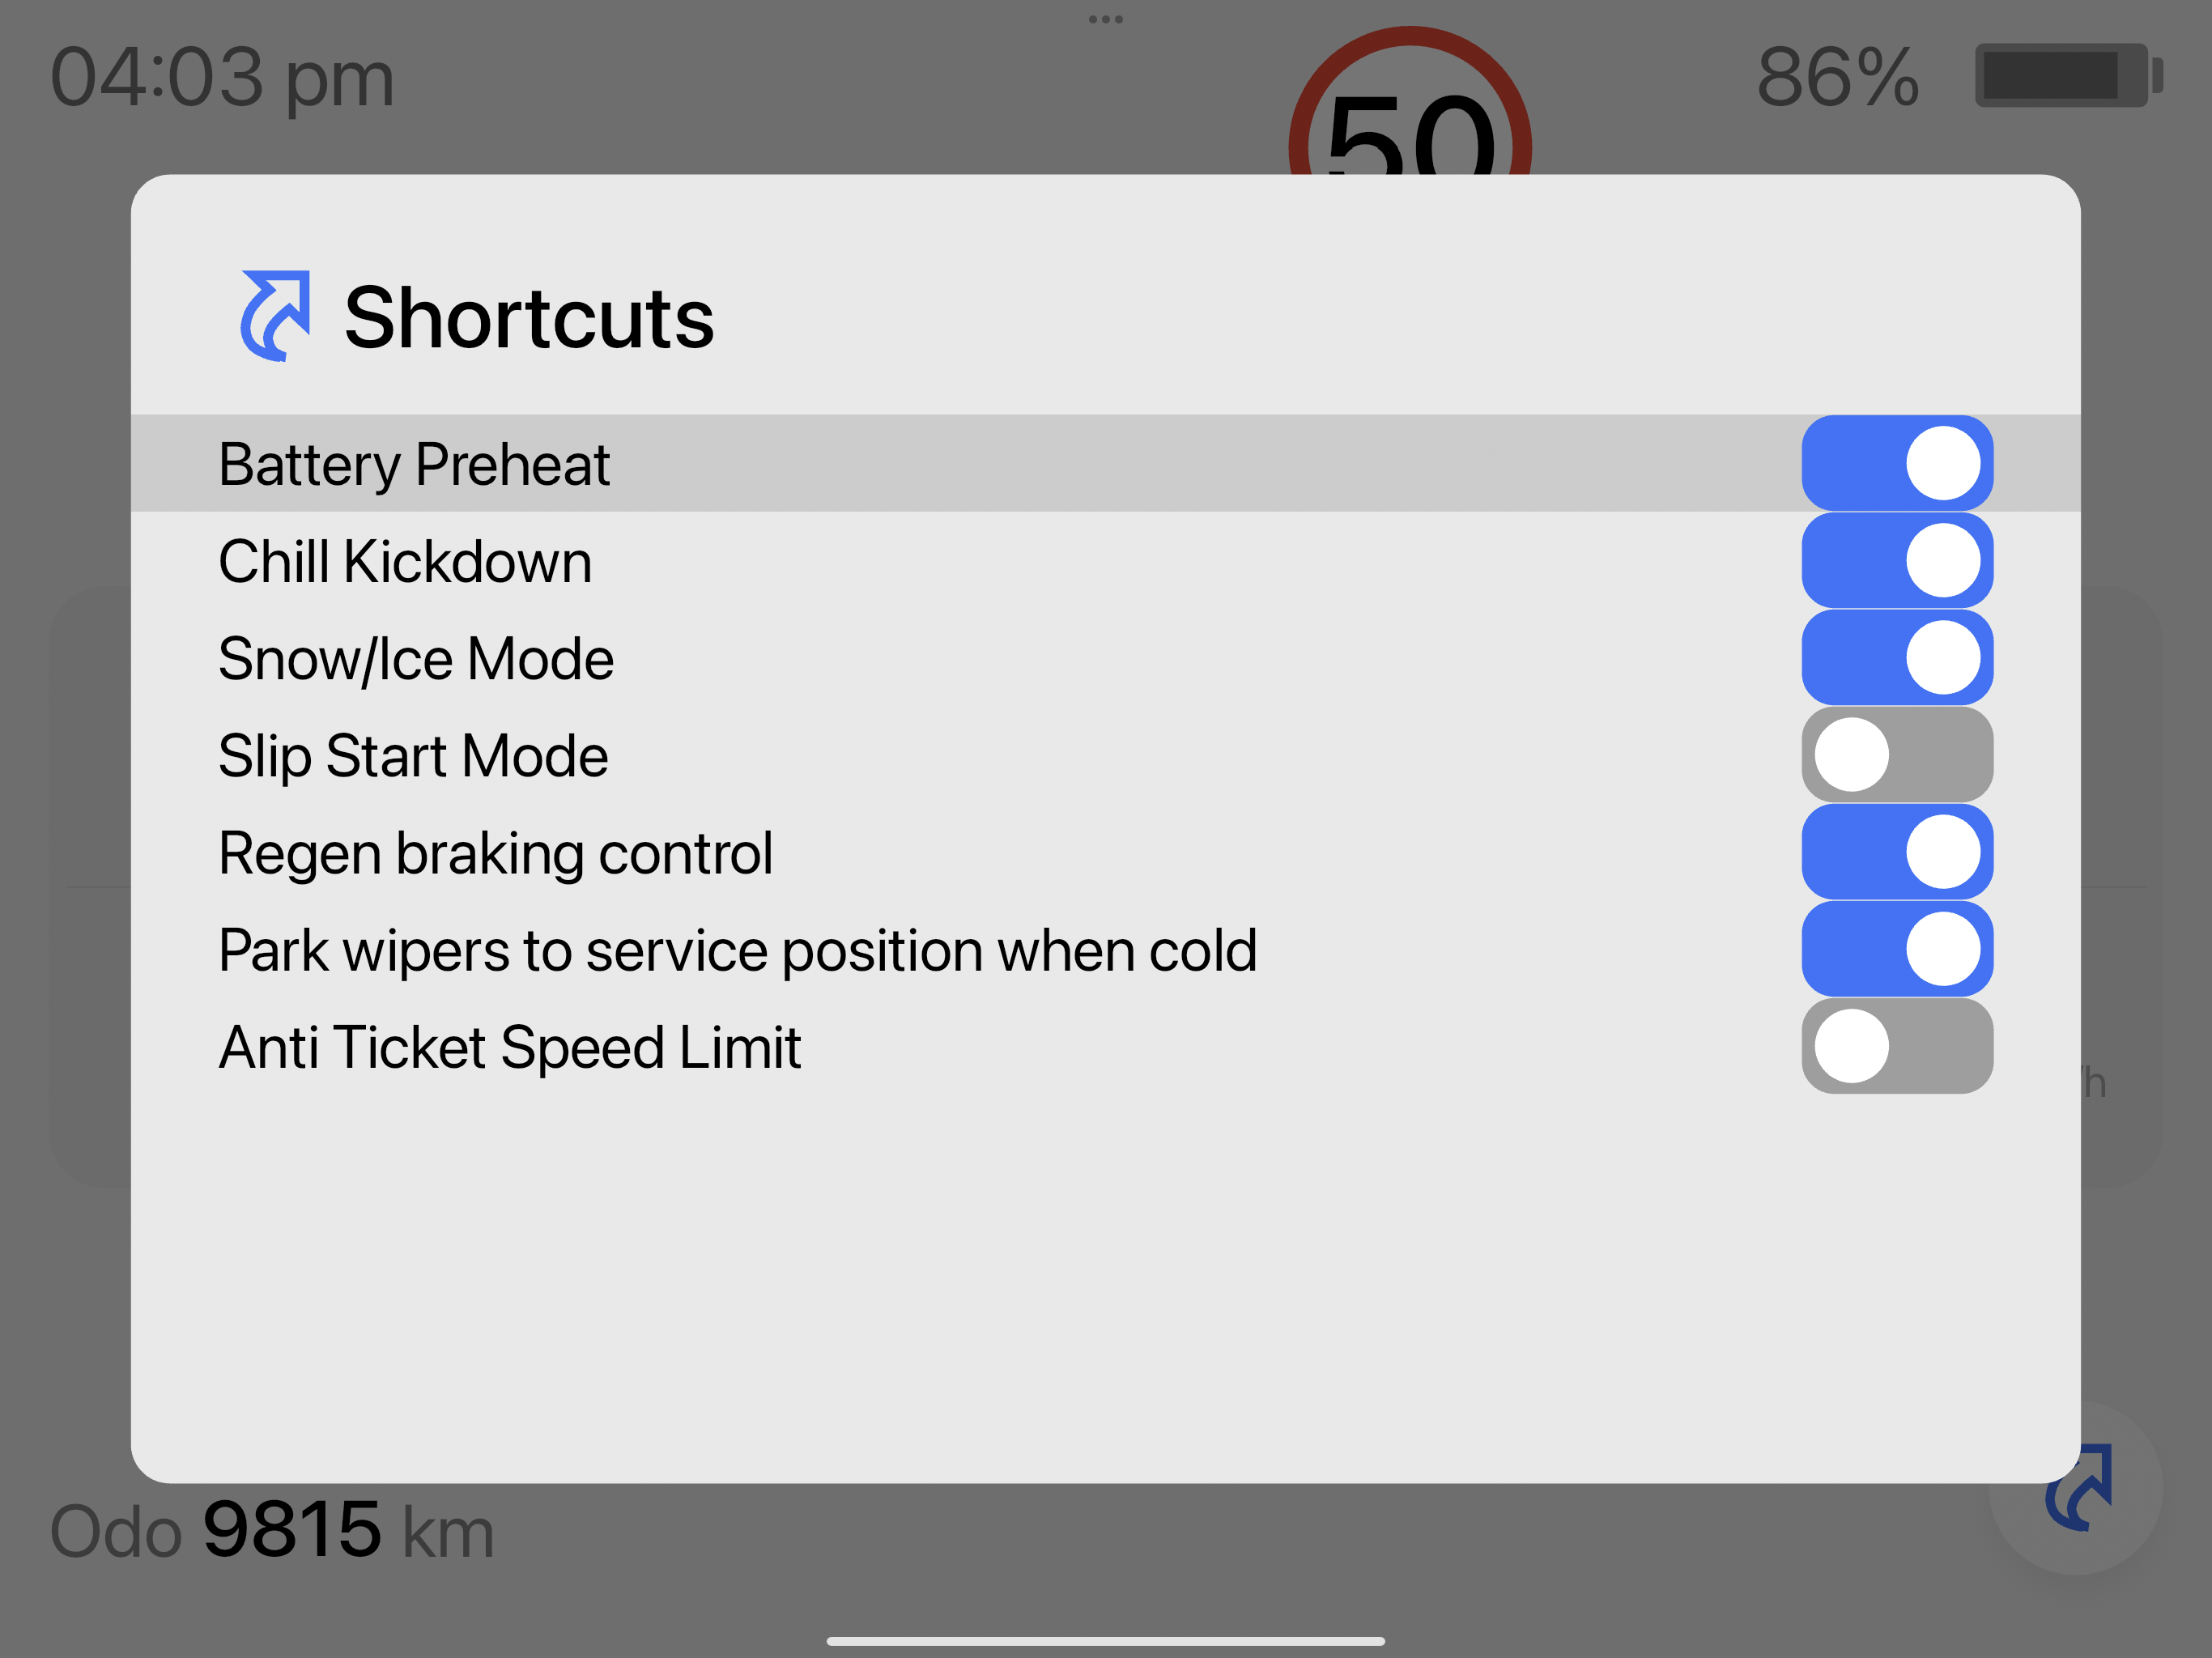
I allowed these shortcuts to be used when the Transmitter is set to active mode.
The Teslogic dashboard can even be displayed on an iPad
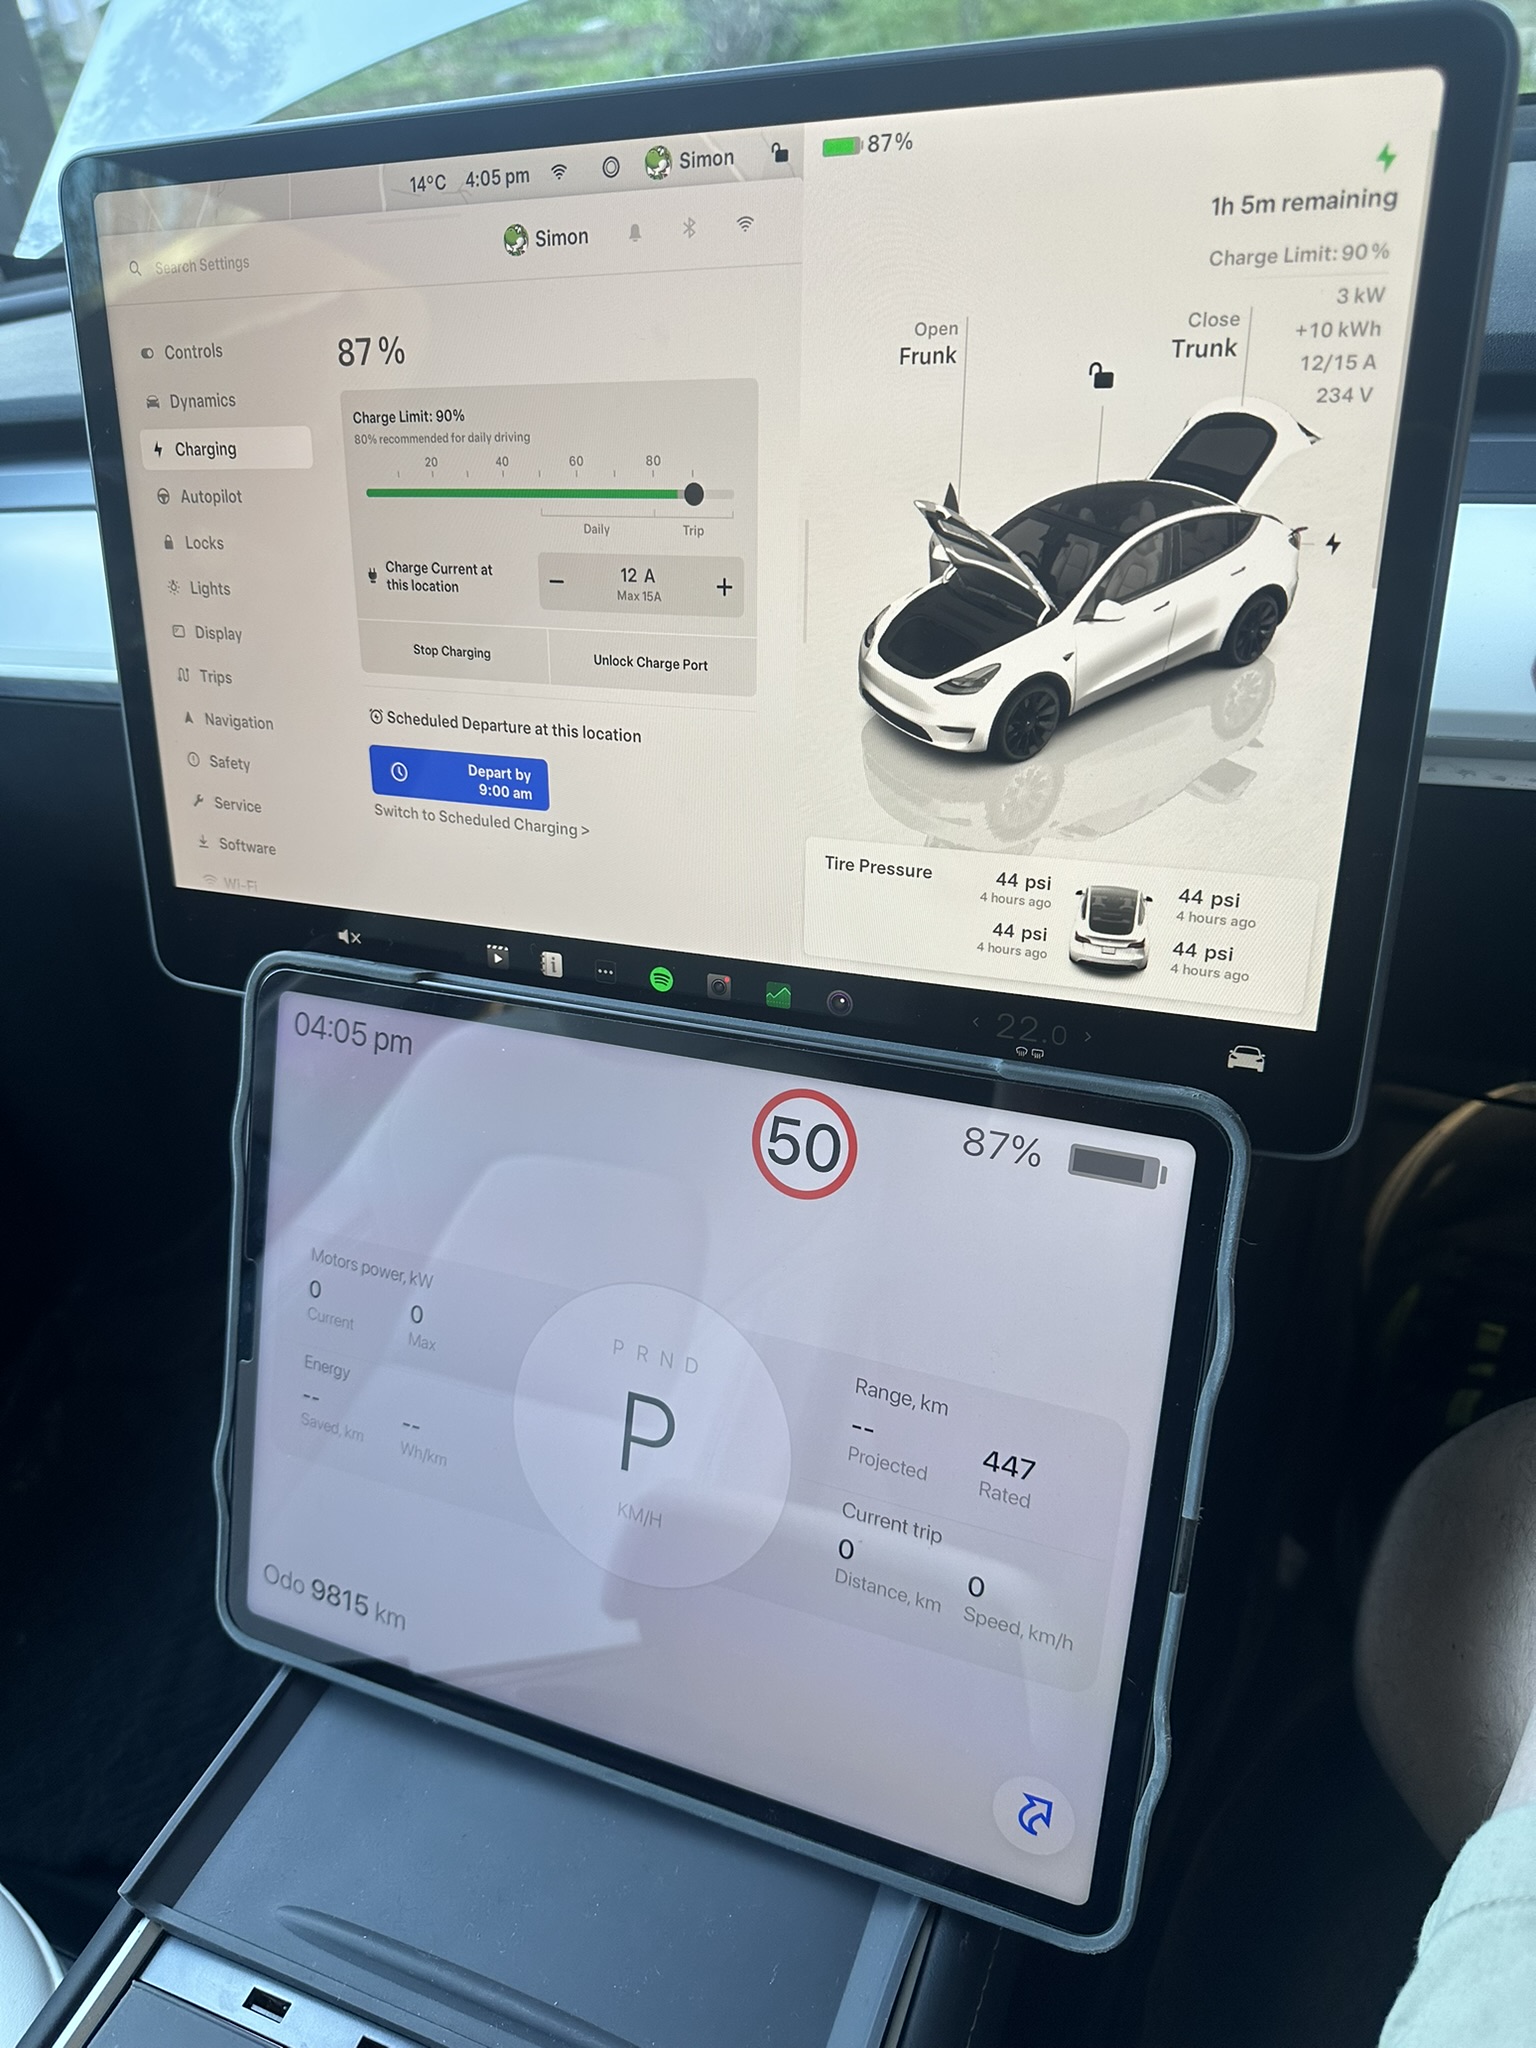
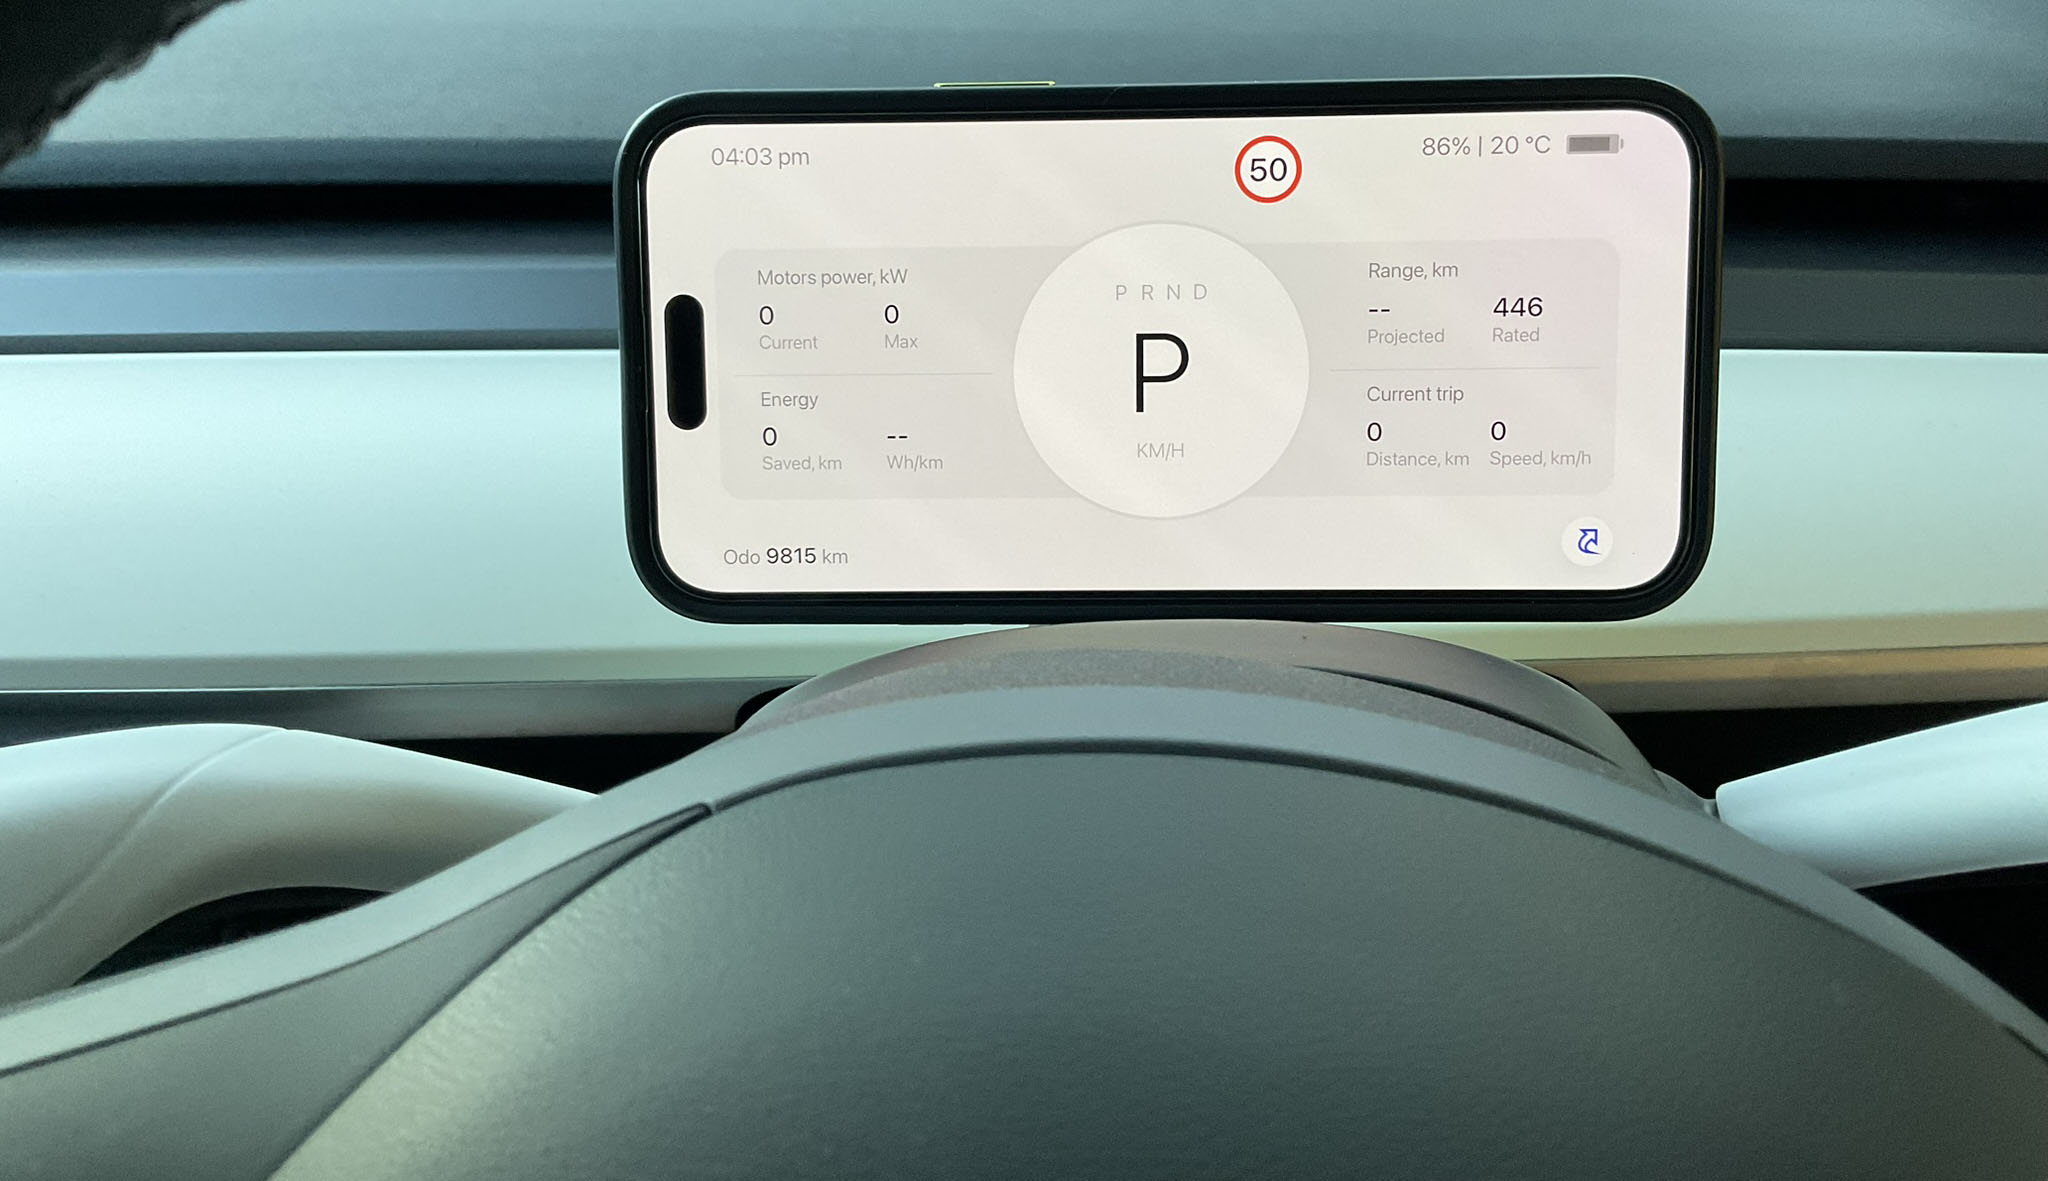
Teslogic Dashboard Interface
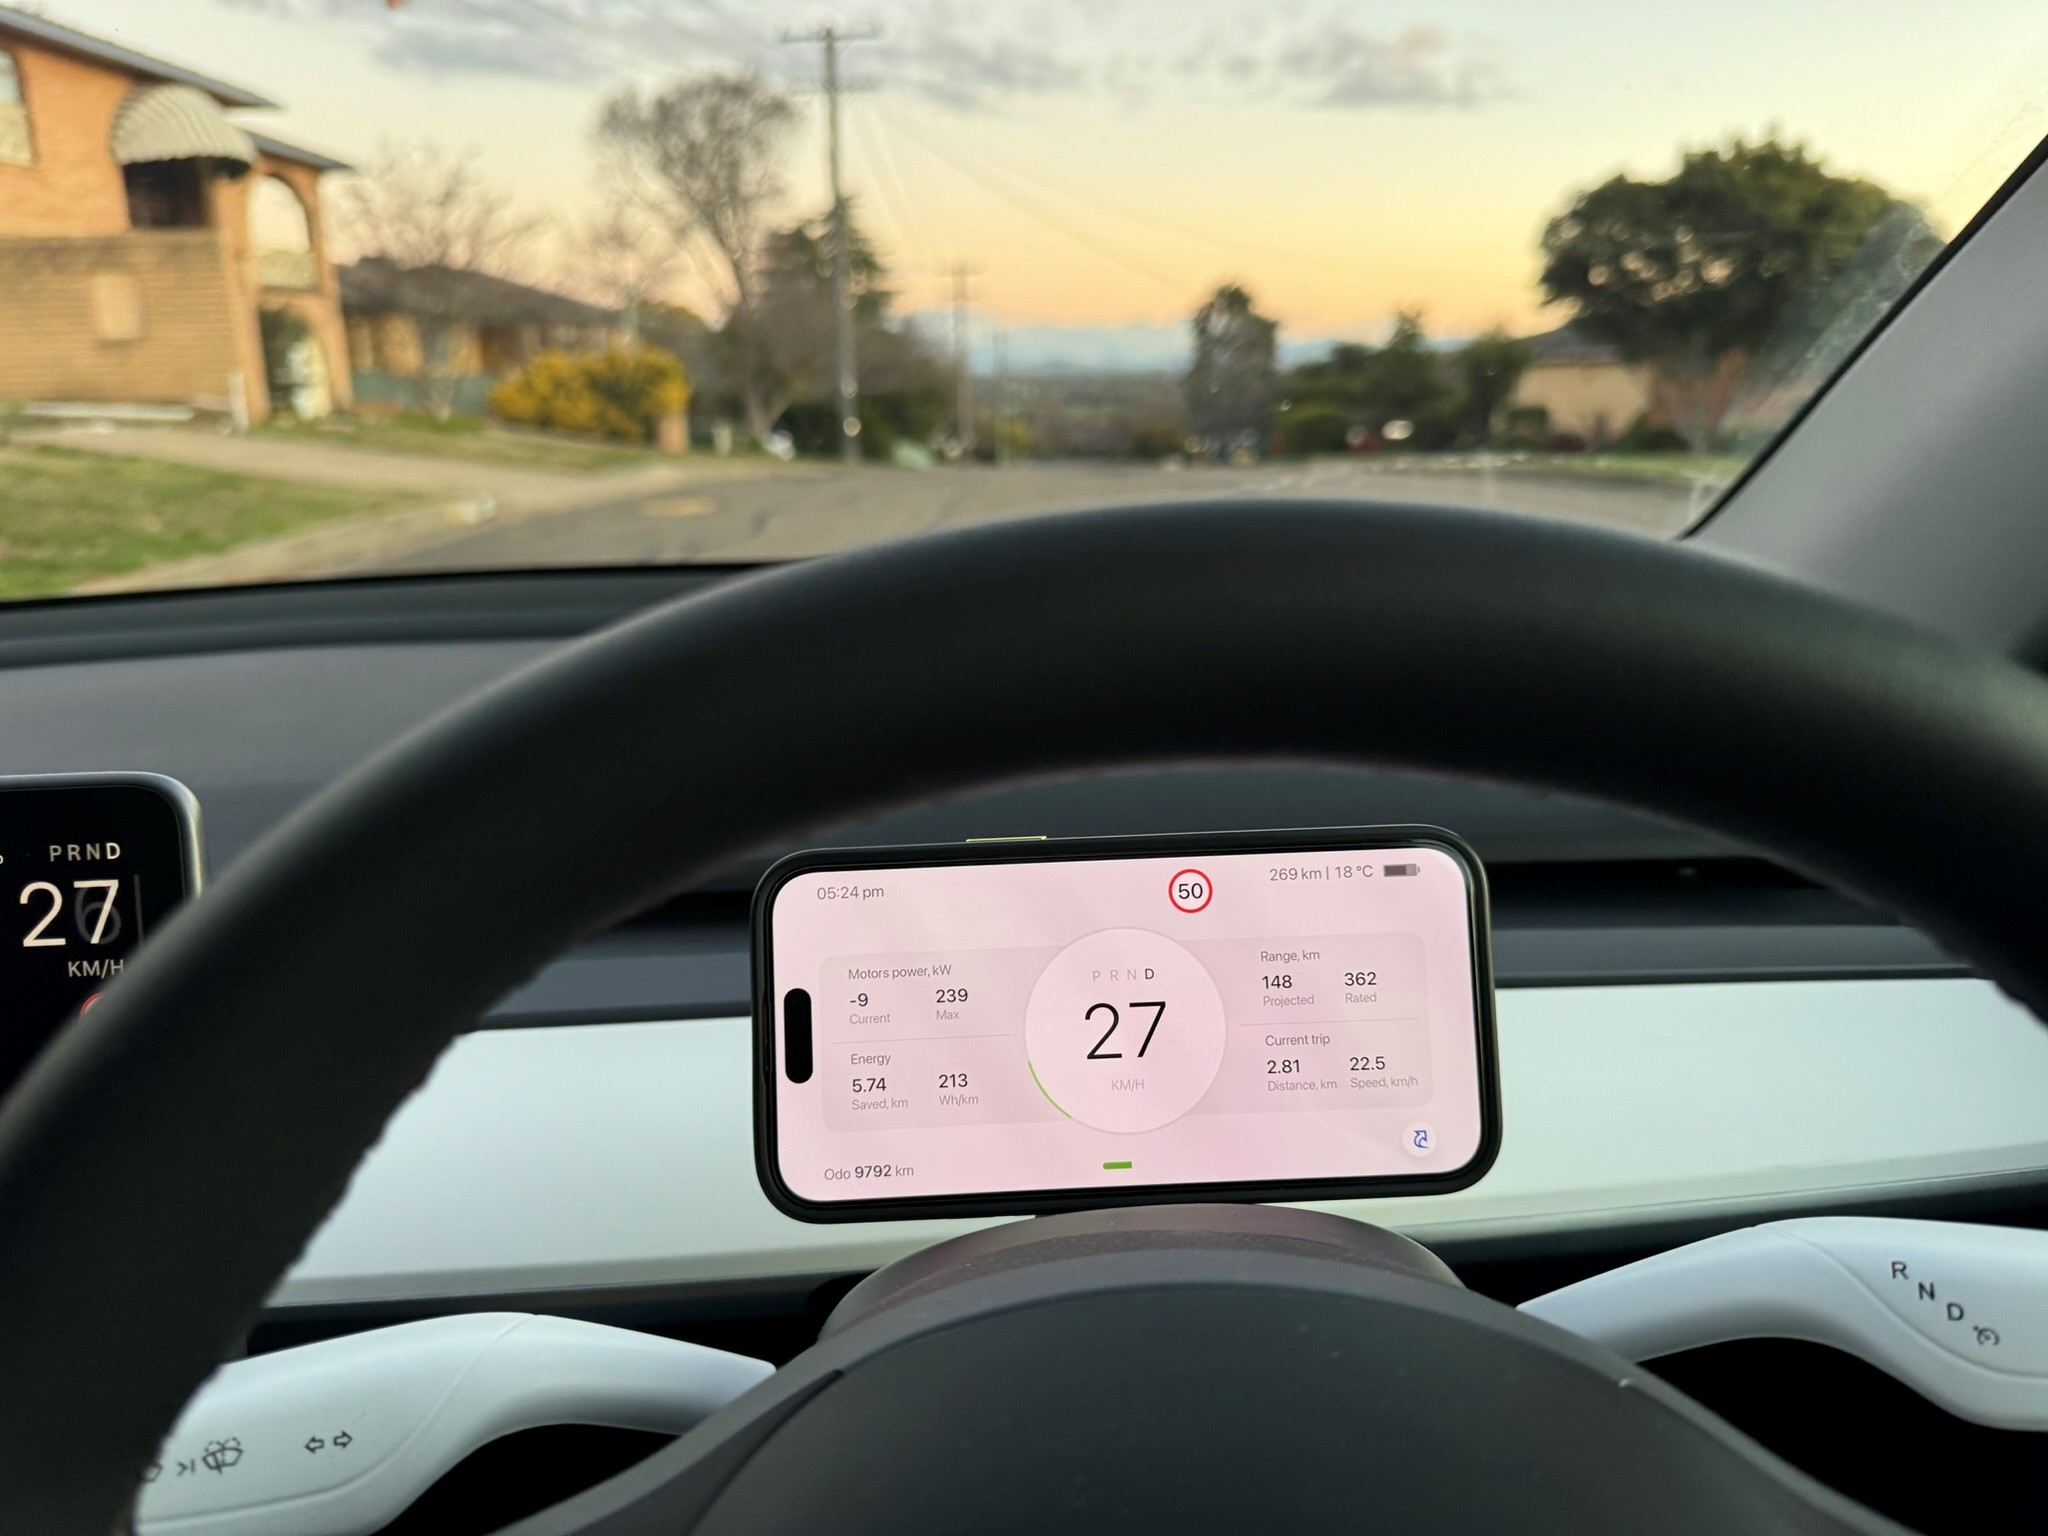
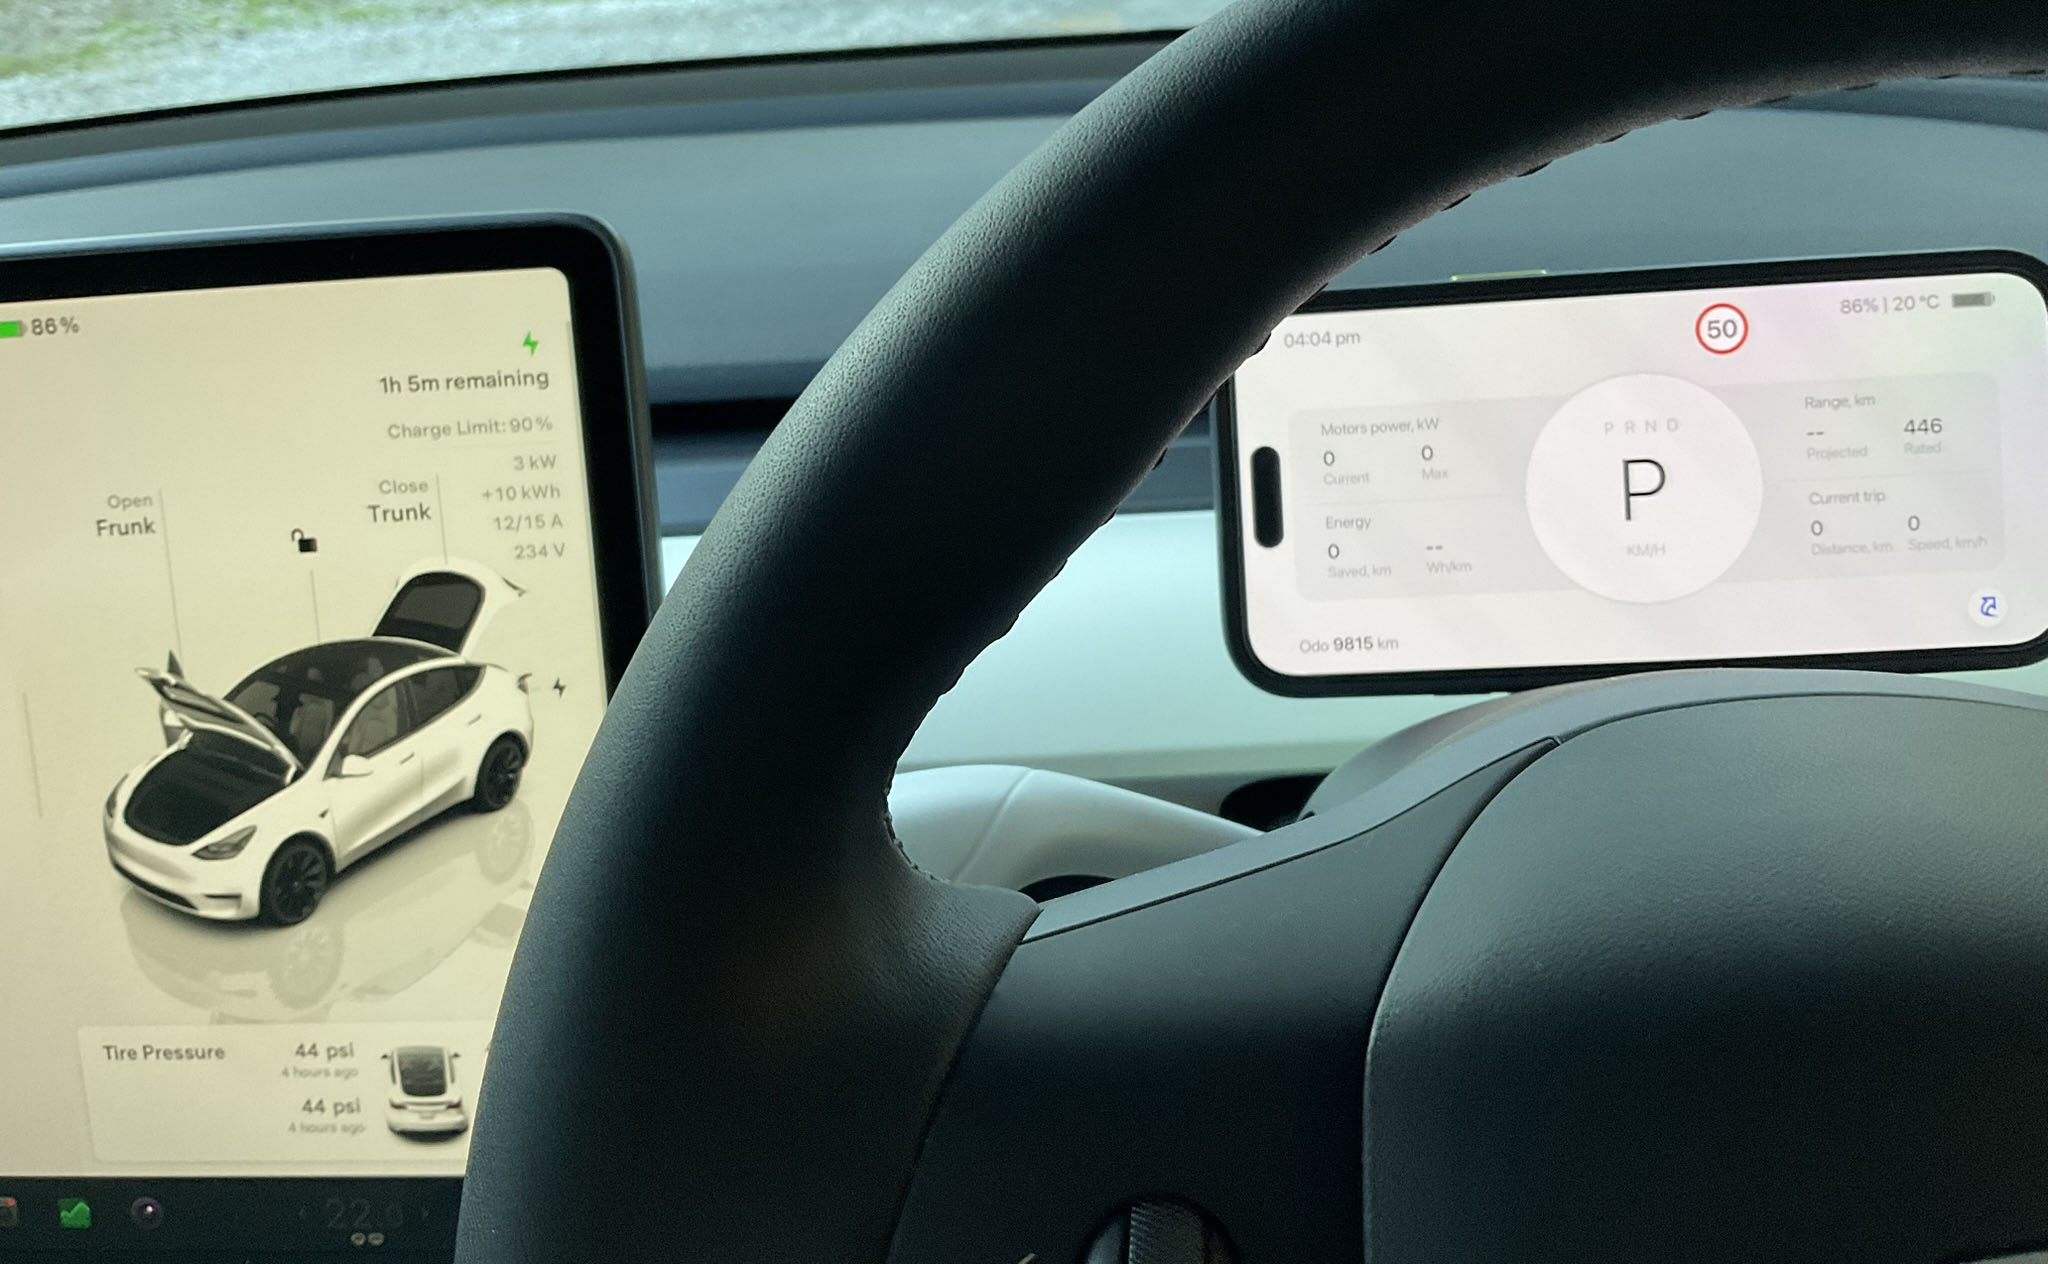
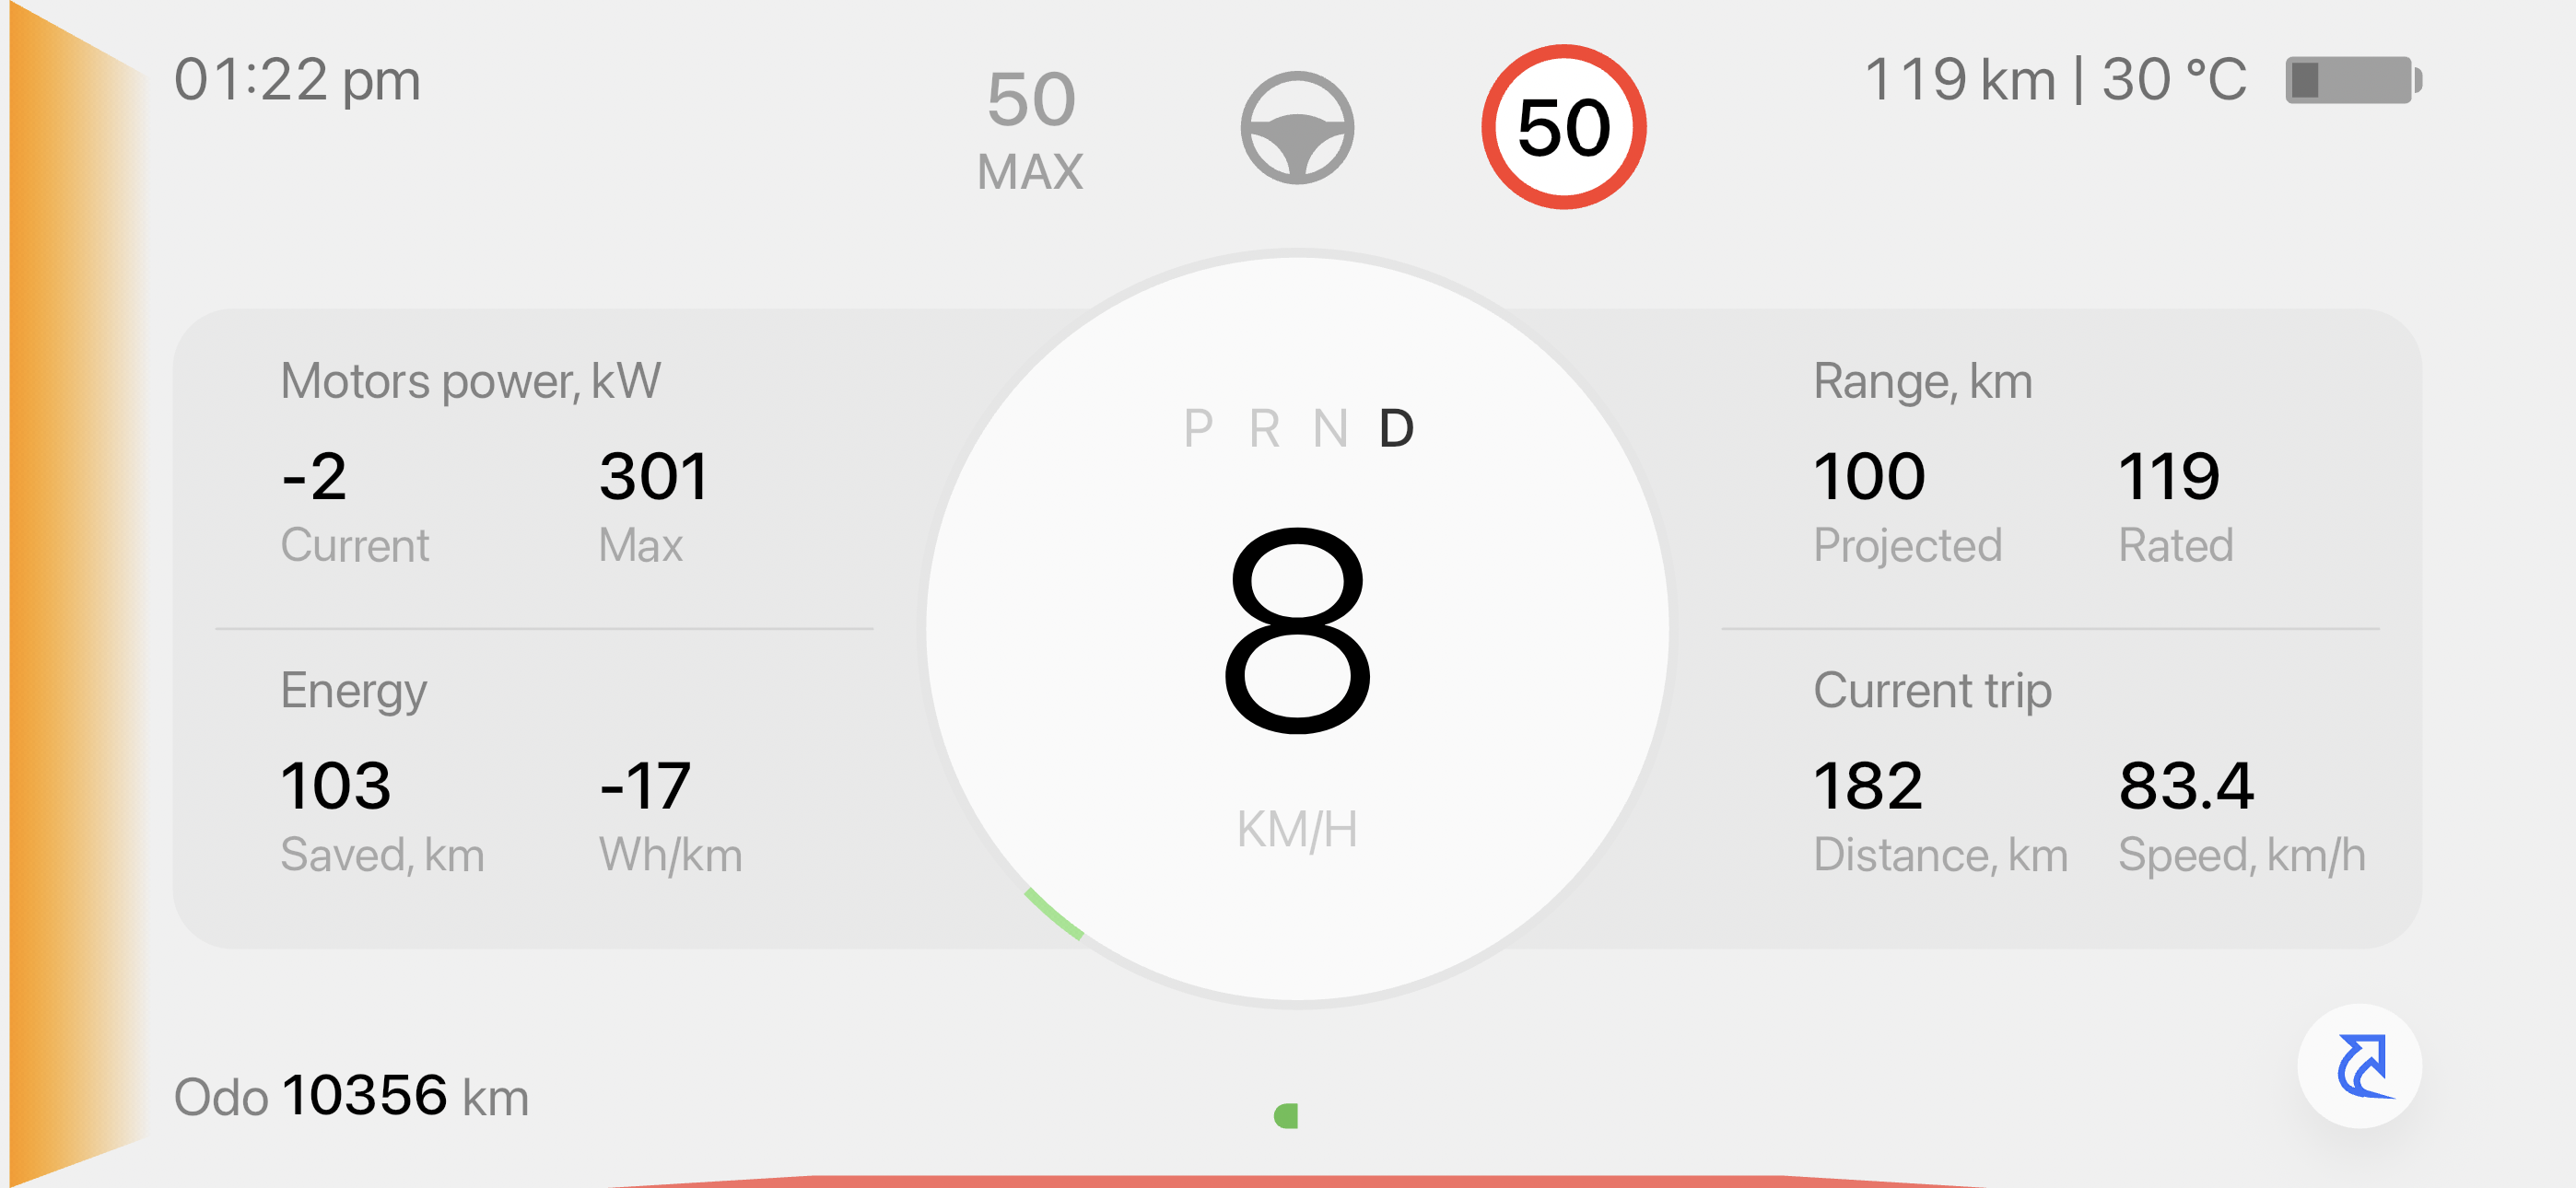
The main screen of the Teslogic Dash shows the information that you need to see (Detected speed limit, battery per cent/temp, gear, real range (based on driving) and estimated perfect range, Motor power and energy per kilometre).
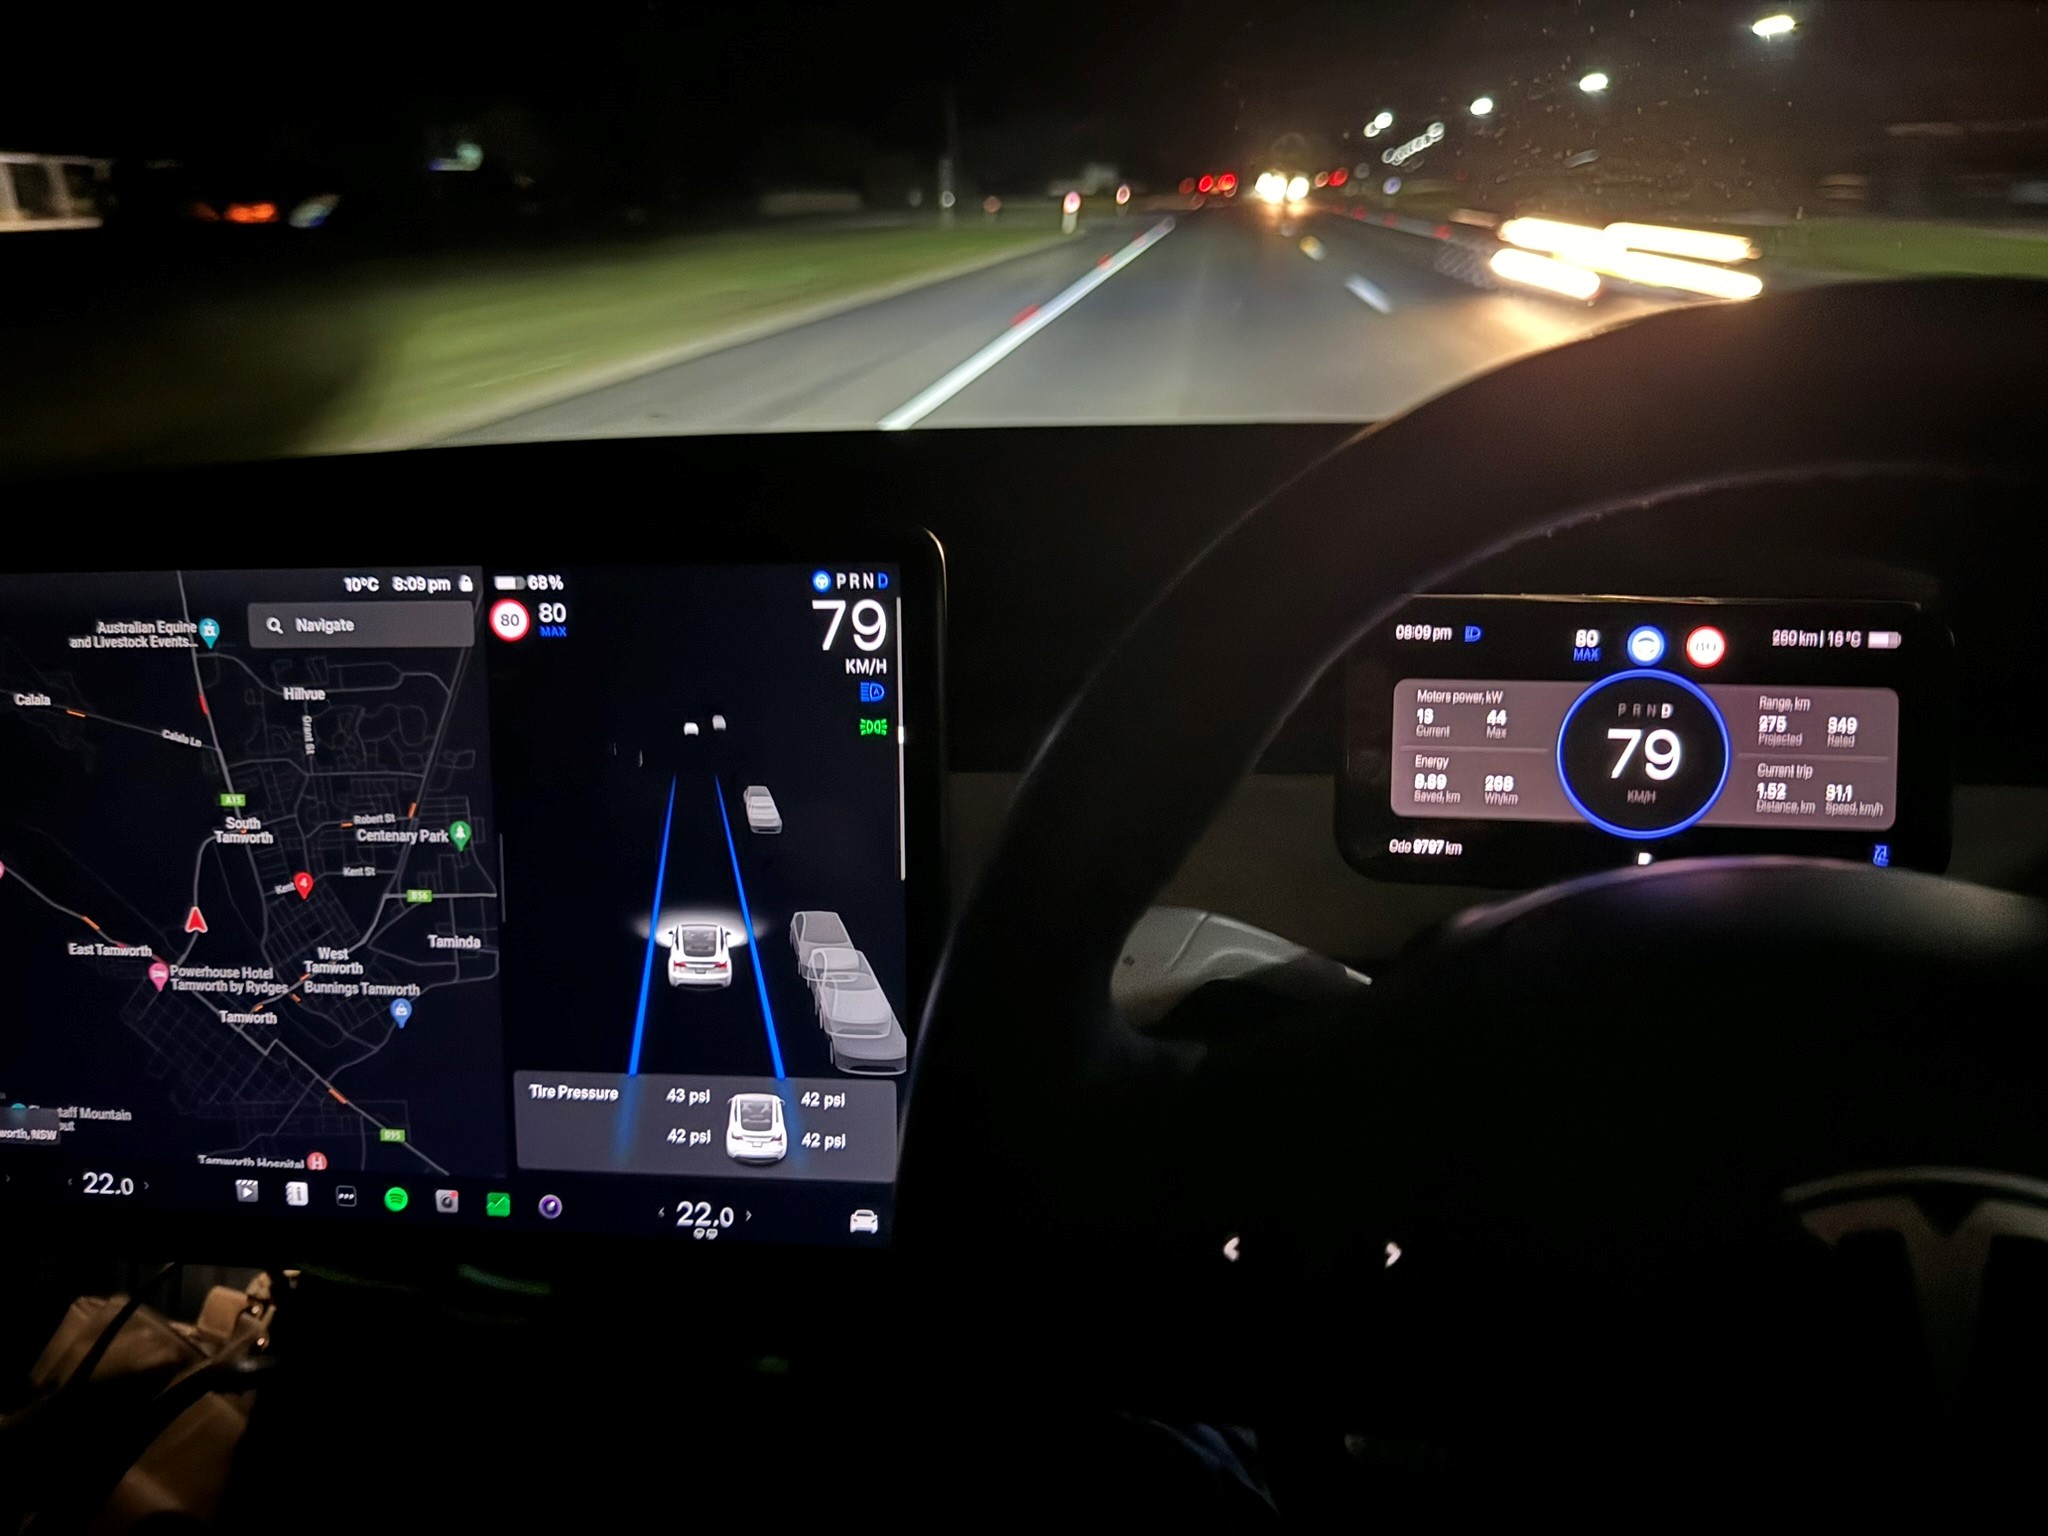
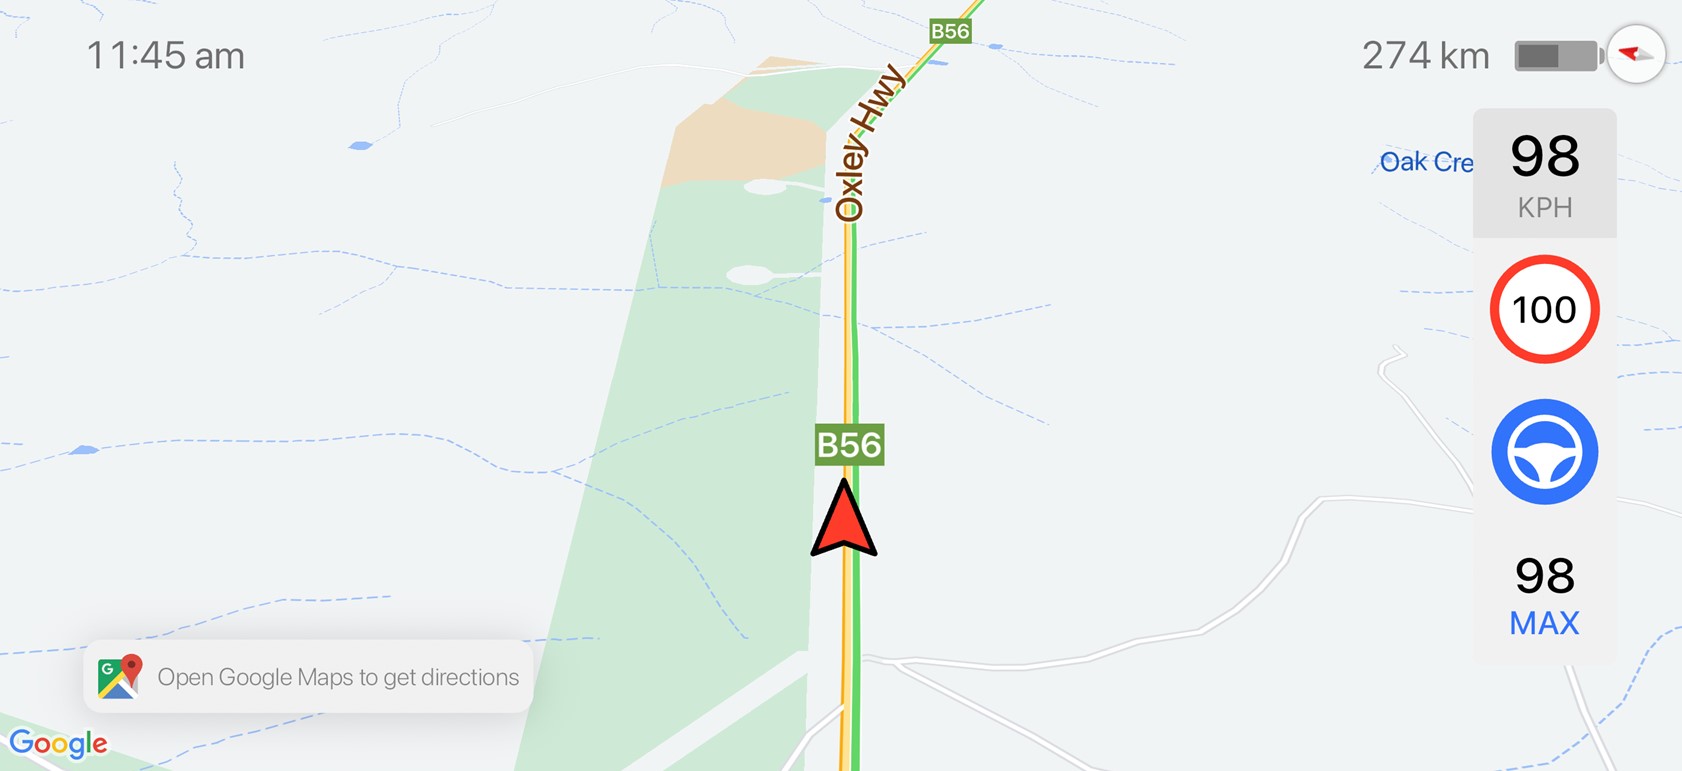
If I push the left on my right steering wheel button, the Google Map appears. This screenshot was taken on the highway.
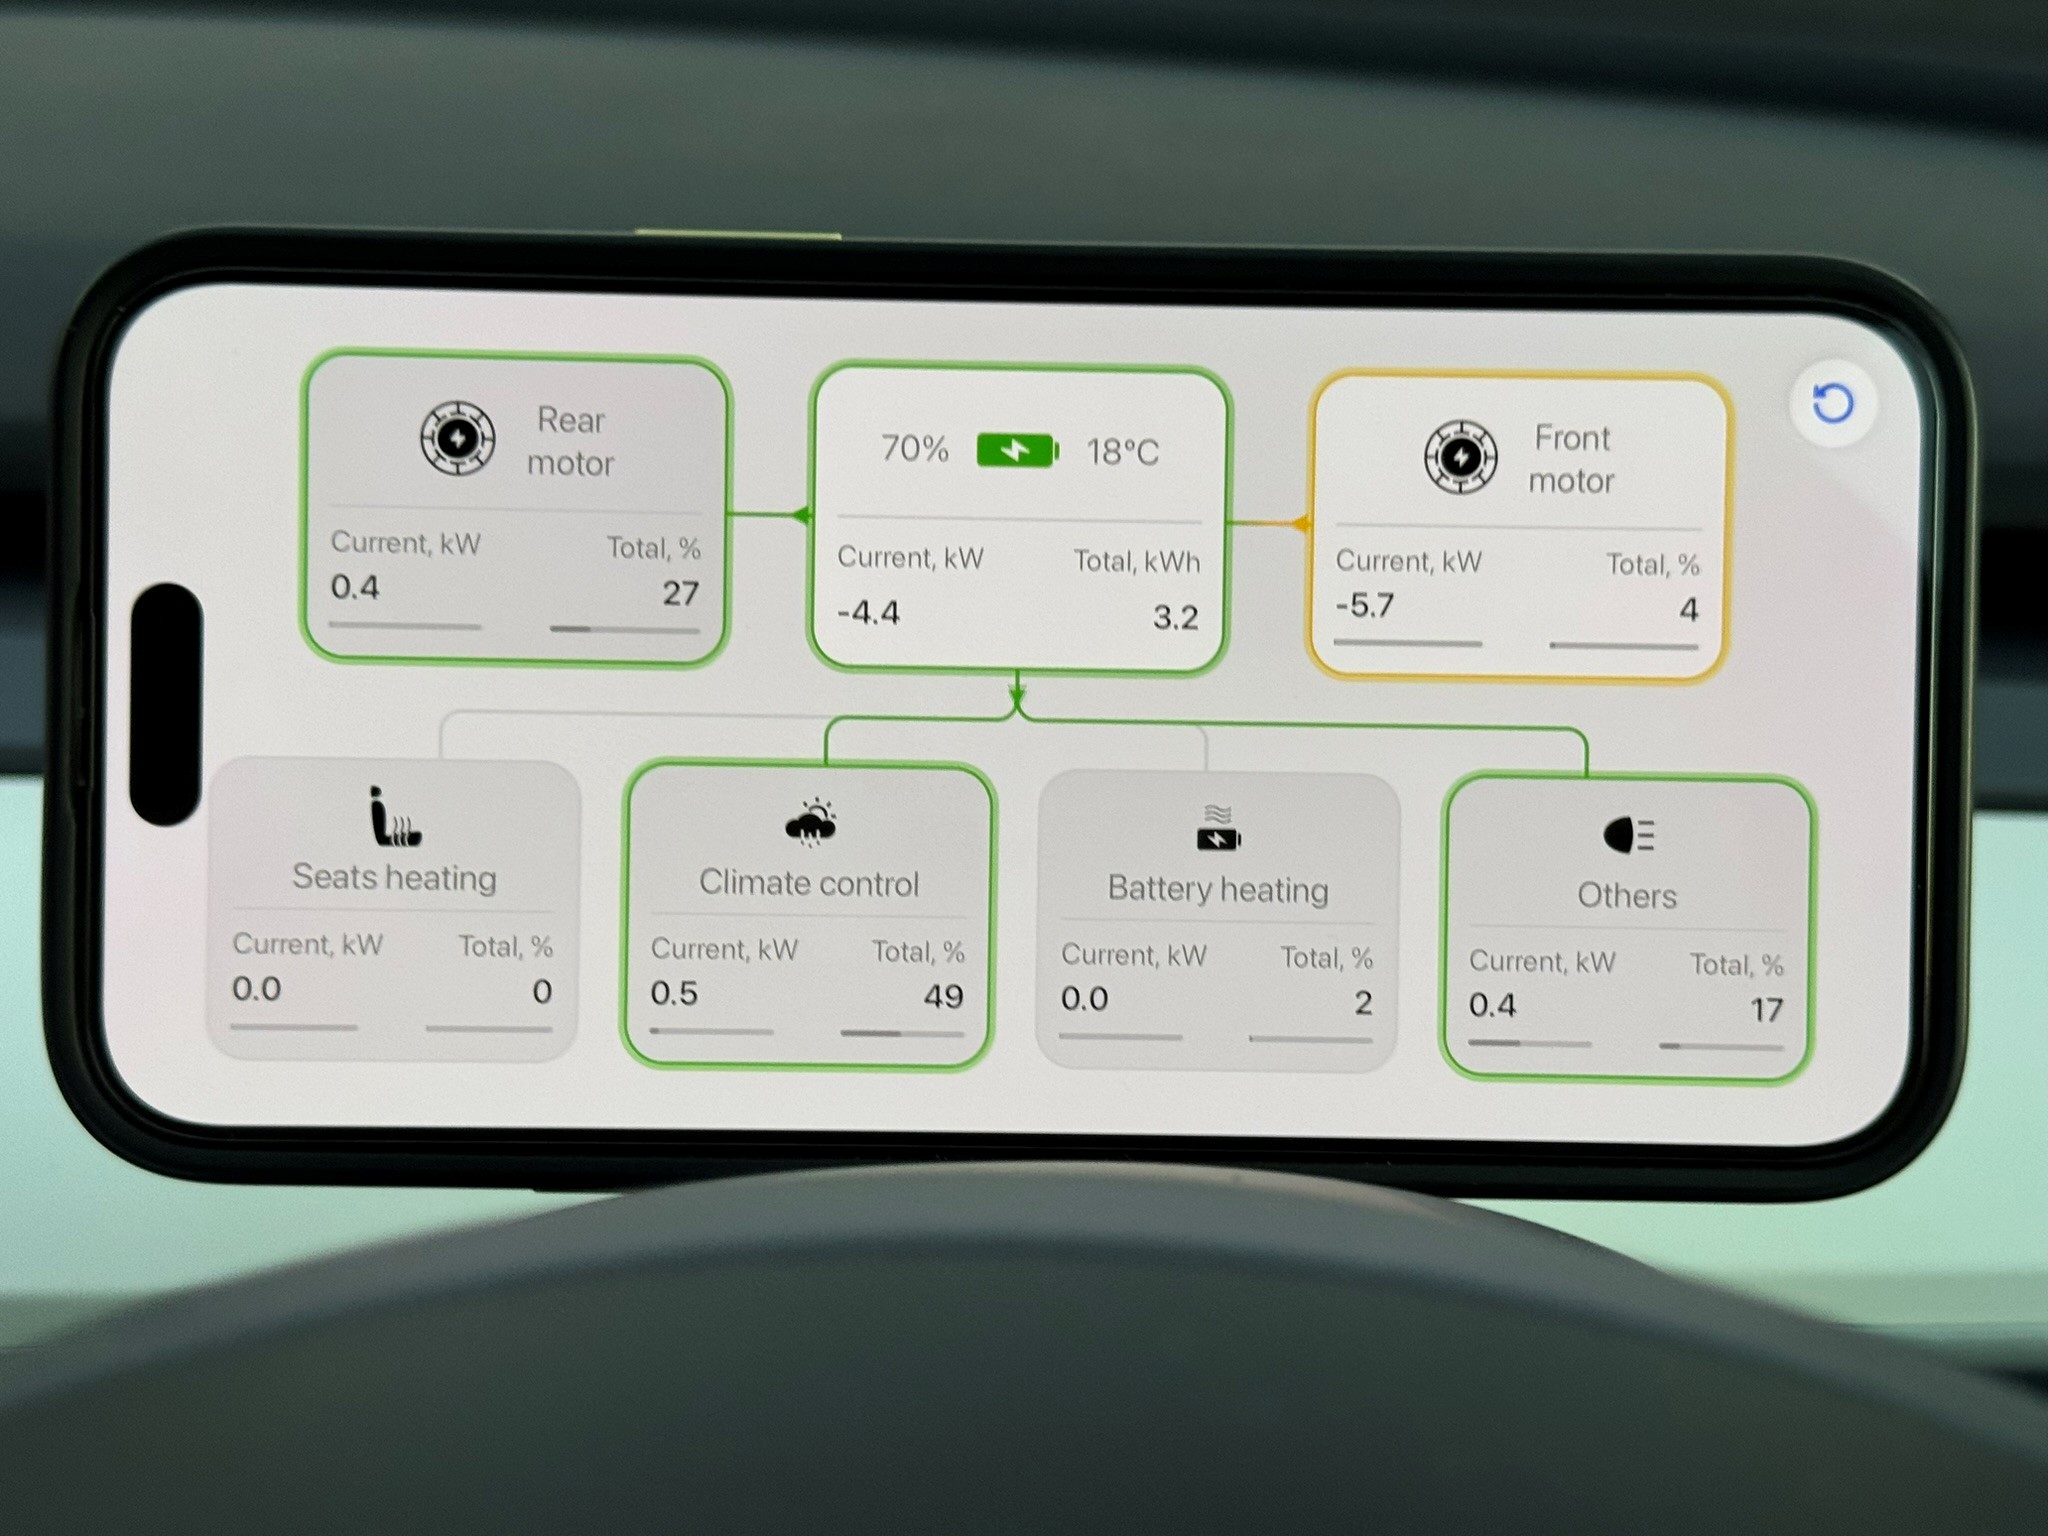
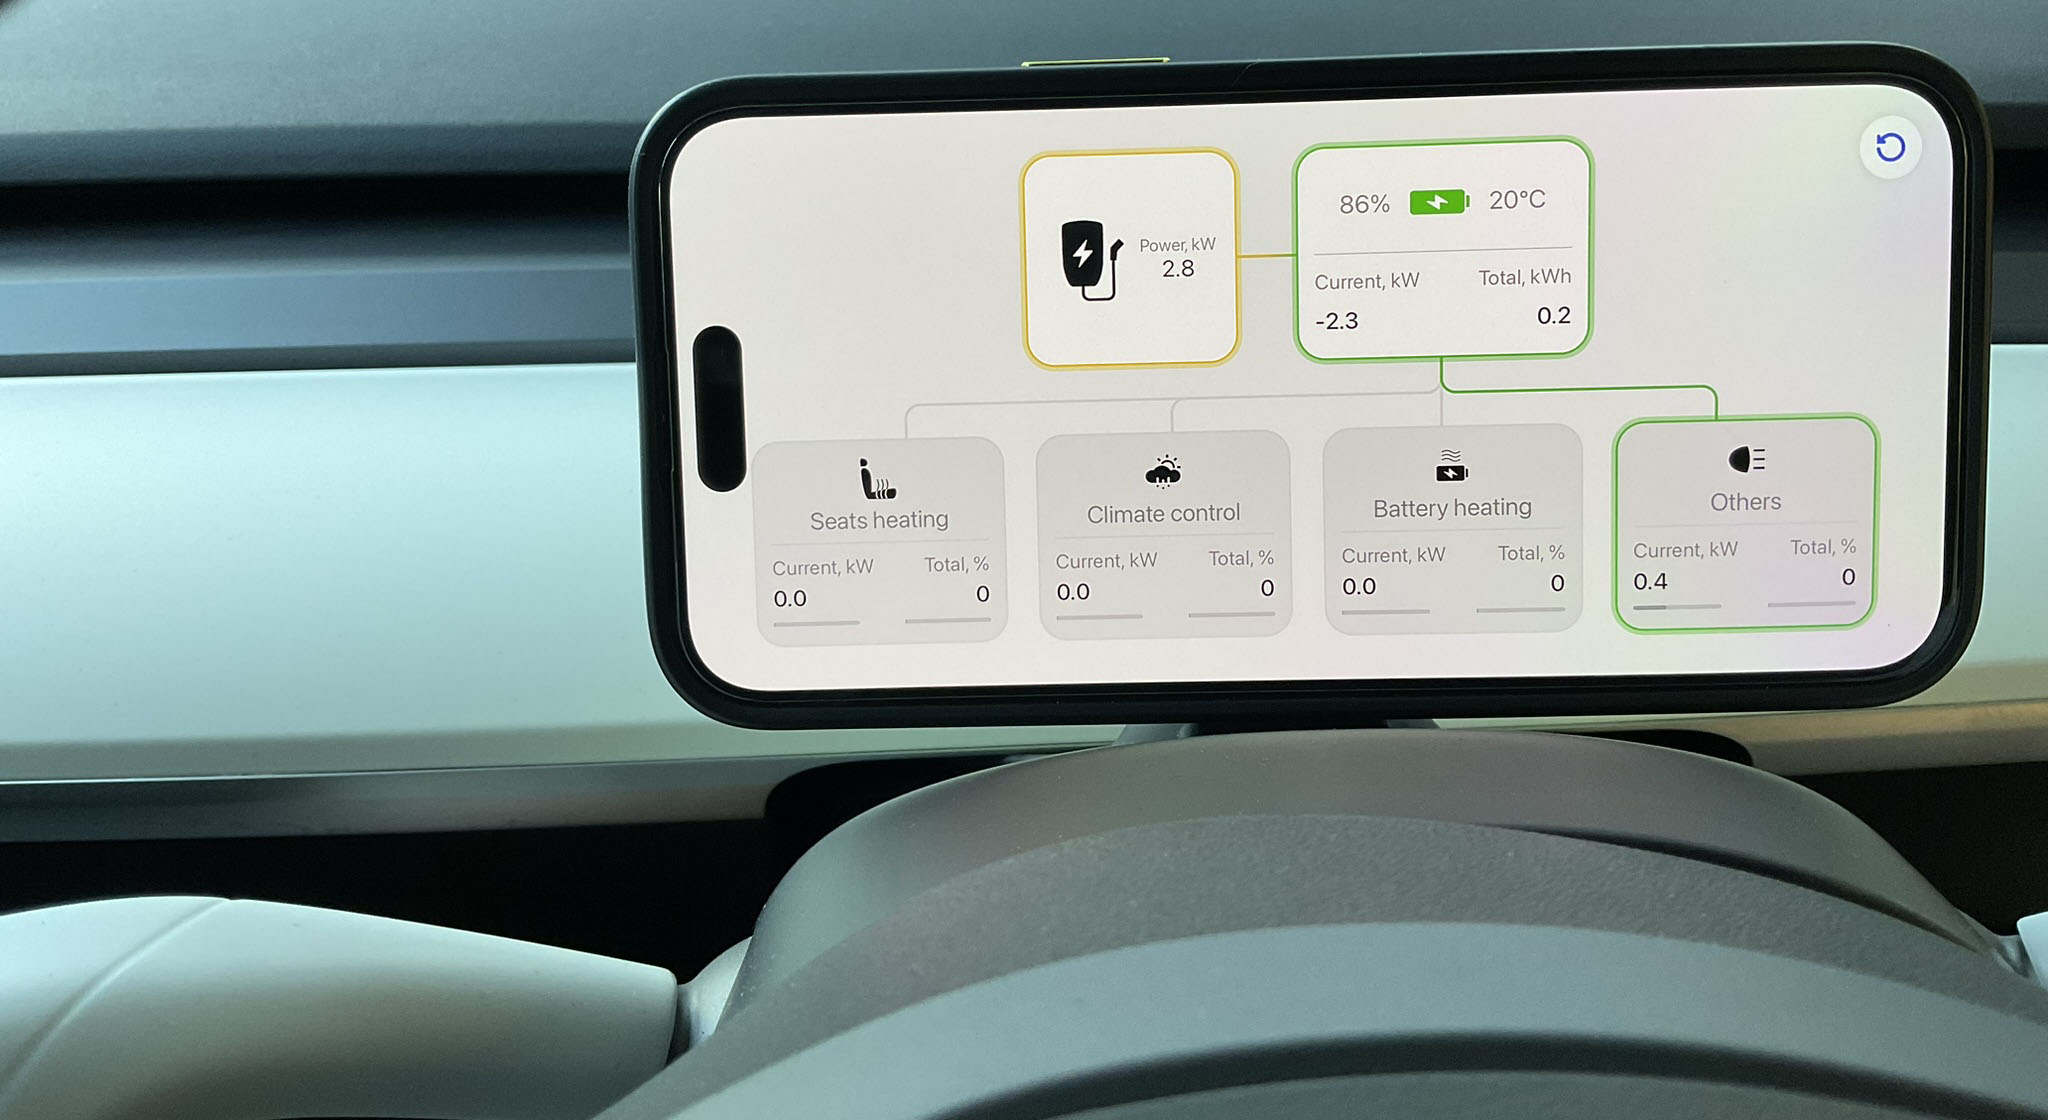
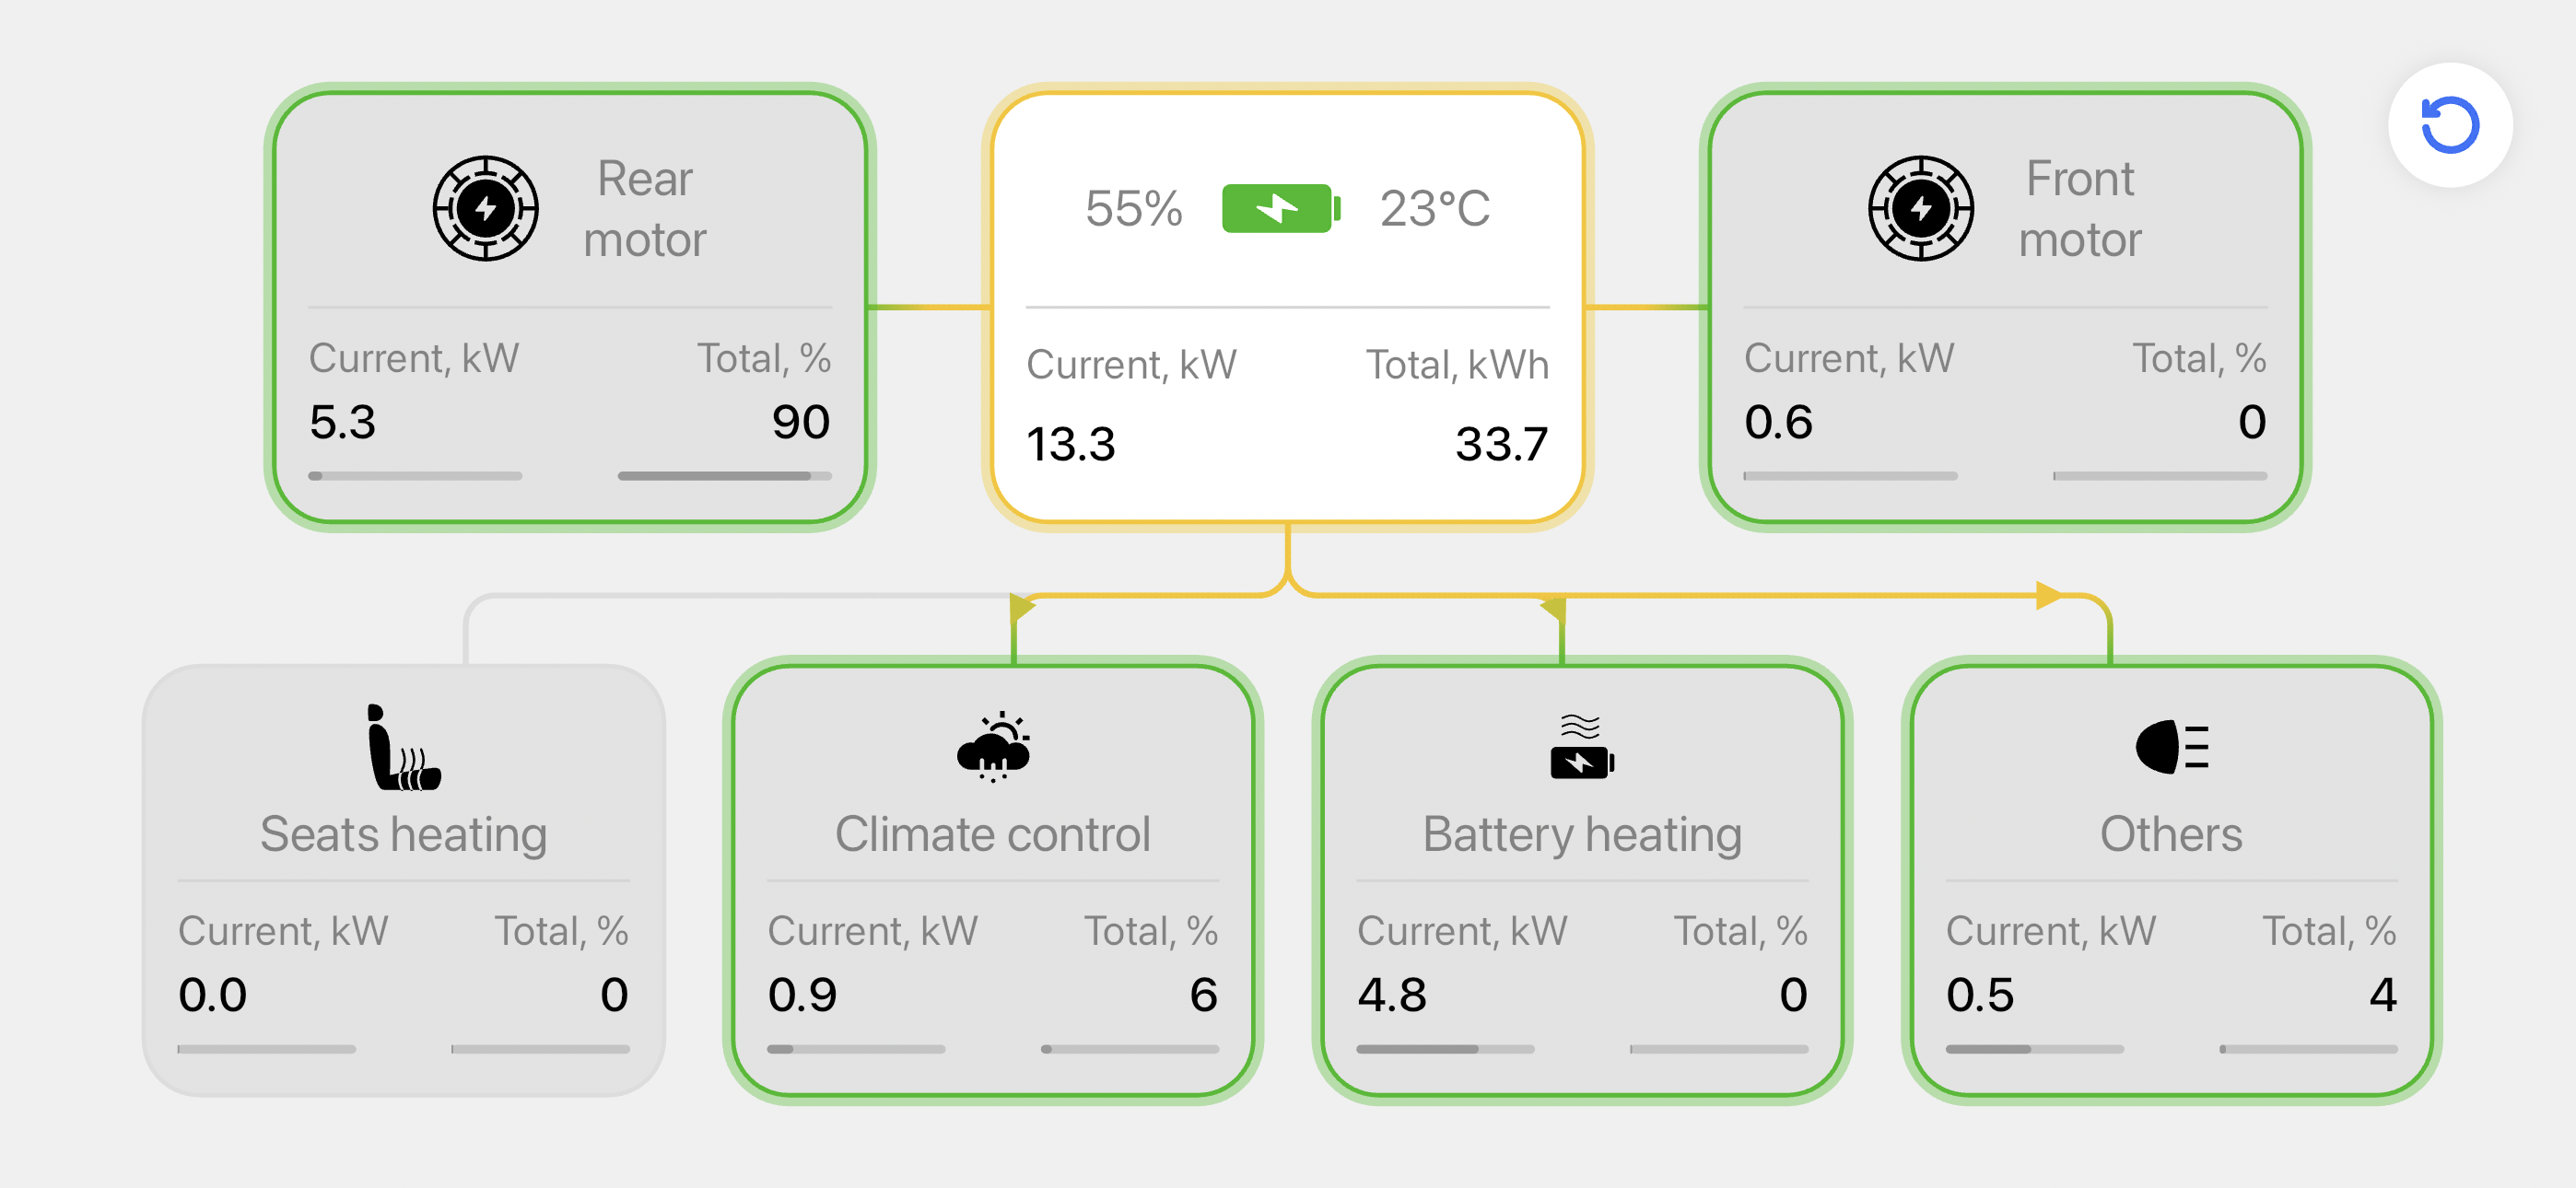
Pushing right on the right steering wheel button will show the state of the car’s battery (currently charging at home) and where the power is going.
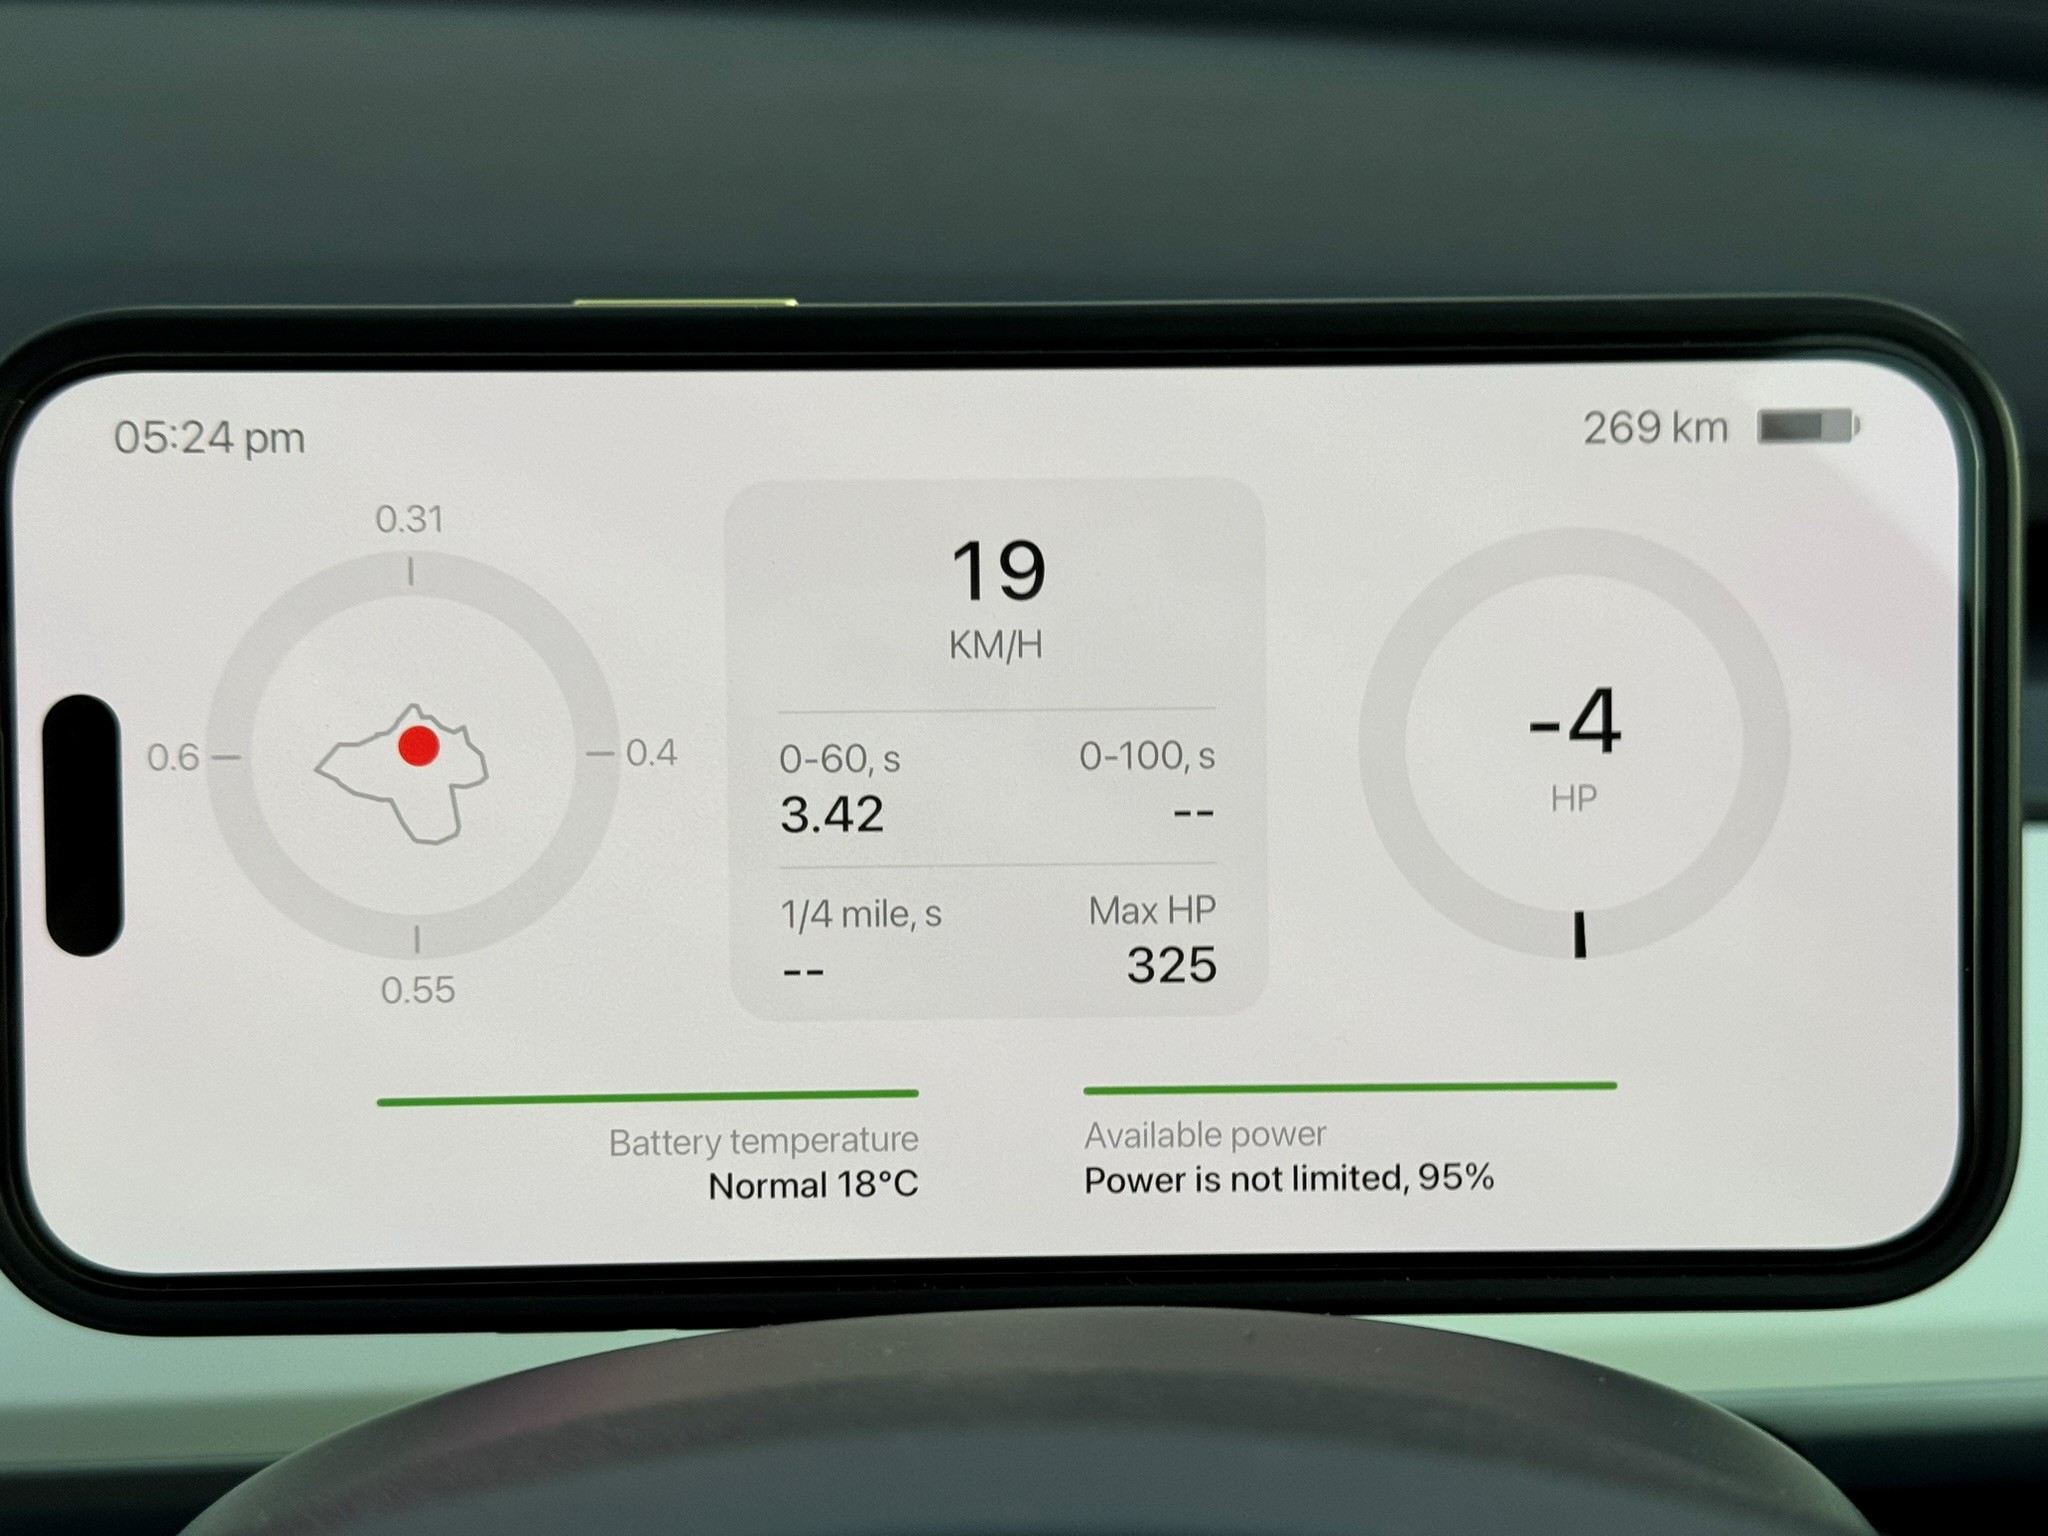
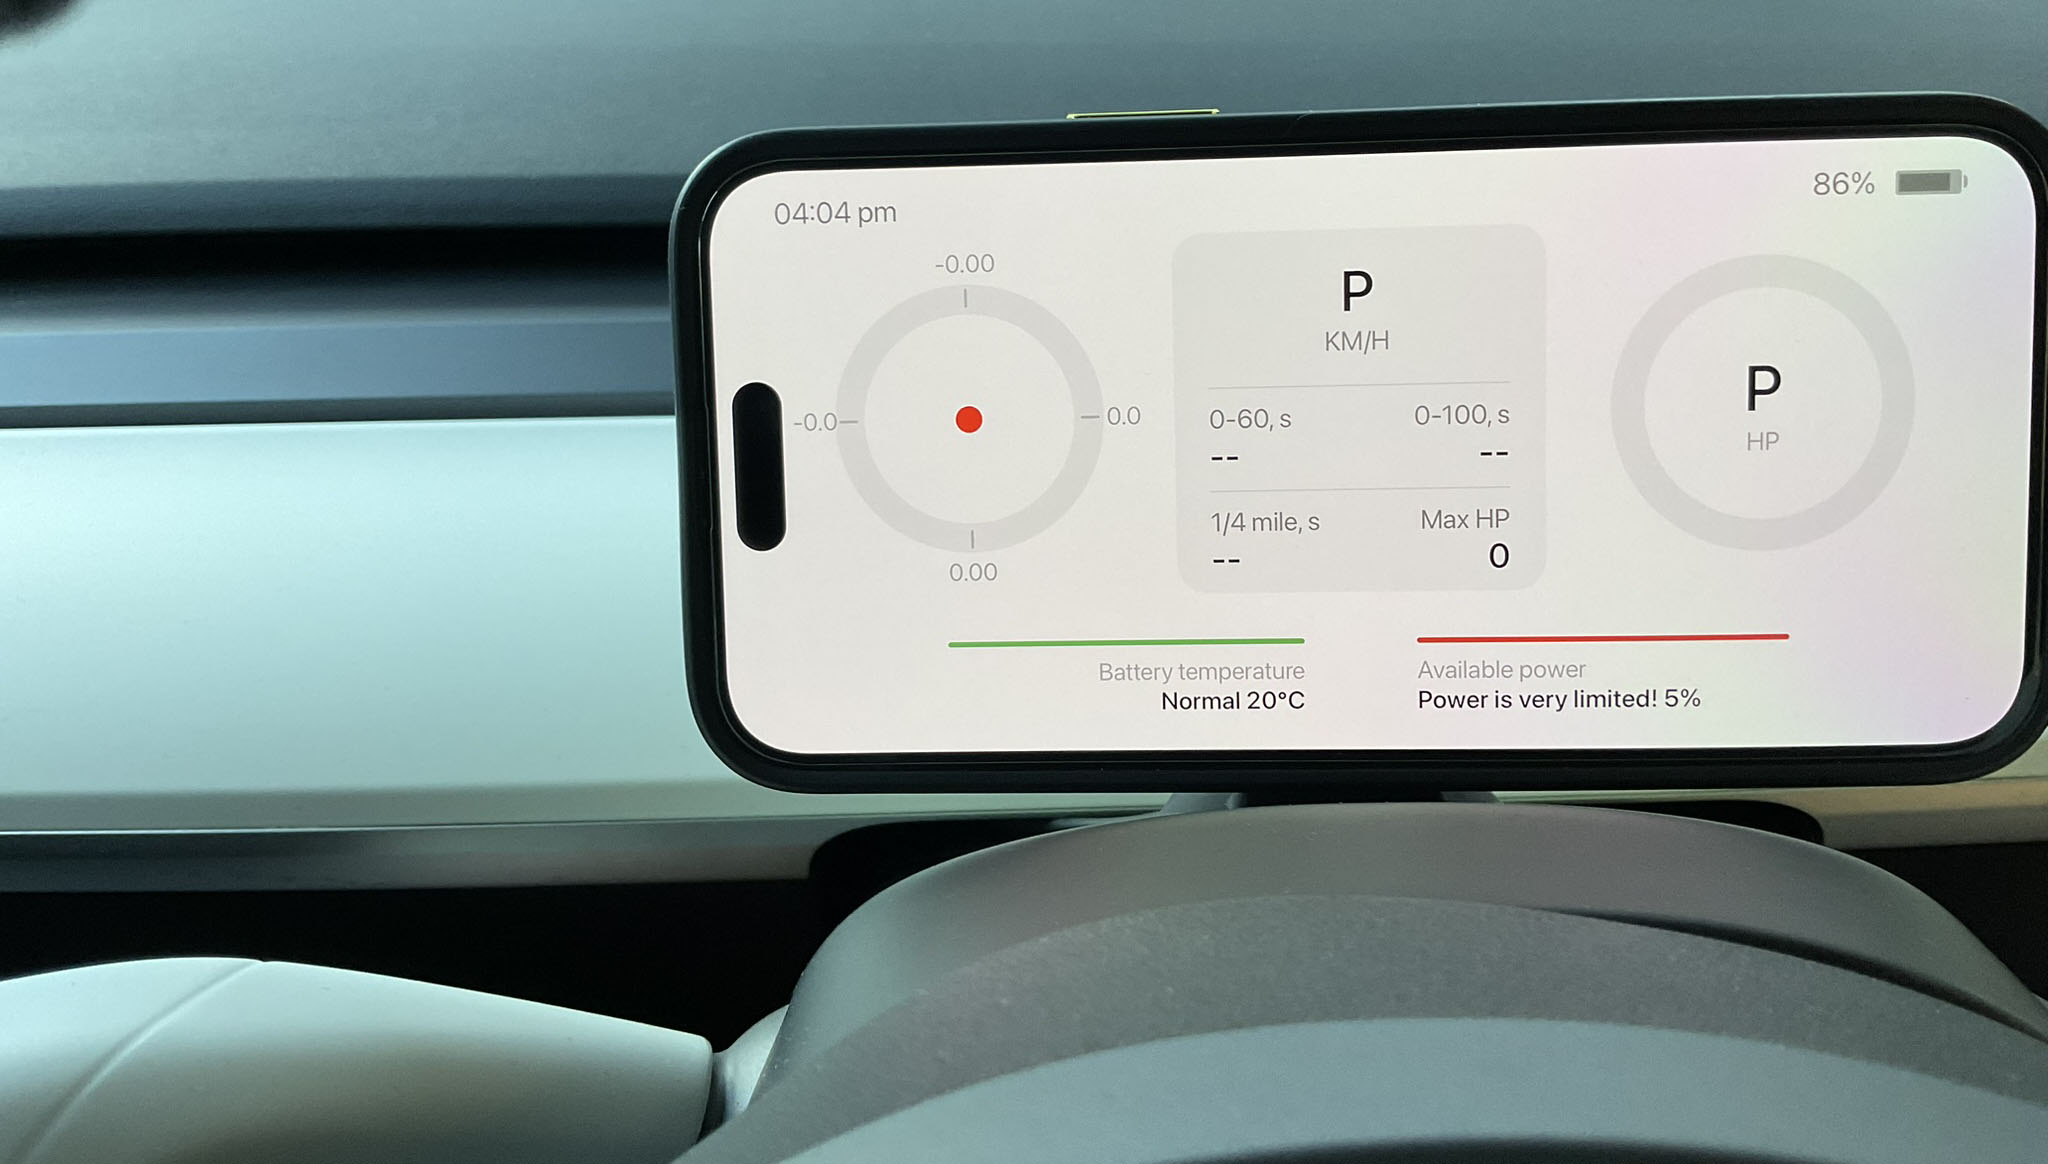
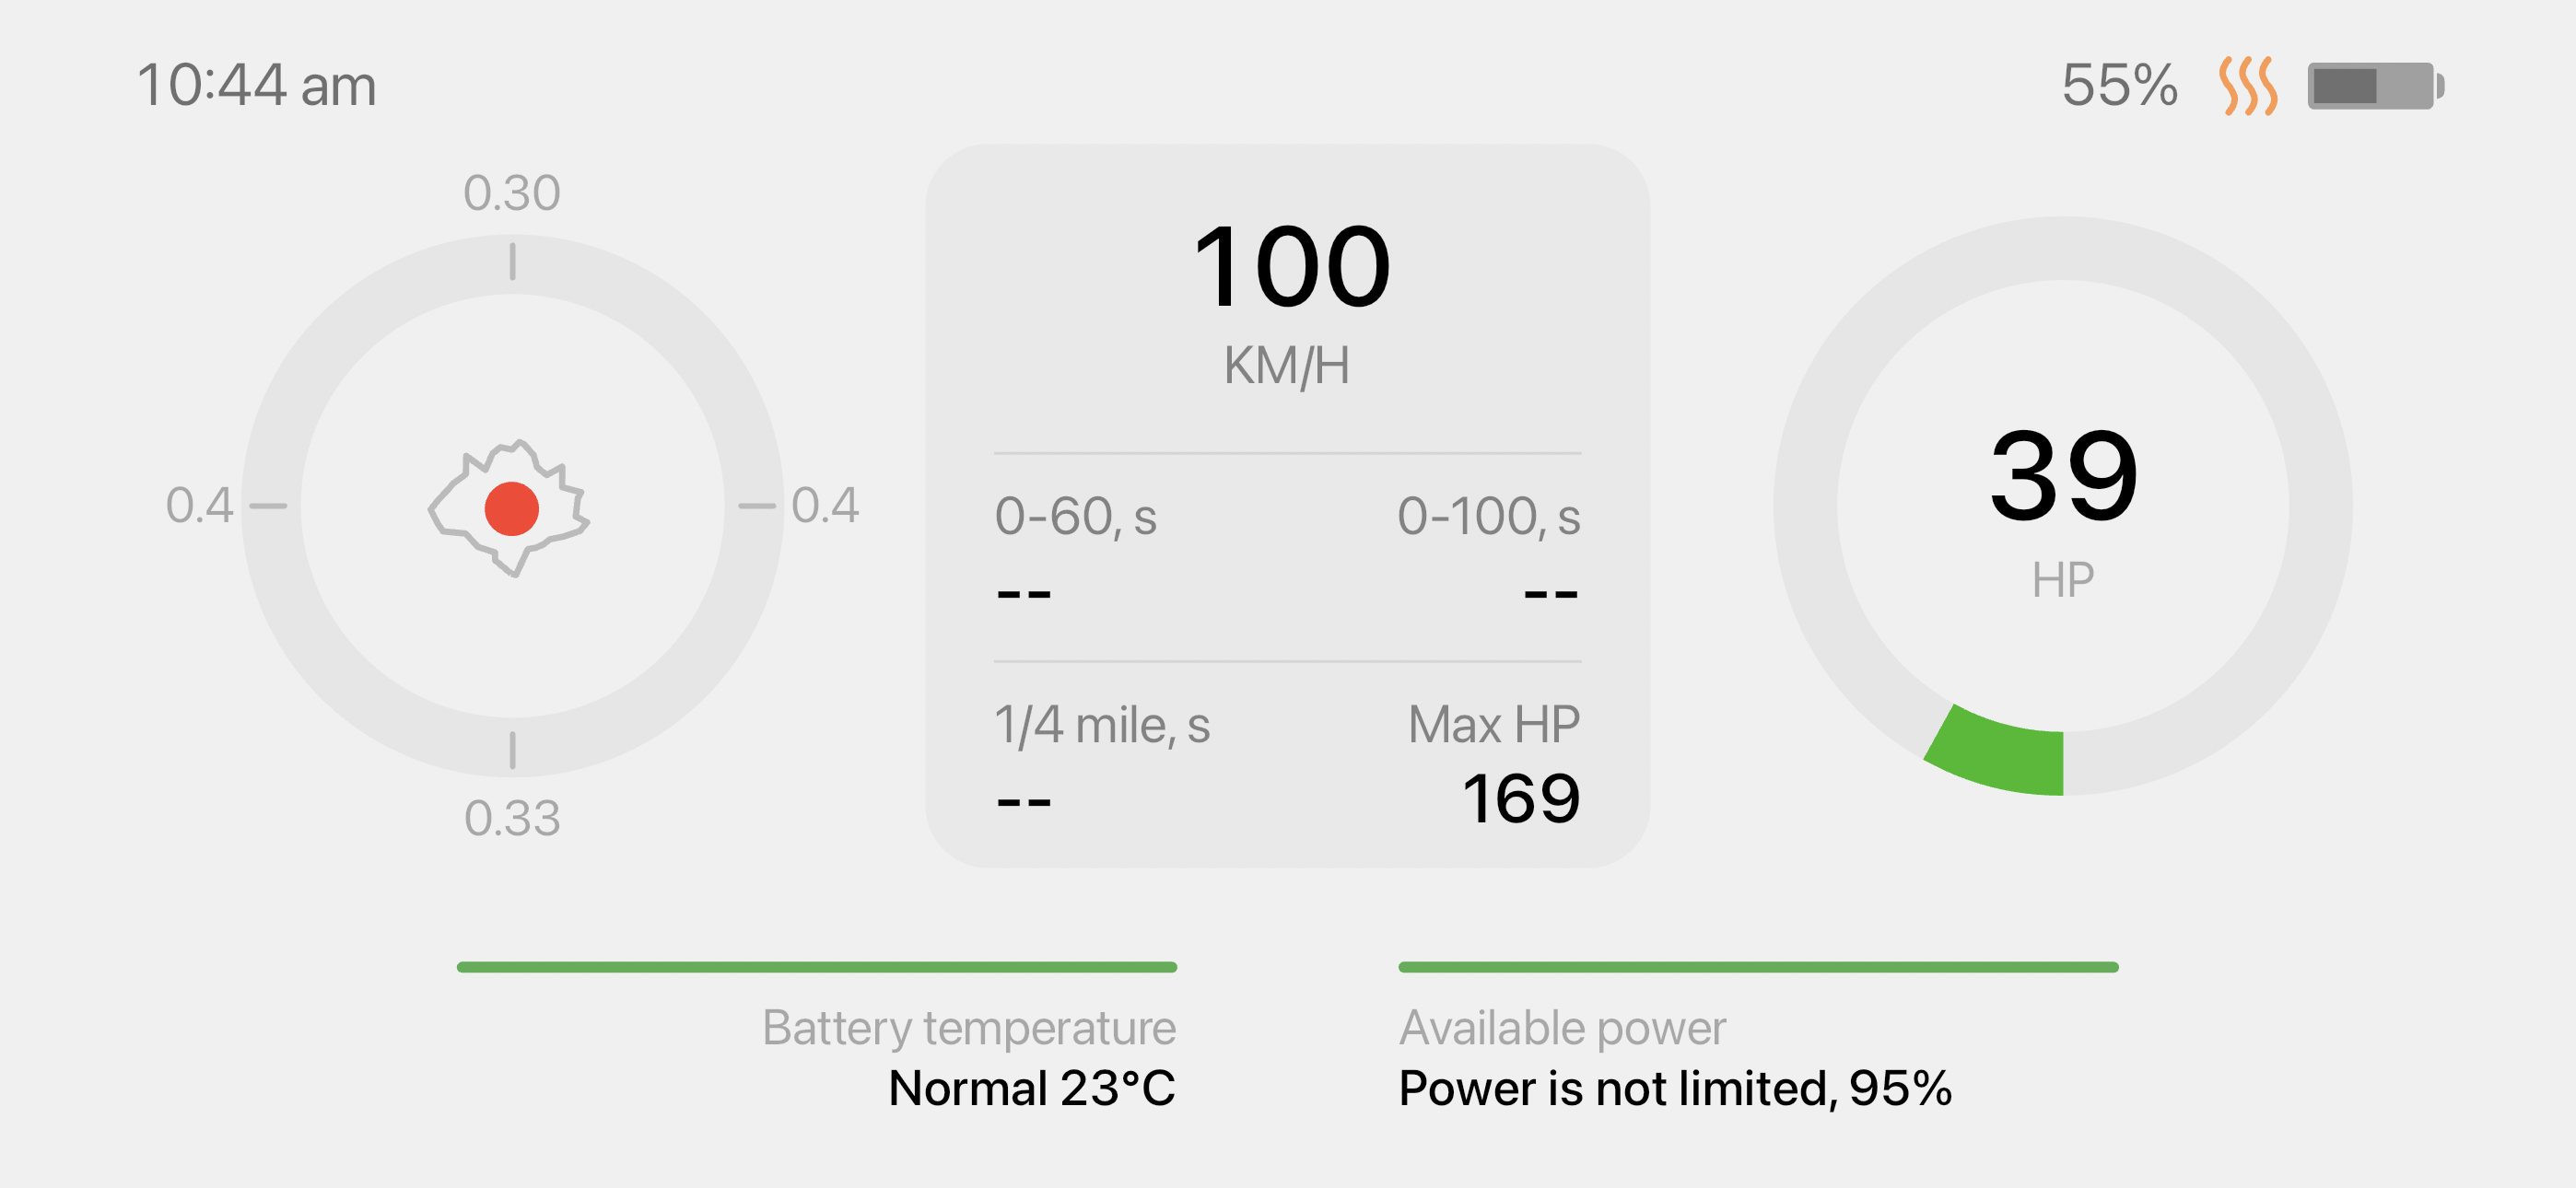
Pushing right on the right steering wheel button again will show the G forces on the car and performance details. The battery temperature is located here in the bottom left.
Pushing right on the right steering wheel button again will show the About this Tesla page.

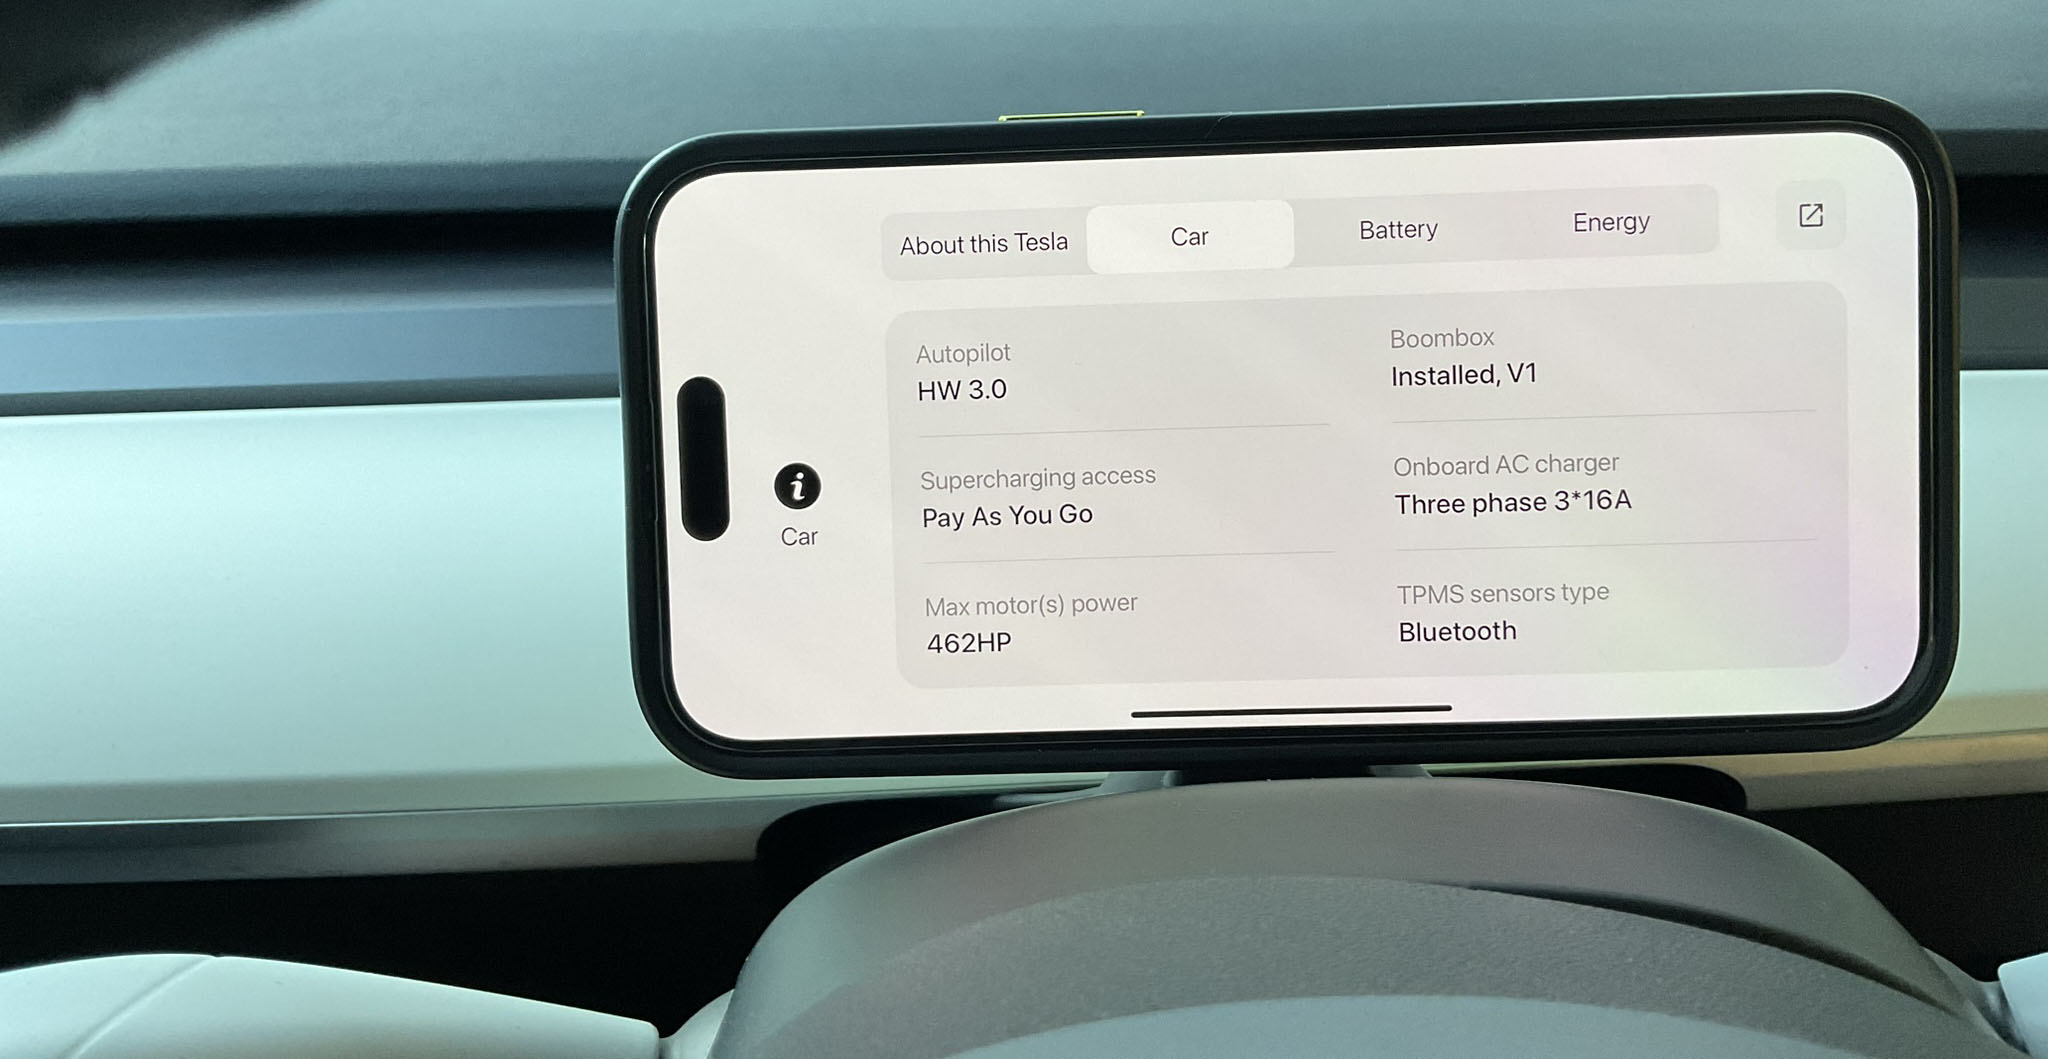
The car tab will show stats related to the features of the car.
Further car battery stats can be located here.
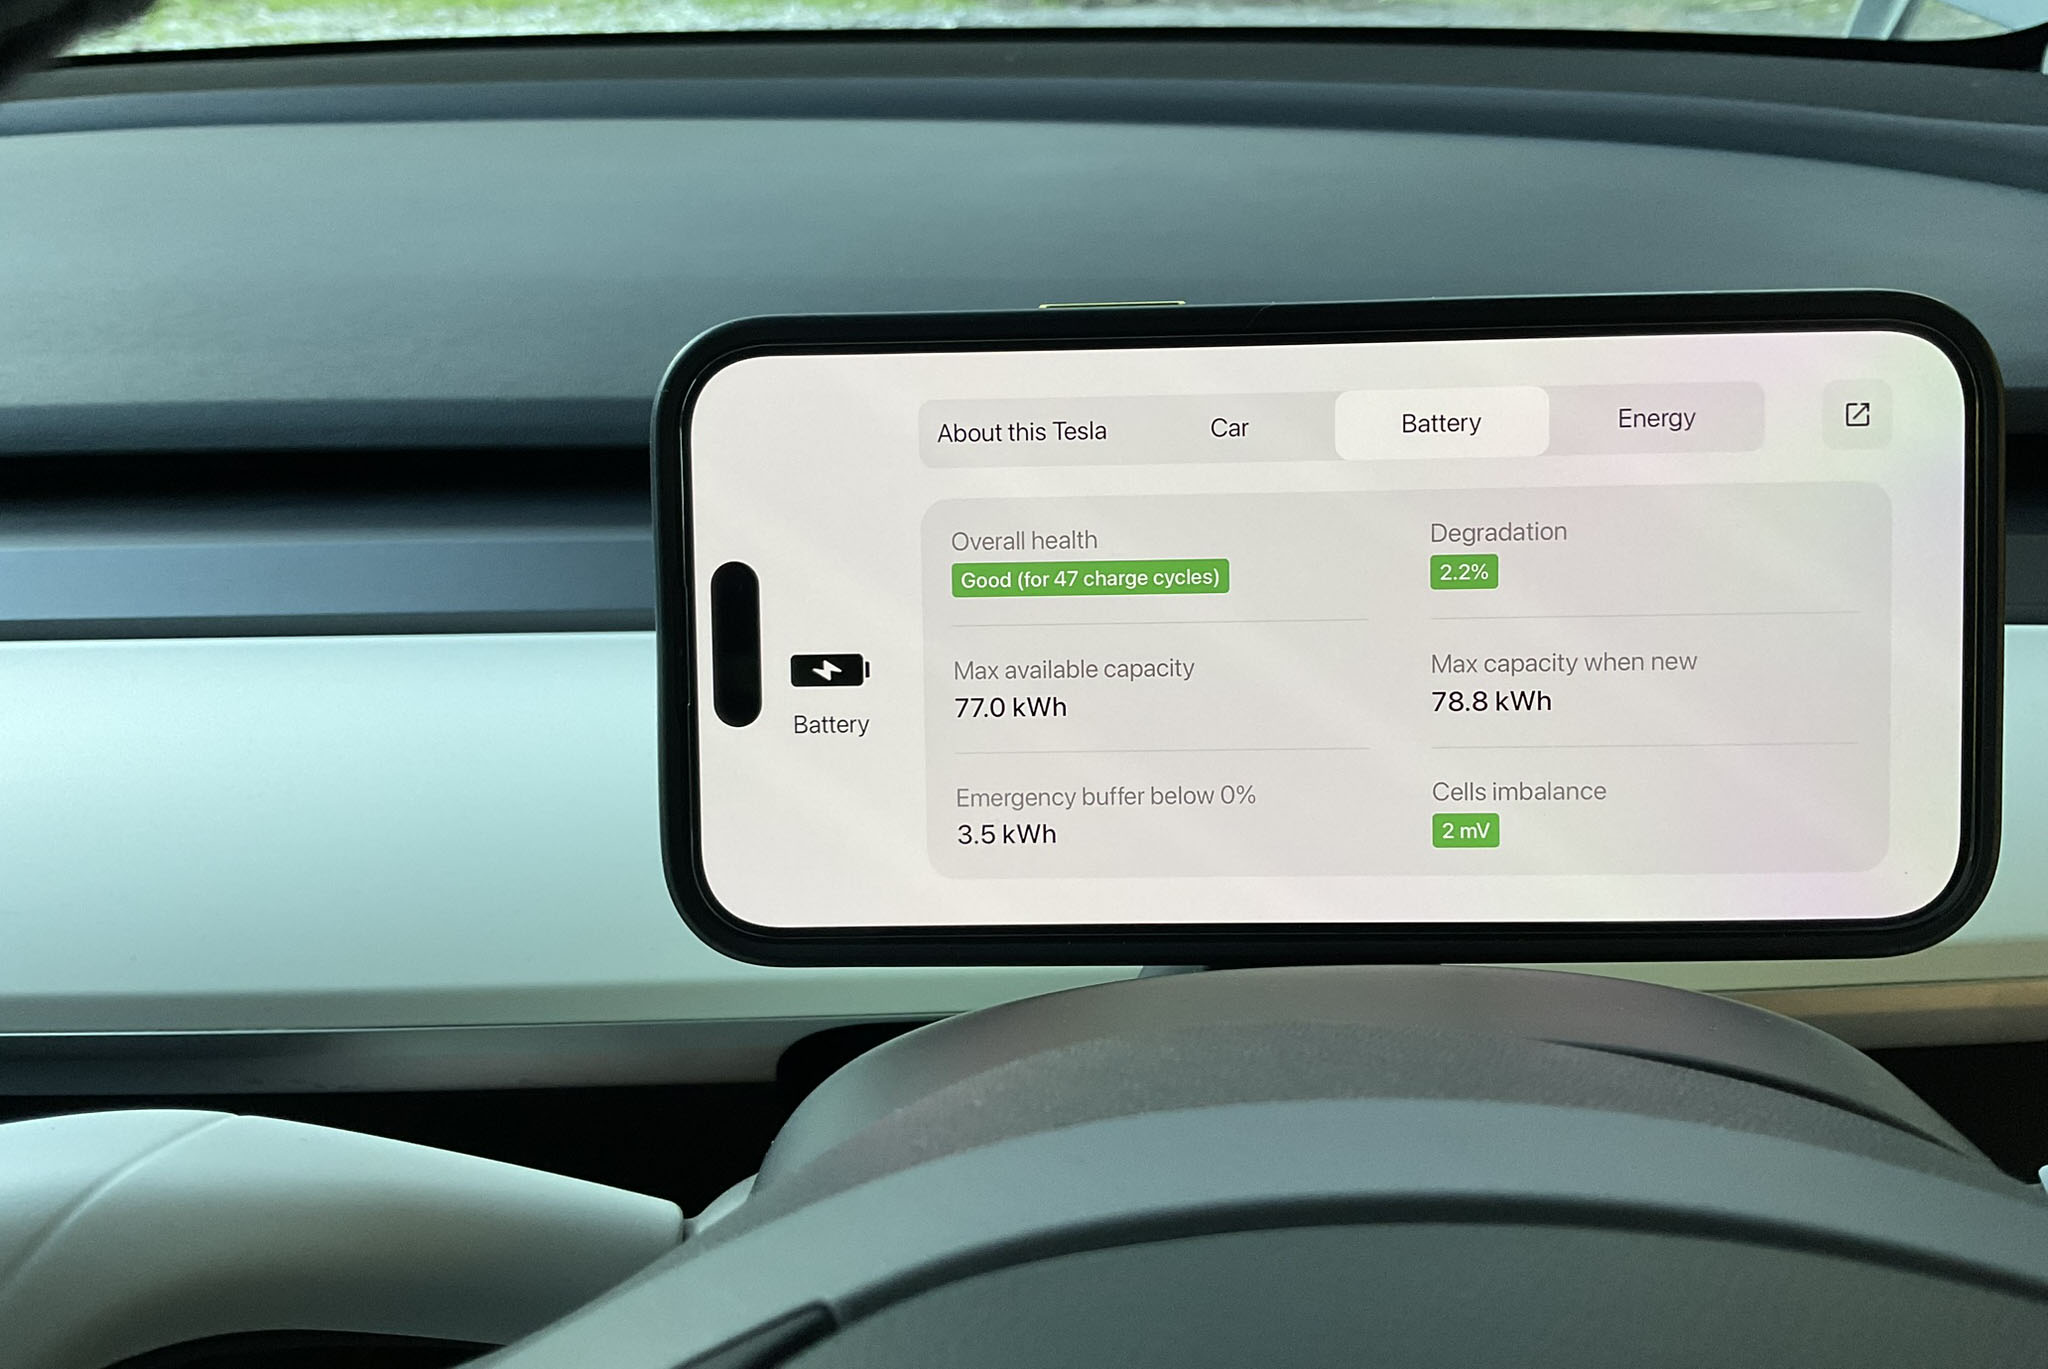
2.2% Battery degradation is within the expected range for 10,000km. All NCM/LFP battery maximum capacities fall faster when new and then level out after the 60k range. My battery is warranted until December 2031 or 192,000 kilometres.
I can see my car has been charged with 3,011 kWh, 23% of that by fast chargers, 37% of energy was wasted when stationary (most likely Sentry mode). I use, on average 10.7 kWh a day (85c of Electricity a day)
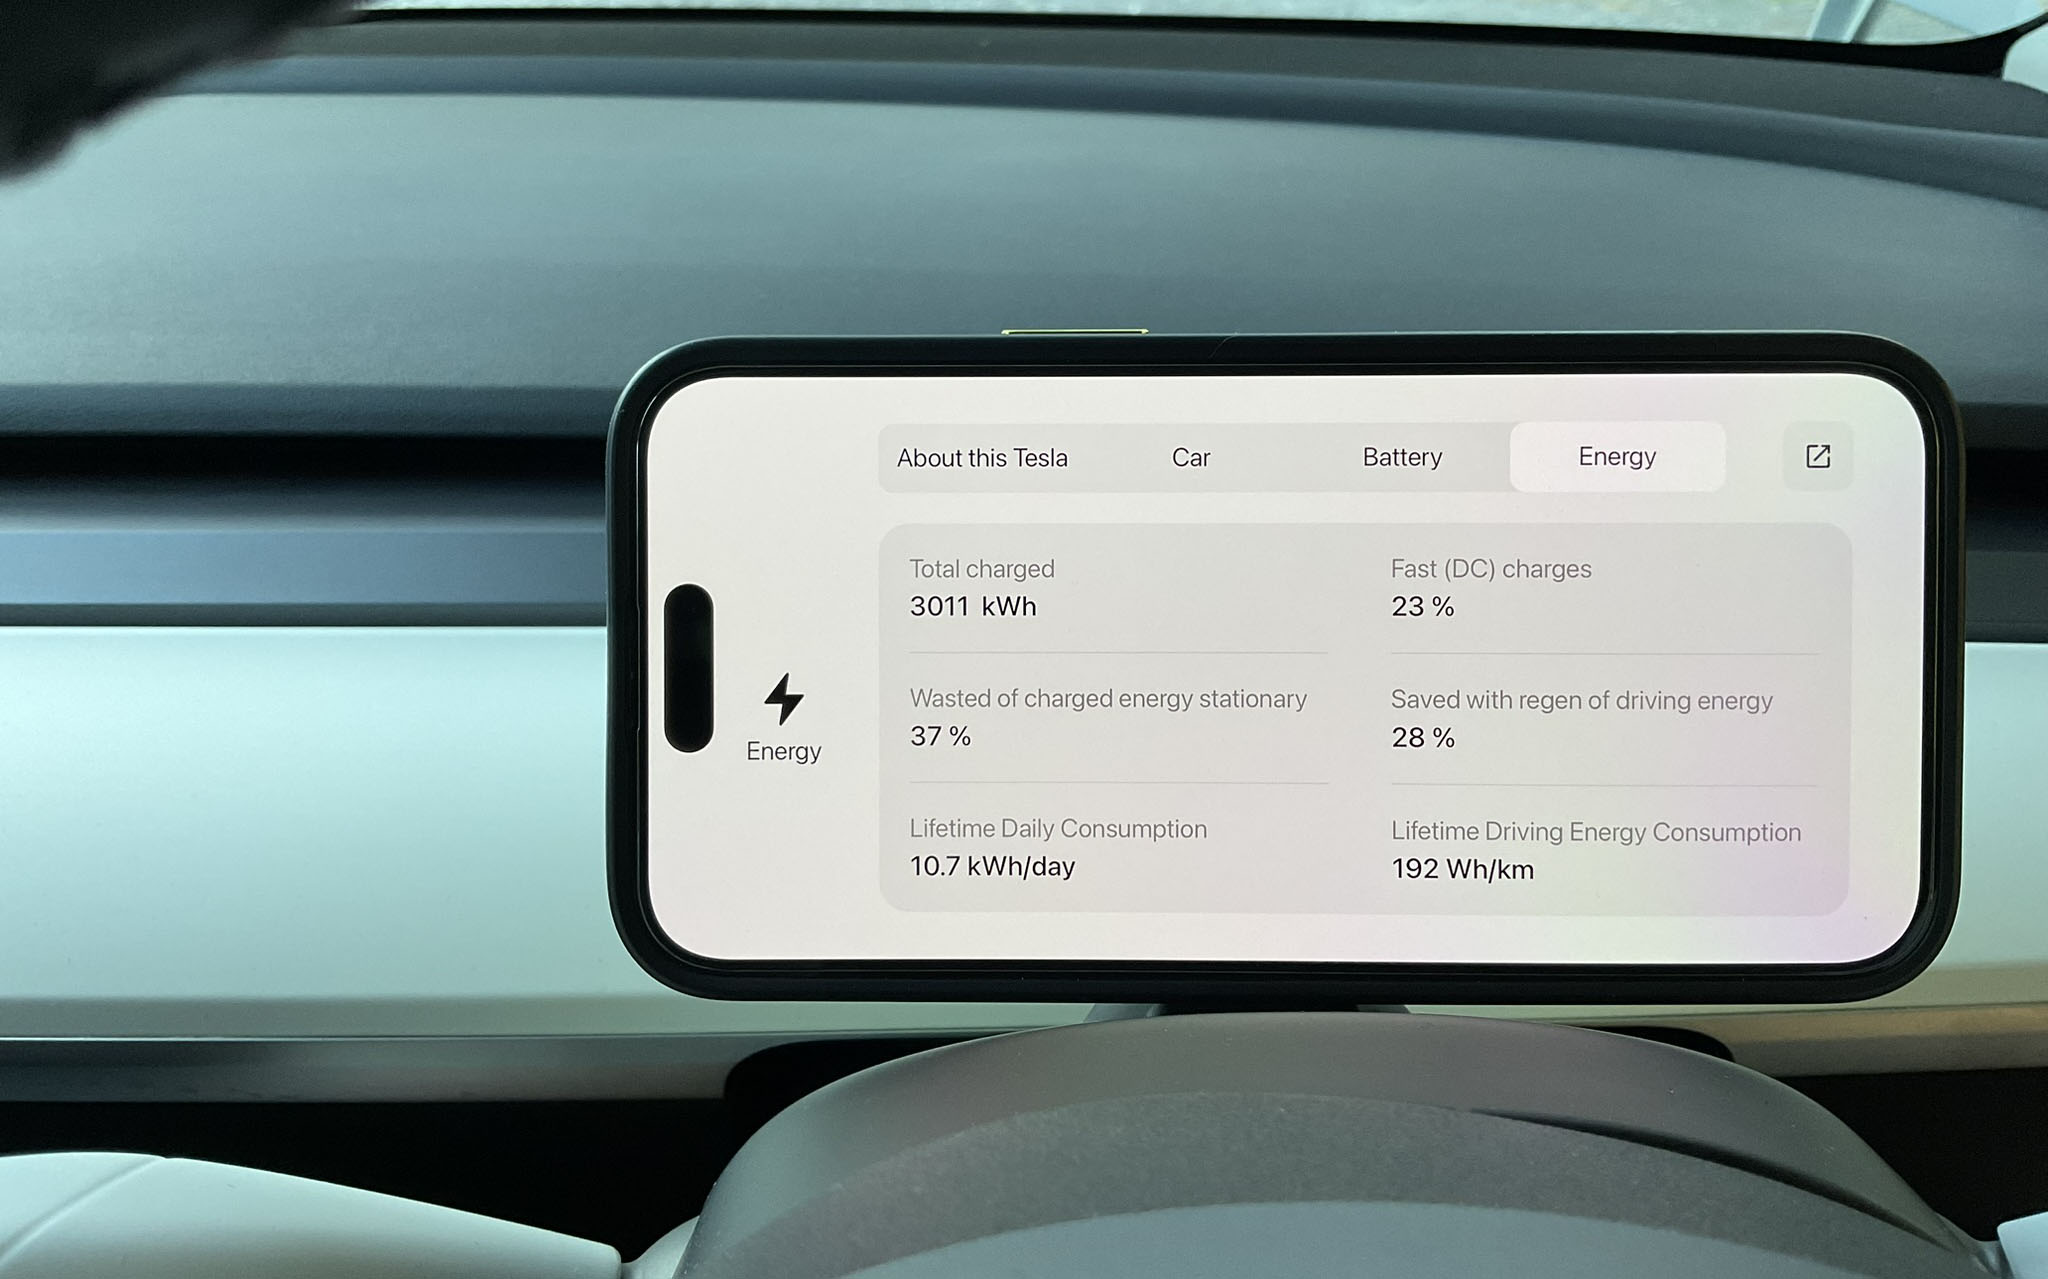
The Teslogic dash matches the data on the main screen.
Testing on the road
We left on a 250km trip at 9 AM (very cold).
I could see the battery is a cool 9c.
Along the highway, we can see the car’s power distribution.
Manually Pre Heating the Battery (non-Tesla known Chargers)
30 minutes out of a 50 kWh DC charger (that Tesla does not acknowledge), I manually turned on battery pre-heating. The battery was 23c after 2 hours of driving.
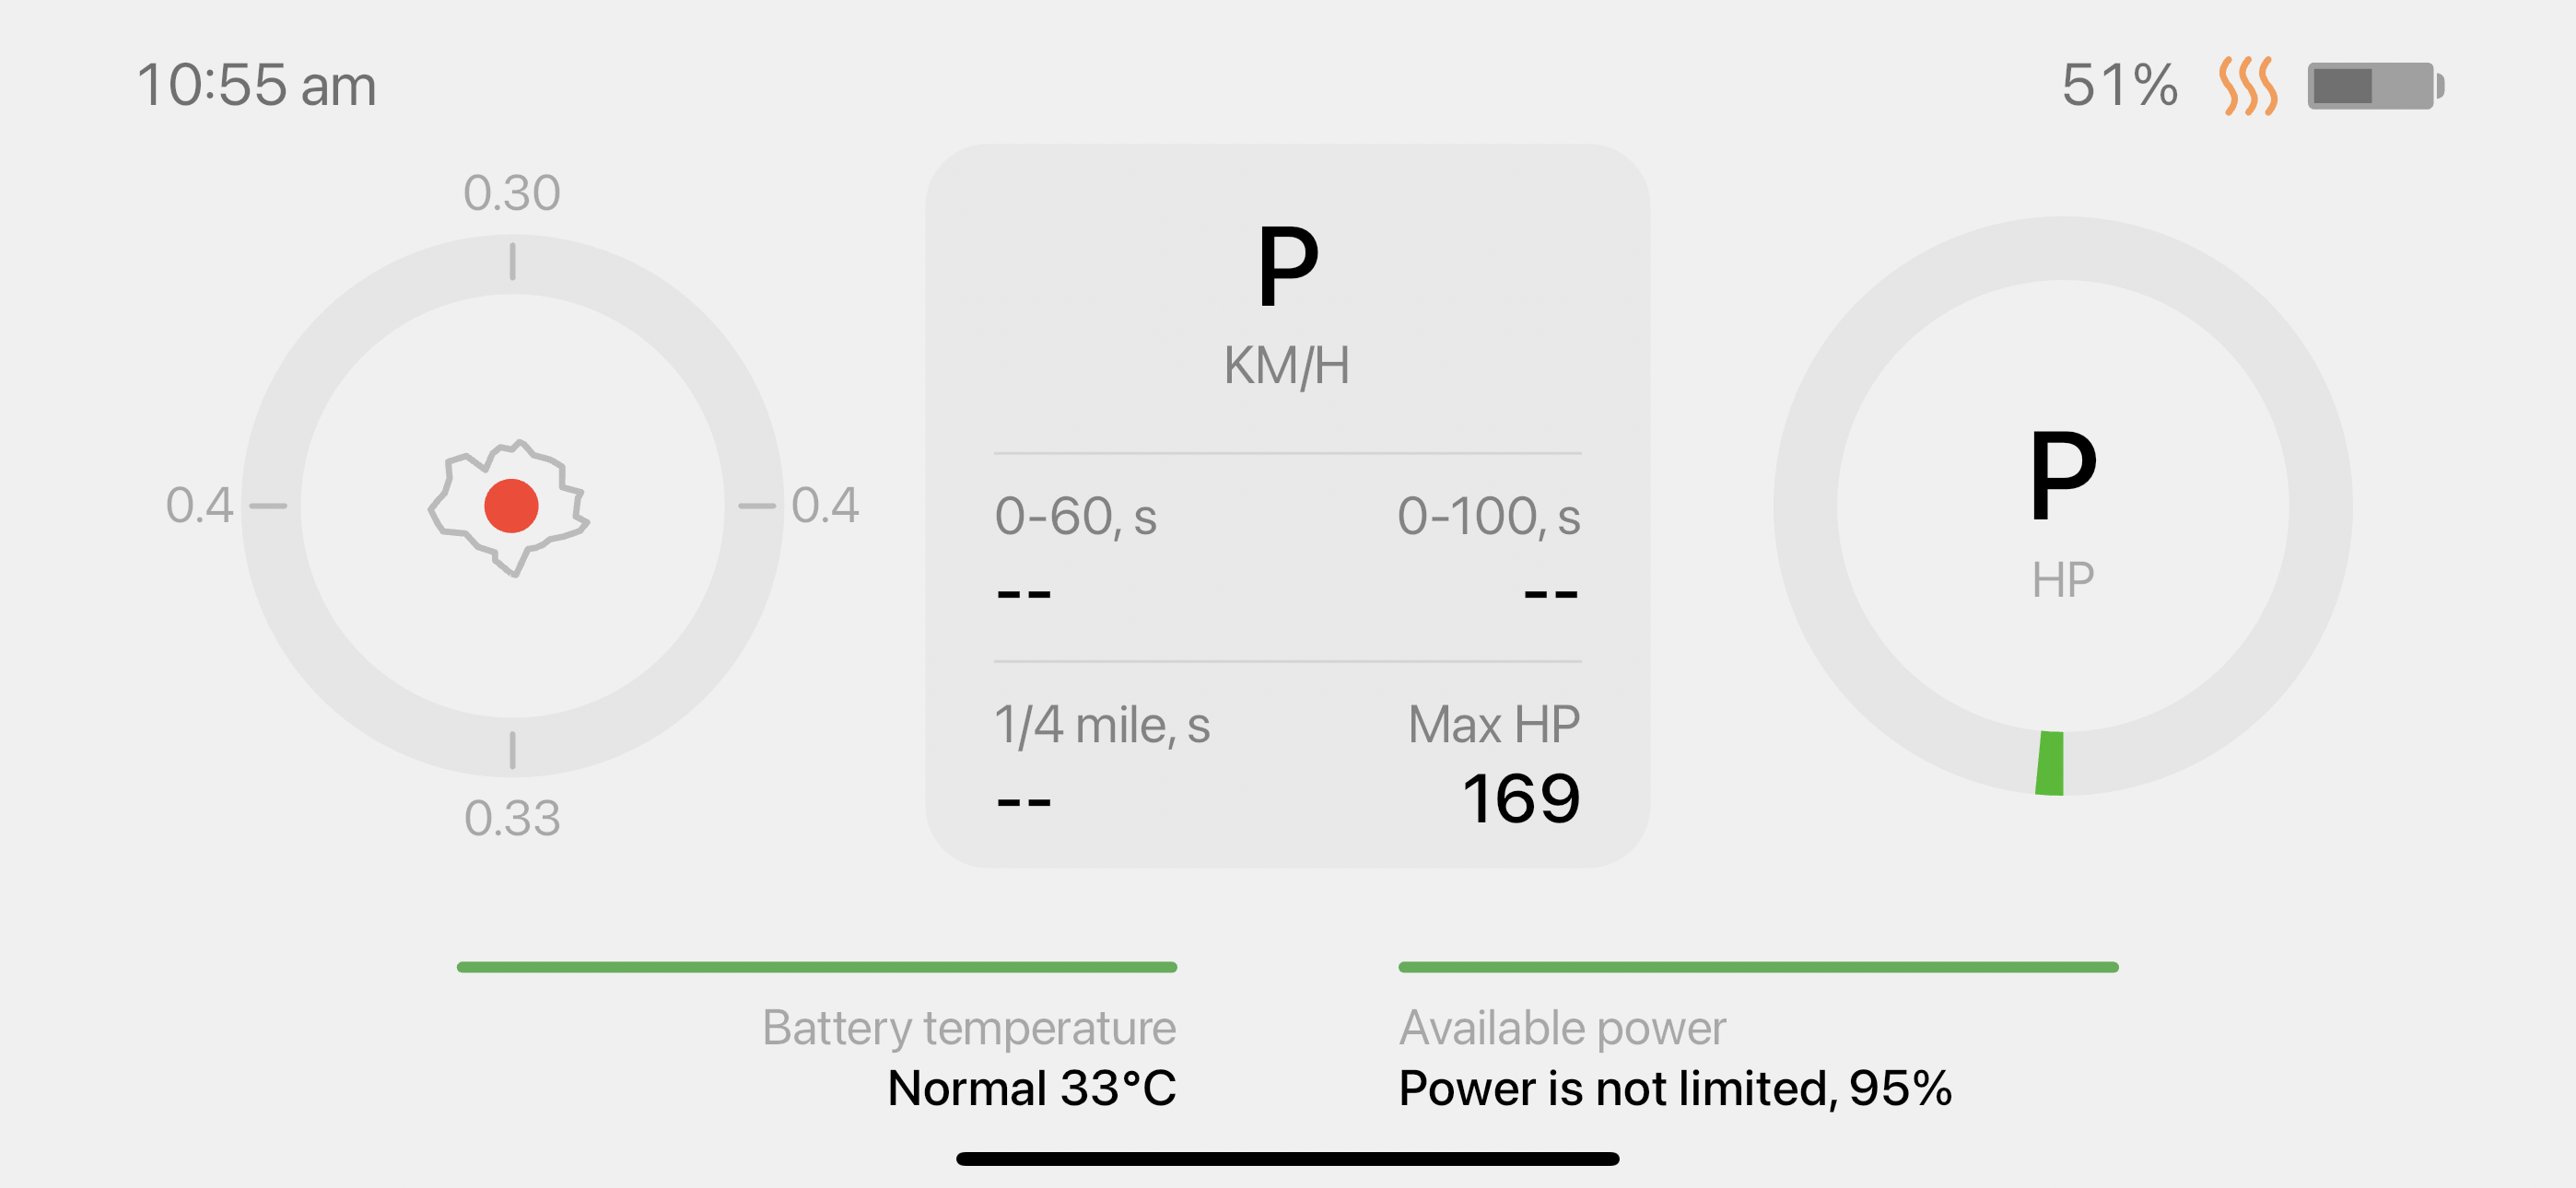
After 11 minutes of pre-heating on the highway, the battery was 33c.
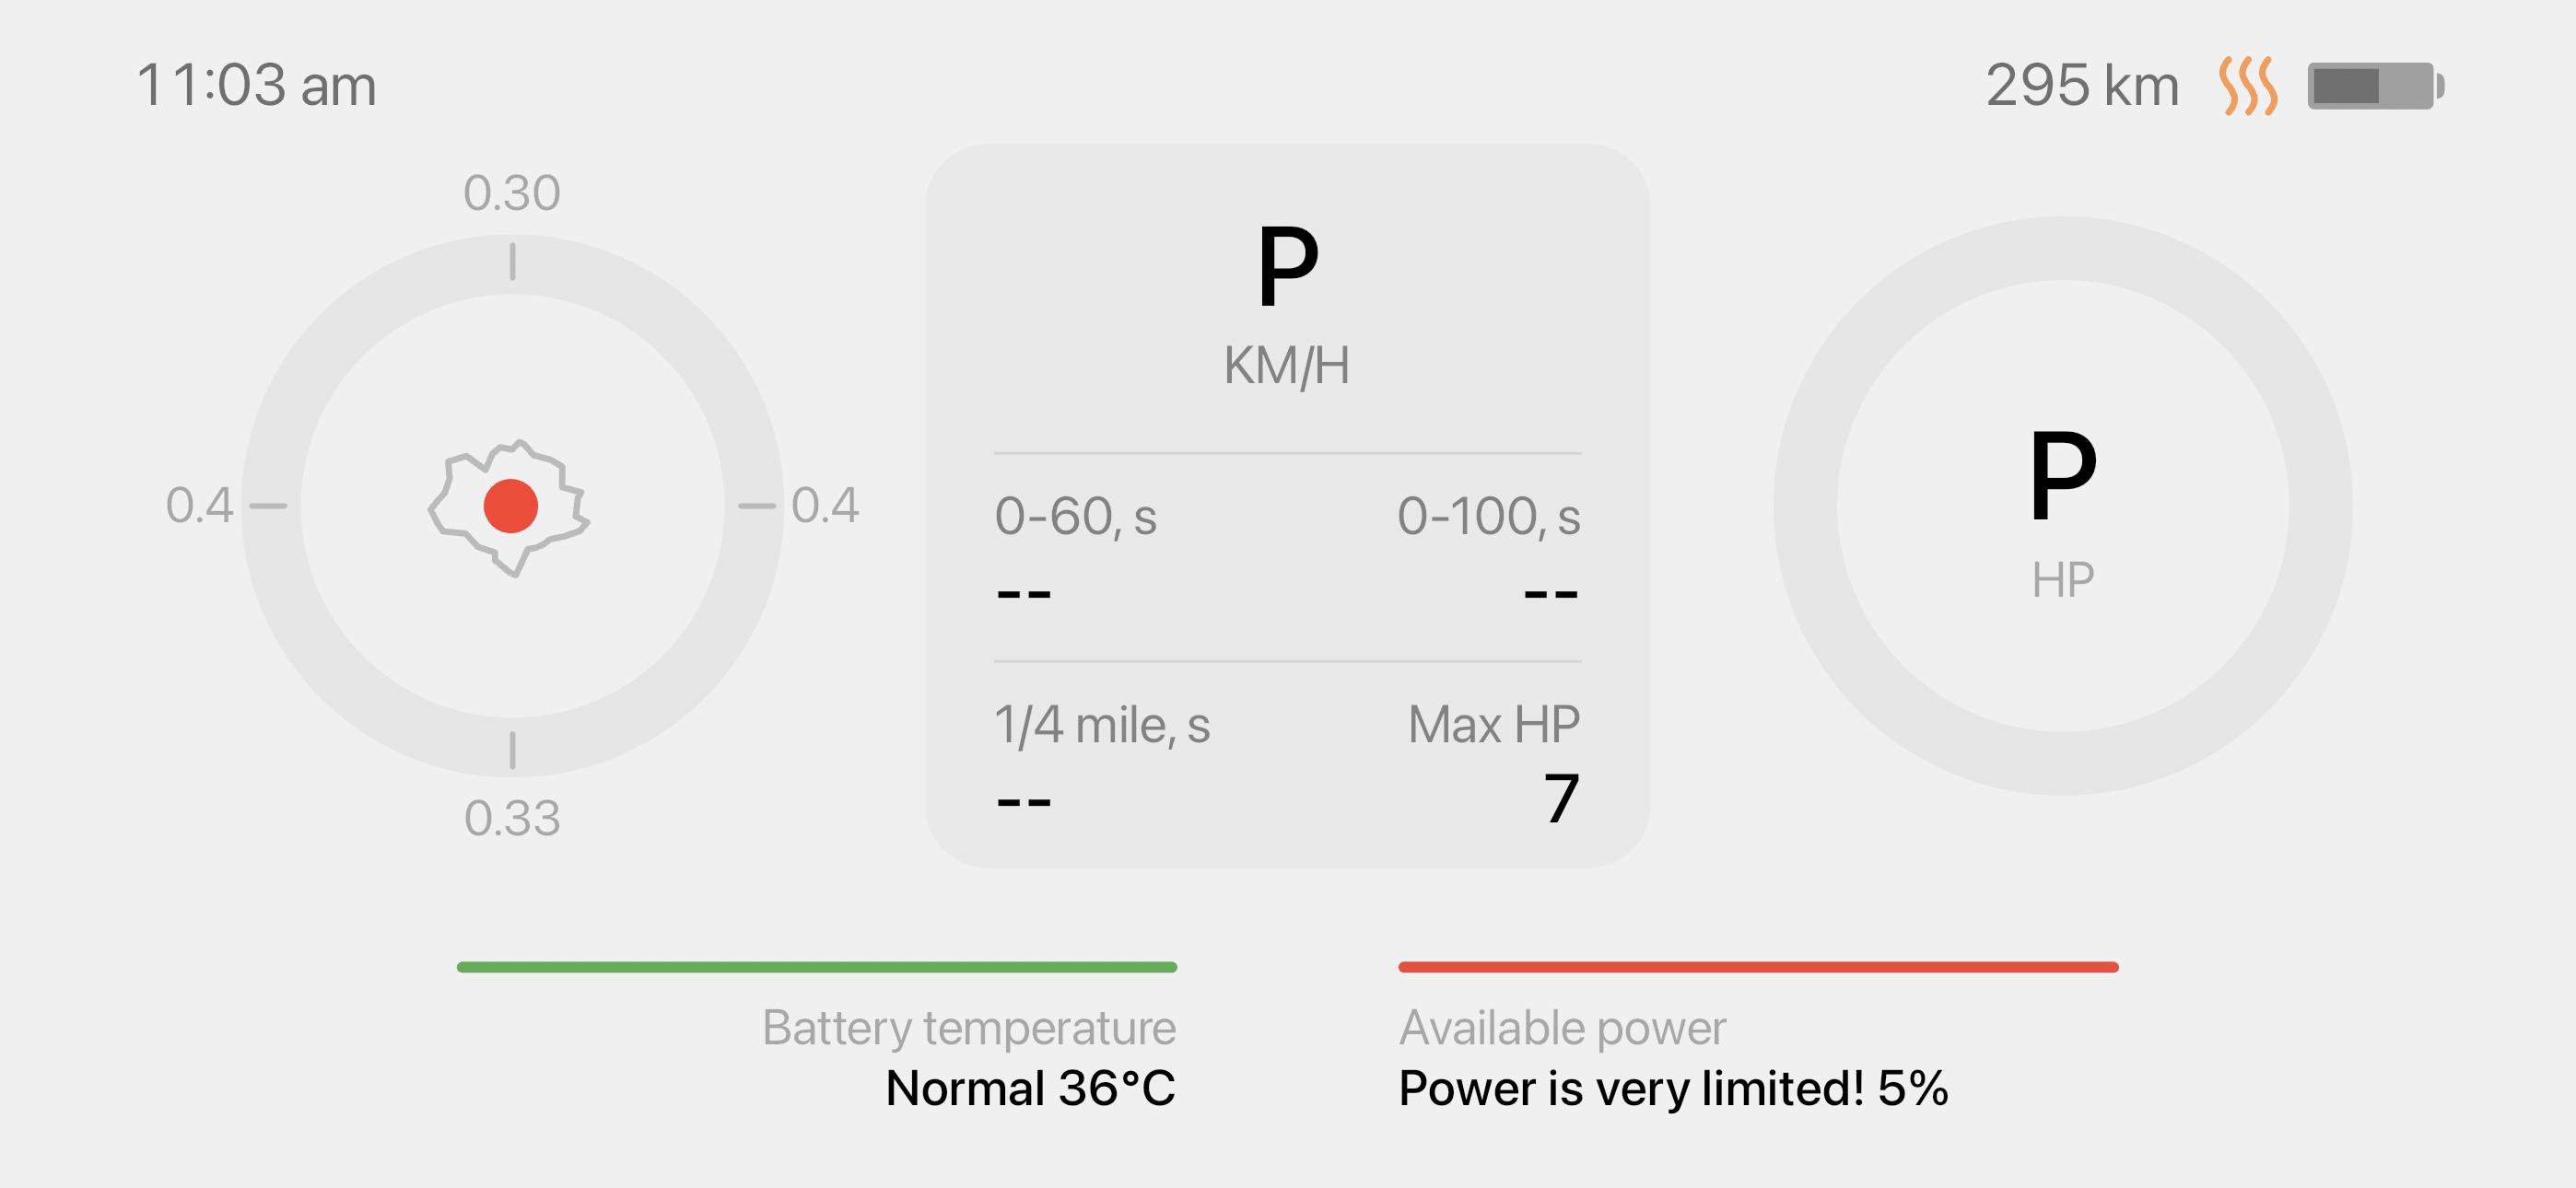
After 8 minutes more of pre-heating on the highway, the battery was 36c.
Because the battery pre-heated on a non-Tesla known charger DC charger, I was able to charge 20% faster.
After charging 40kWh, the battery was 50c.
Besides seeing car stats and temps, the Blindspot feature alone is worth installing a Teslogic dash. Now I can see nearby cars before looking in mirror or waiting for Tesla to let me know a car is nearby after I turn an indicator on.
I did not test out the regen percent as I like 100% regen and one pedal driving.
Transmitter Not Found (and fix)
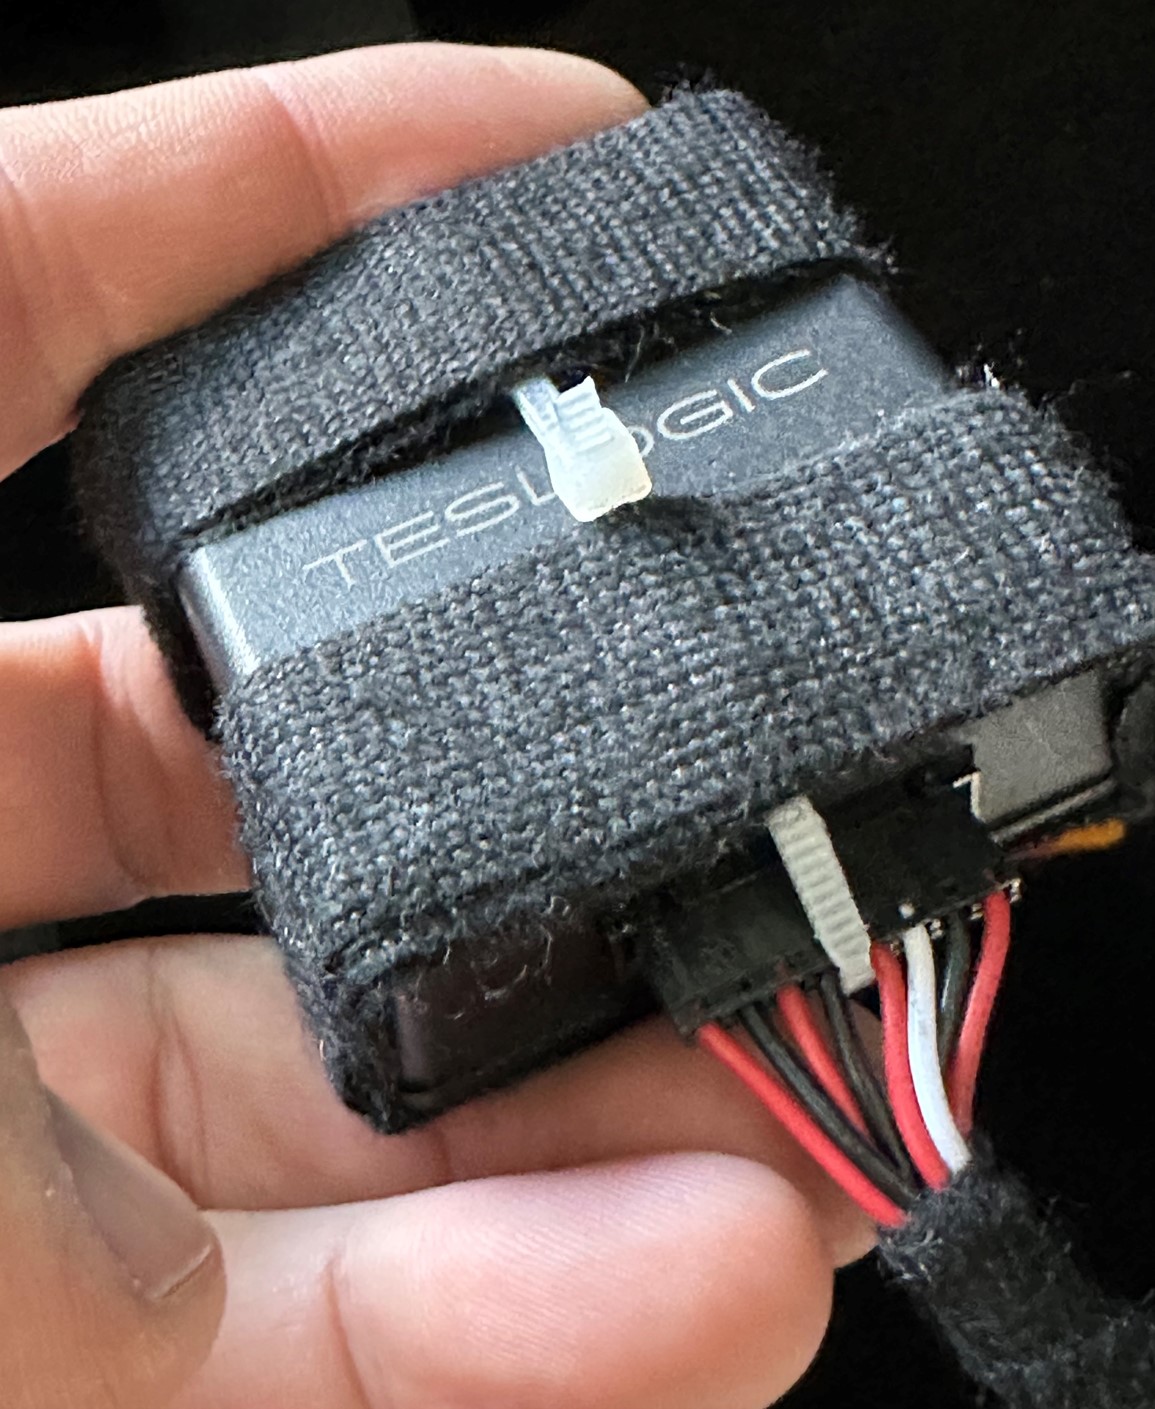
On day two (2), I went for a drive and turned on my Teslogic App, which reported that no transmitter was found. After a quick inspection, I disconnected and reconnected the transmitter data cable, and it was found. I must have been on a bumpy road, or the transmitter cable was knocked out. The gap where the transmitter sits is quite spacious, and I guess it can rattle around.
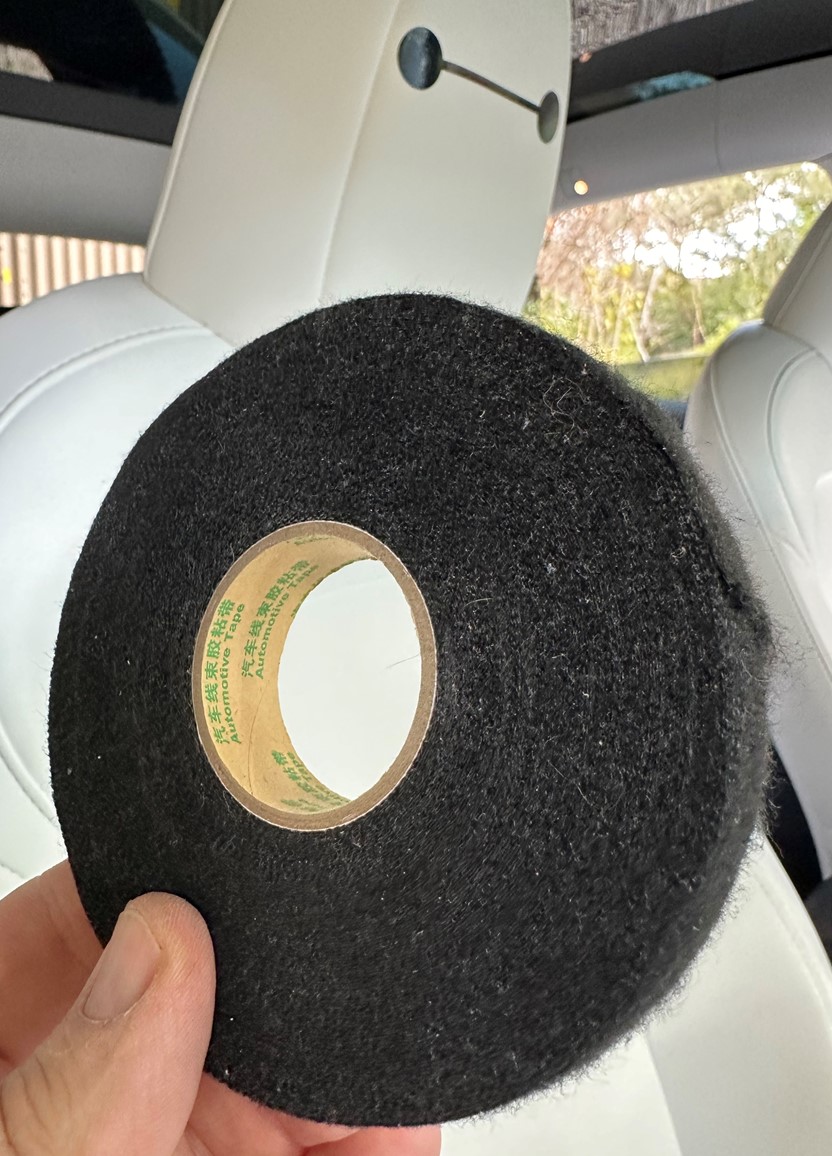
I added a zip tie around the transmitter and plug and wrapped it in soft felt tape to stop any possible rattles, just in case. I dislike rattles and just wanted to be sure, I never heard the transmitter rattle on day 1.
Here is the felt tape I use for stopping plastic on plastic tapping (e.g Tesla B Pillar Rattle)
I cut a few notches out of the zip tie so that the leads on either side would not be pushed back so far.
Conclusion
Pros
- Being able to manually Pre Heat Battery at non-Tesla Chargers and charge faster.
- Better Eyesight on vital stats.
- Automatic blind spot indicator on the test logic screen even if the turn signal is not activated yet
- Nerd Stats
- Software Features
- Loving the new features coming to existing owners.
Cons
- It would have been nice if the Active Control switch was white (or larger).
- The dash blocks a little air con to the face a little but it more than makes up for it (a 3d printed duct to direct air around would be nice). I ended up making something out of thermal plastic.
- Needs faster features via new firmware
Teslogic also sell a Pro Boost and Pro Performance variant of the V2 TesLogic Dashboard.
Thanks goes to LudicrousFeed on YouTube, where I found out about this.
Referral Links
If you found this post helpful and are considering purchasing a Tesla or charger, please consider using these discount links.
- Get $350 AUD off a New Tesla with my referral link
- Get 10% off your first order at http://inchargex.com.au (Discount Coupon Code: INCxREF-AXXYGI80D4G)
Tips
Plugshare is community driven site and has near Realtime reporting of chargers and the status of the chargers.
Charging Speeds
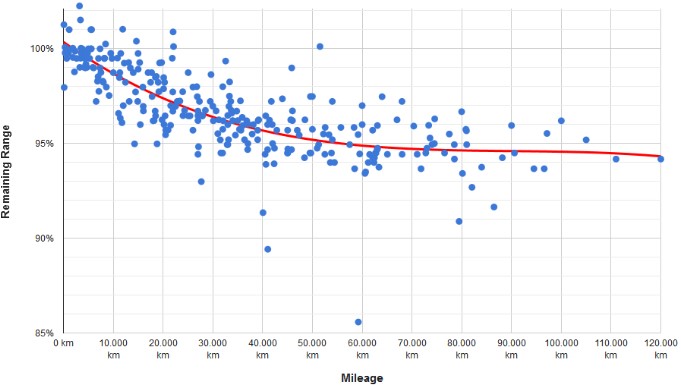
Every EV has a preferred charge speed curve where the car will limit charging speeds to maintain good batter health.
fyi, Here is our cars charge curve.
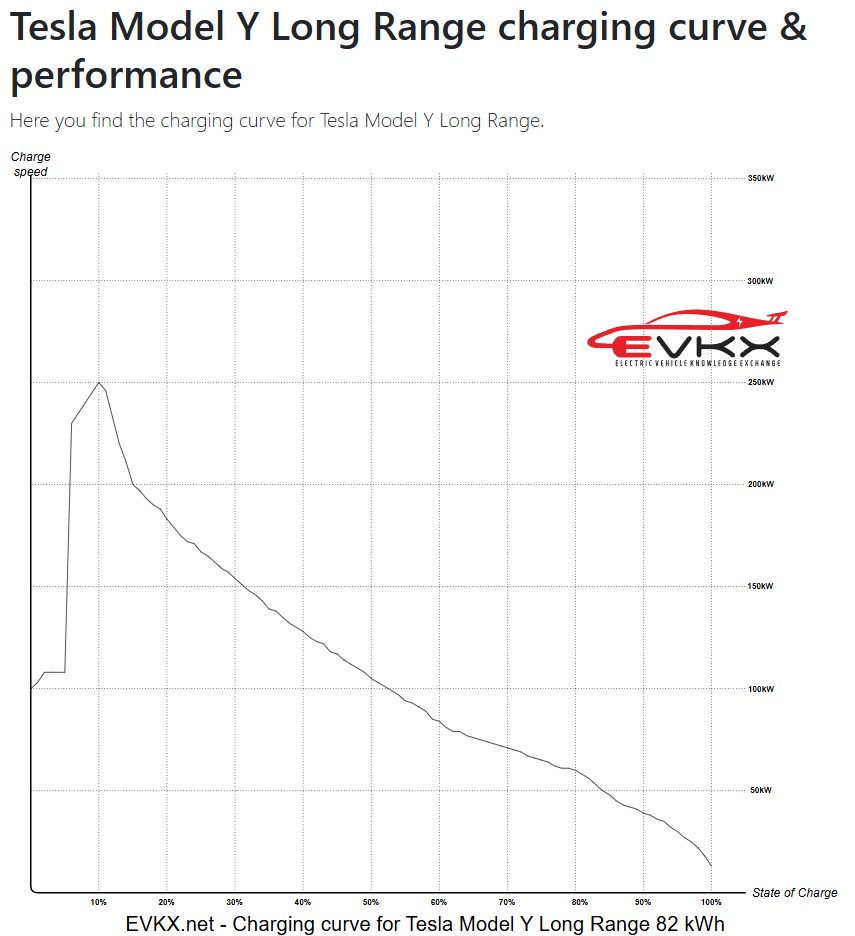
What is your EV cars charge curve? Find out here - https://evkx.net/models/.
Safe Driving
v2.0