Migrating my website from upcloud to Linode Akamai for a Disaster Recovery Test
Published on 13 November 2024 by Simon Fearby
Migrating my website from upcloud to Linode Akamai for a Disaster Recovery Test
fyi, This is a Disaster Recovery Test only (moving my webiste to another vendor), I am still hosted on the Awesome UpCloud.
This is a quick post demonstrating how to set up a Linux server on Linode incase UpCloud failed.
Linode has been Acquired by Akamai; Akamai has a long history on the internet and has my trust as a backup to UpCloud.
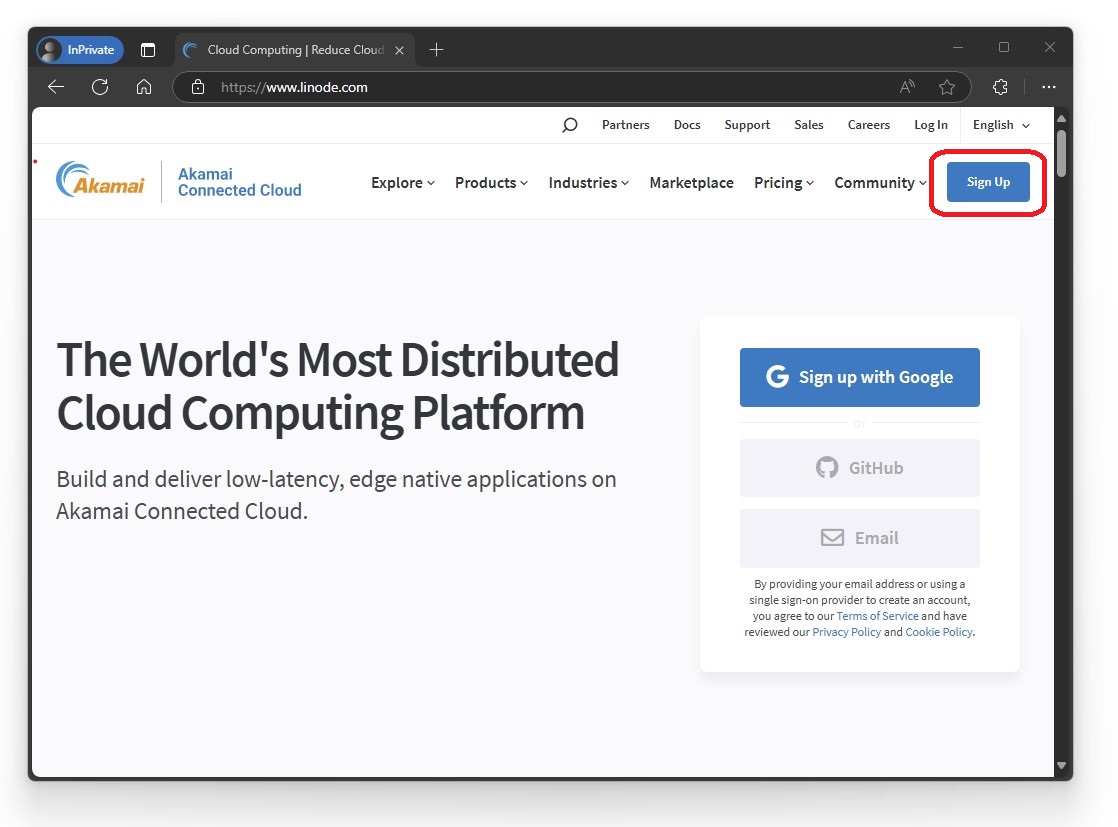
To start, I created a Linode account
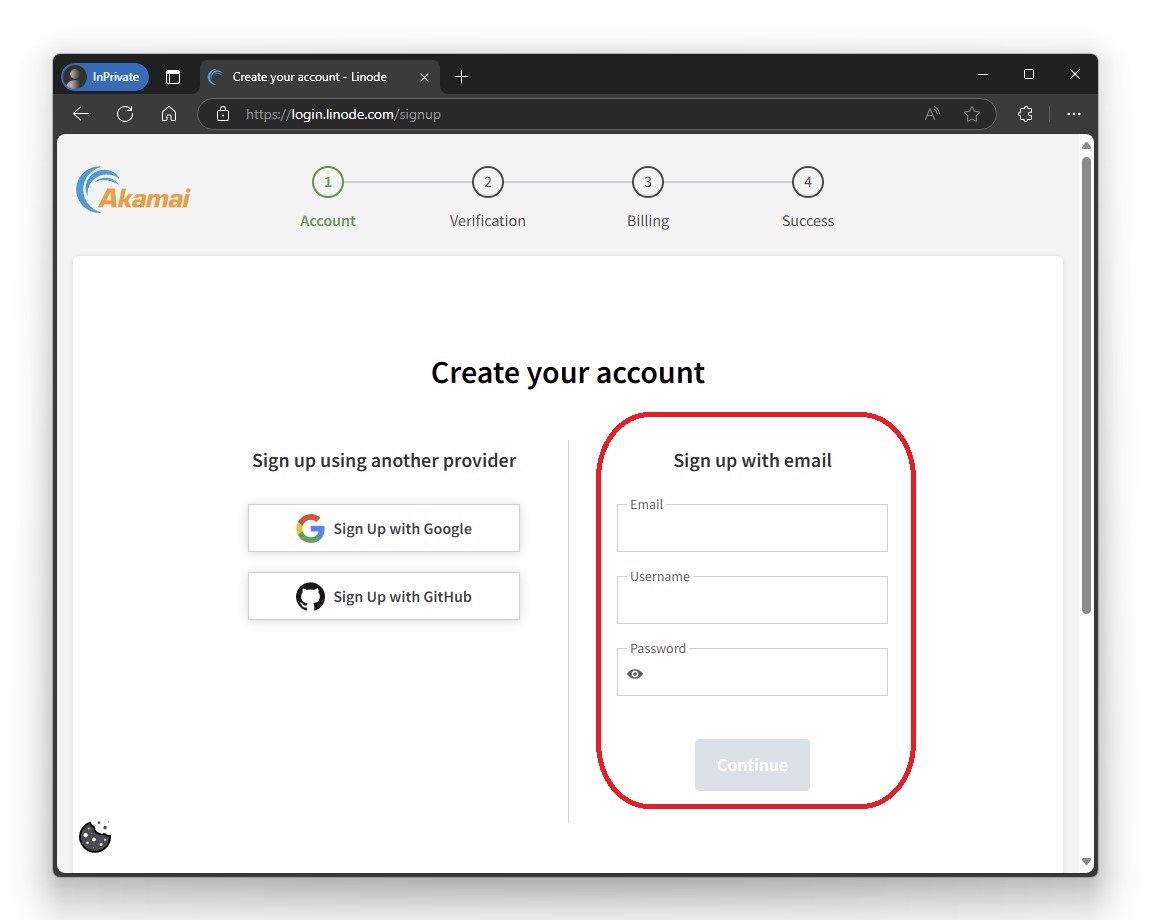
I entered my email and set a username and password
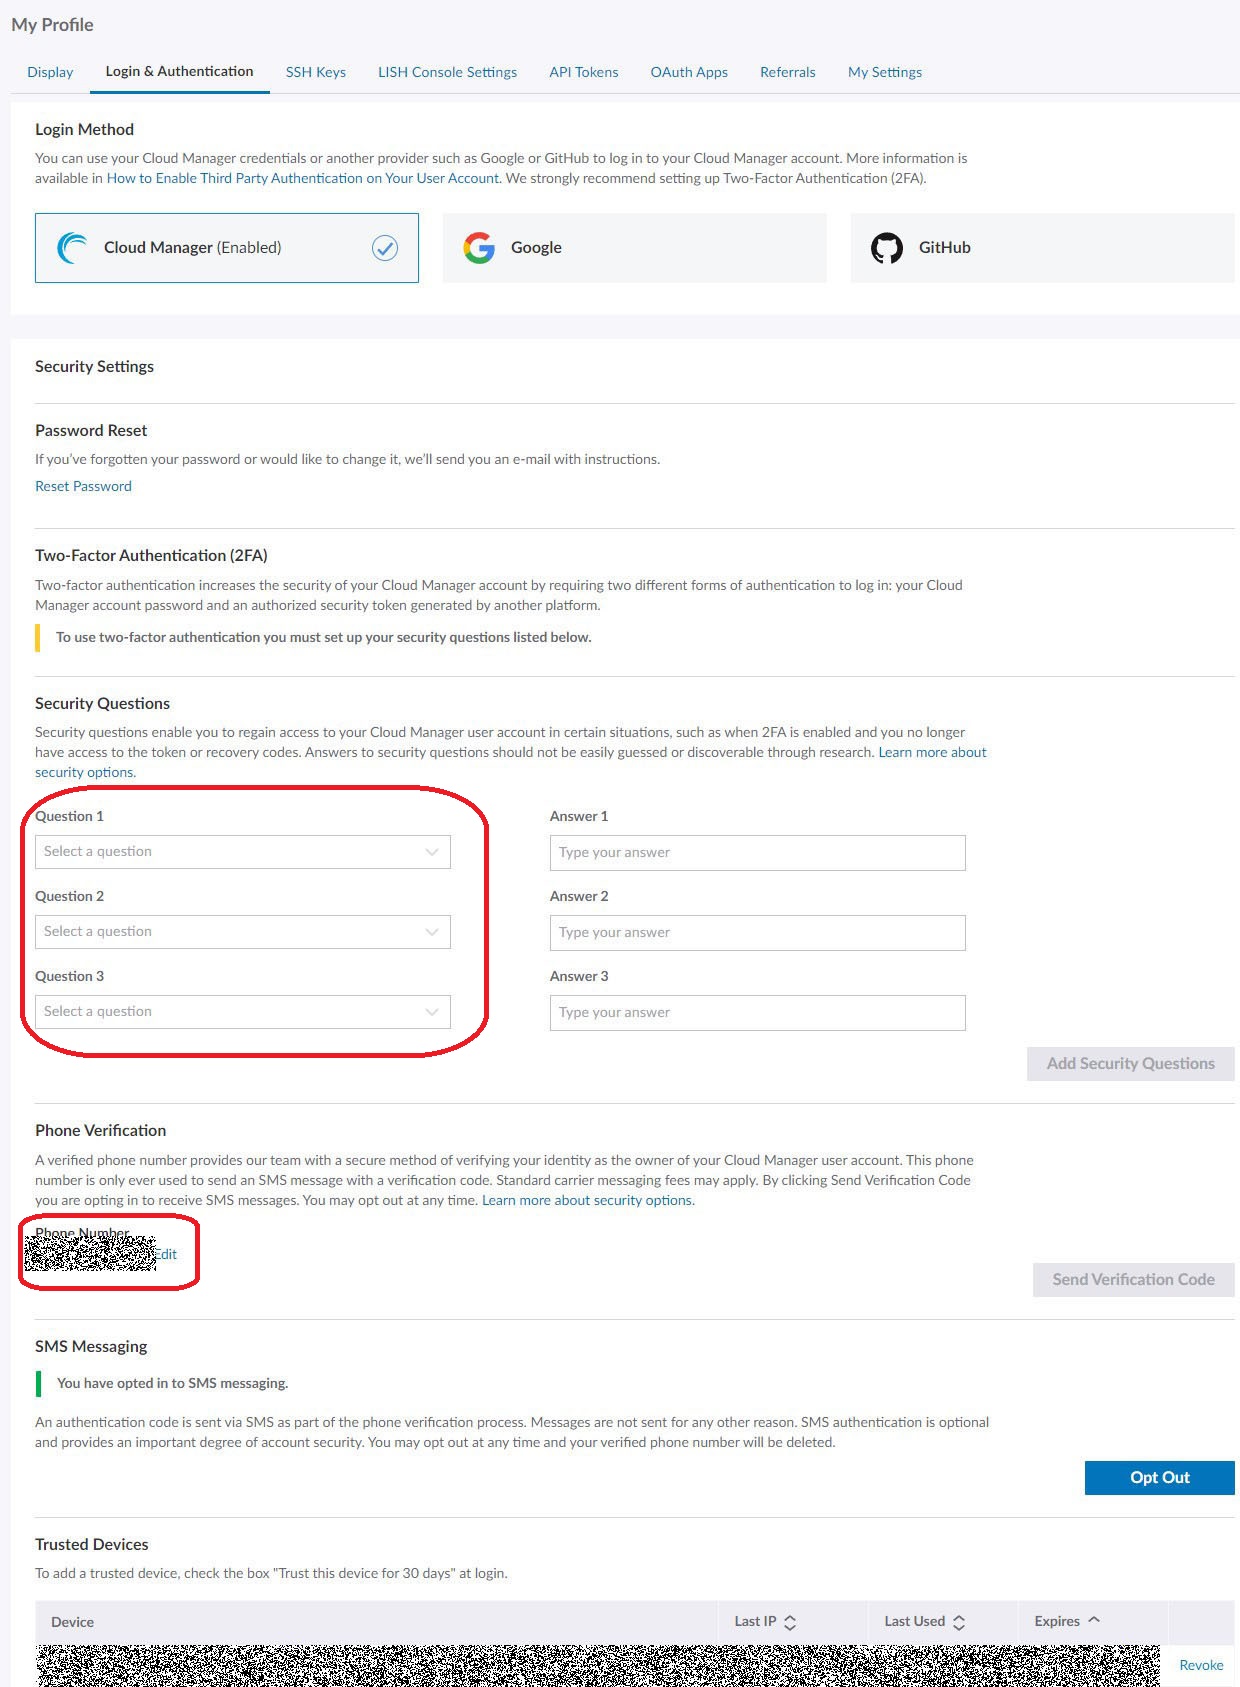
Once I created my account, I visited my profile to set my Timezone, Mobile Number, 2Fa, Secret questions and answers etc
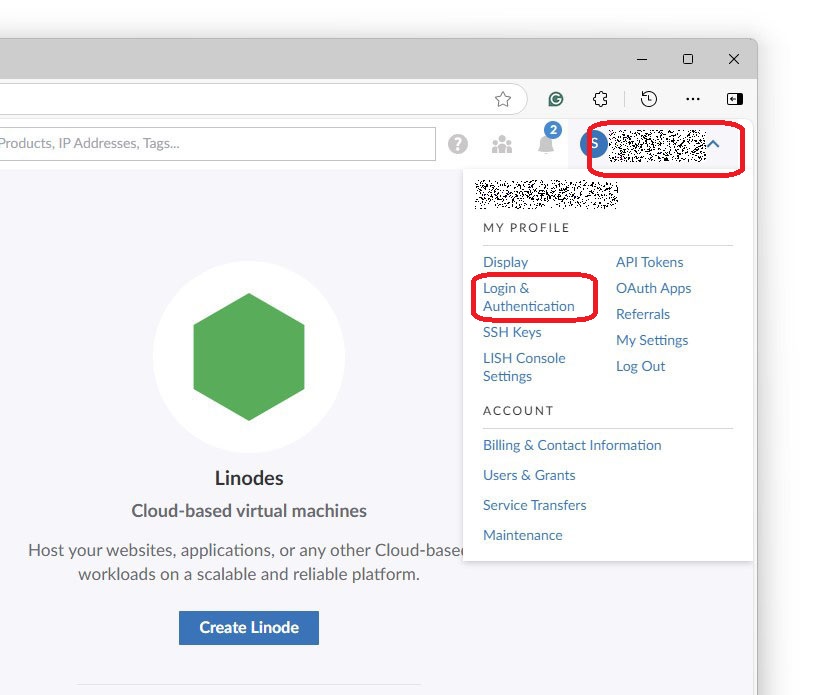
Profile Security Settings
While I was in my profile, I generated an SSH key using the Linode help.
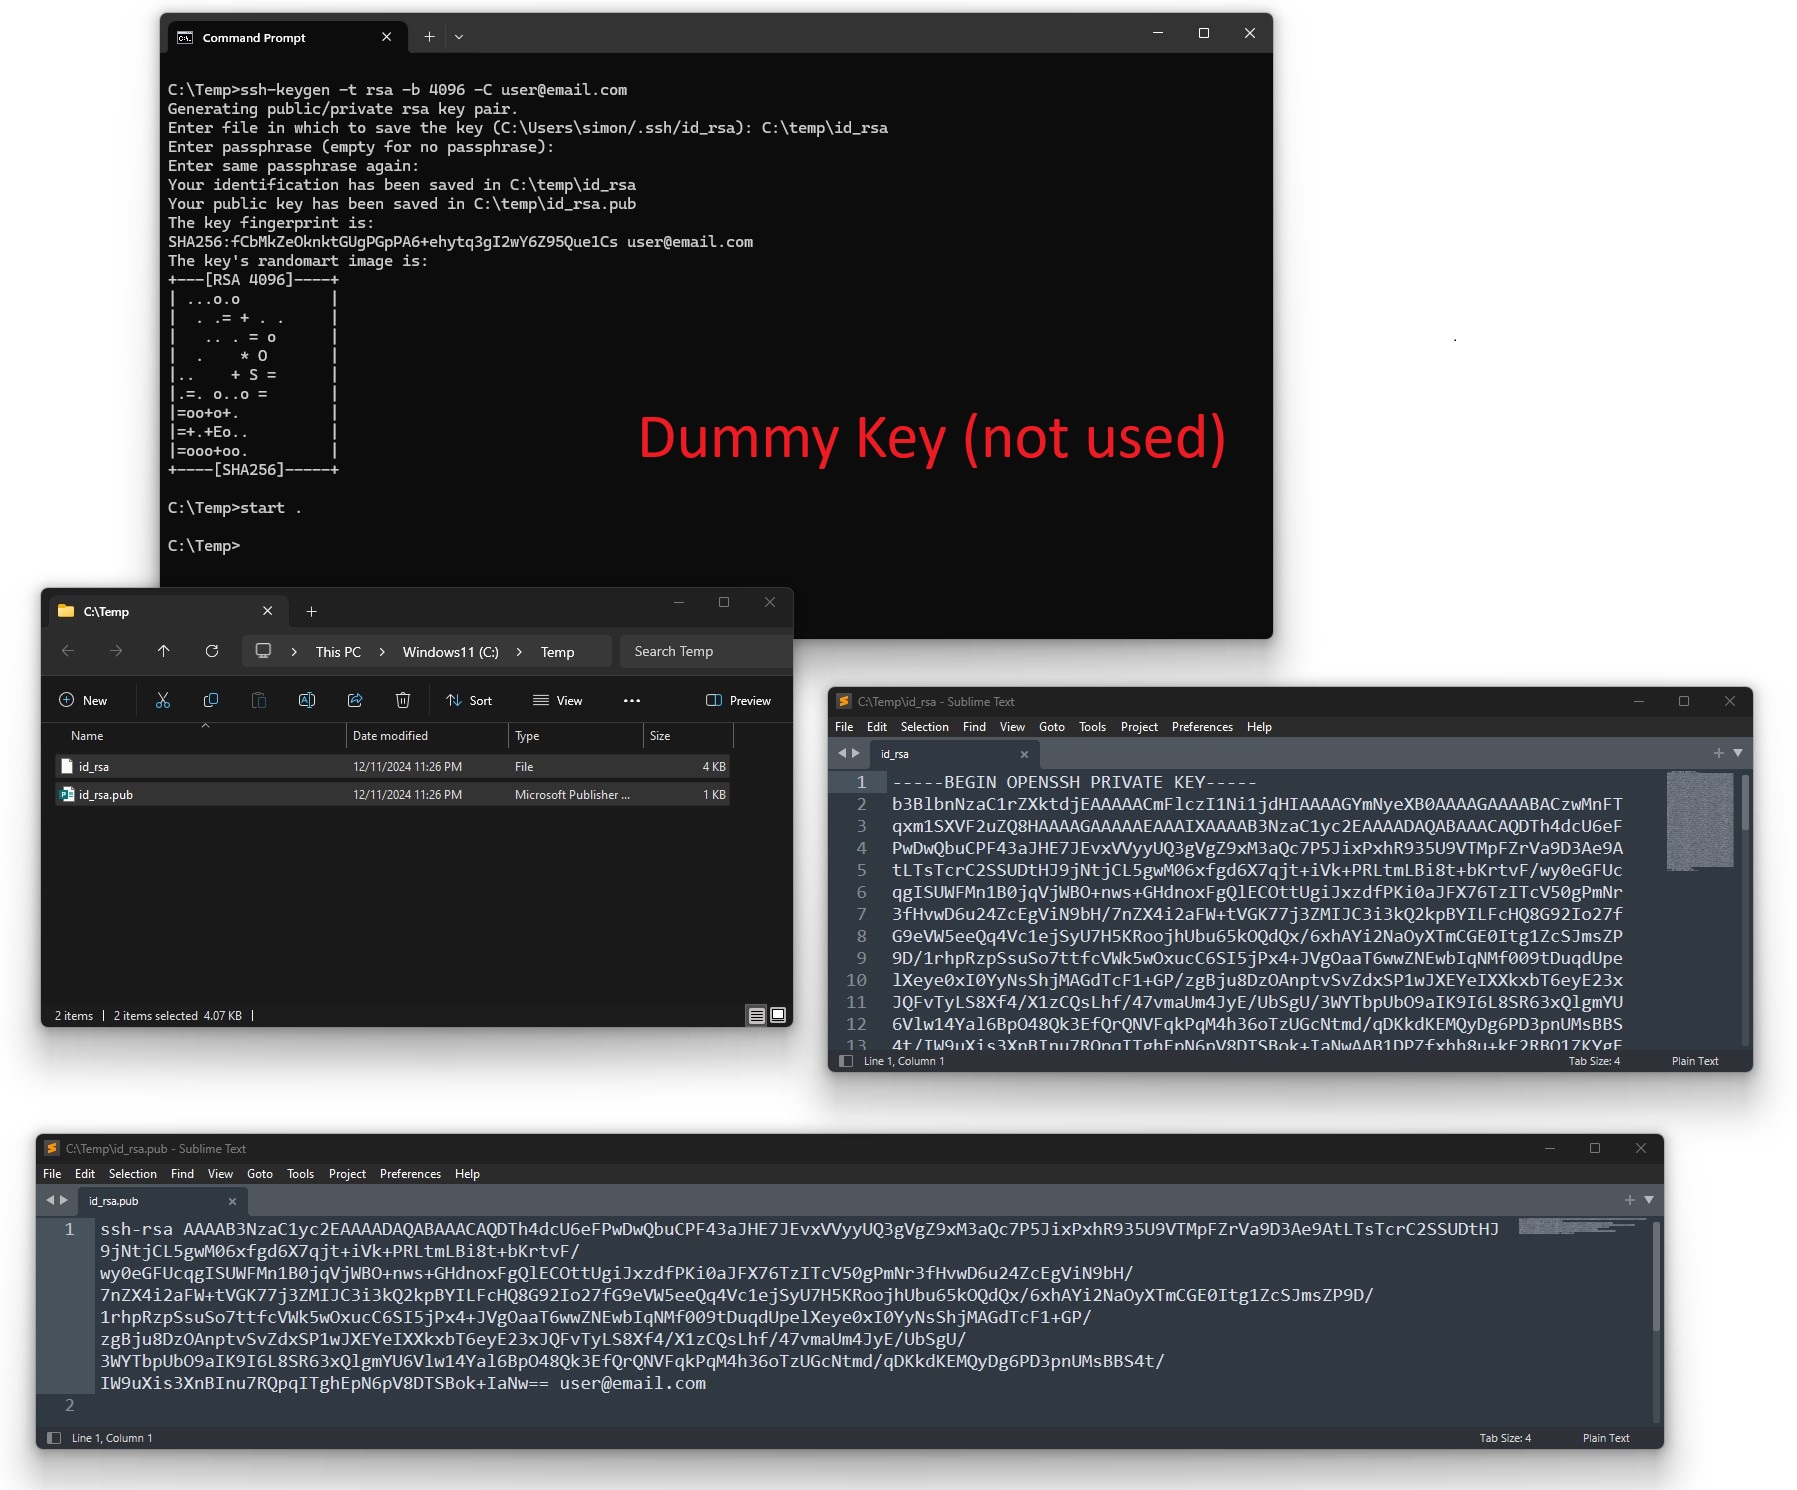
Command:
ssh-keygen -t rsa -b 4096 -C user@domain.com
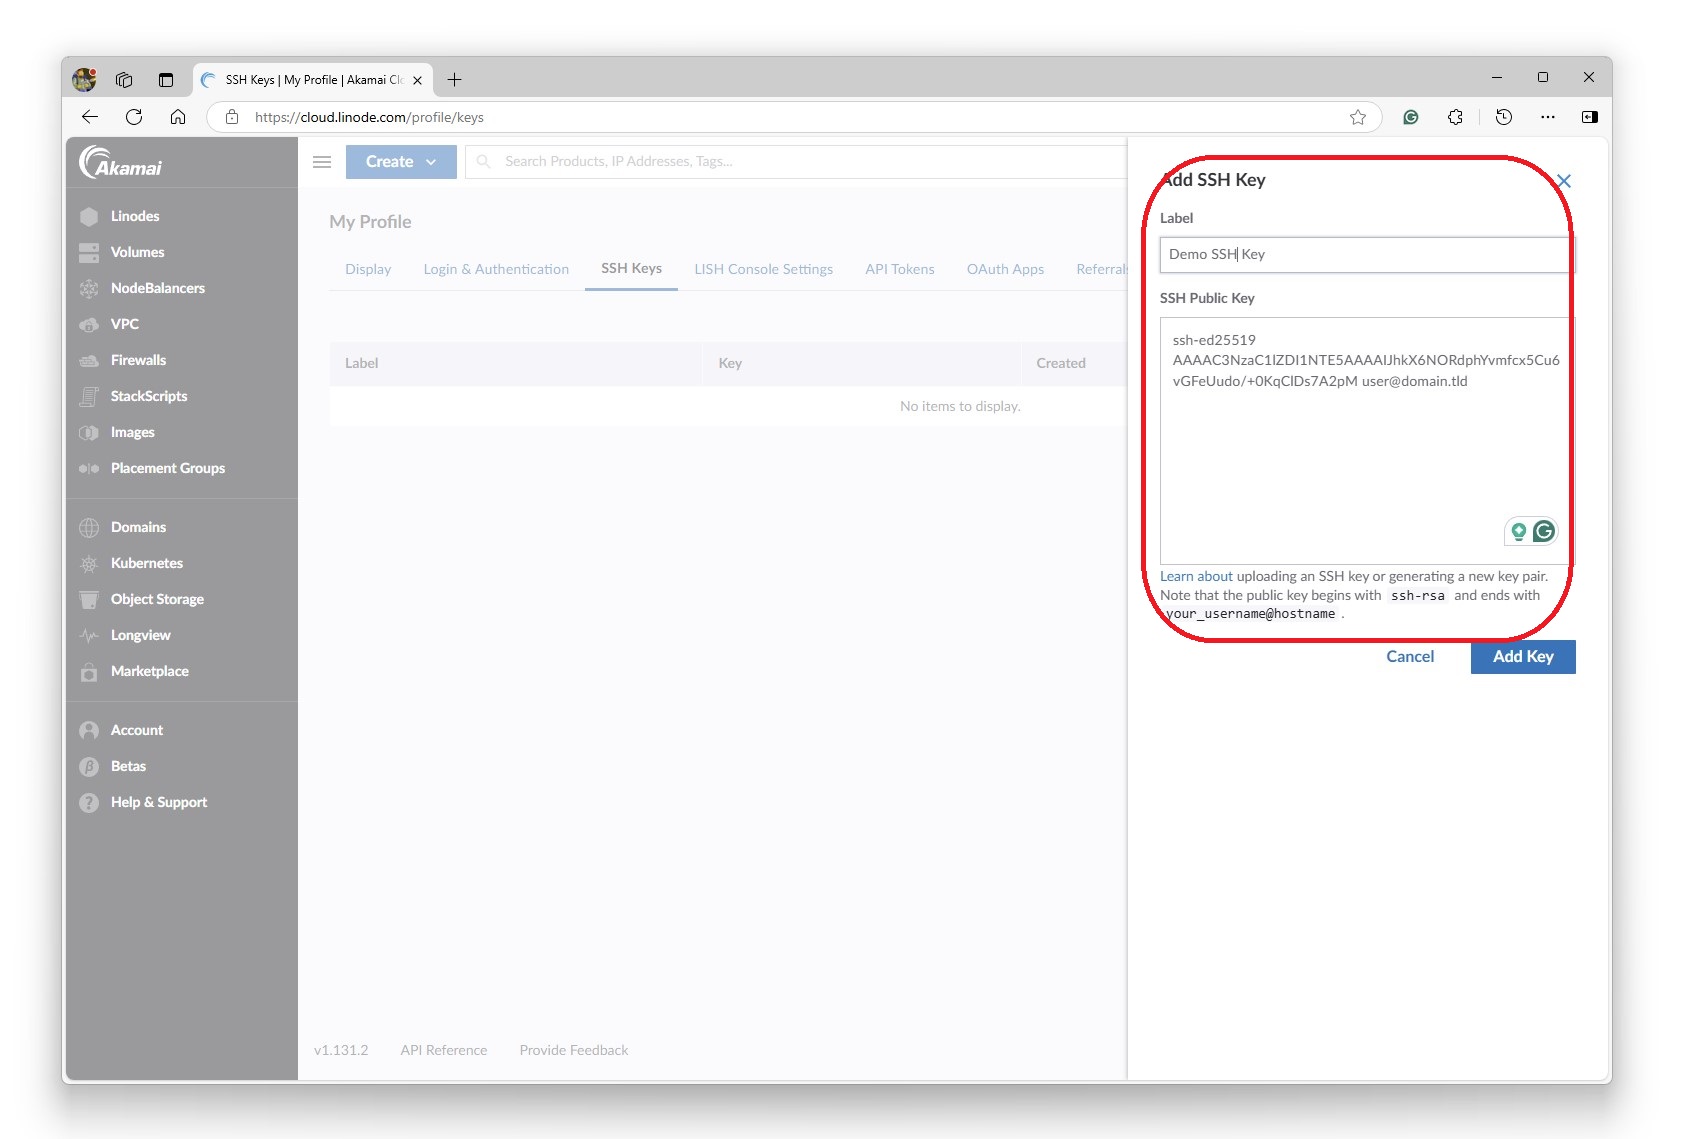
I added the public key to the Profile

Paste and save
I registered a temporary https://fearby.net domain via https://porkbun.com/a> in case I needed it while setting up a host ready to receive https//fearby.com.
I had access to my nameserver DNS records
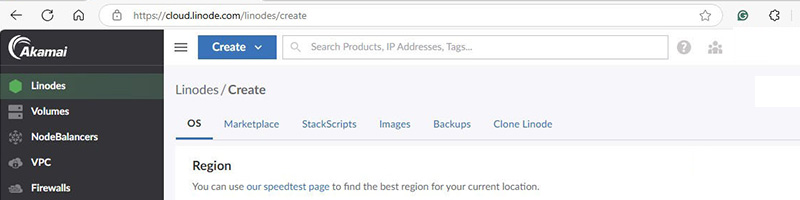
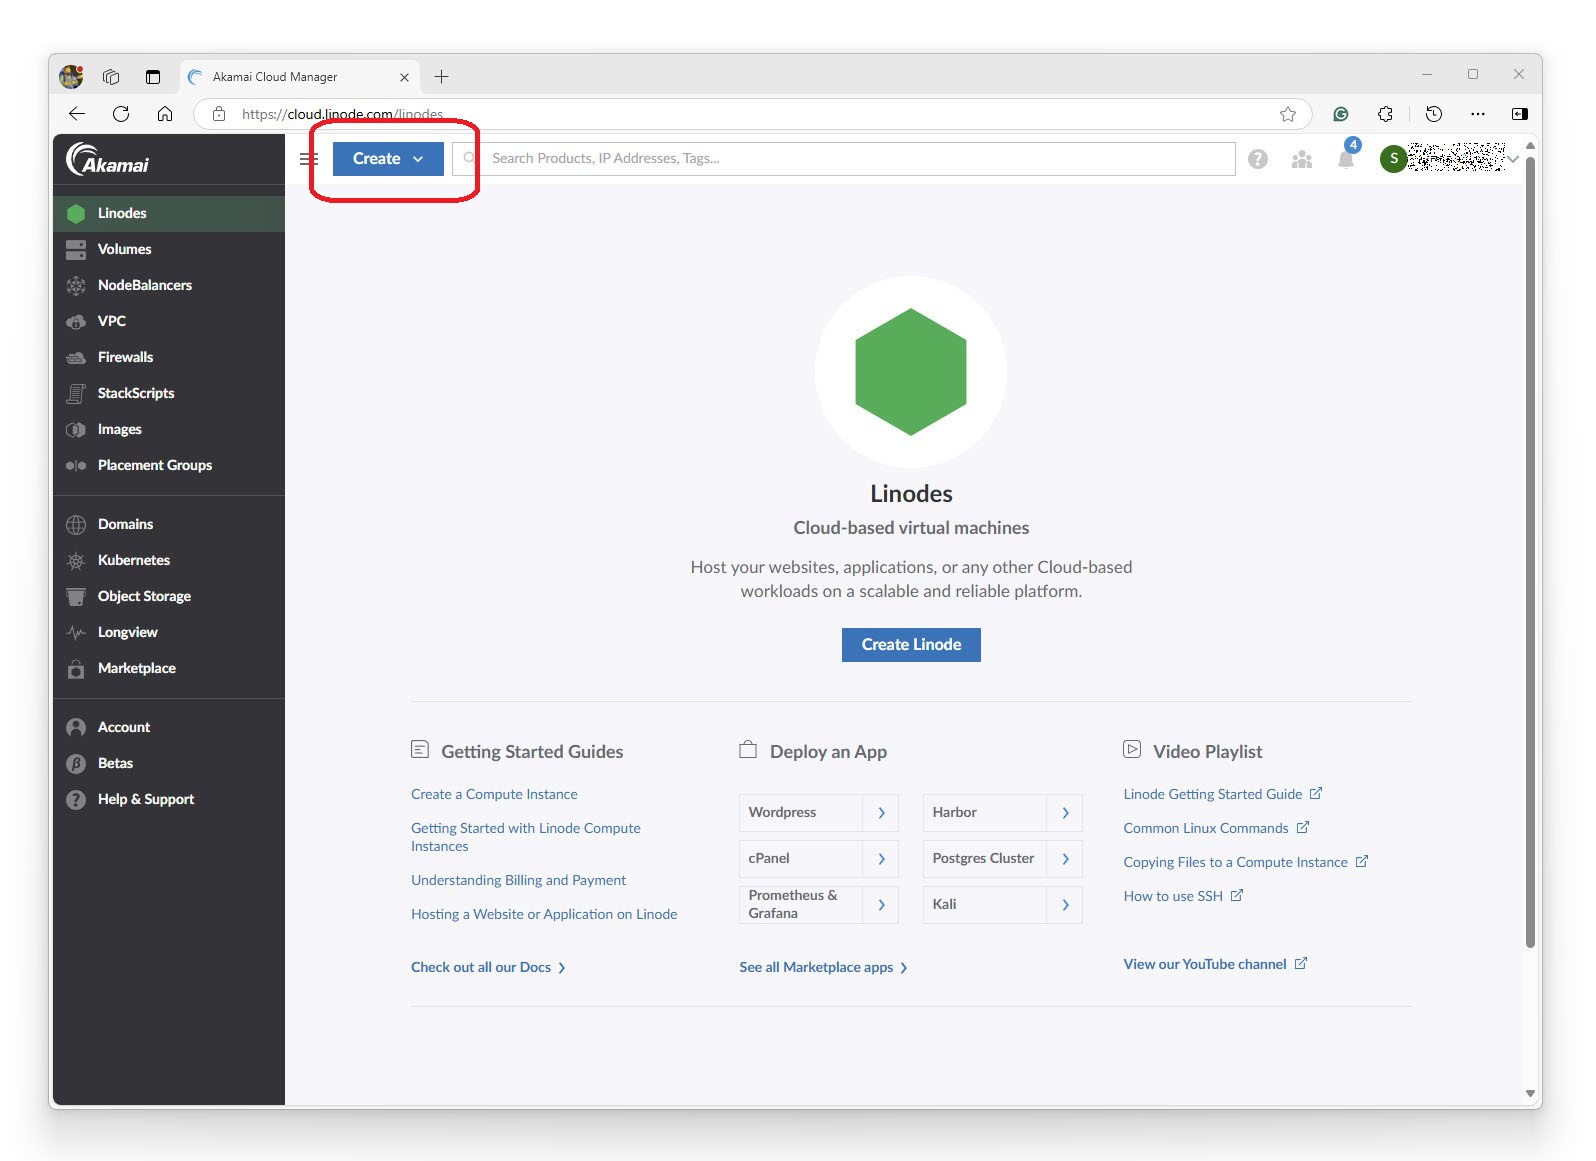
Creating a Linode Server
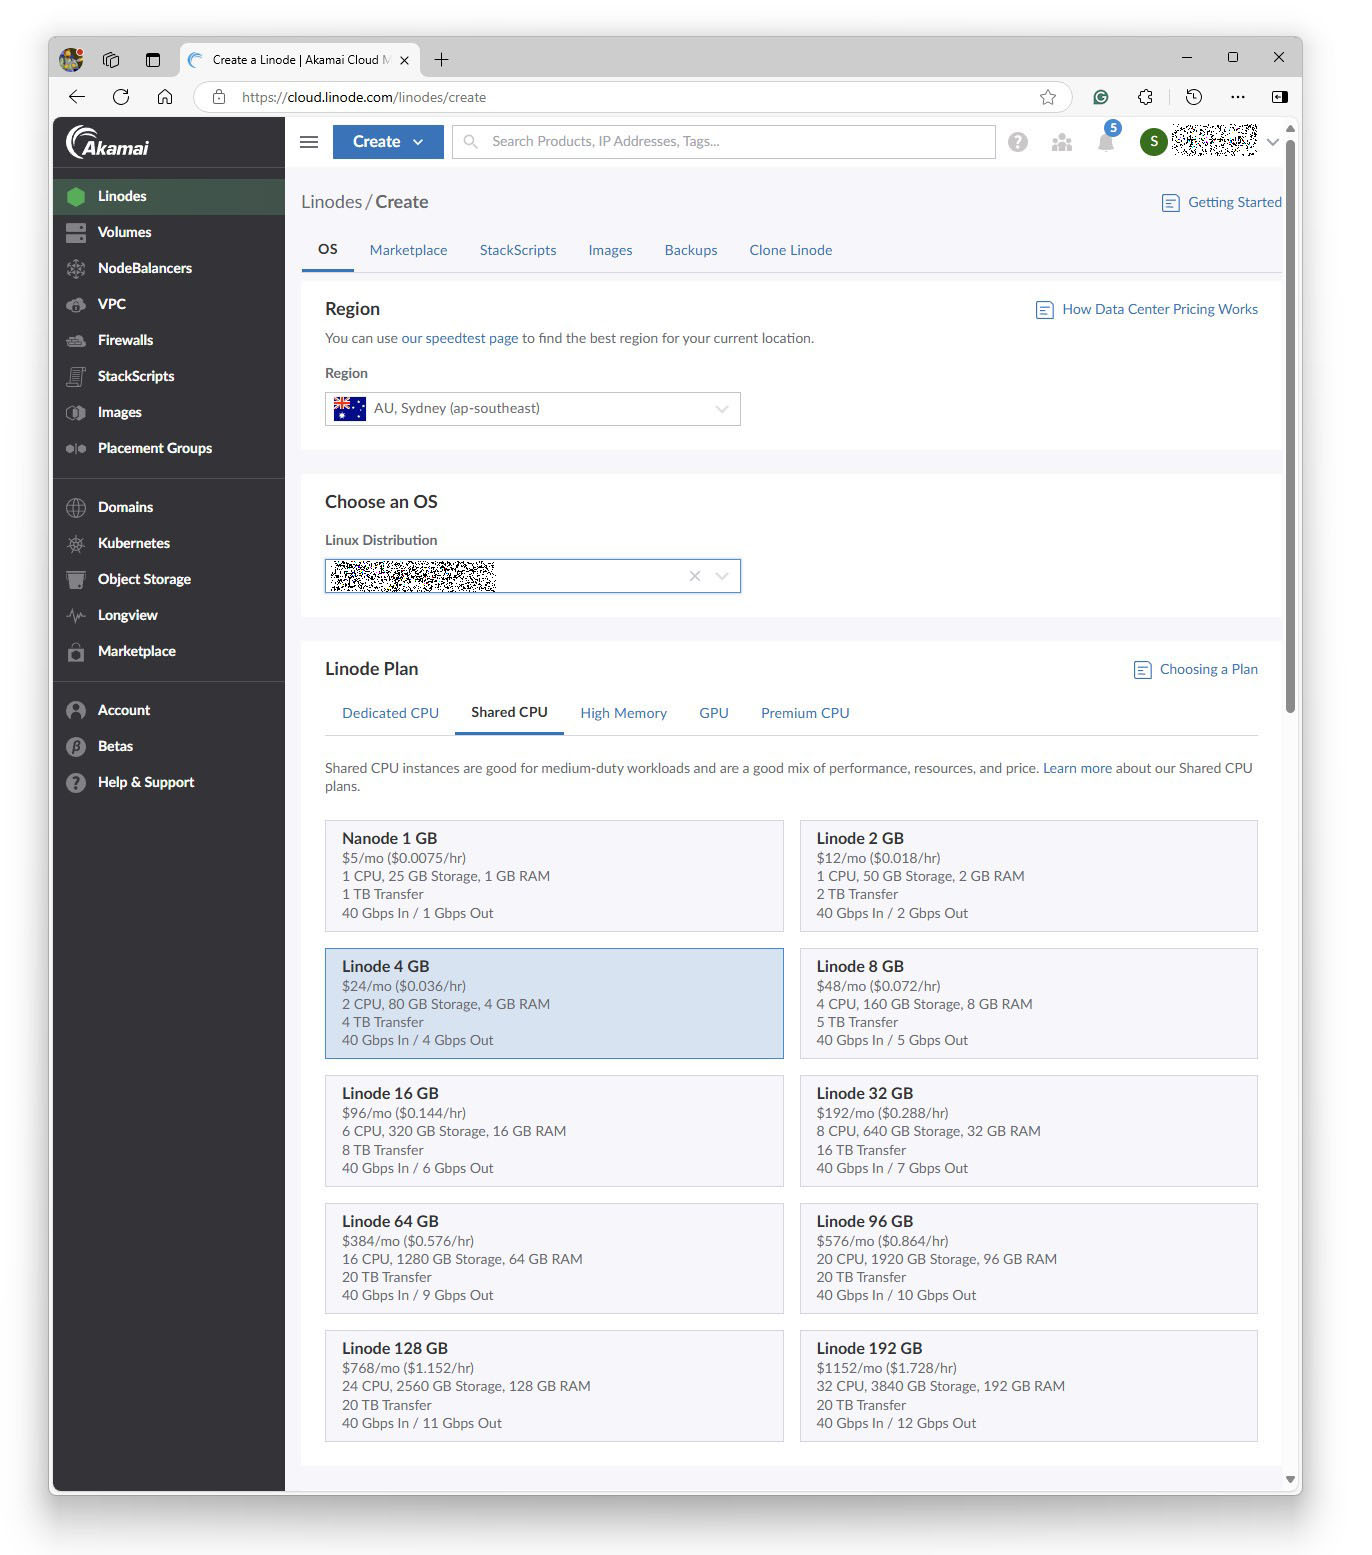
I clicked create at Create a Linode | Akamai Cloud Manager
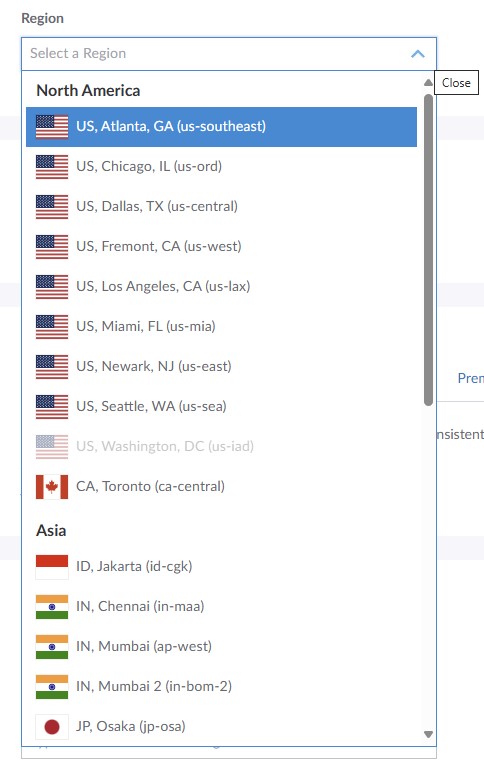
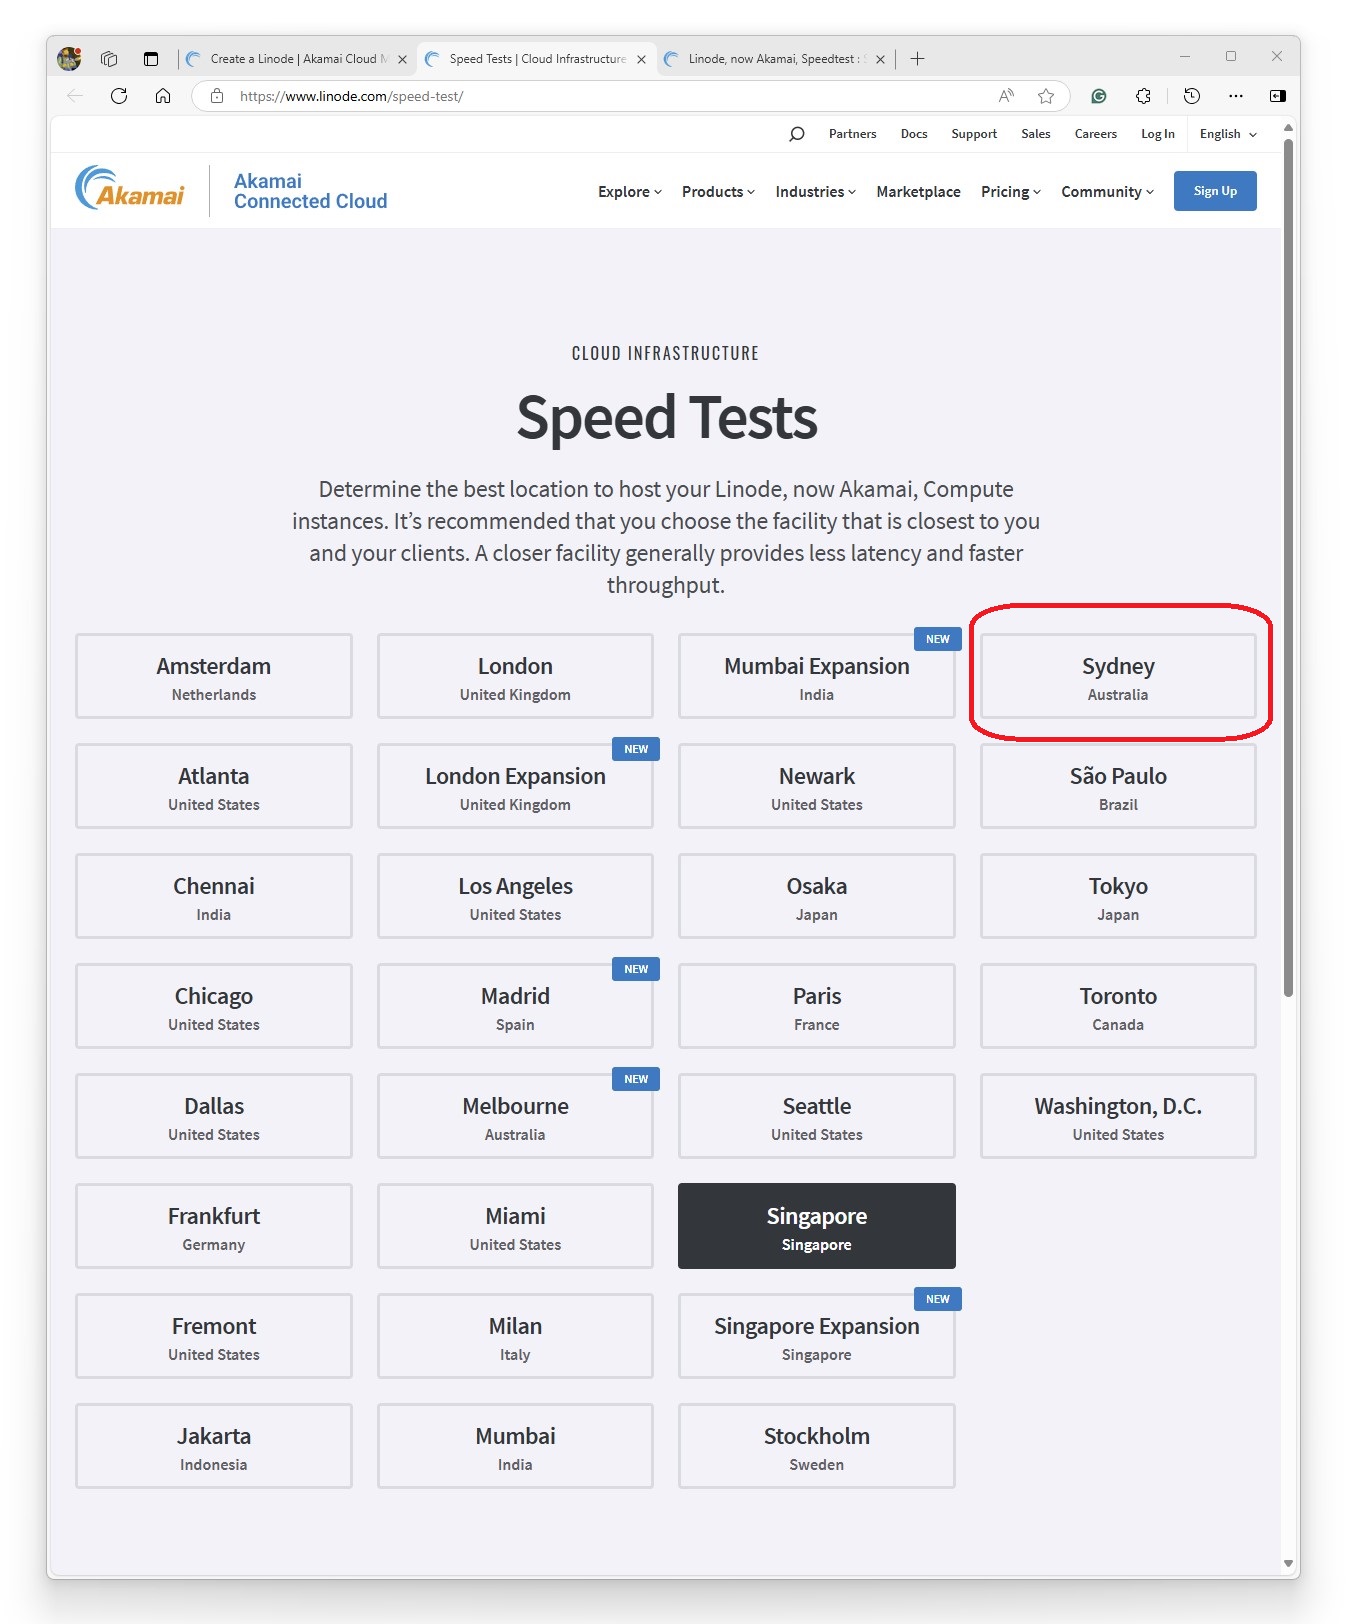
I reviewed the best region where the server will be hosted and the pricing.
Linode has a https://www.linode.com/speed-test/ page that allows you to measure the speed from your PC to the data centre.
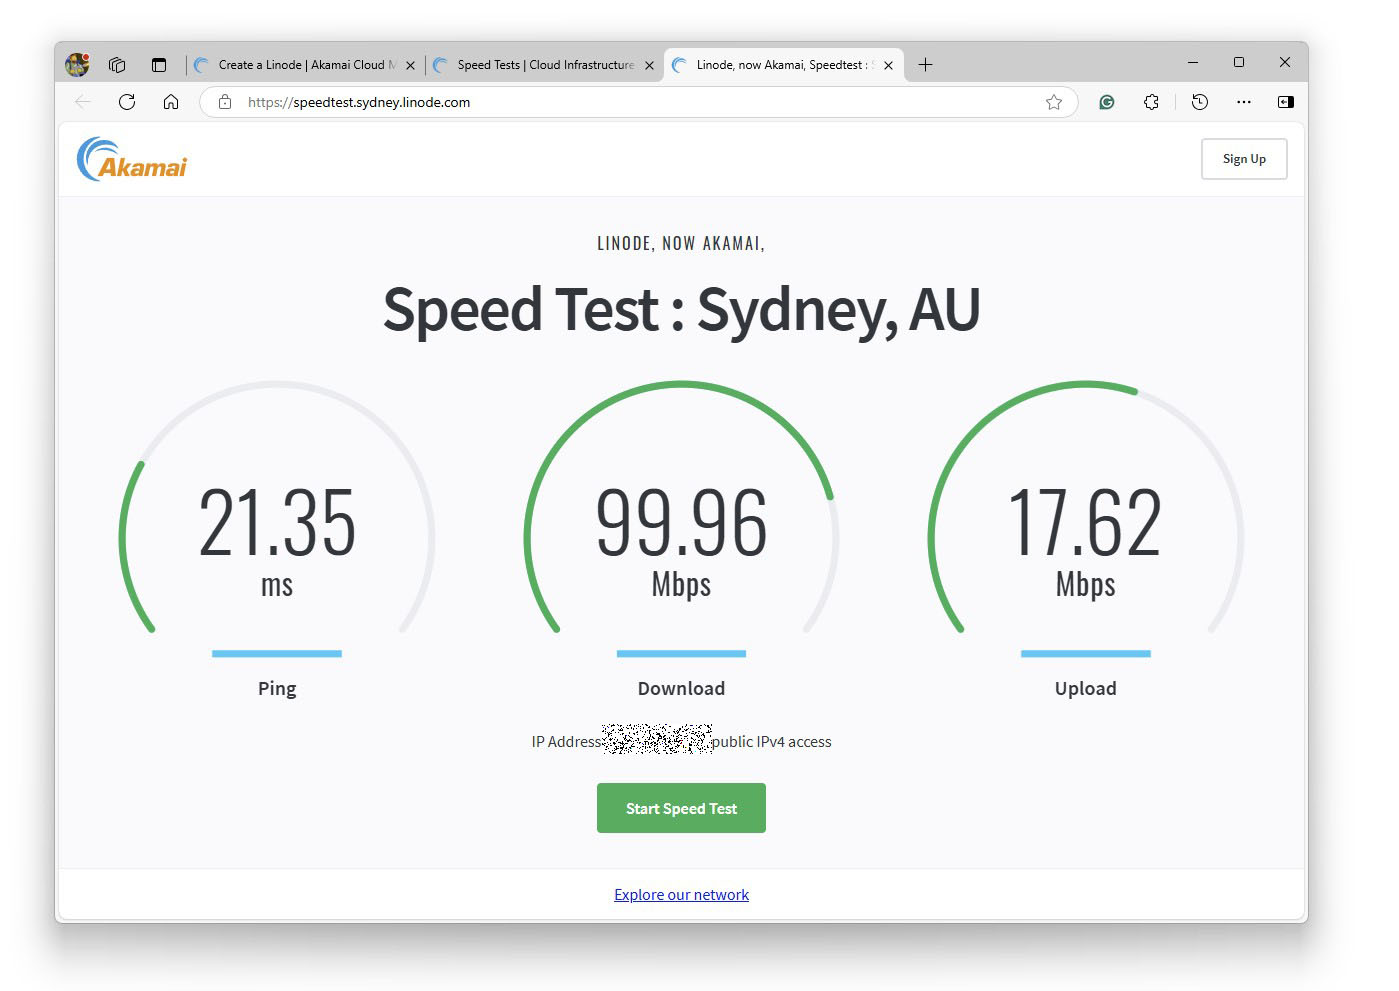
I decided to host in Sydney, Australia.
I set the label for my server, added some tags and linked the pre-uploaded SSH key.
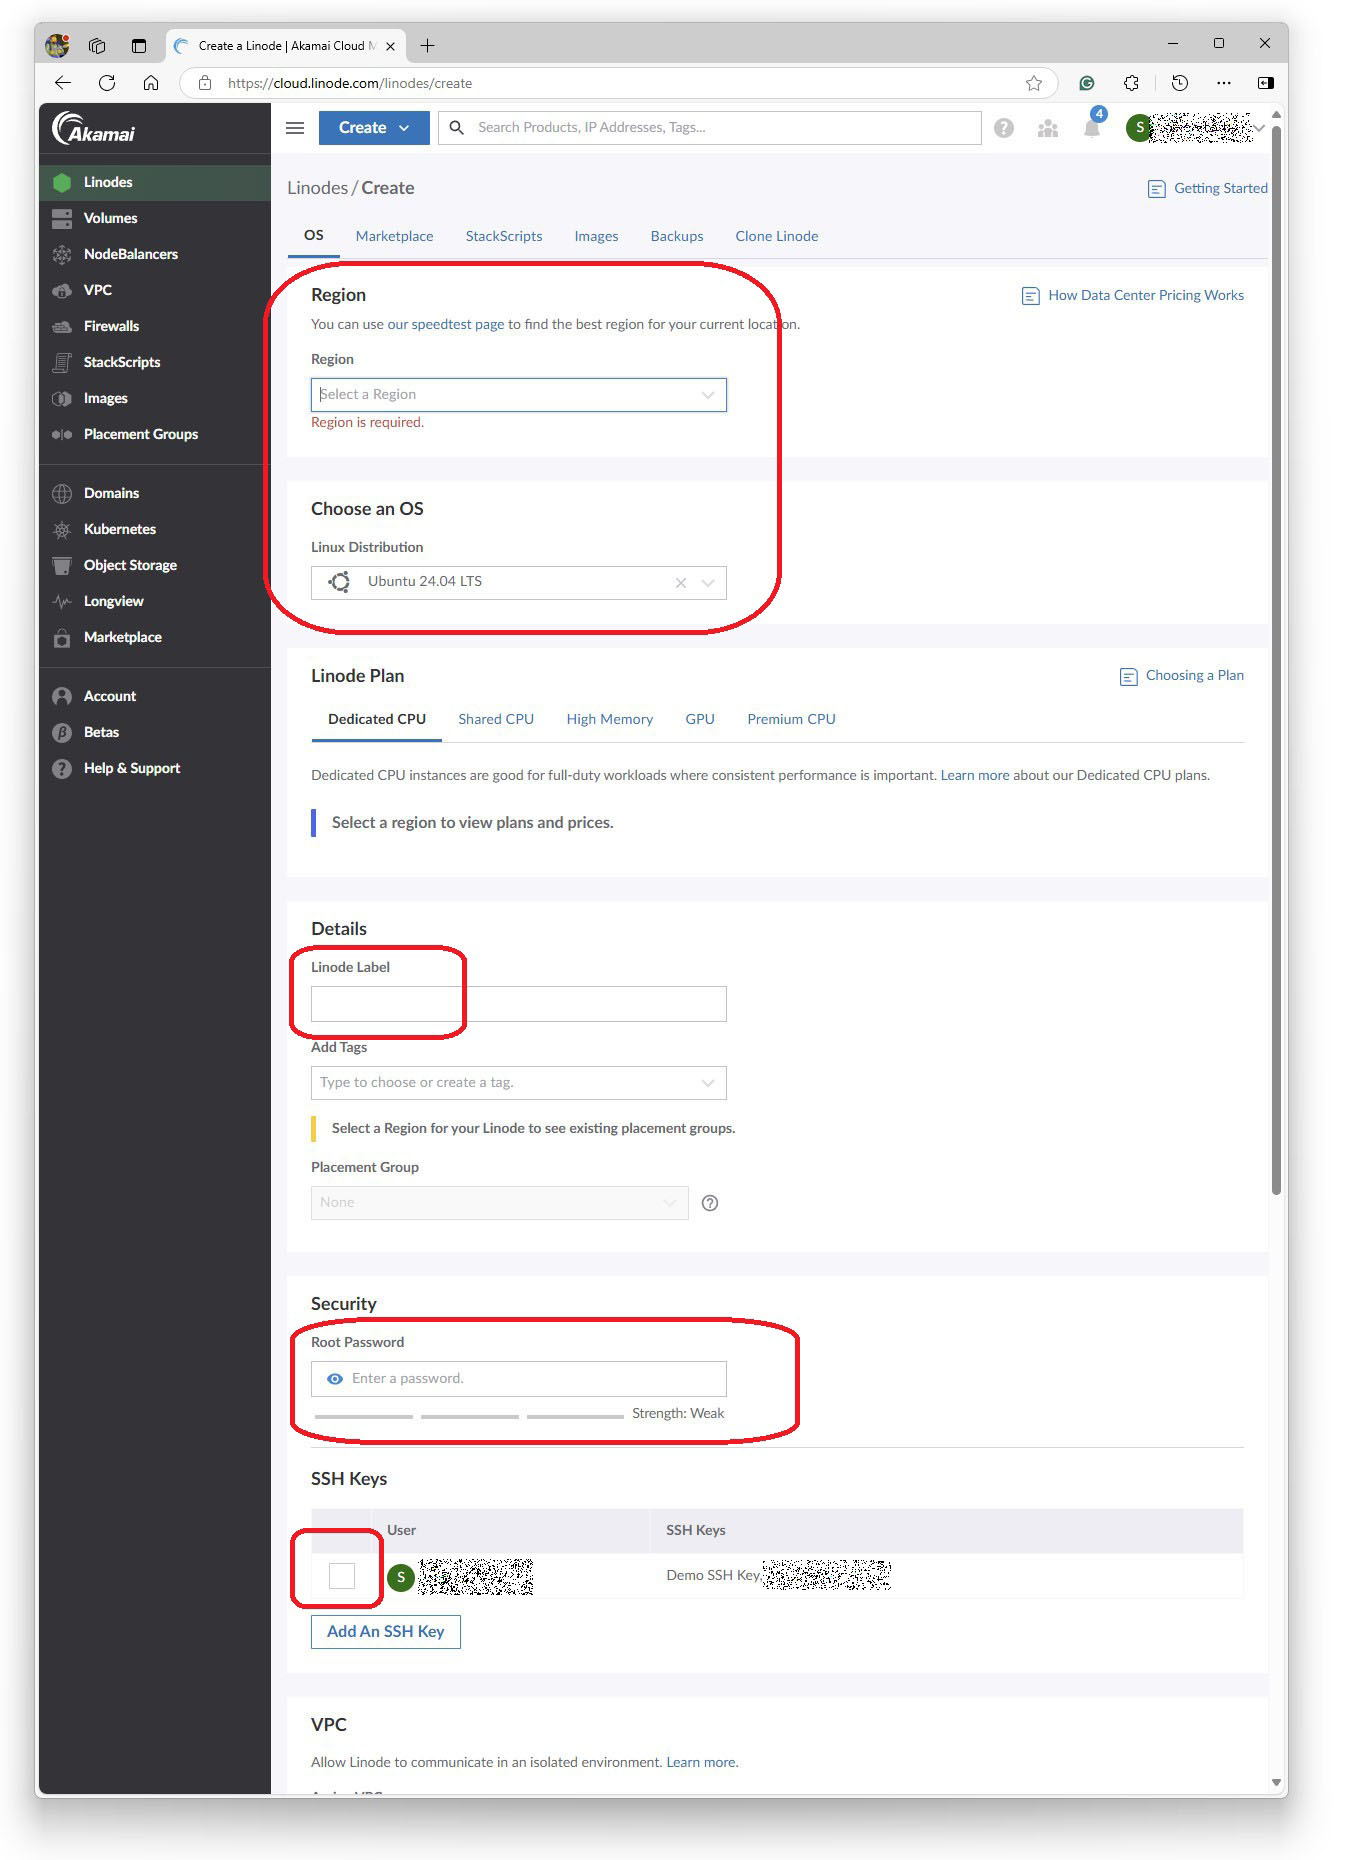
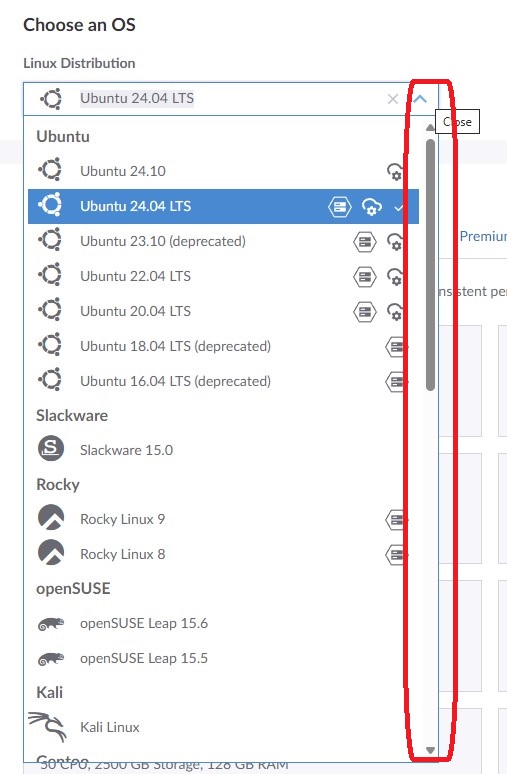
I chose my Linux Distribution
I reviewed the dedicated server plans.
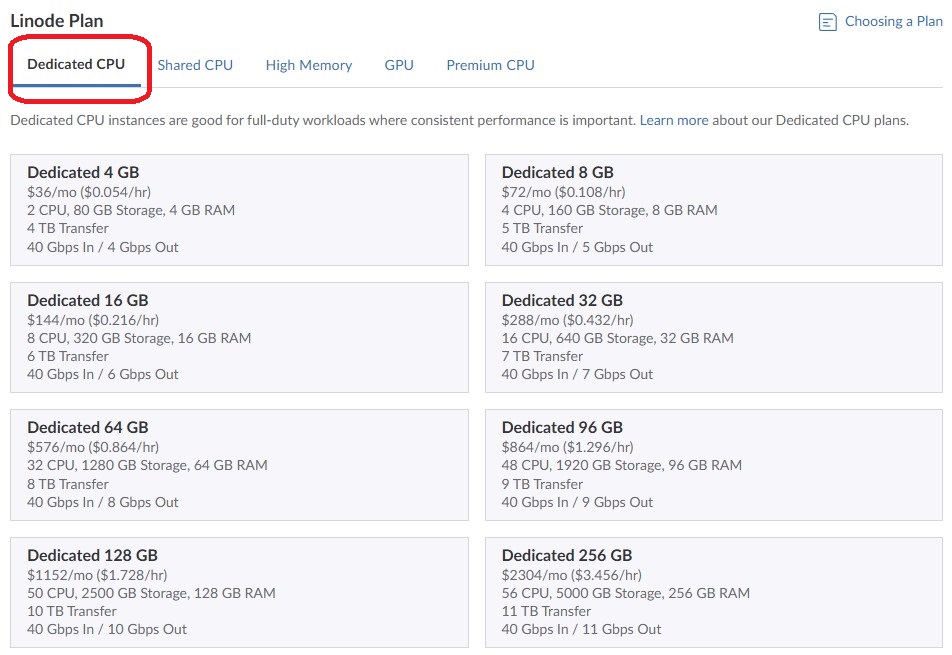
I do not need choose a dedicated processor so I selected Shared CPU.
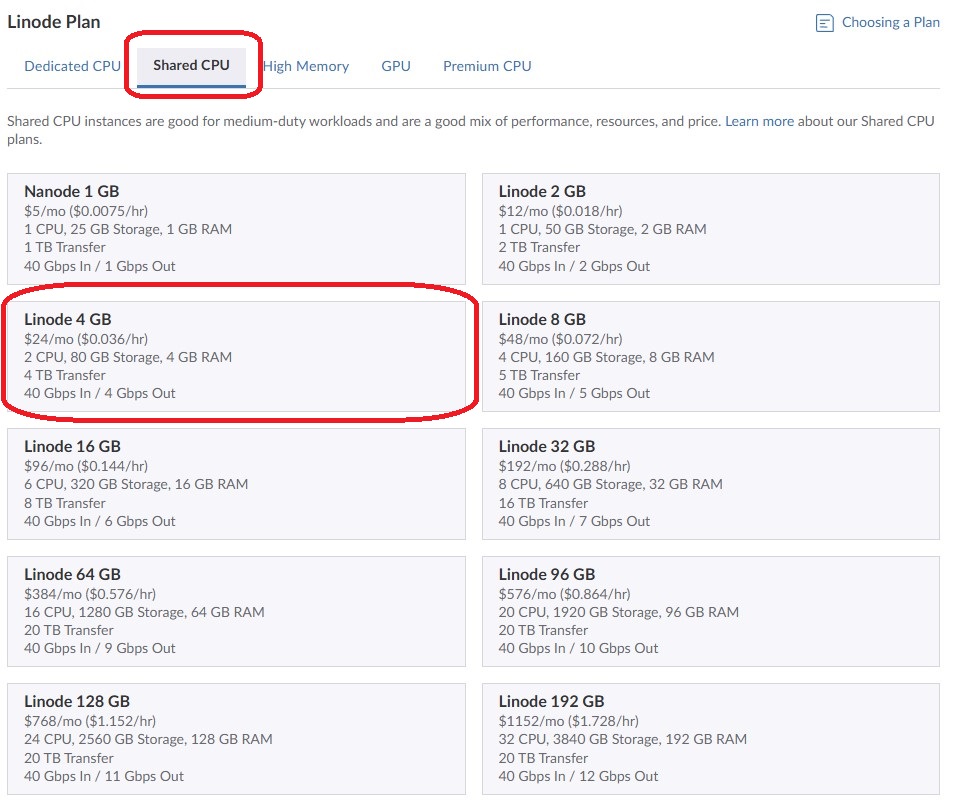
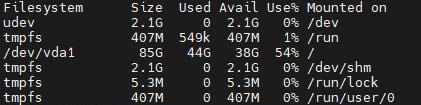
My existing server on UpCloud has 2 Cores, 4GB and 8GB storage

I was using 44GB
I locked in the plan I needed
I set a Linux root password
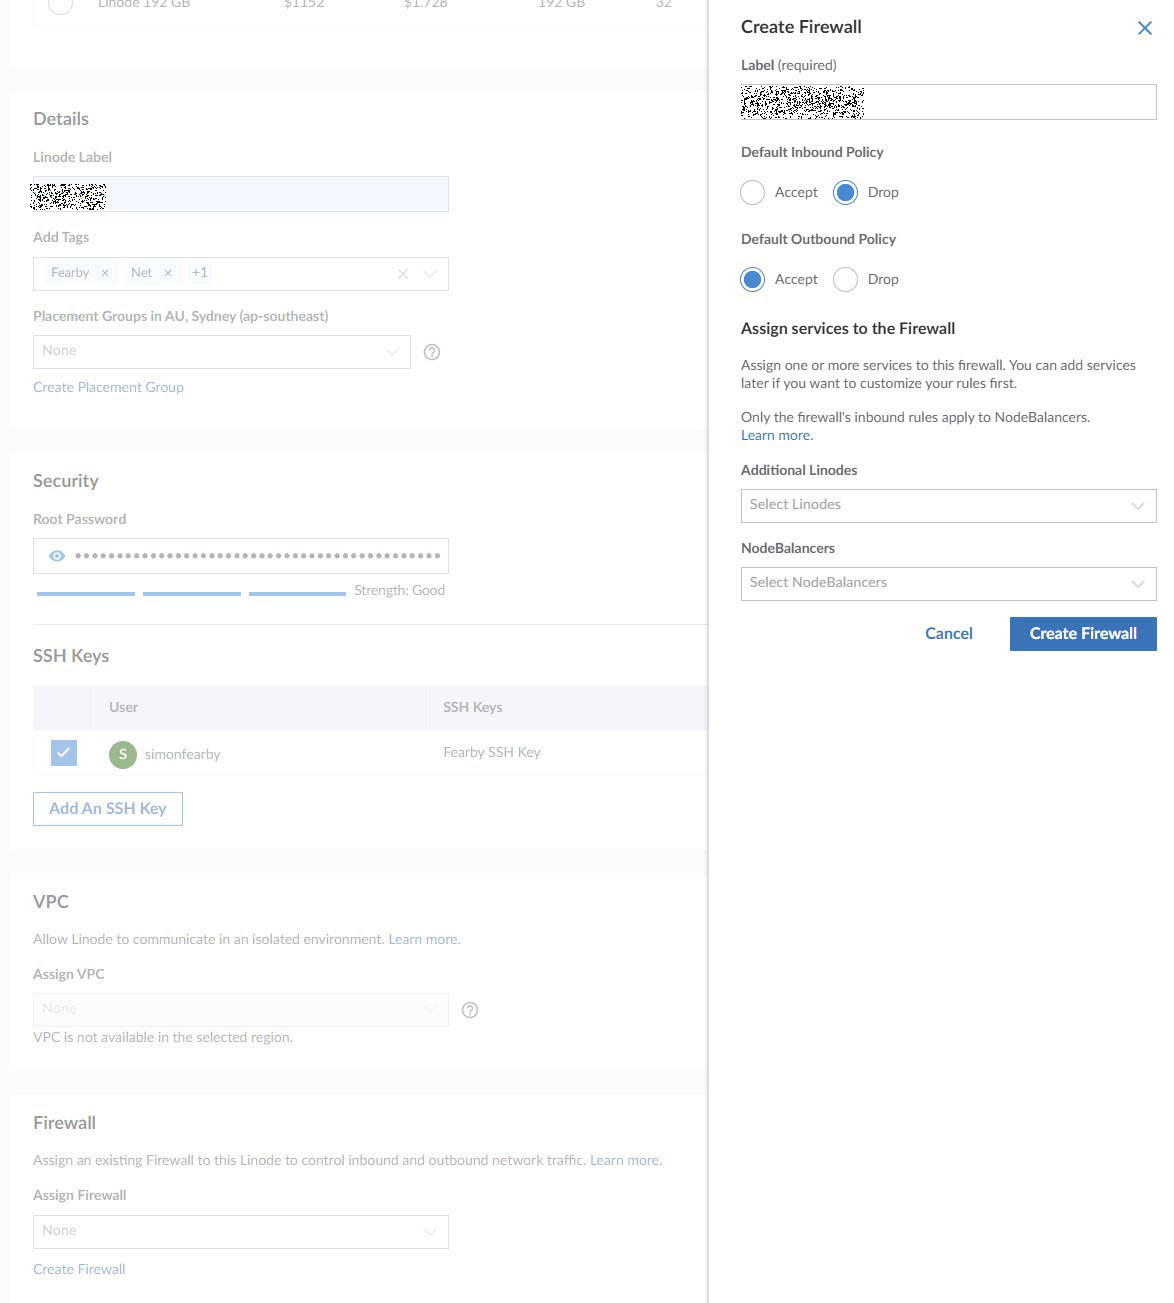
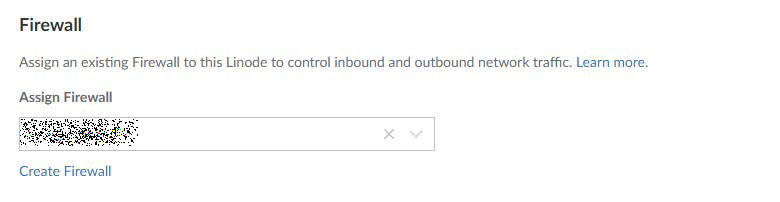
I created a firewall.
I enabled backups for $5/m and set a label and tags for the server
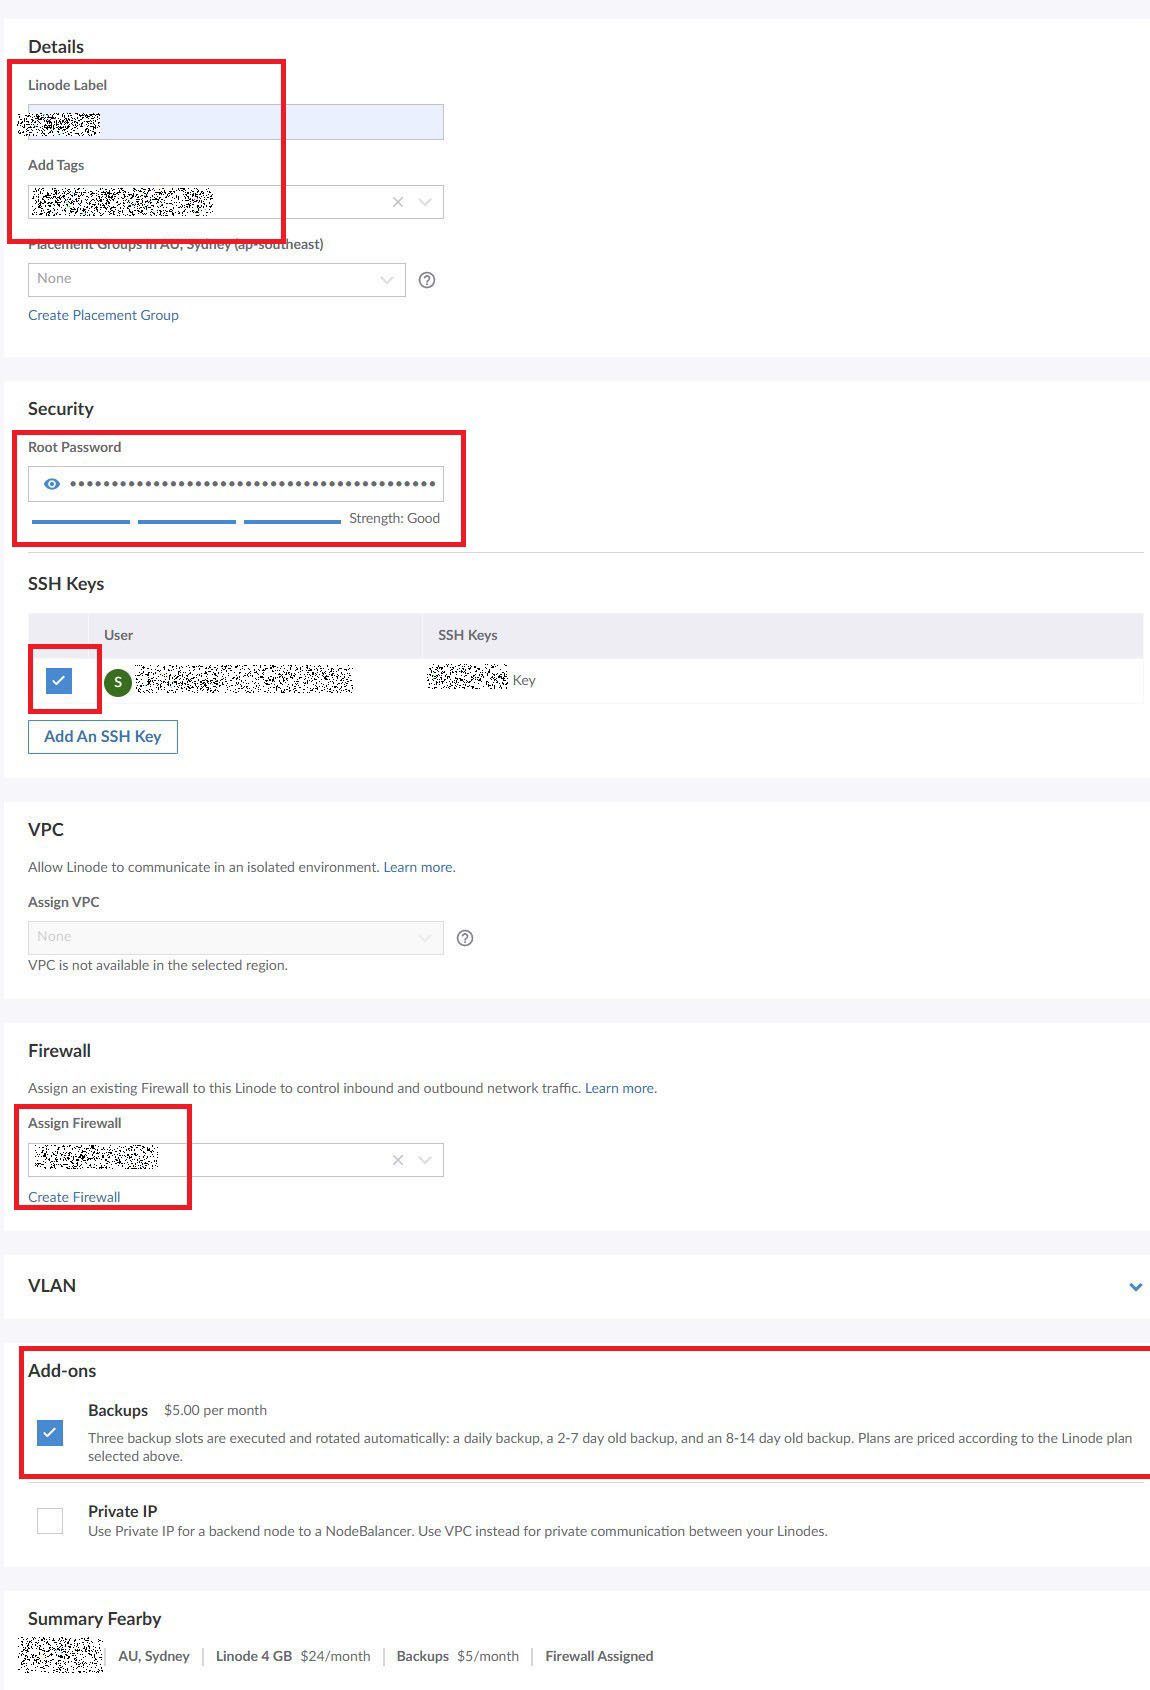
I clicked Create Linode.

The server took a few minutes to provision.
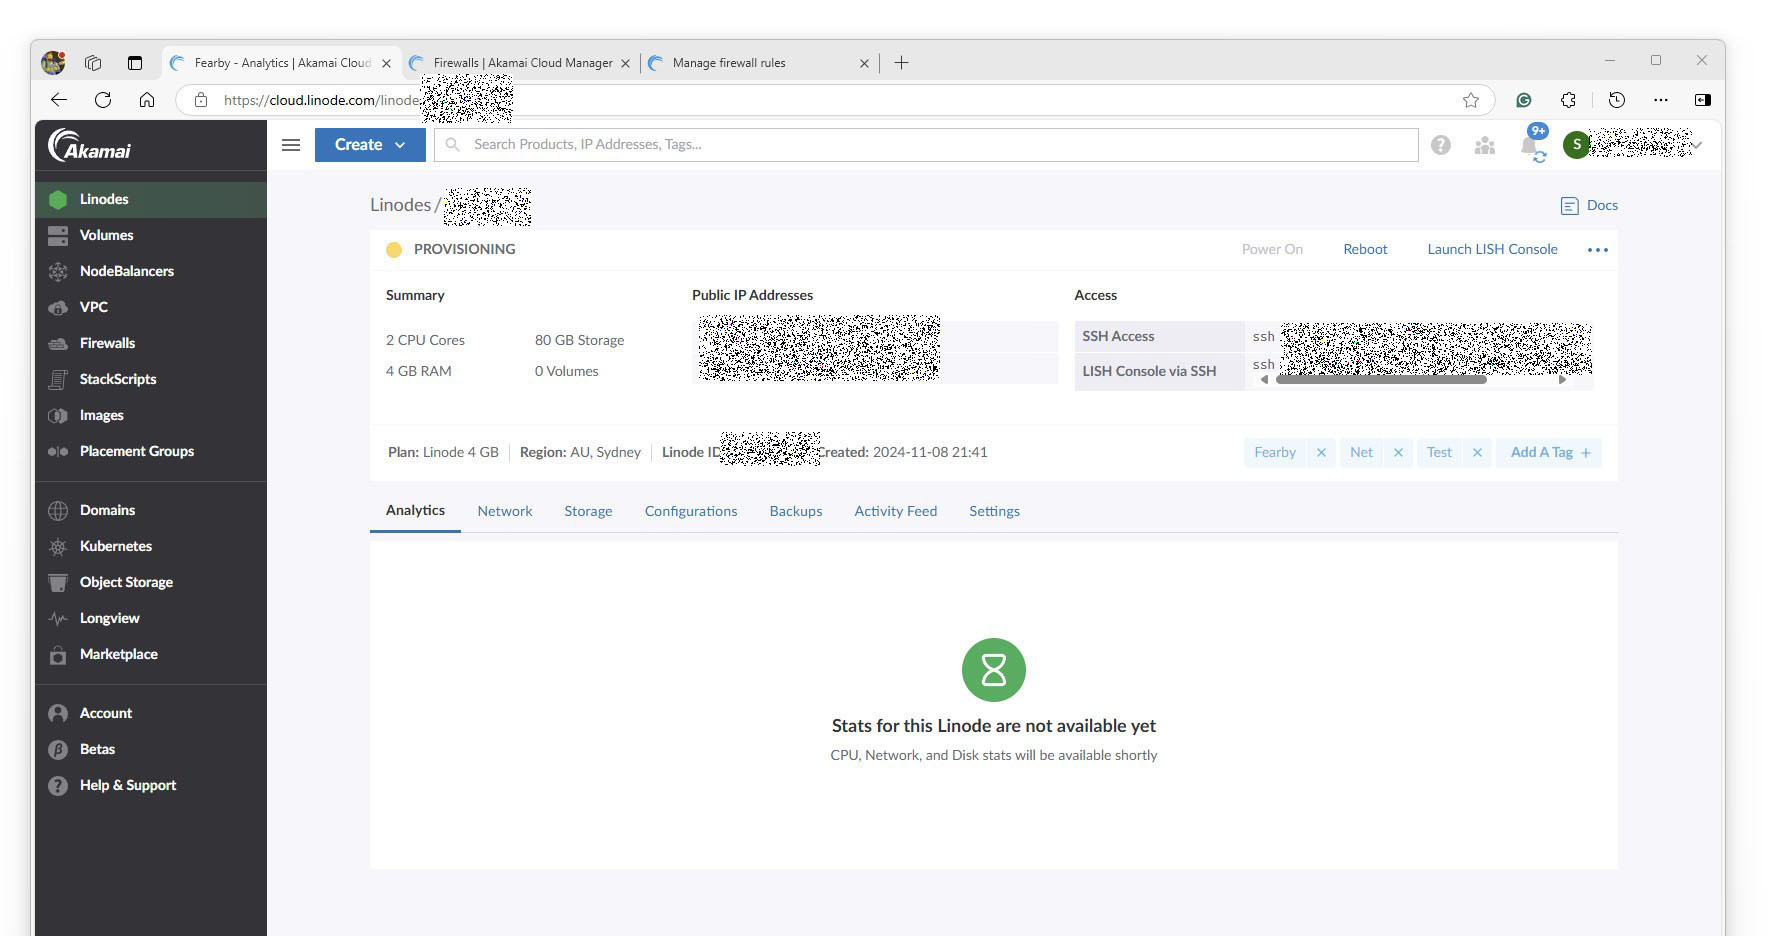
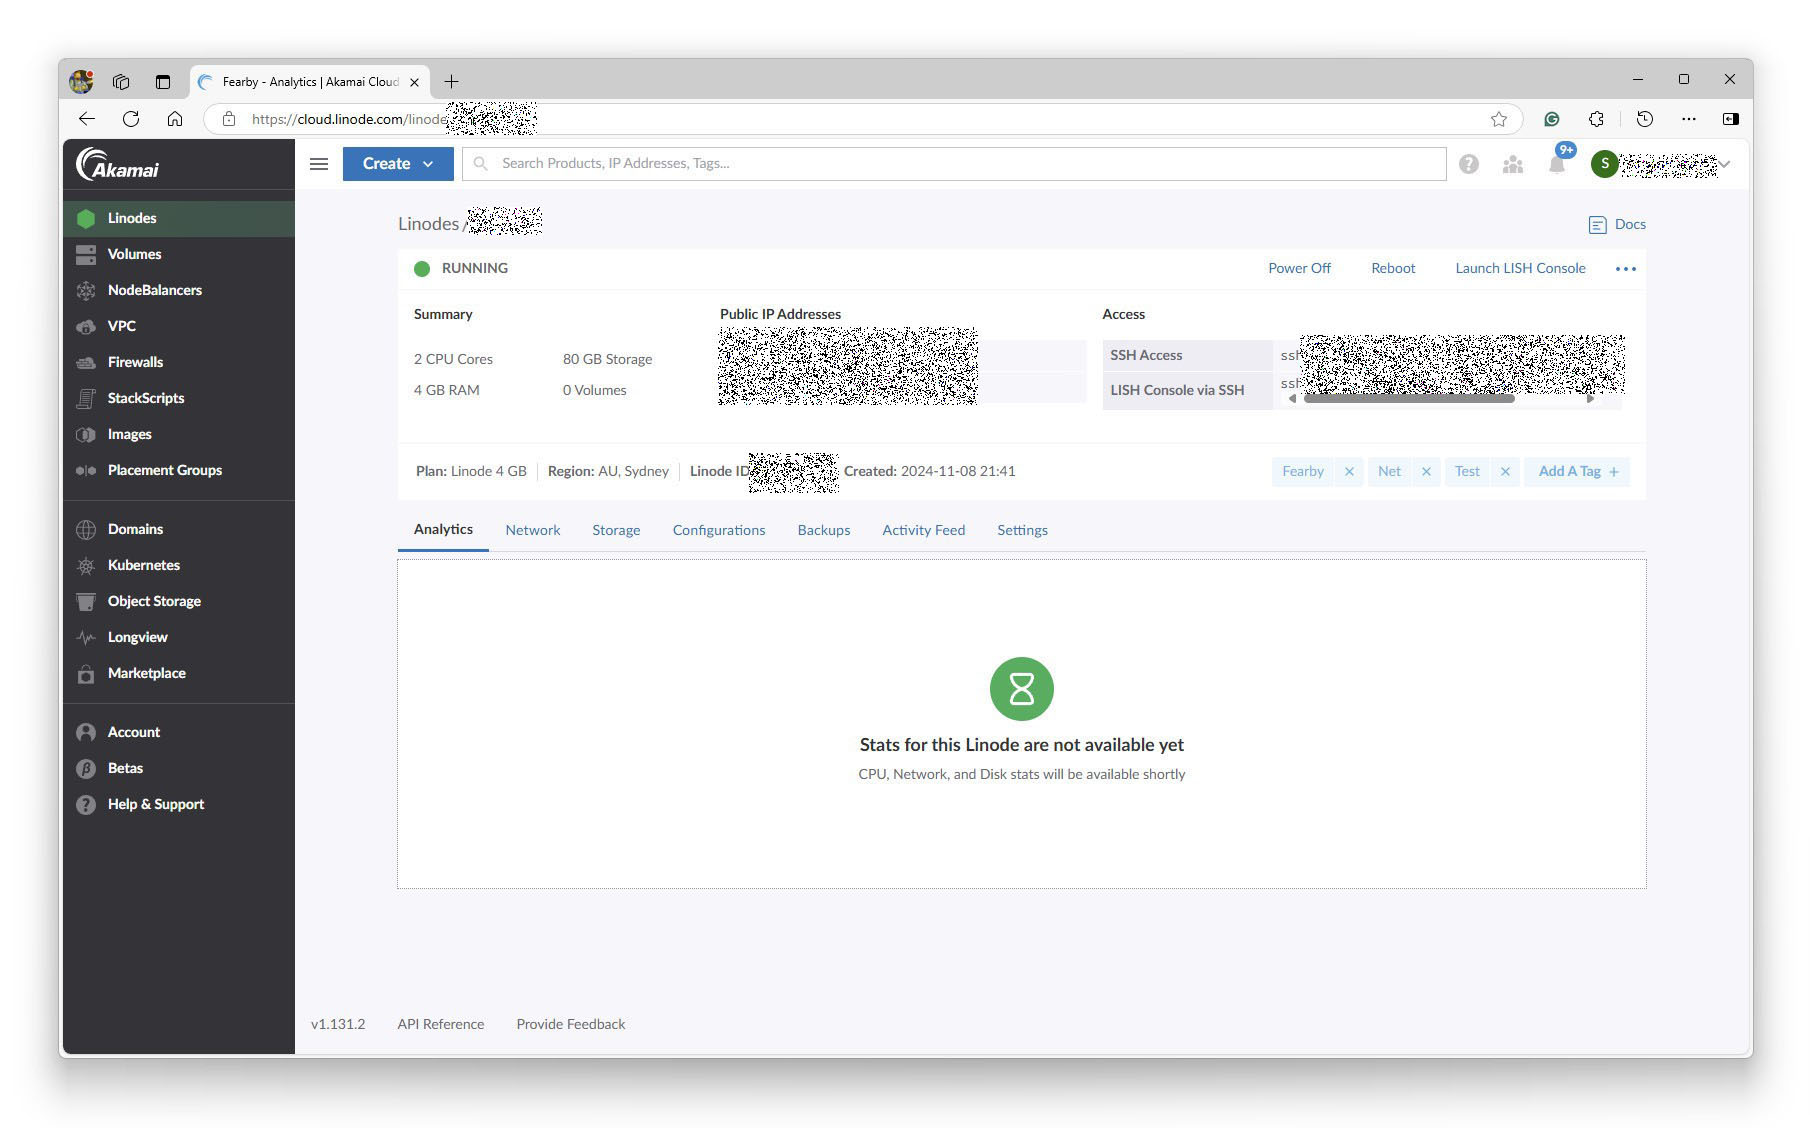
The server was up and running after a few minutes
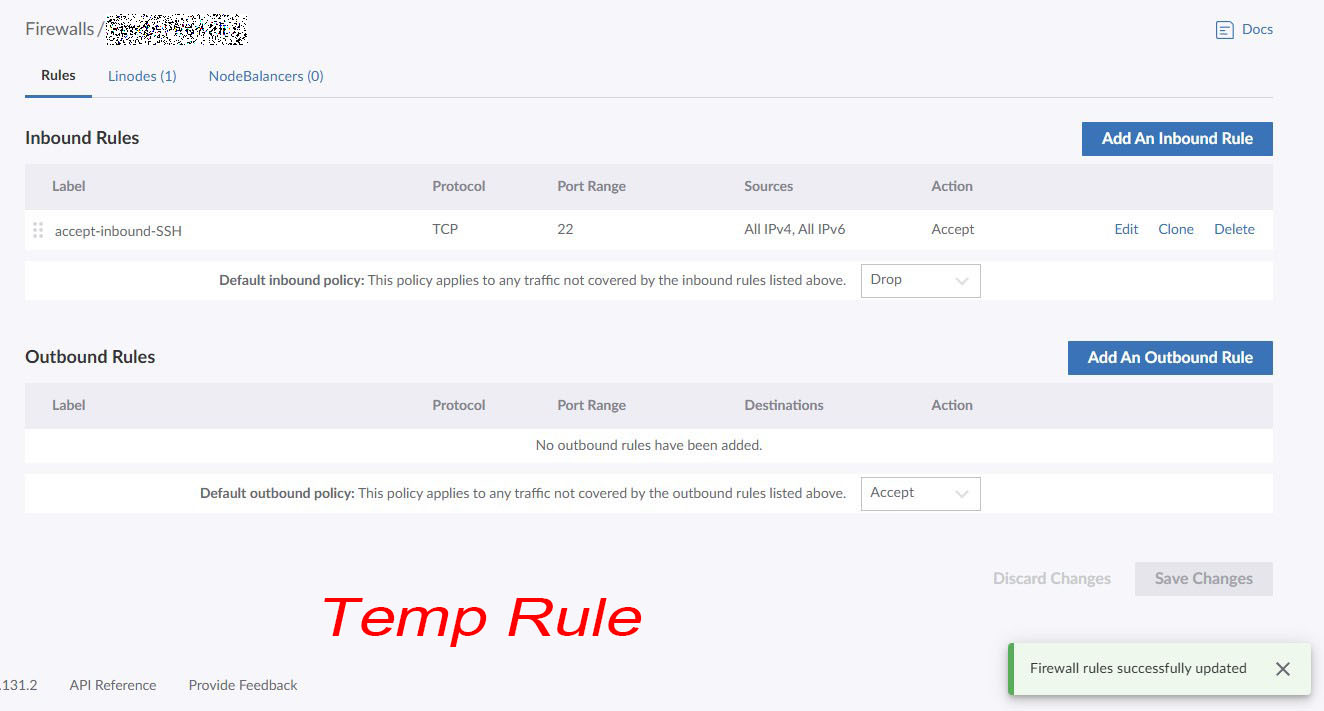
I reviewed the empty firewall rules
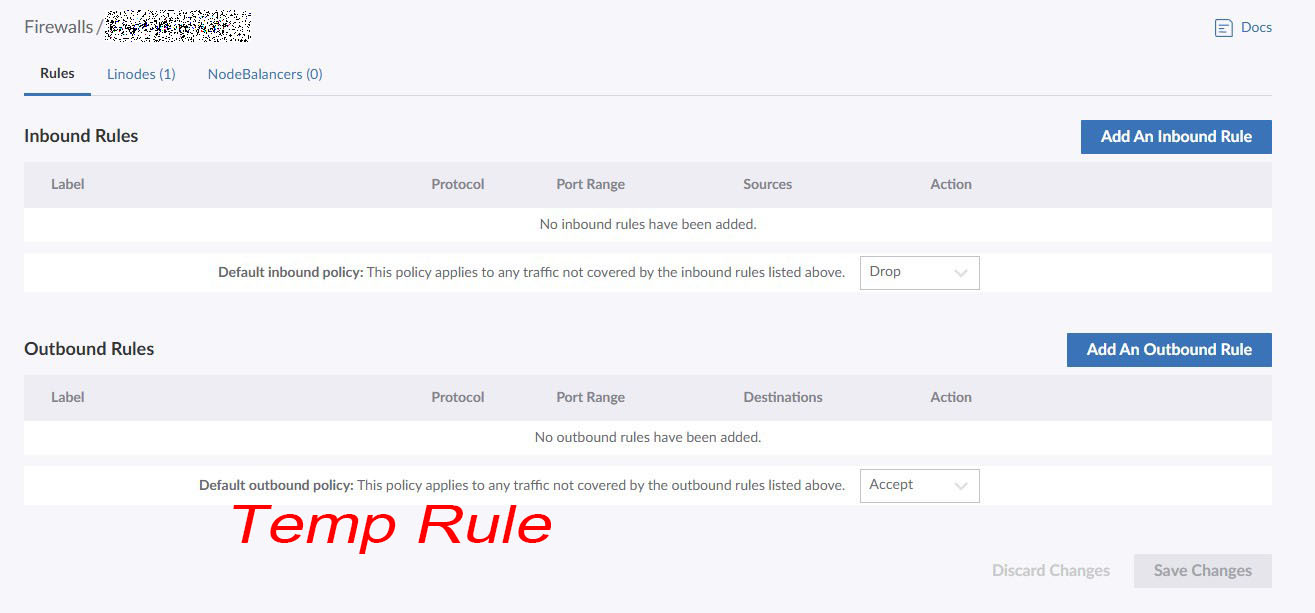
I temporarily added a rule to allow SSH traffic so I can get to the server and lock it down fast.
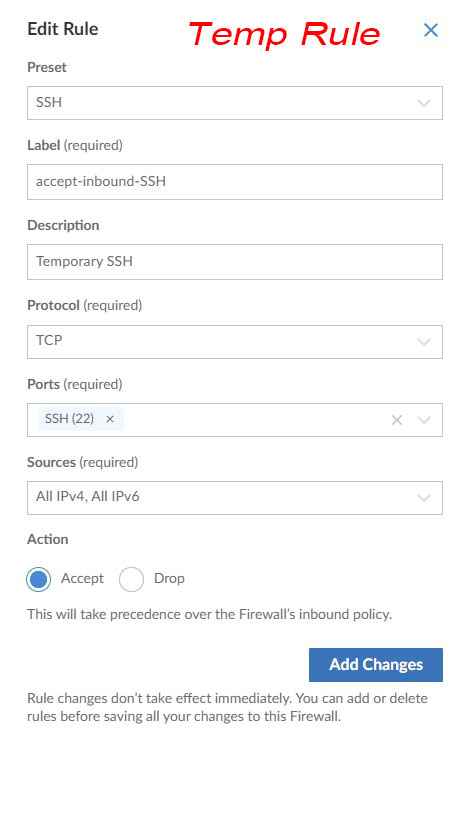
All firewall rules.
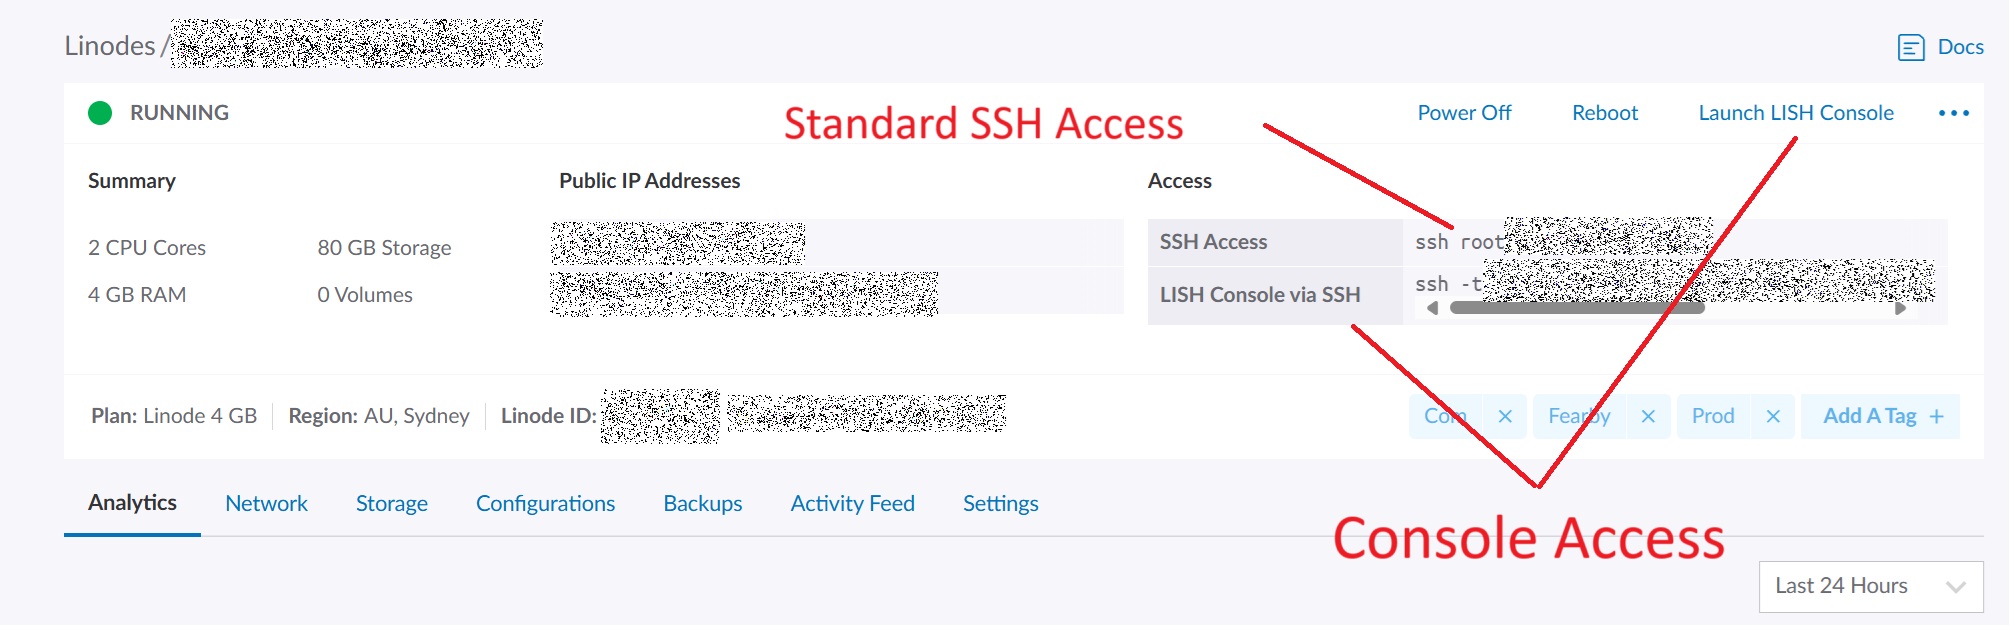
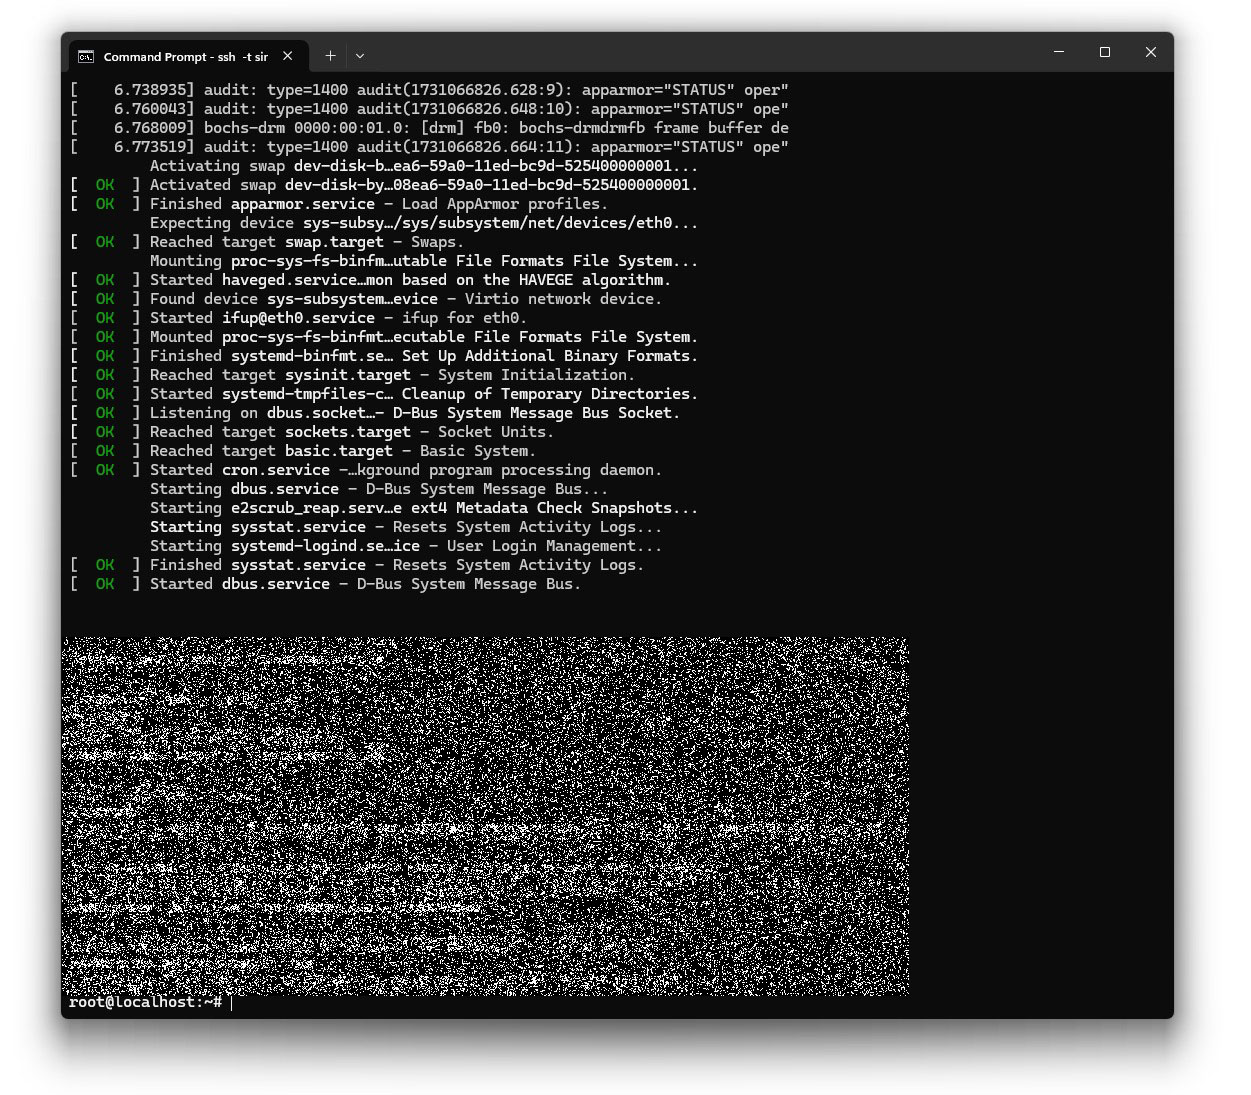
I was able to access the standard SSH terminal and the Console Terminal at Linode. I will upgrade the security of these and restrict access ASAP.
FYI: The LISH console uses my Linode password, and the standard SSH uses my root password.
Console Output
I took an additional server backup (snapshot) to roll back to if needed.
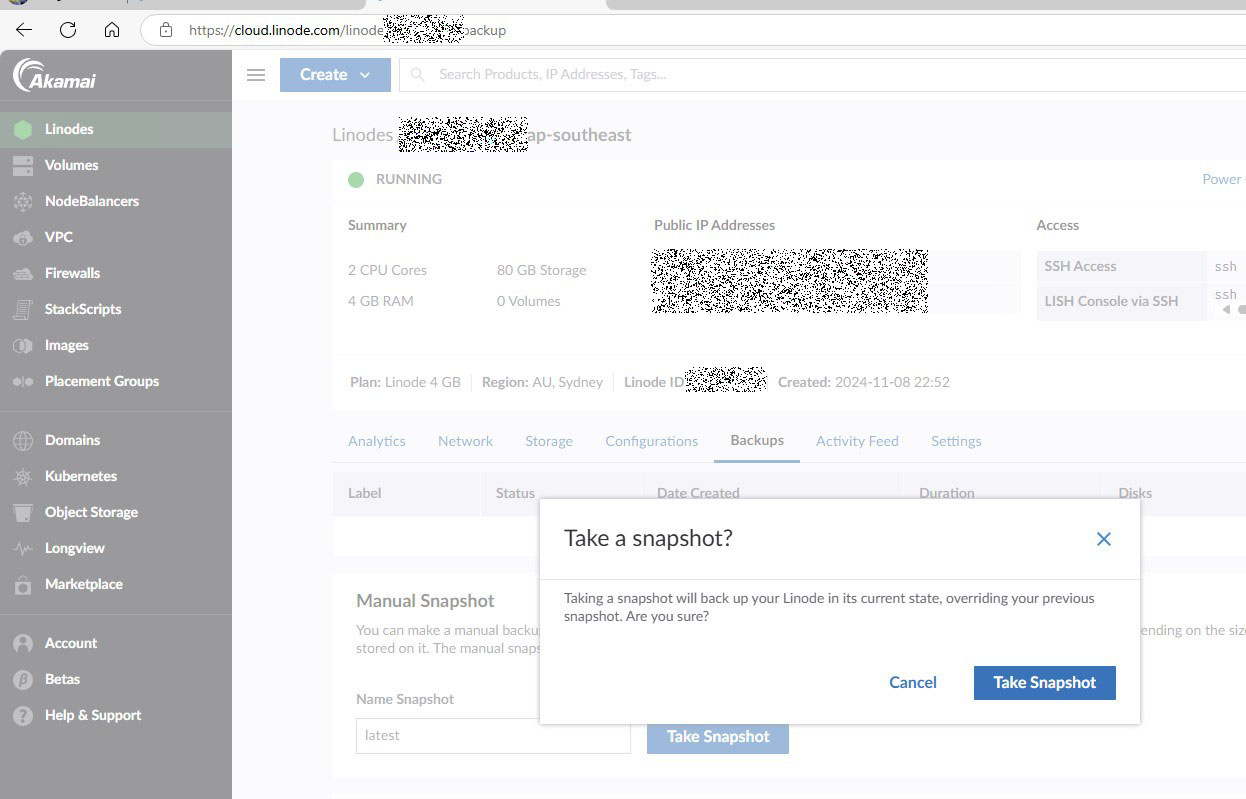
Backup Snapshot started

Backup Snapshot in progress

Backup Snapshot complete

Domain Registration

I registered my domain with Linode in case it needs to be linked to the server.
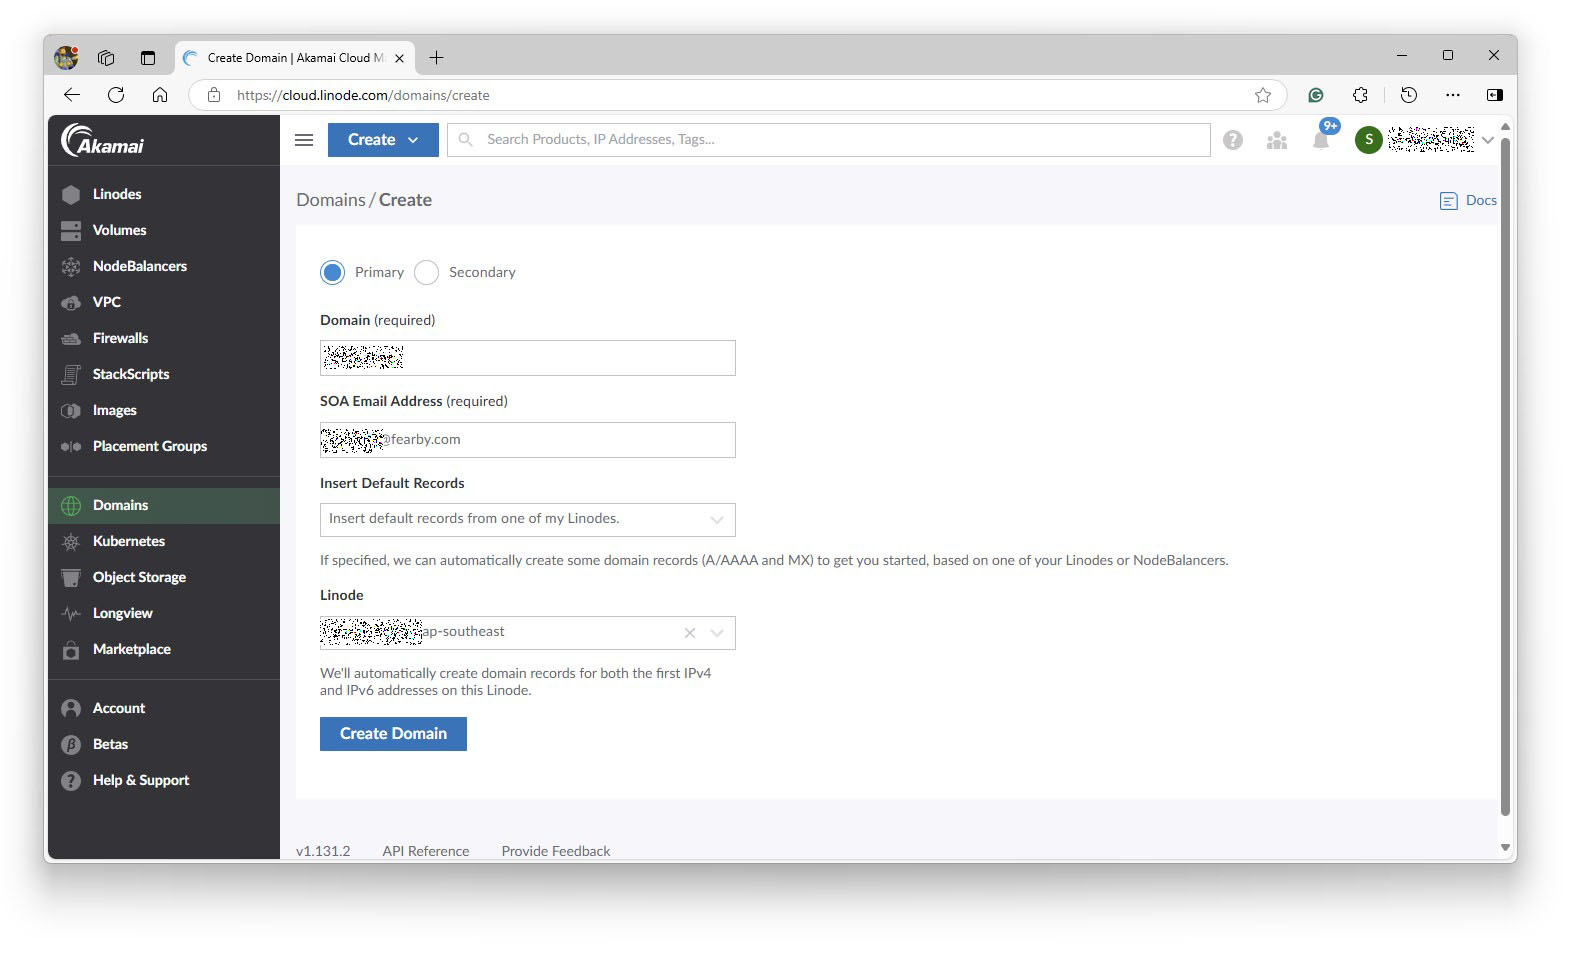
The domain was registered at Linode.

I am using Cloudflare to proxy traffic to my UpCloud Server I will continue this with Linode.
I do not need to add DNS records to Linode.
At Cloudflare, I set my A and AAAA records to point to Linode.

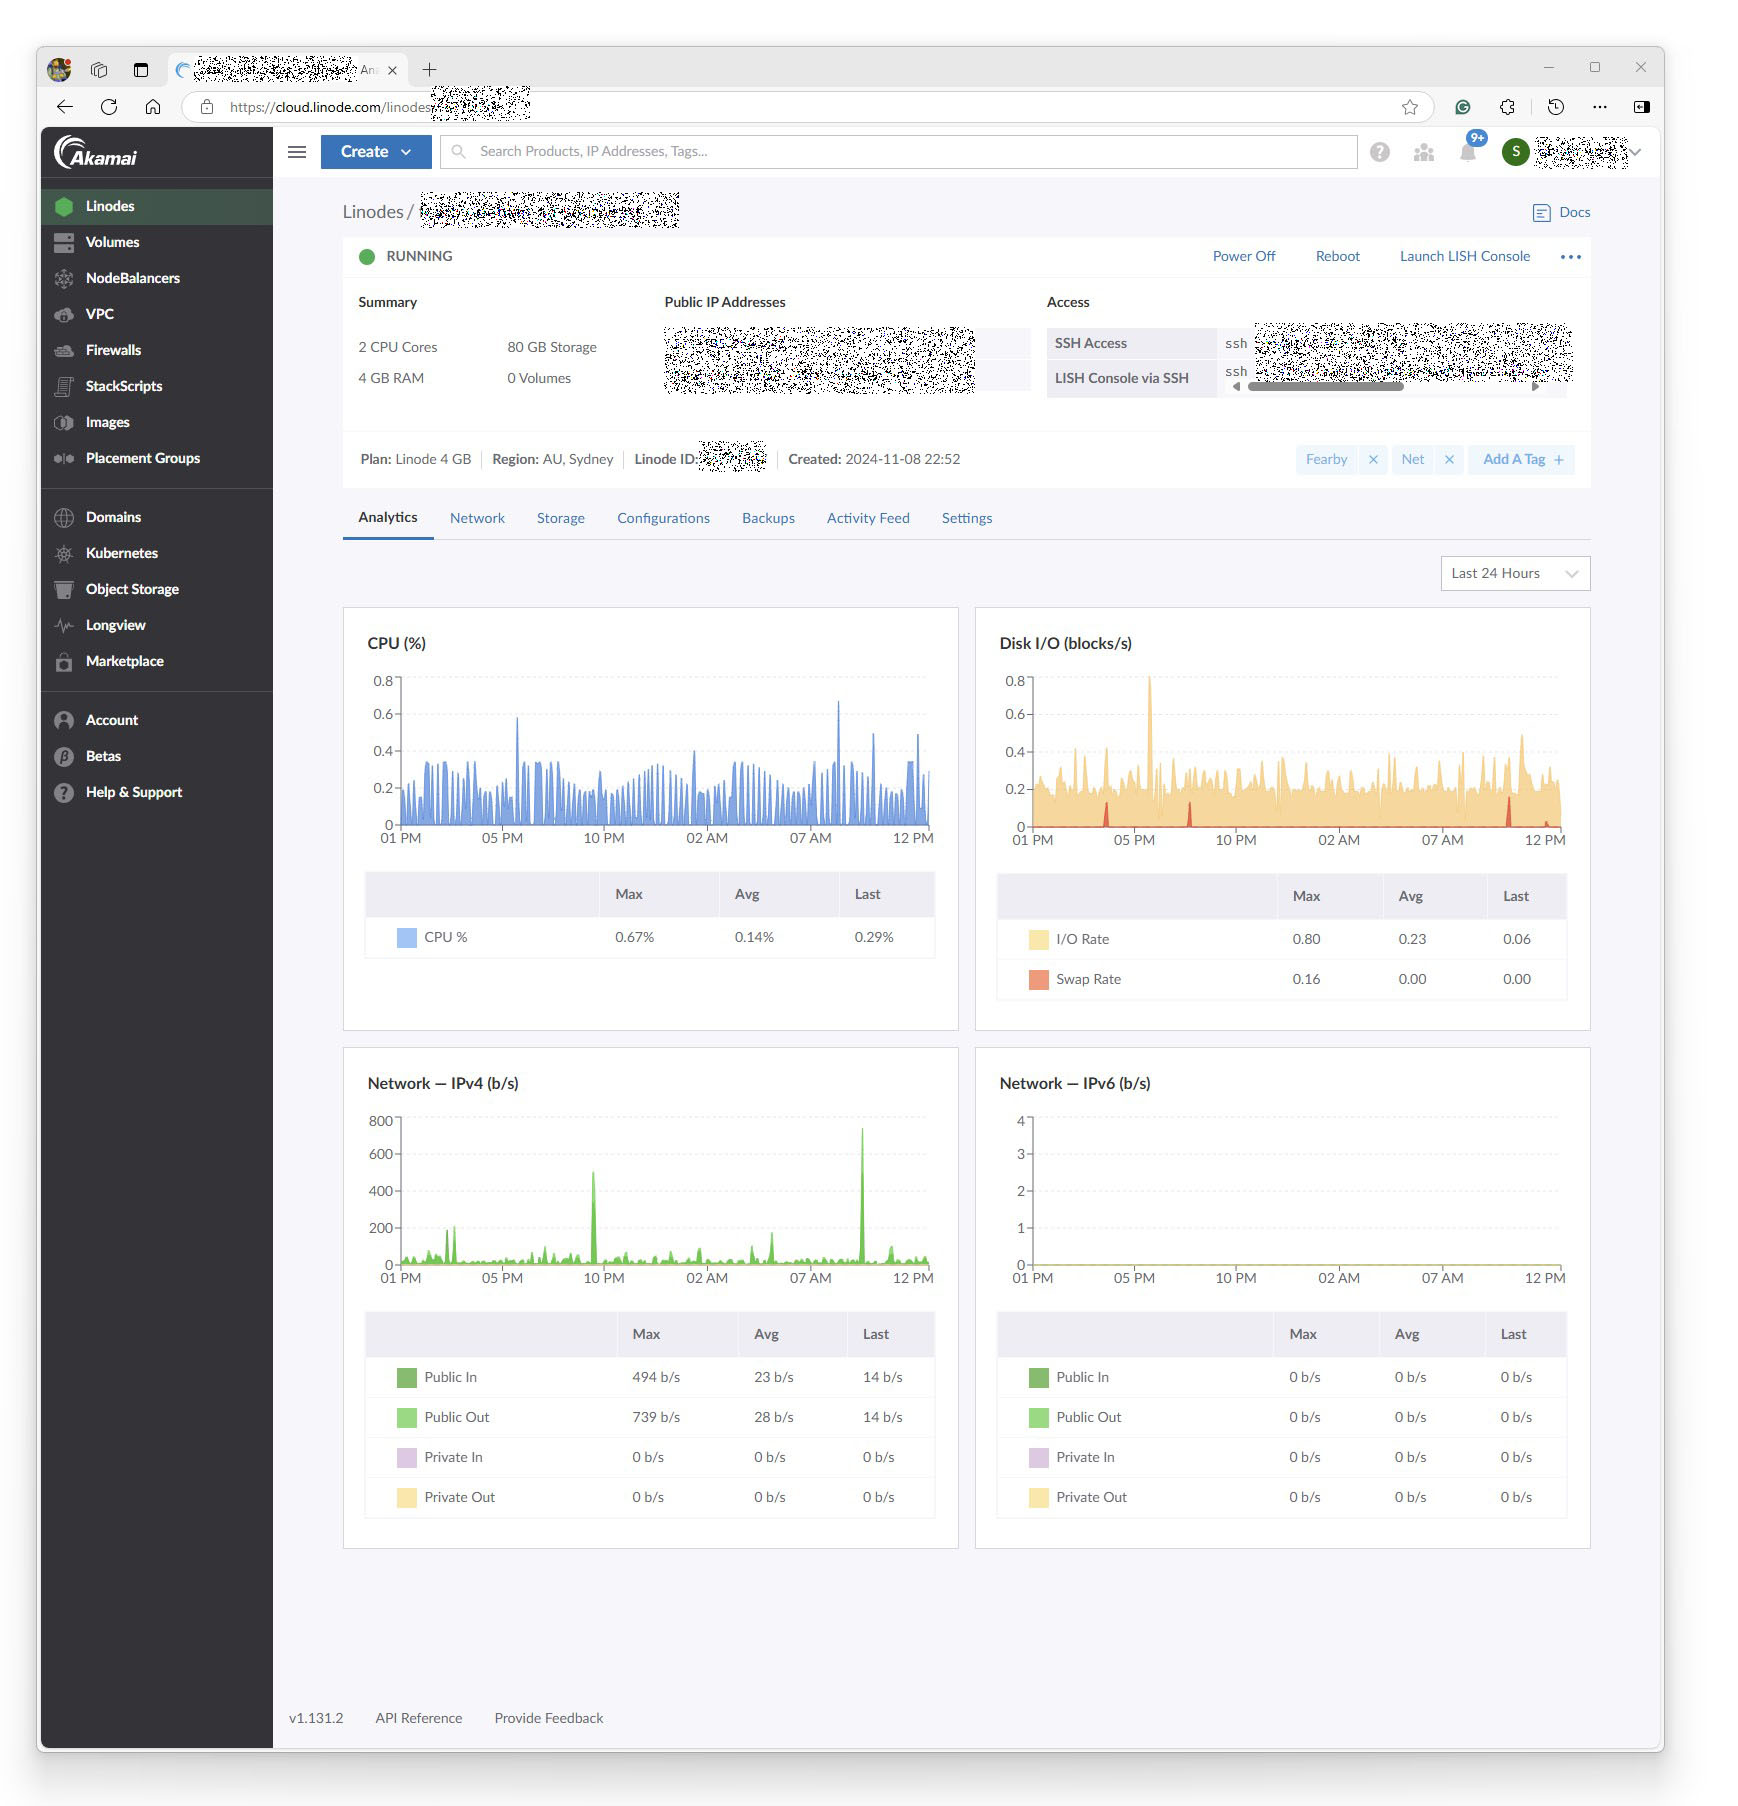
I can now see traffic coming through to the Linux host
Server Setup
Now, it is time to set up my server.
I updated the OS
sudo apt update
sudo apt upgrade
I set up a Cloudflare cronjob to import Cloudflare IPs to add to the firewall.
I set up a server-side firewall
sudo apt install ufw
I configured my firewall to lock it down (blocking all wildcard traffic, forcing through Cloudflare, only allowing whitelisted IP’s etc)
I edited my SSH config to lock it down (changed the SSH ports, set rules)
sudo nano /etc/sshsshd_config
#Reloaded and Restart SSH
/etc/init.d/ssh reload
/etc/init.d/ssh restart
I set automatic security updates and configured it
sudo apt install unattended-upgrades apt-listchanges
sudo nano /etc/apt/apt.conf.d/50unattended-upgrades
sudo nano /etc/apt/apt.conf.d/20auto-upgrades
sudo unattended-upgrades --dry-run --debug
I quickly installed some common apps
sudp apt-get install htop
I Installed the NGINX web server
sudo apt install nginx -y
I configured Nginx (same as the old fearby.com on UpCloud)
sudo nano /etc/nginx/nginx.conf
sudo nano /etc/nginx/sites-available-default
I moved the root folder location and set the permissions
I used MobaXterm to download my old website from Upcloud and upload it to the Linode server
I restarted Nginx
nginx -t
  nginx -s reload
  sudo systemctl restart nginx
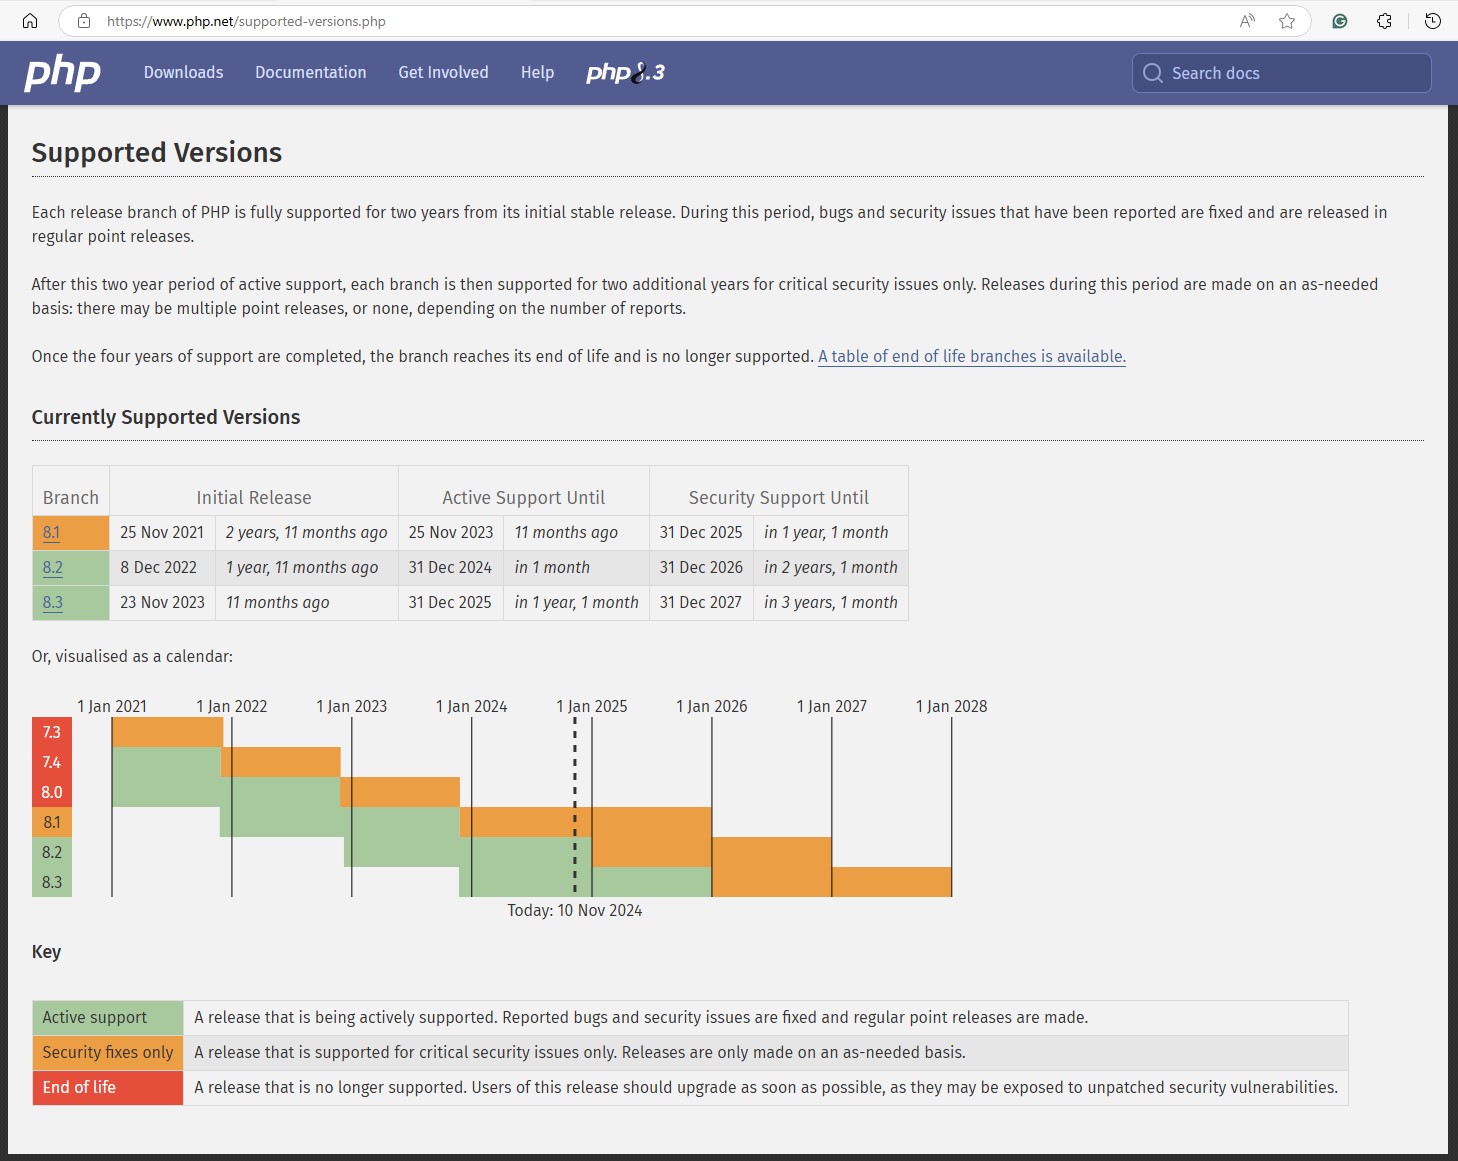
I checked the PHP supported versions
I installed and configured PHP and PHP FPM
sudo apt upgrade -y
wget -O /etc/apt/trusted.gpg.d/php.gpg https://packages.sury.org/php/apt.gpg
echo "deb https://packages.sury.org/php/ $(lsb_release -sc) main" | sudo tee /etc/apt/sources.list.d/php.list
sudo apt update -y
sudo apt policy php
sudo apt install -y php
sudo apt install -y php-mysql php-curl php-json php-xml php-mbstring php-zip php-xml
sudo apt install -y php-fpm
sudo systemctl enable php8.3-fpm
sudo systemctl start php8.3-fpm
sudo systemctl status php8.3-fpm
I set up MariaDB and configured it
sudo apt -y install mariadb-server
sudo nano /etc/mysql/mariadb.conf.d/50-server.cnf
systemctl restart mariadb
sudo mysql_secure_installation
I imported my old wordpress database
I uploaded my copy of WordPress
I downloaded Linus and hardened my system with an audit
sudo apt-get install git
git clone https://github.com/CISOfy/lynis
./lynis audit system
I installed clamAV and scanned my files
sudo apt-get install clamav clamav-daemon
sudo systemctl stop clamav-freshclam
sudo freshclam
sudo systemctl start clamav-freshclam
sudo systemctl enable clamav-freshclam
sudo clamscan -r /
I set up my usual scripts and corn jobs to monitor the service and tightened the firewalls.
I will continue to set up this server and install PHP pools, etc, to improve performance.

This was a sucessful disaster recovery test and I was ale to setup a new server on a different host in under 1 hour.
Thanks for reading
v1.1 - Fixed ssh keygen typo